Building the Left elevator was a non event until getting to the trim tab. After spending a bit of time forming the block to get the ears bent, I got the first bend OK, but the subsequent bend didn’t come out so well. It was time to order a new tab, along with some more E-703 ribs so I could go the riblet route.
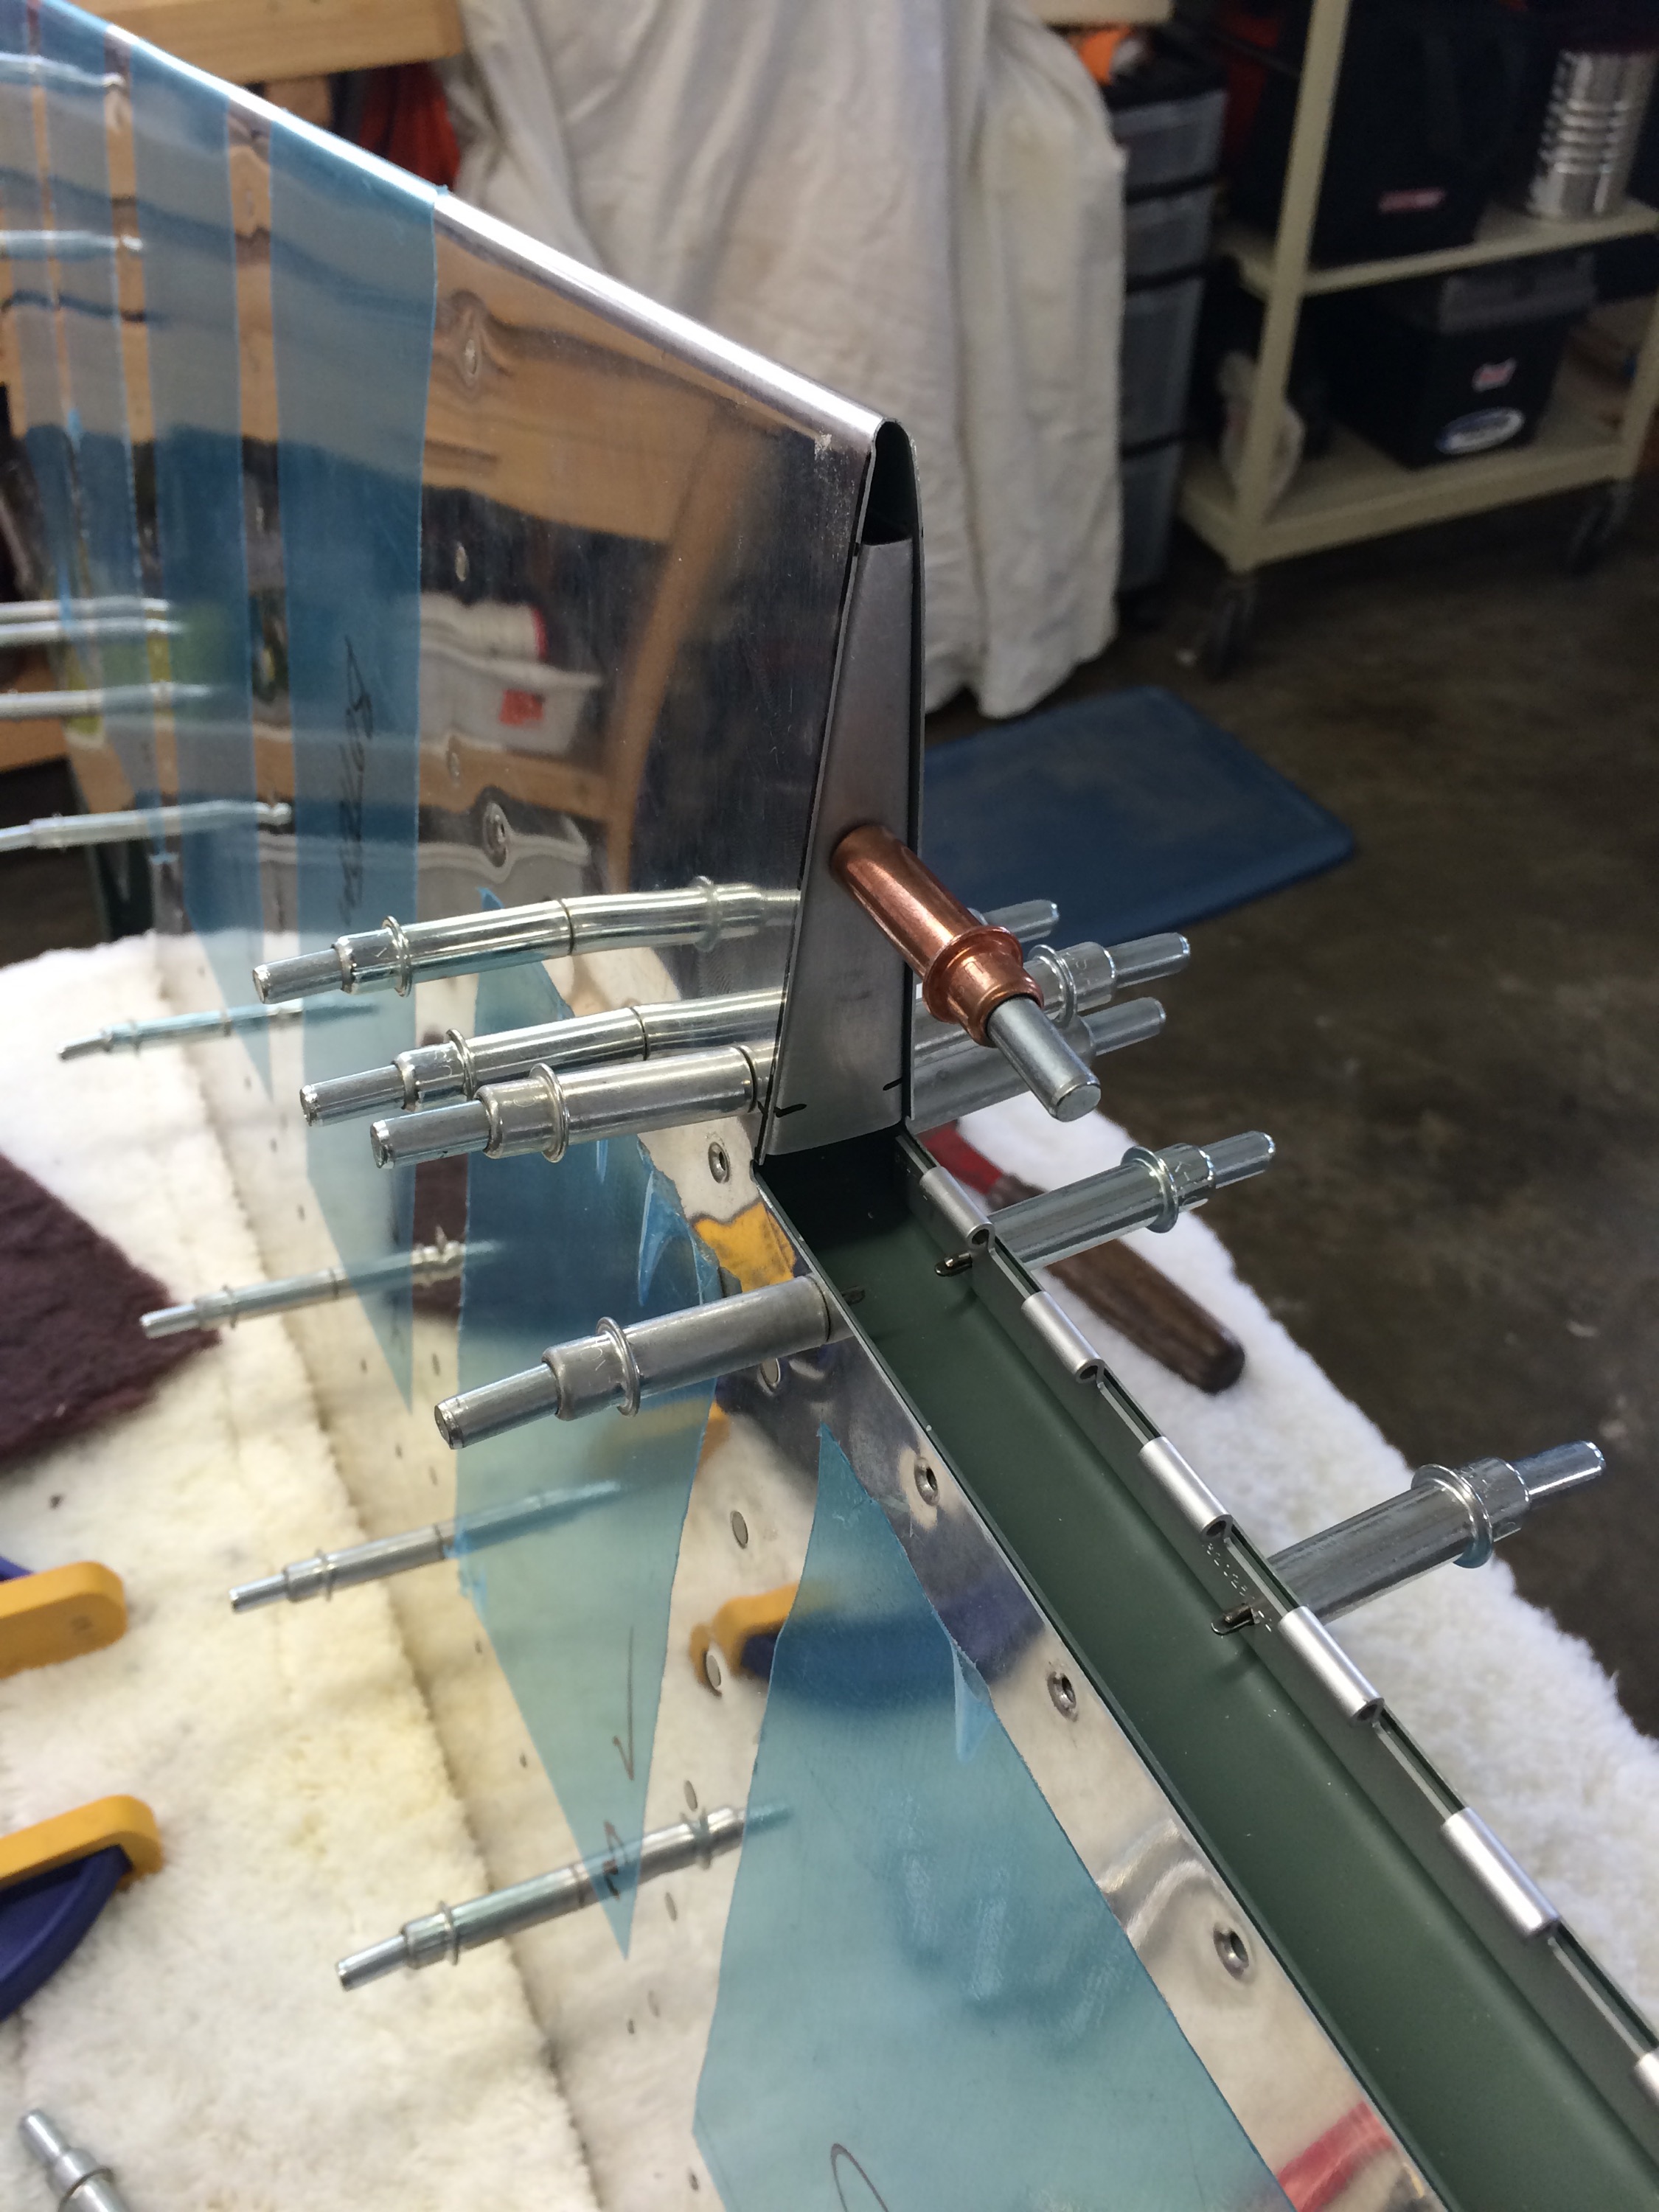
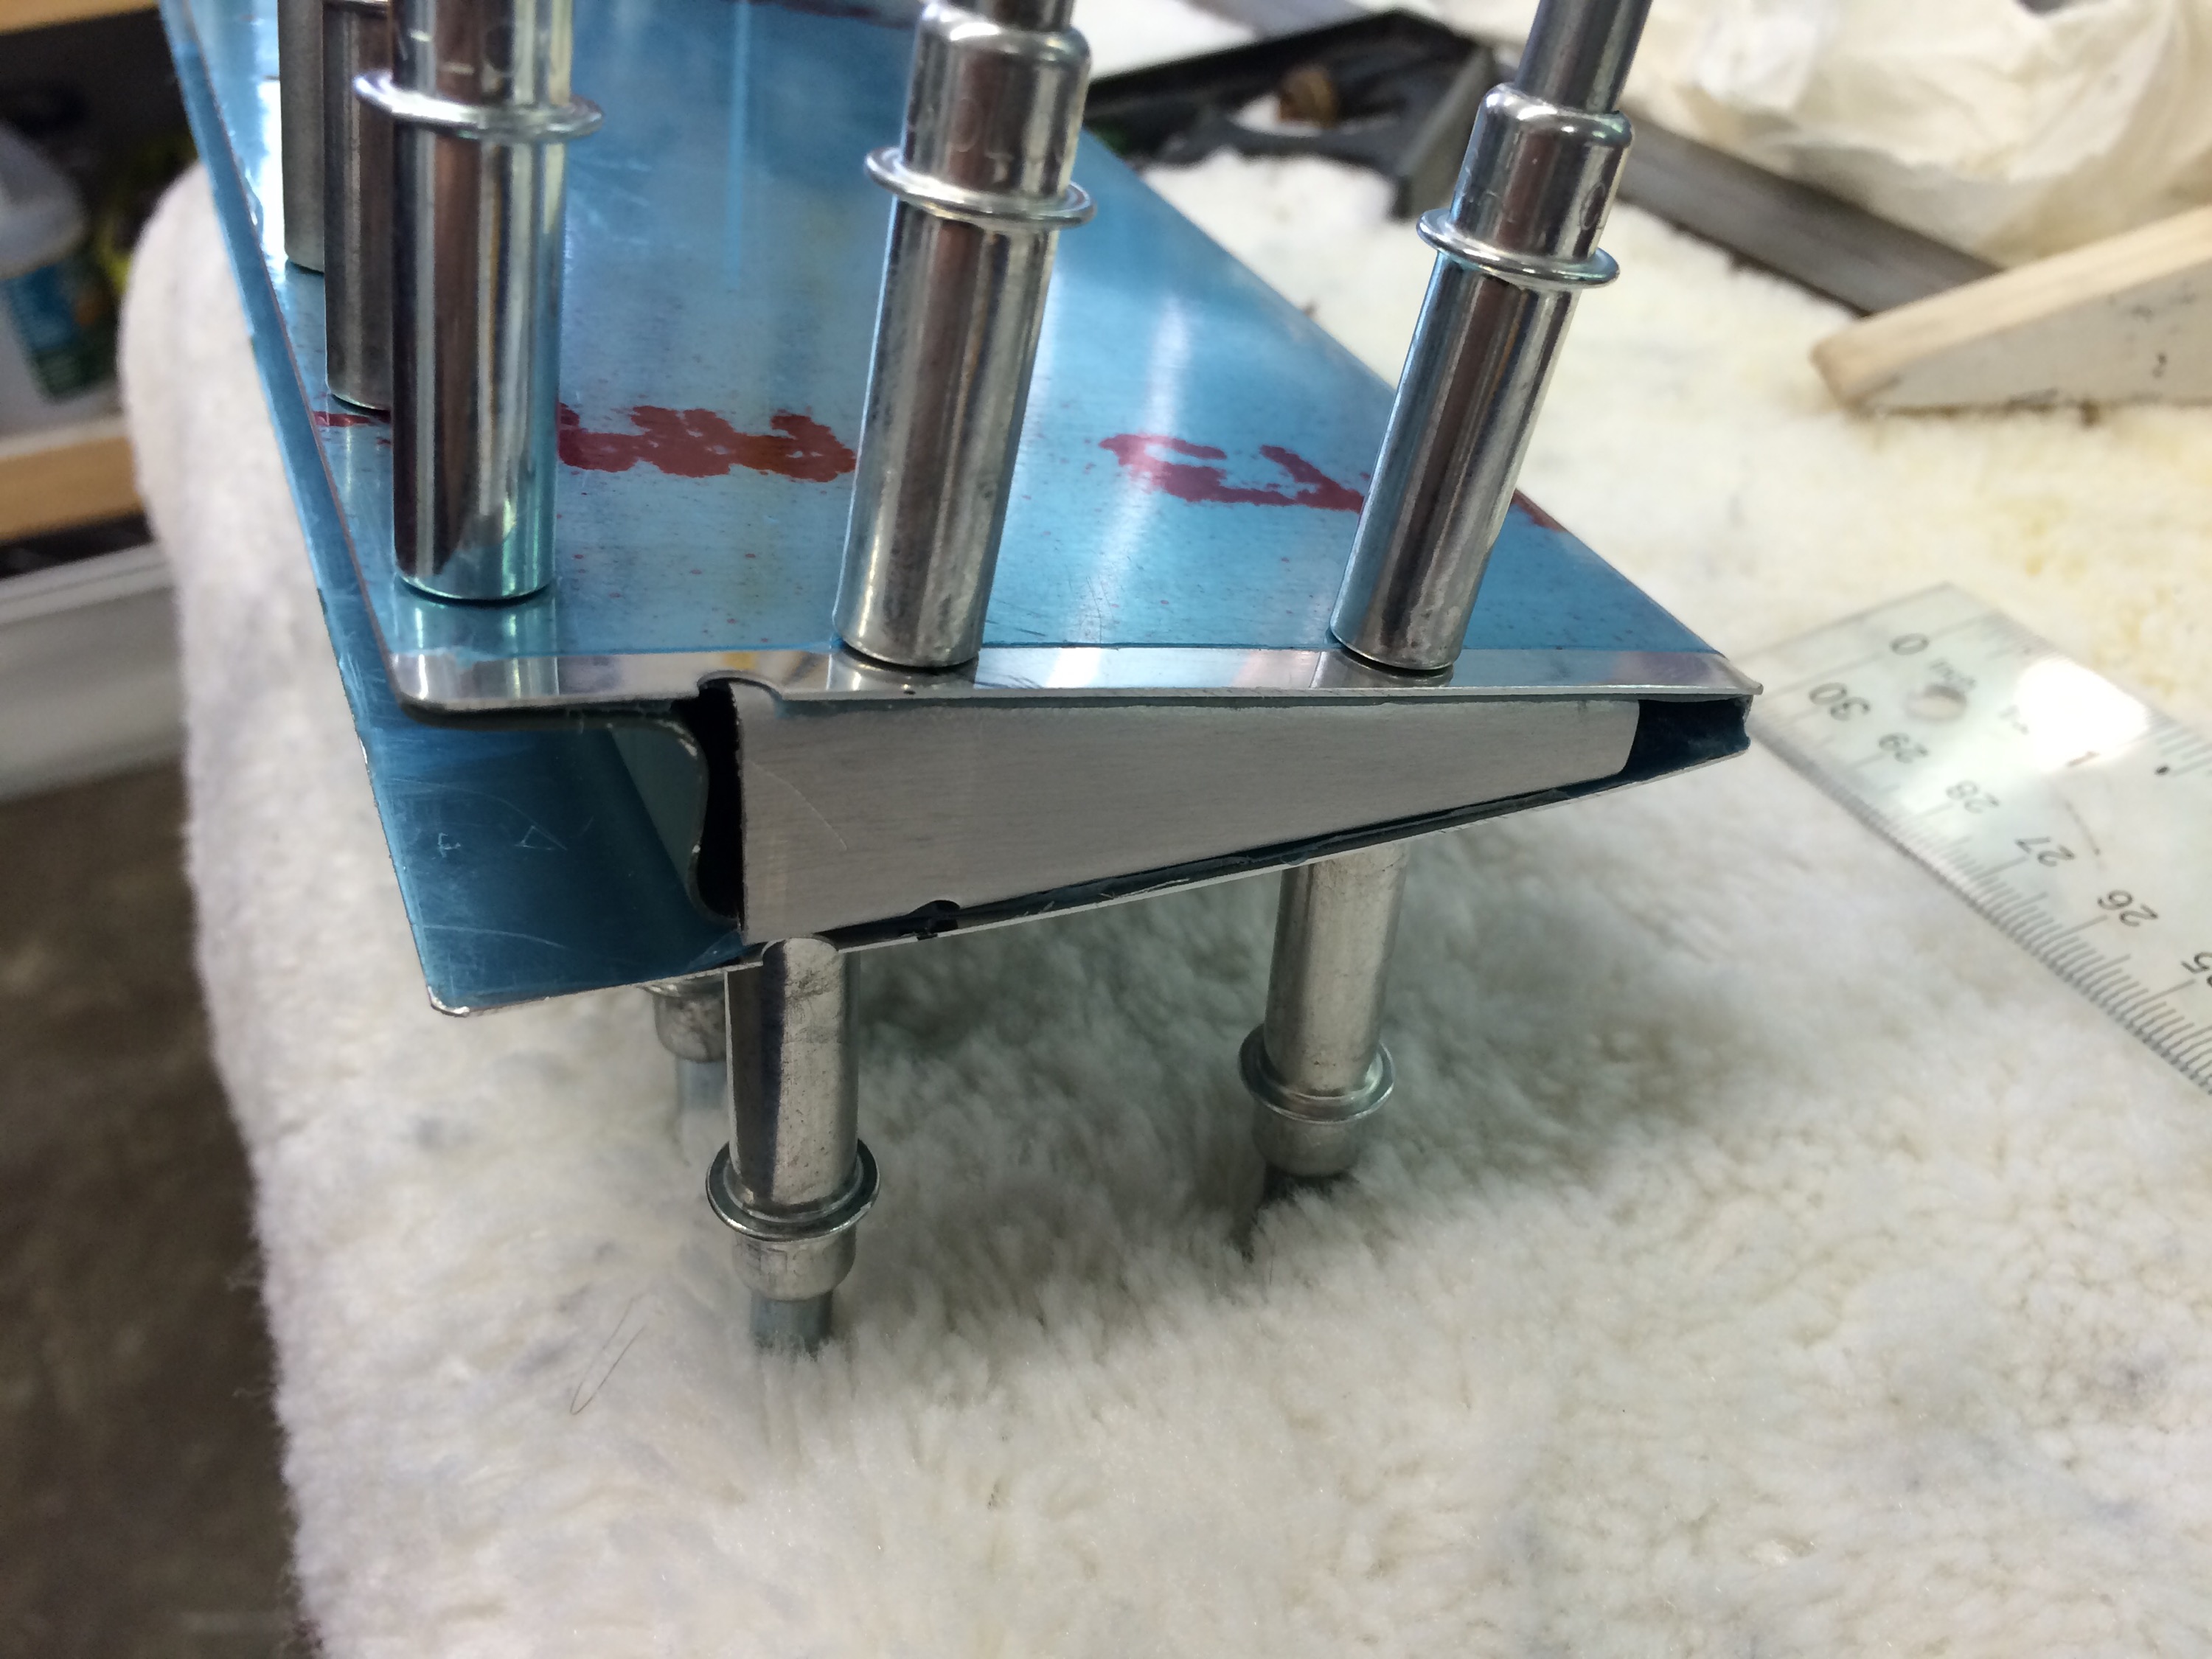
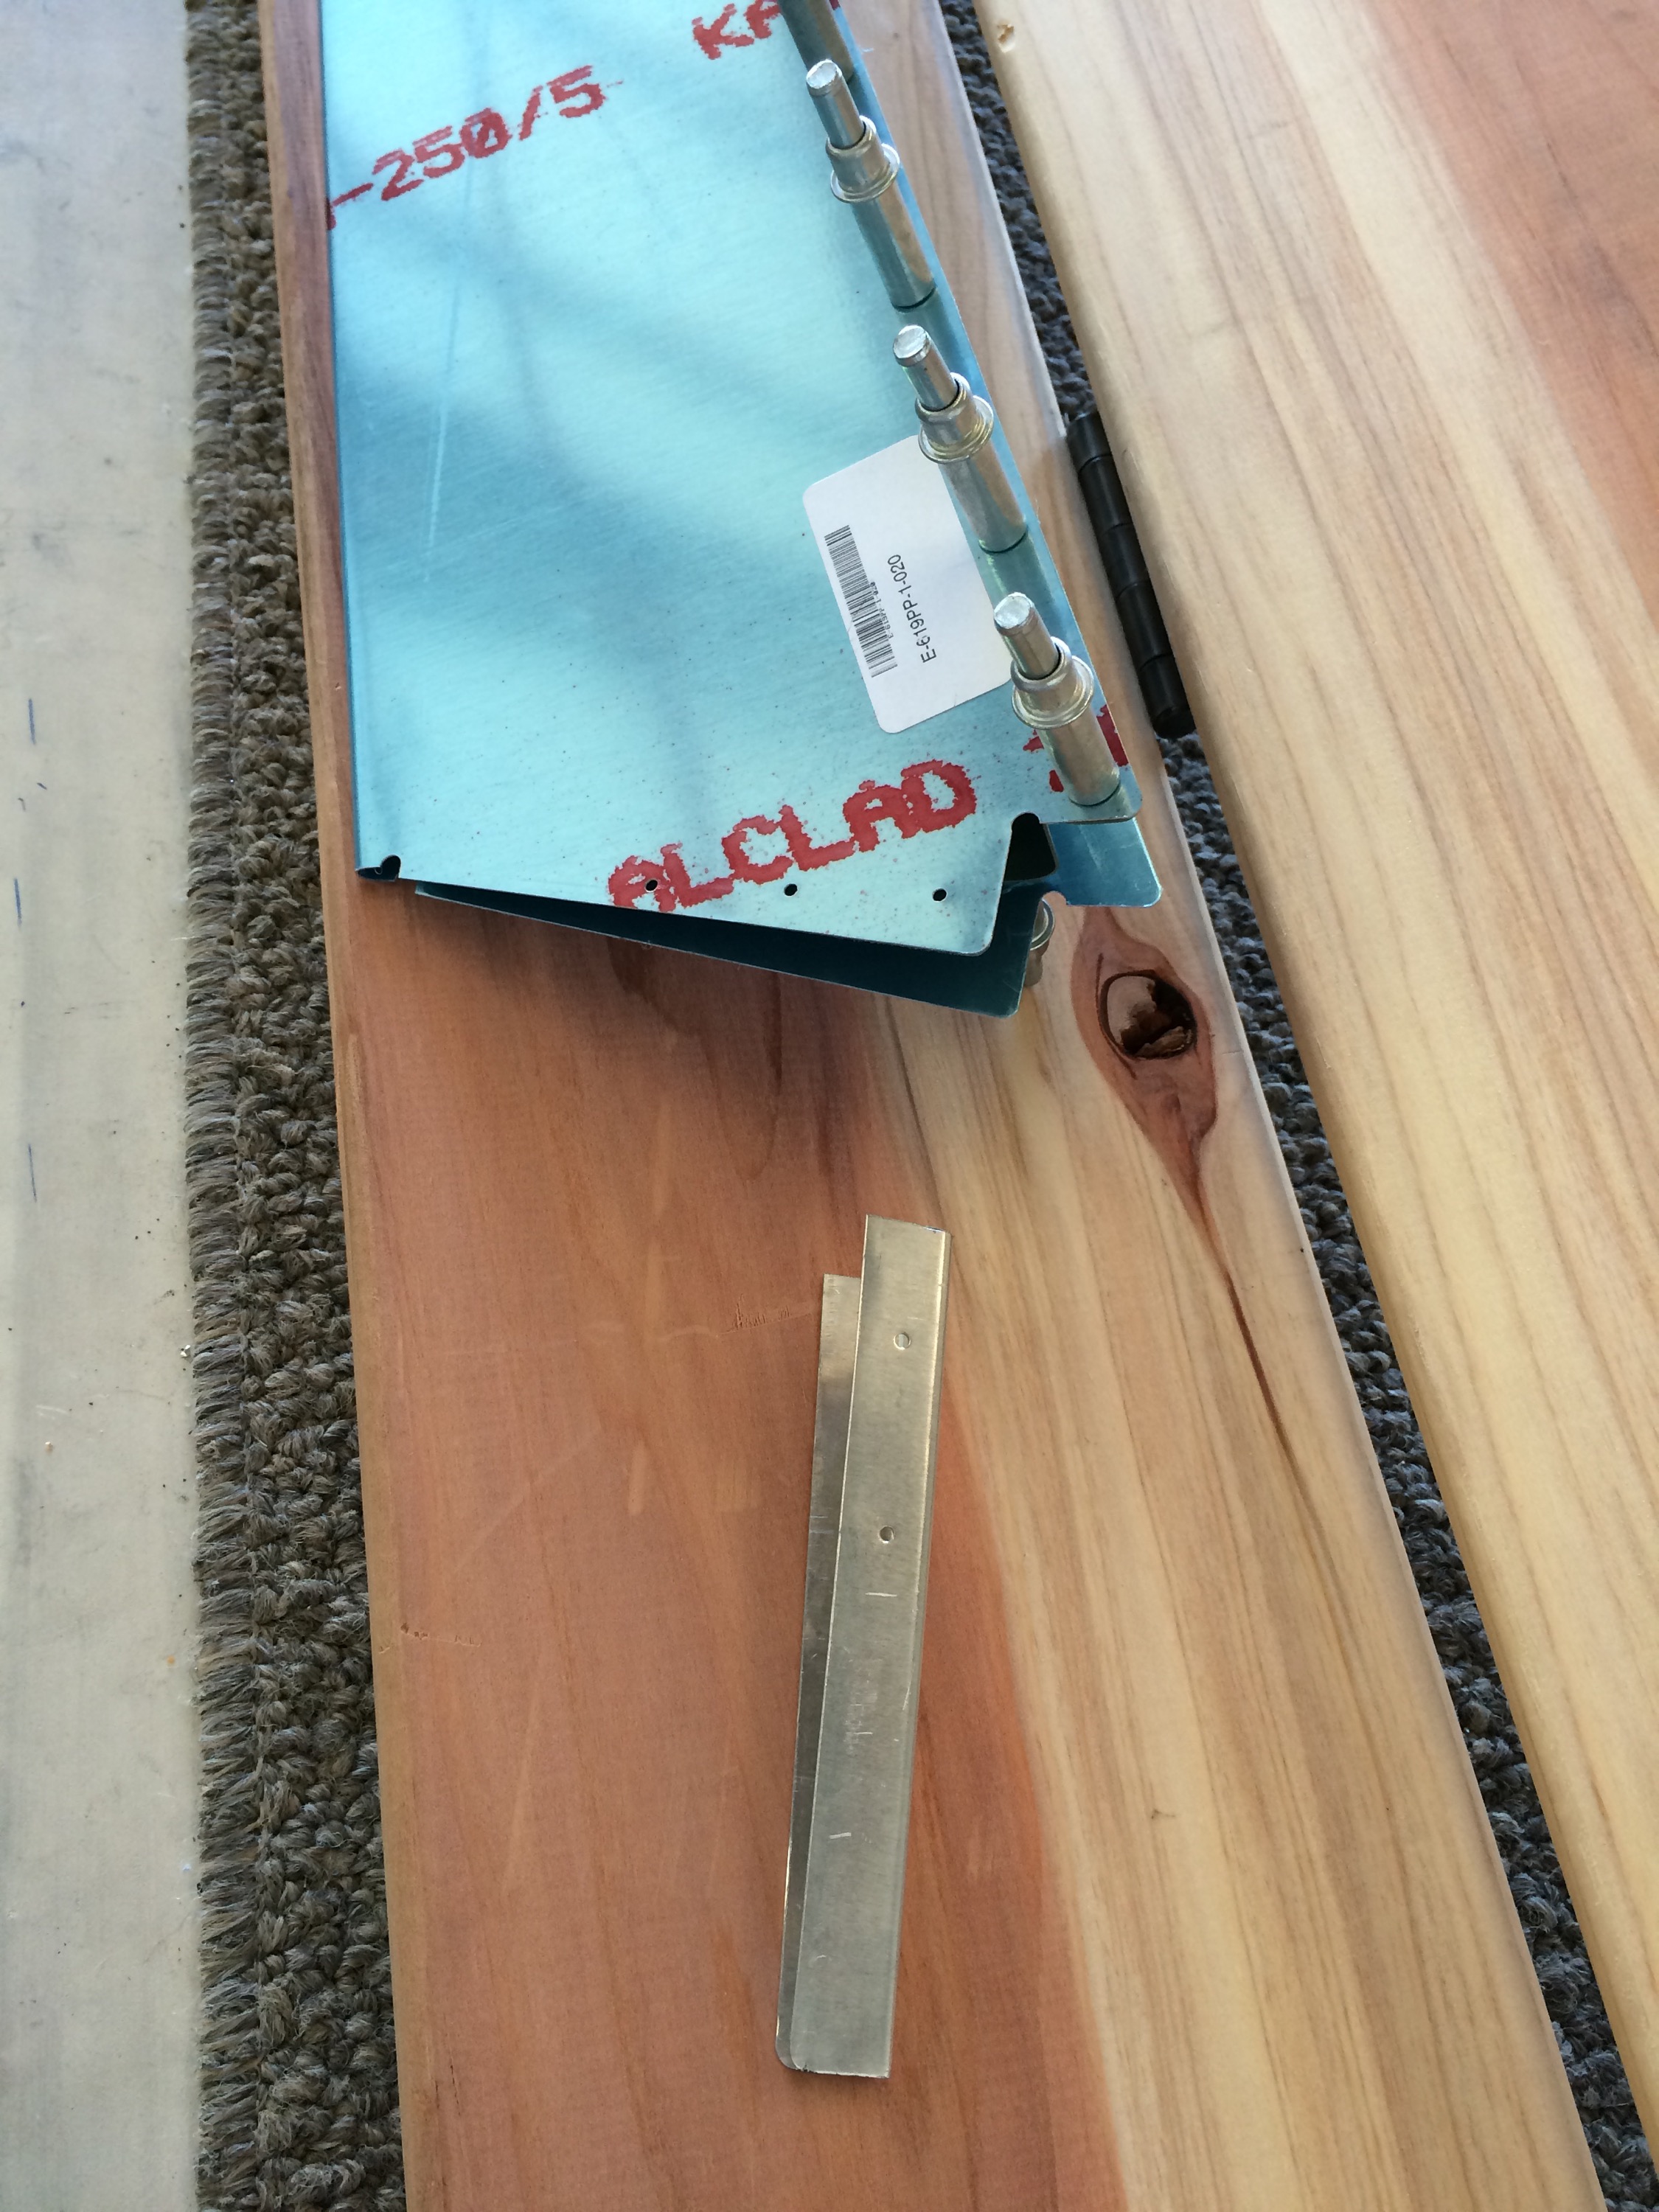
Here’s the first riblet cut:
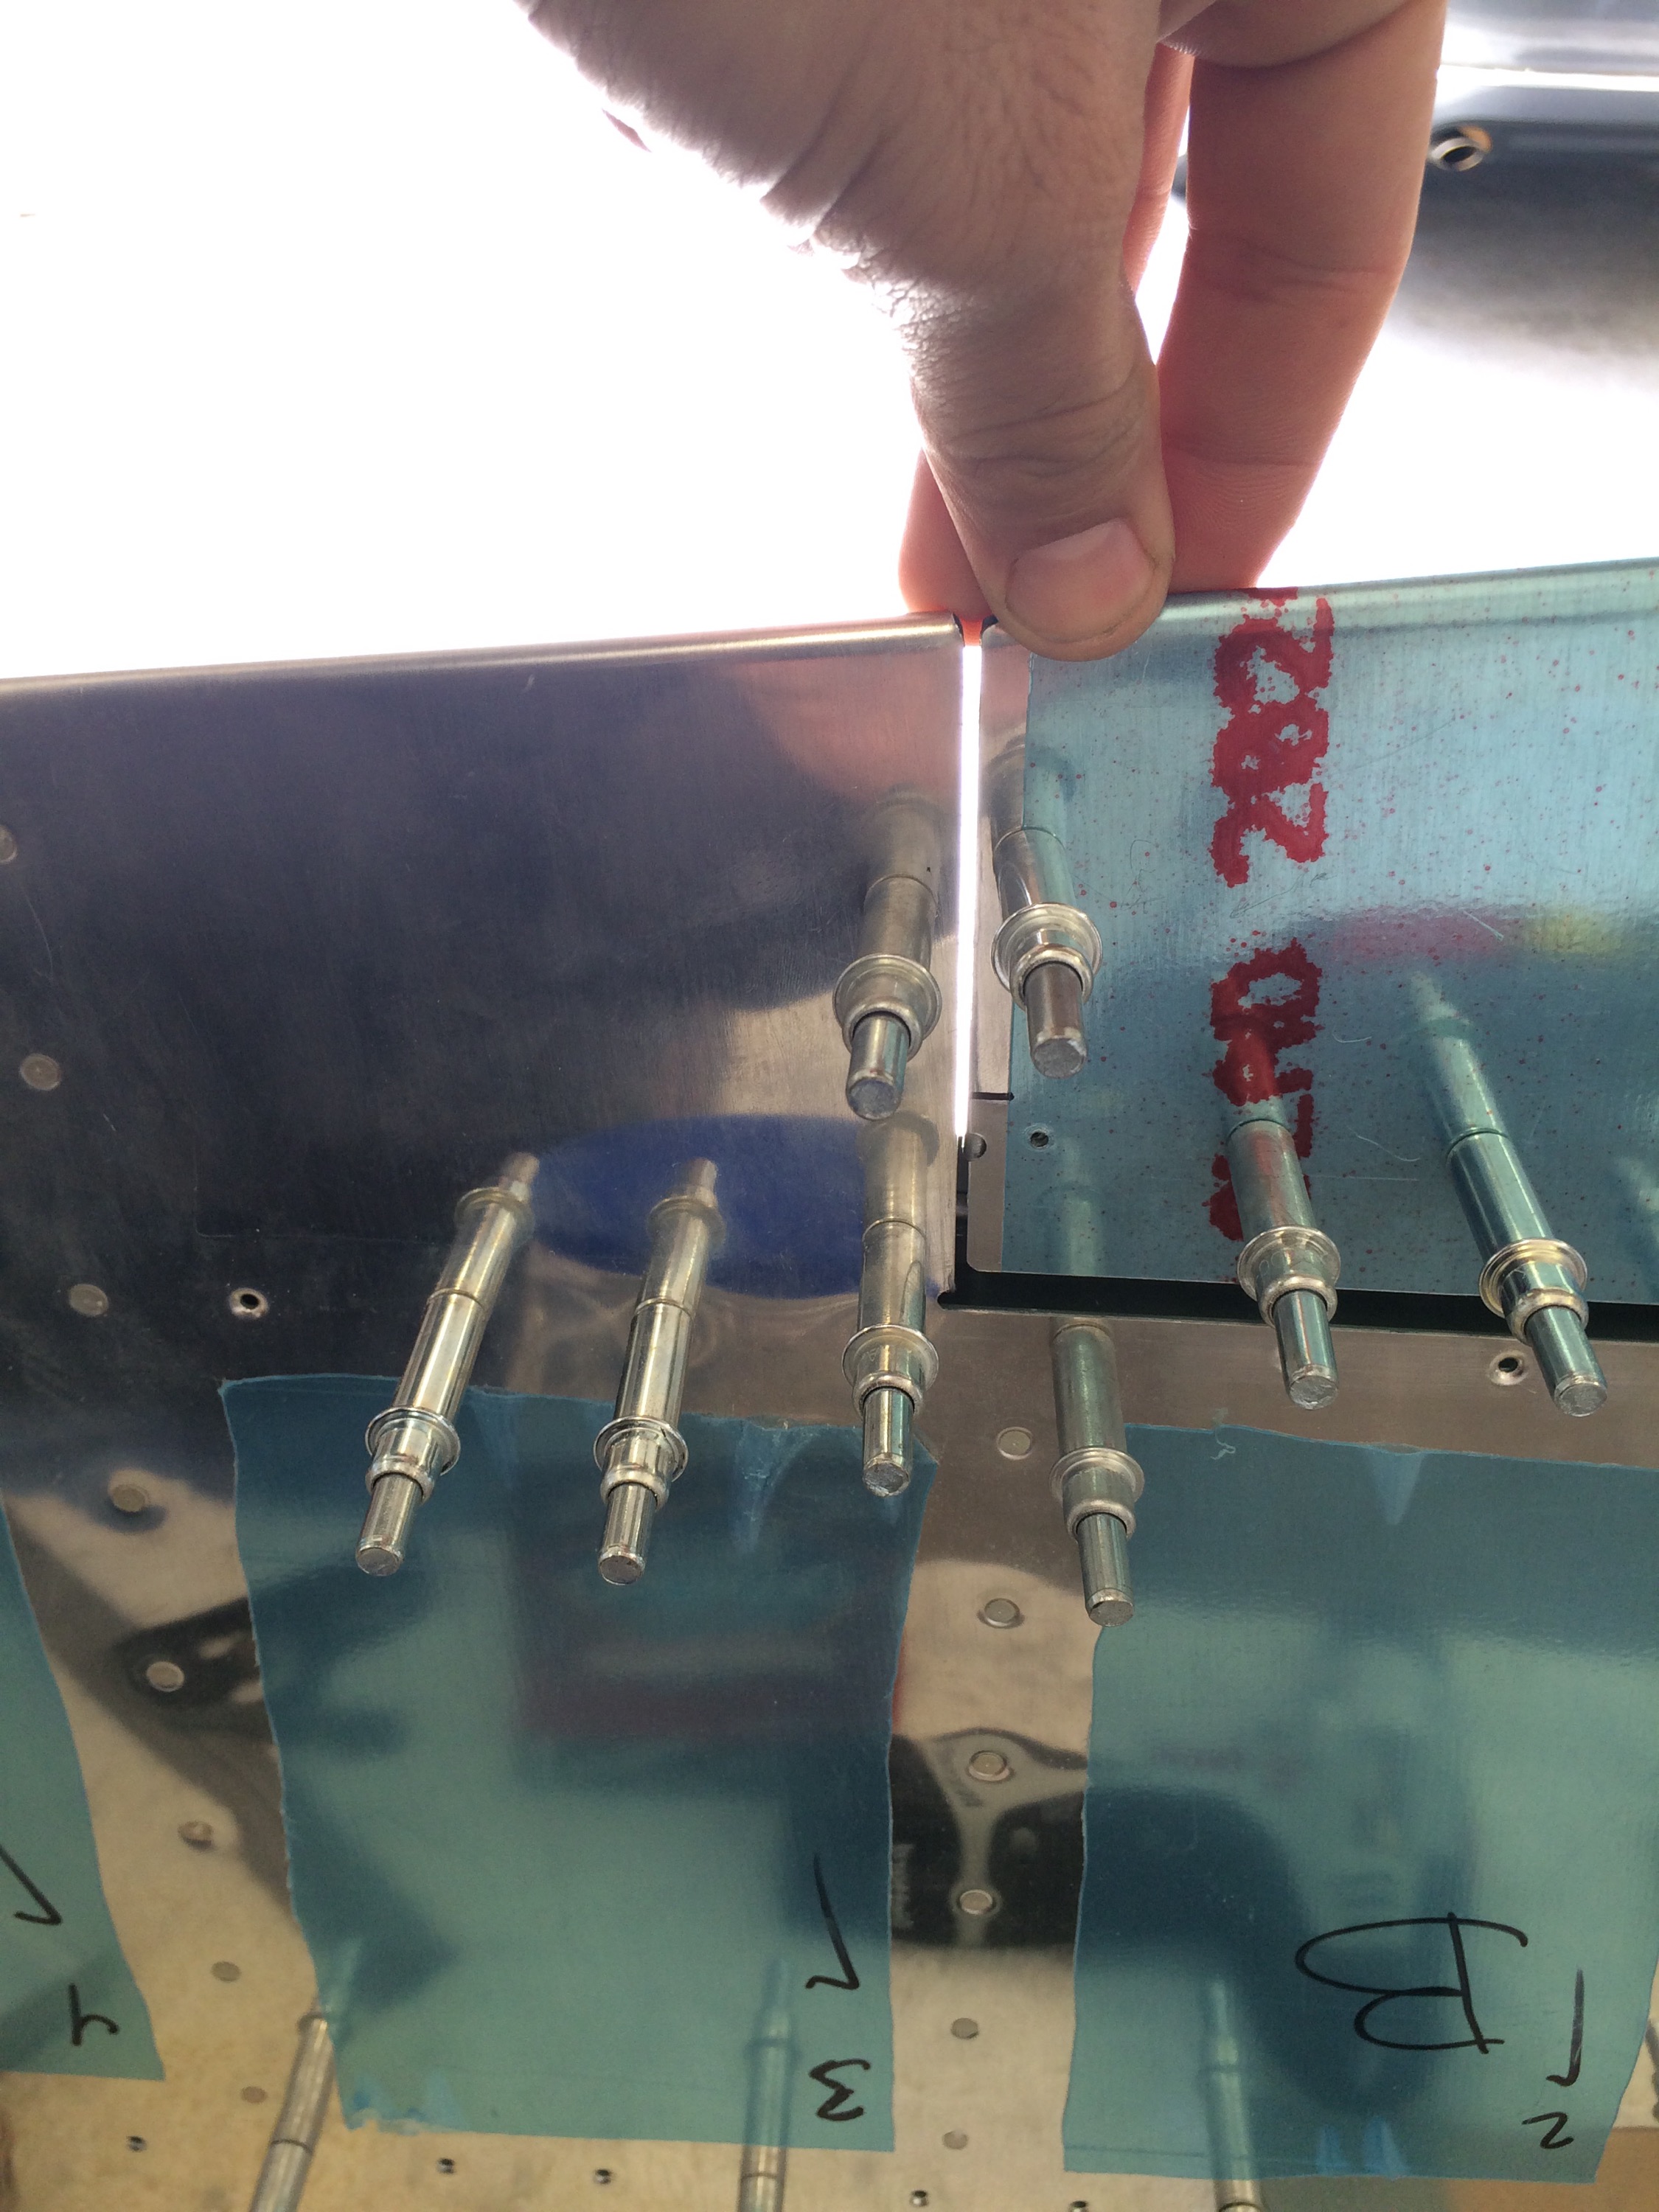
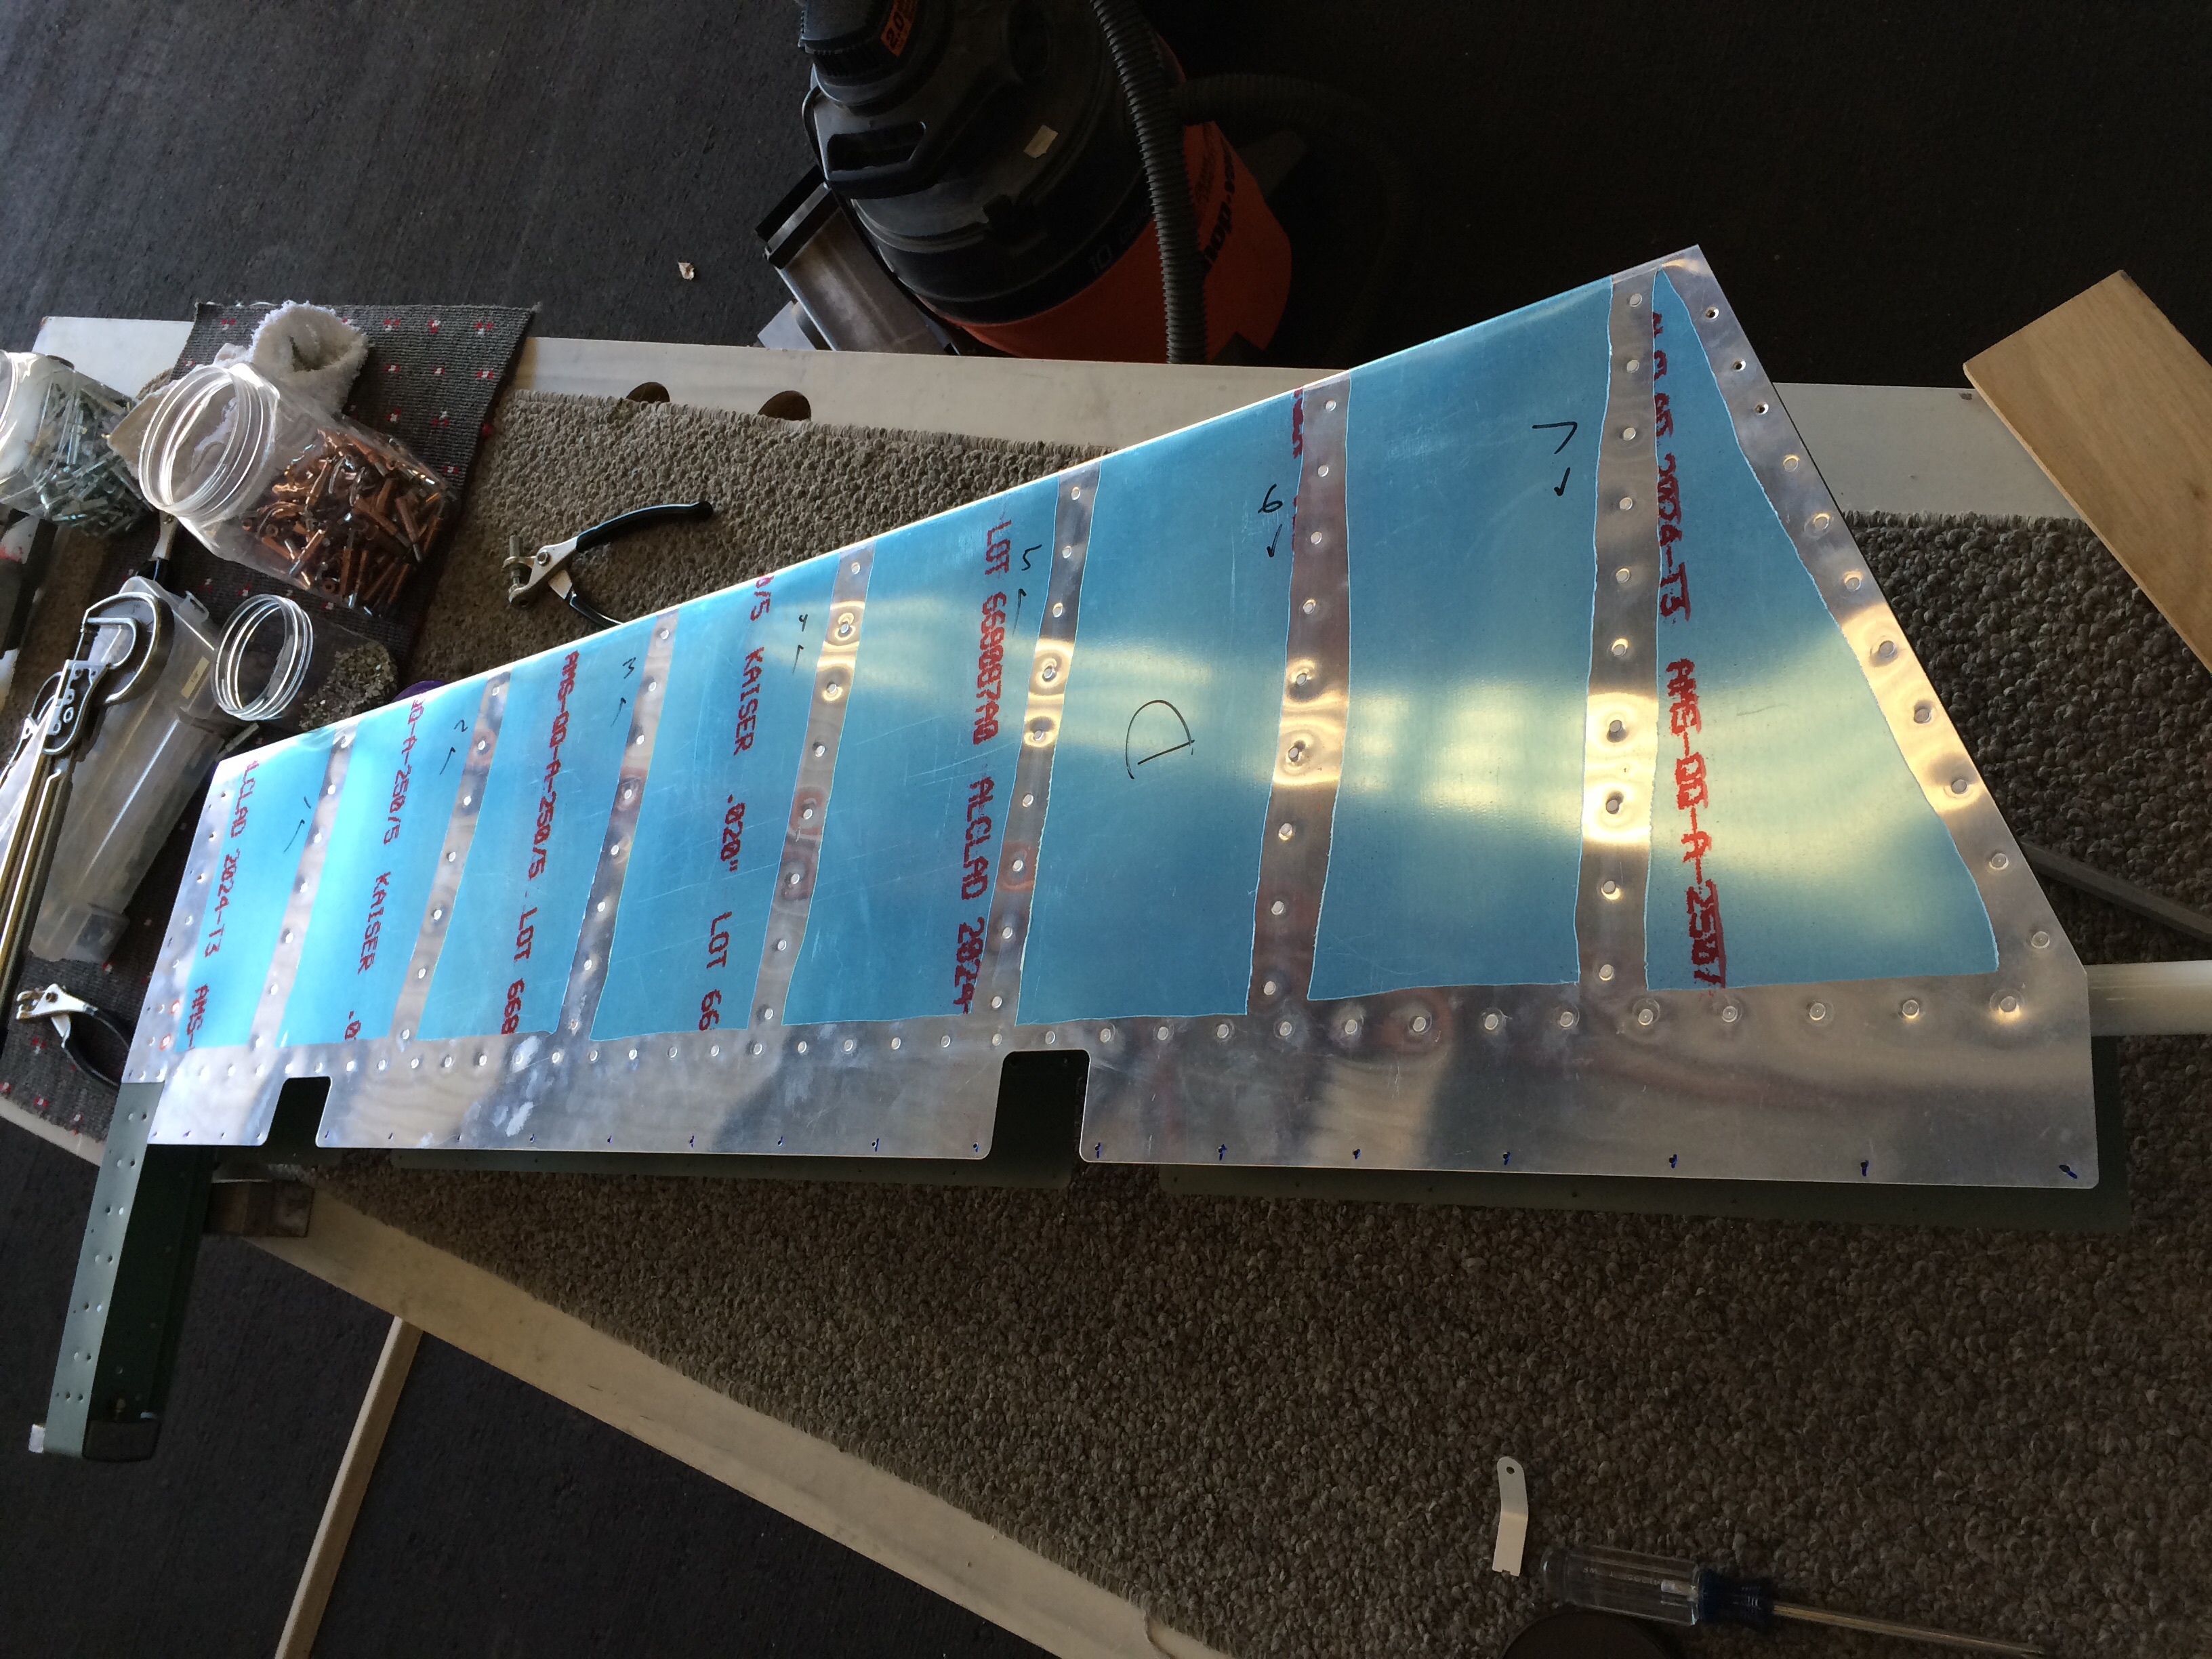
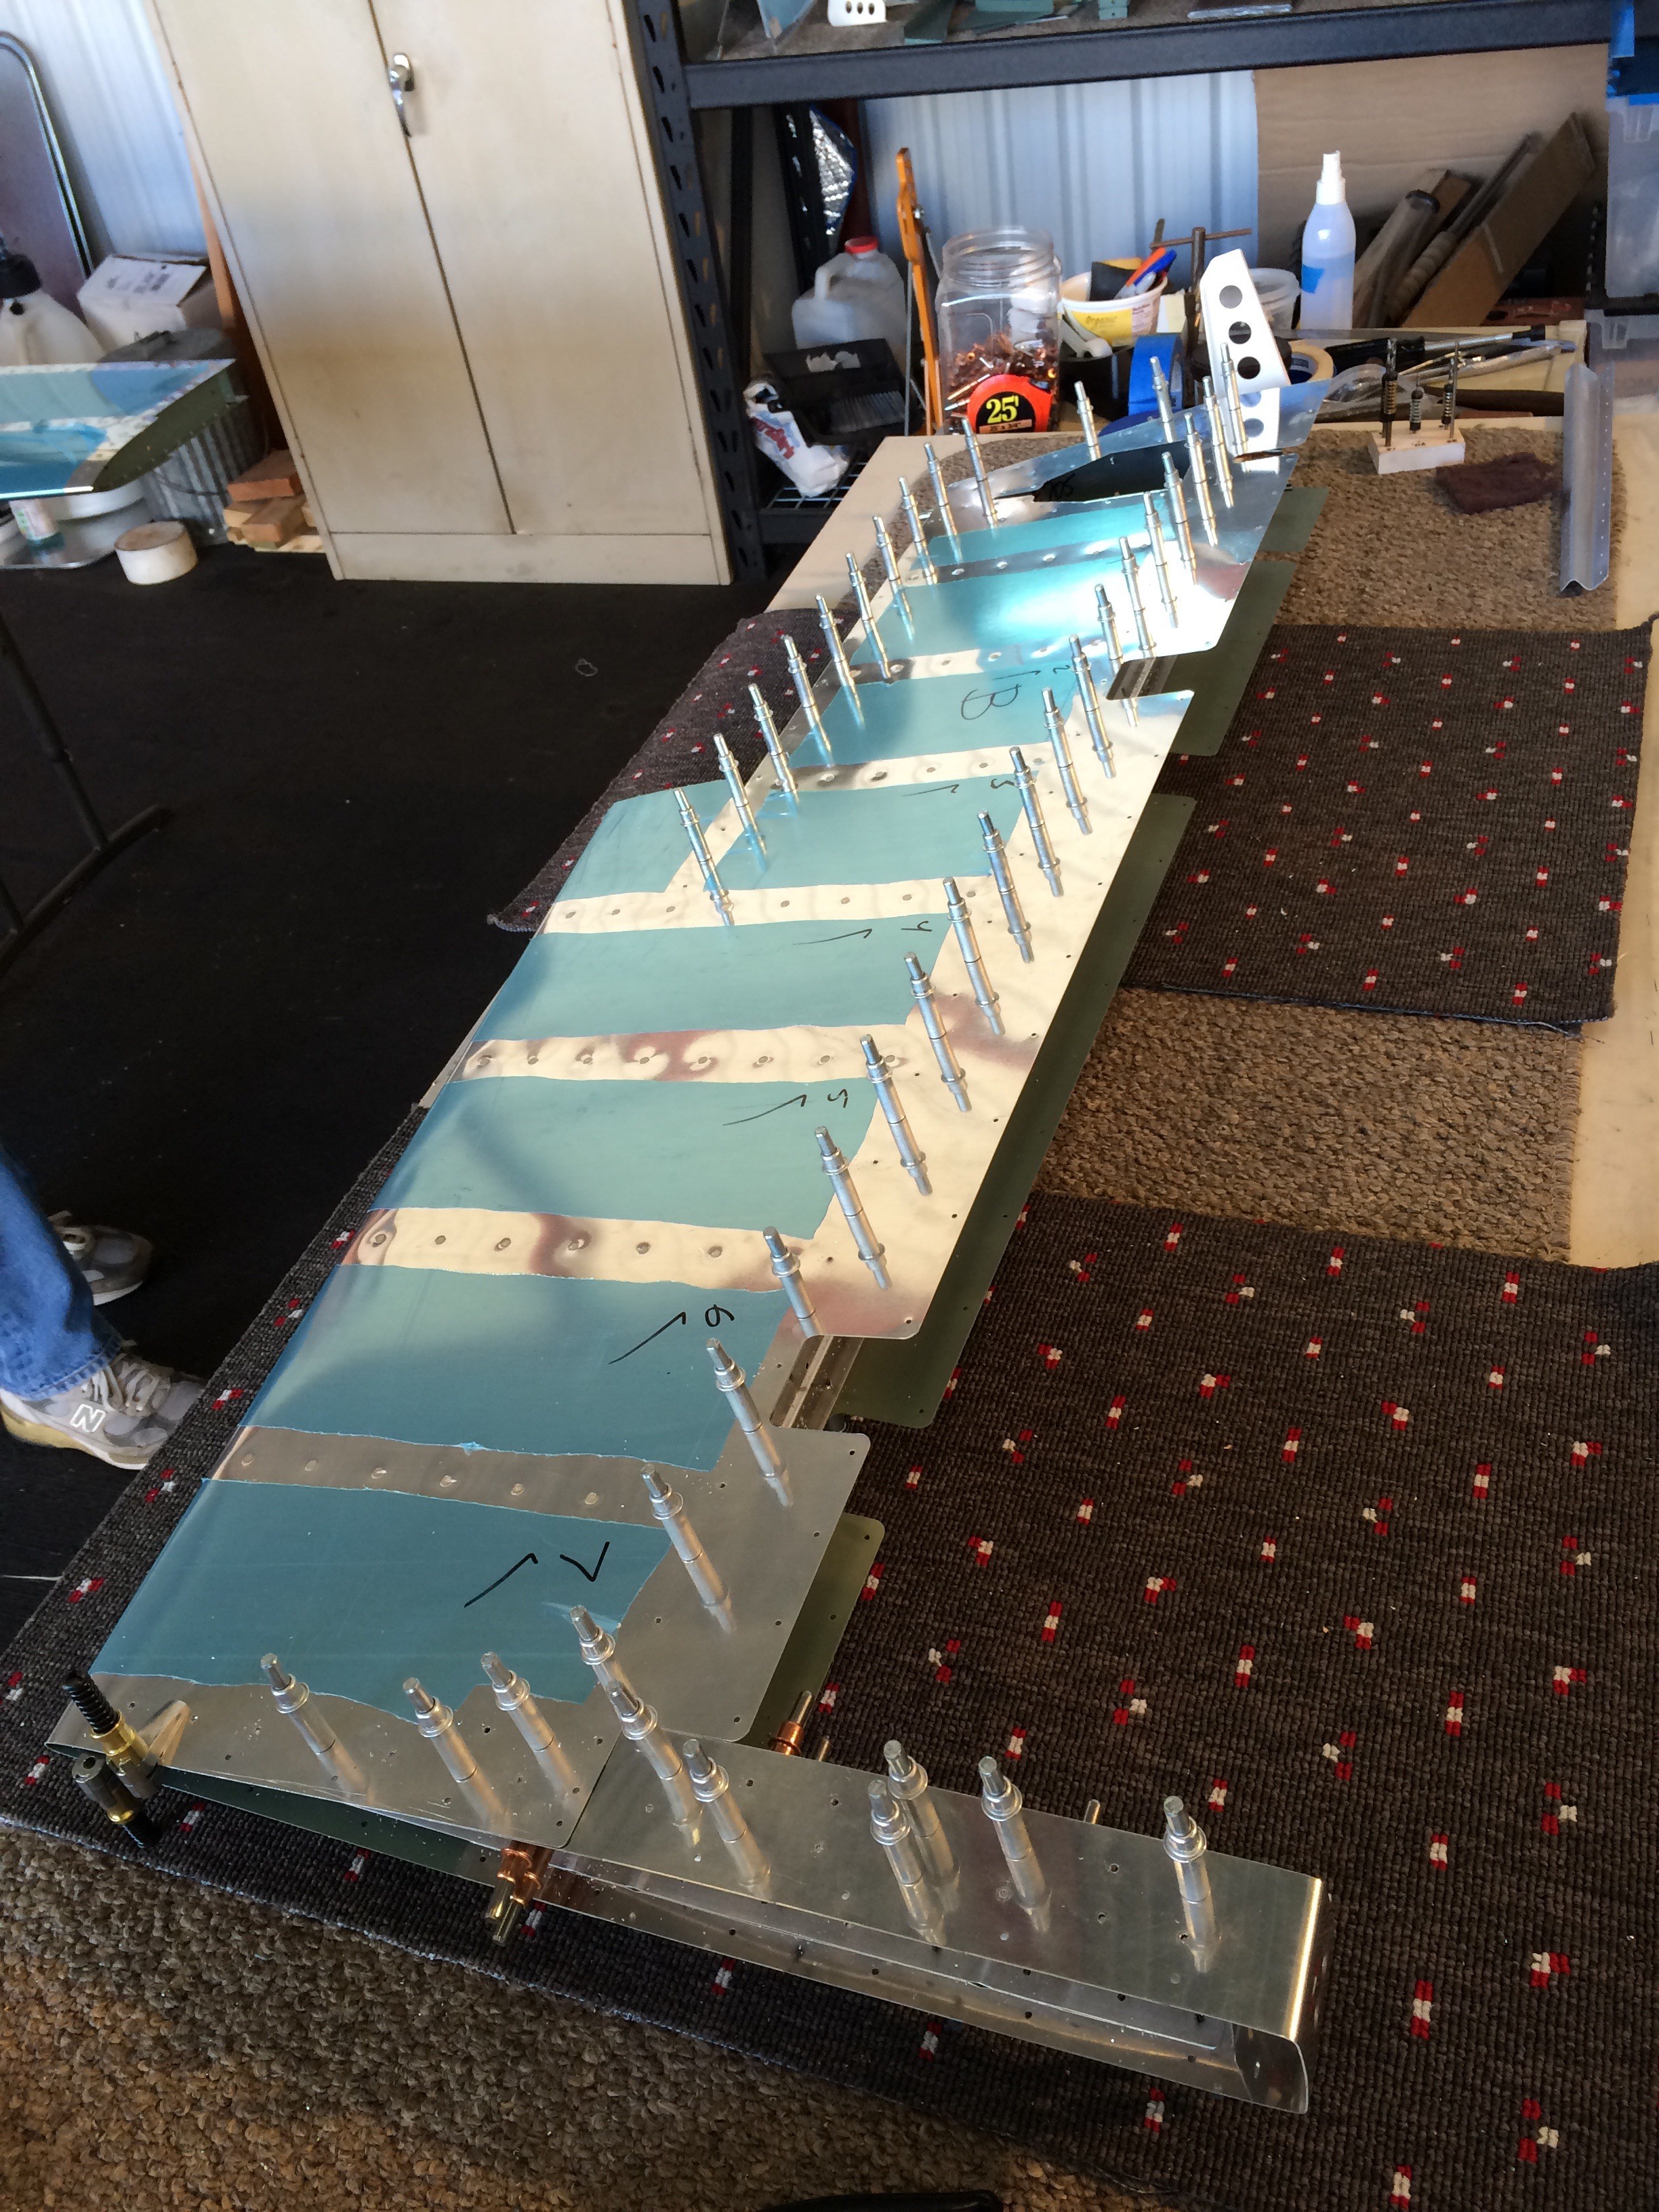
Test fitting the trim tab once the ears are cut off.
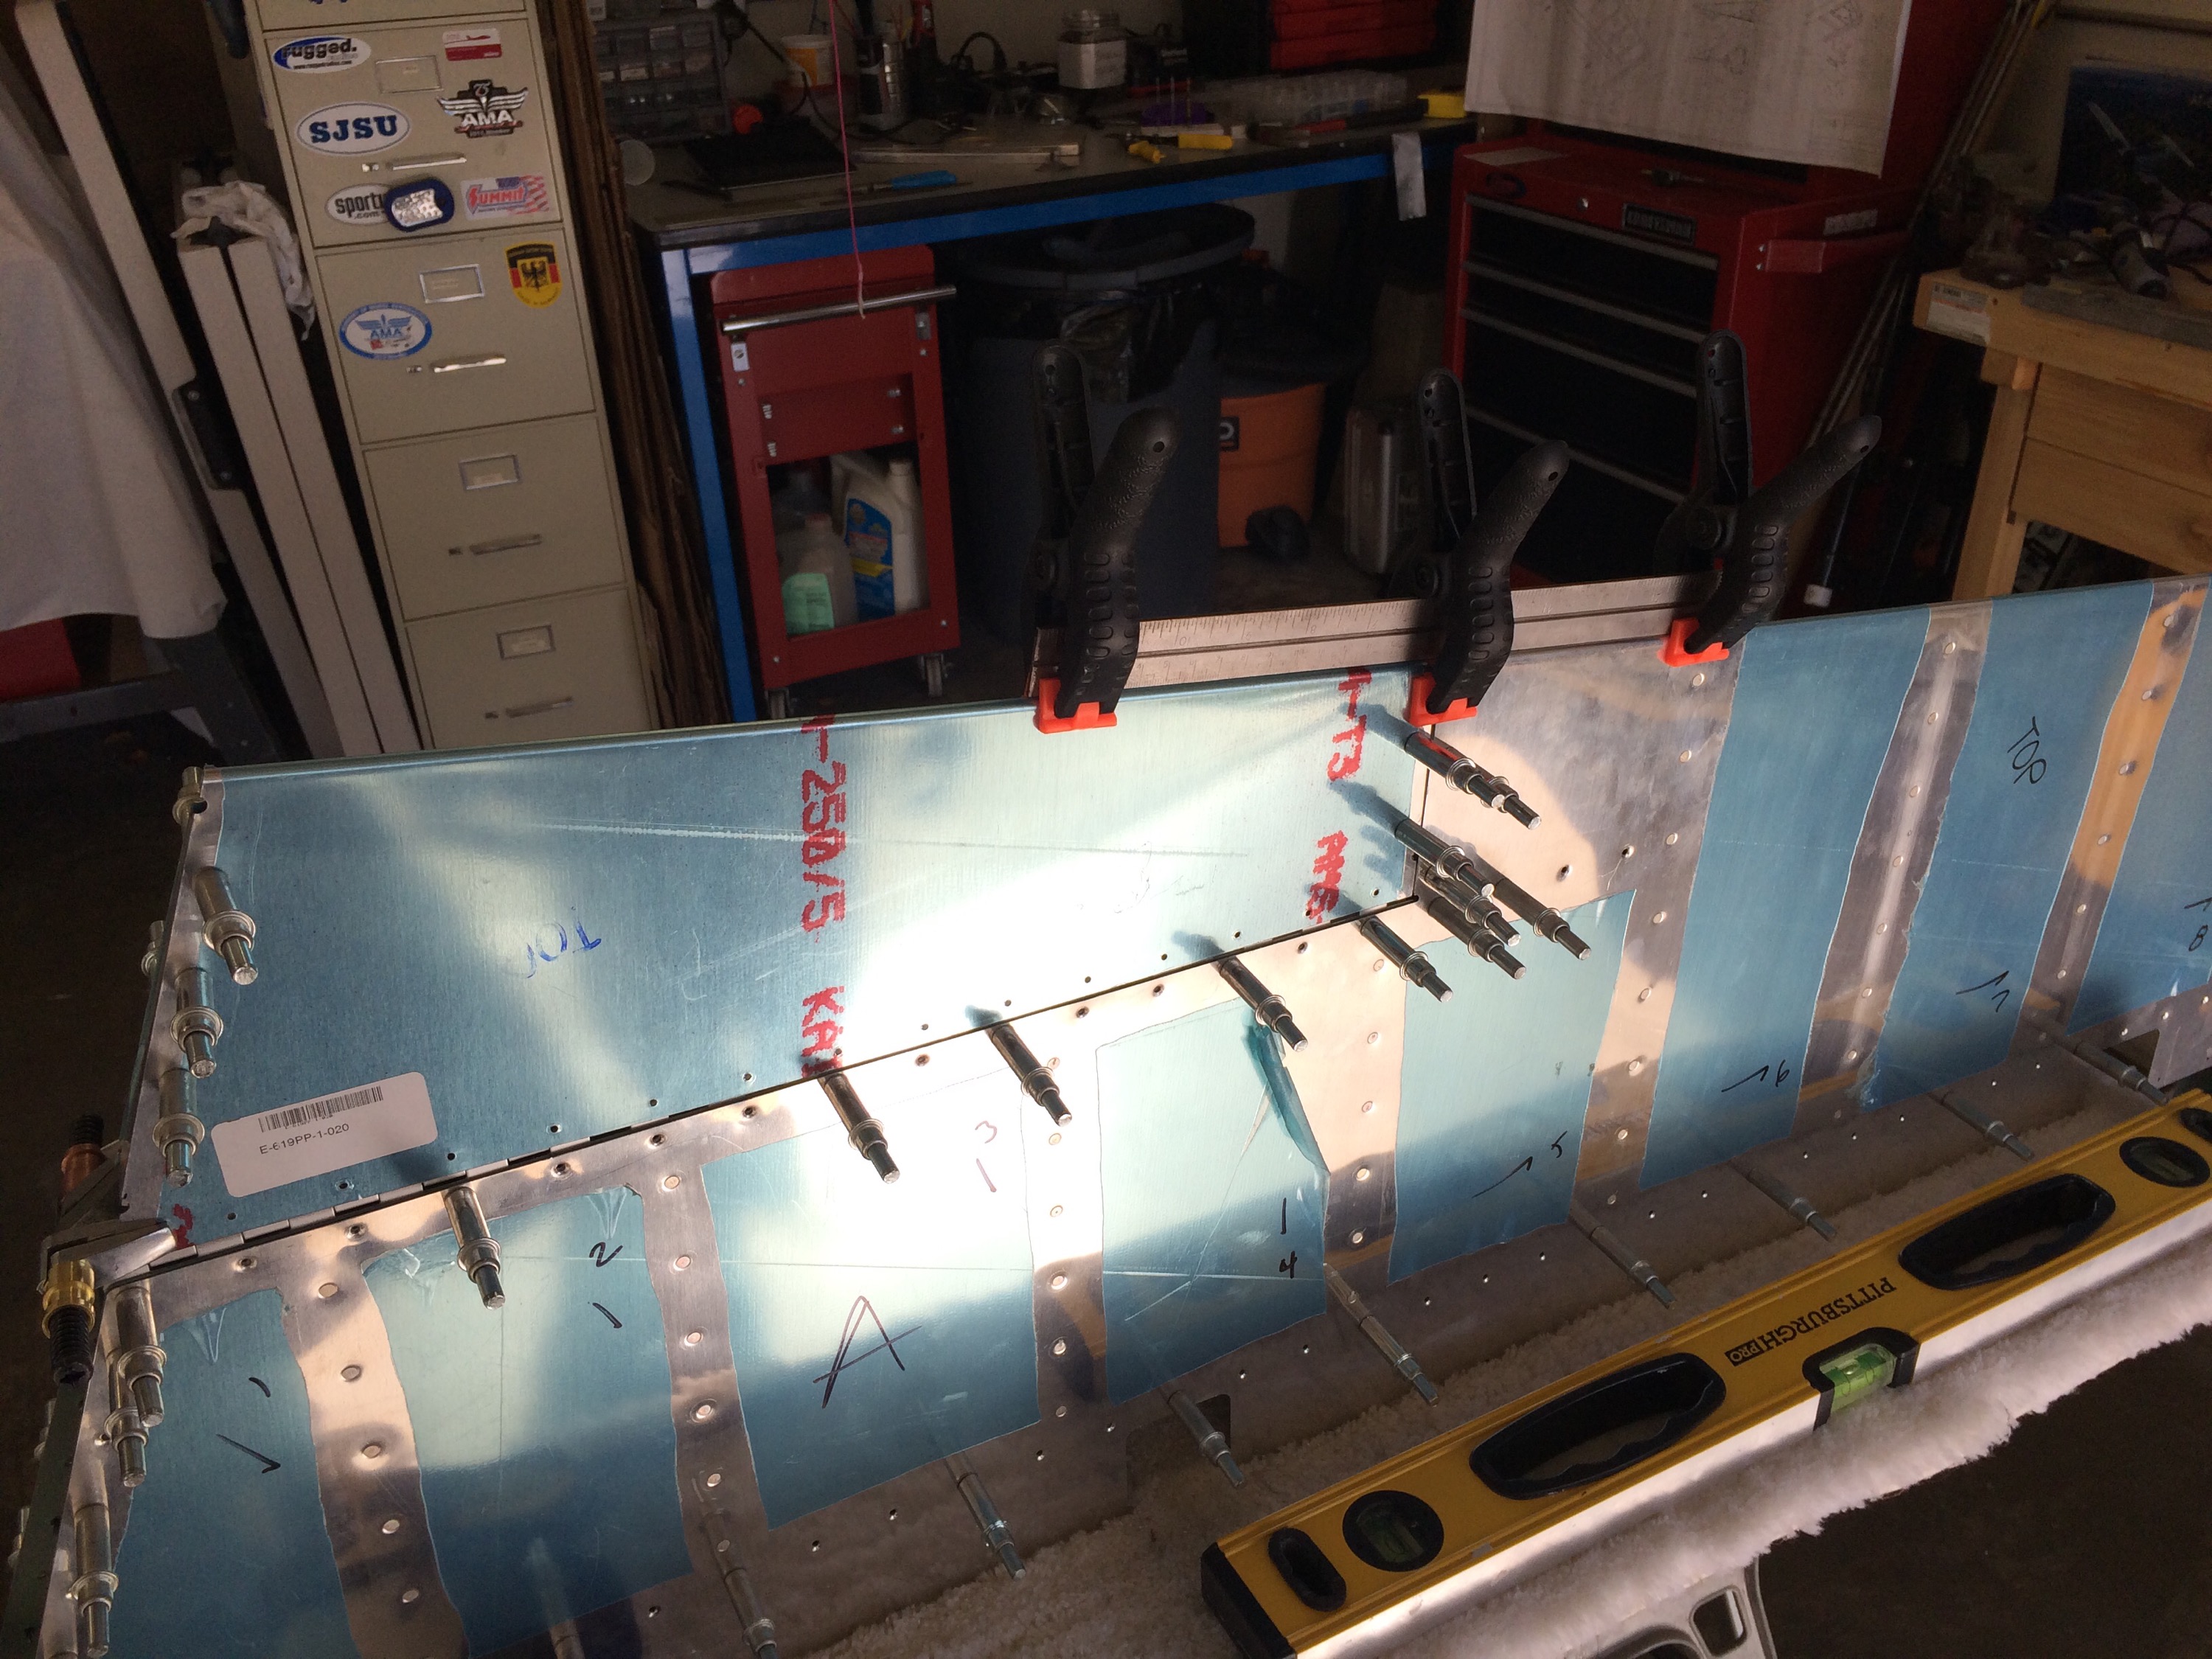
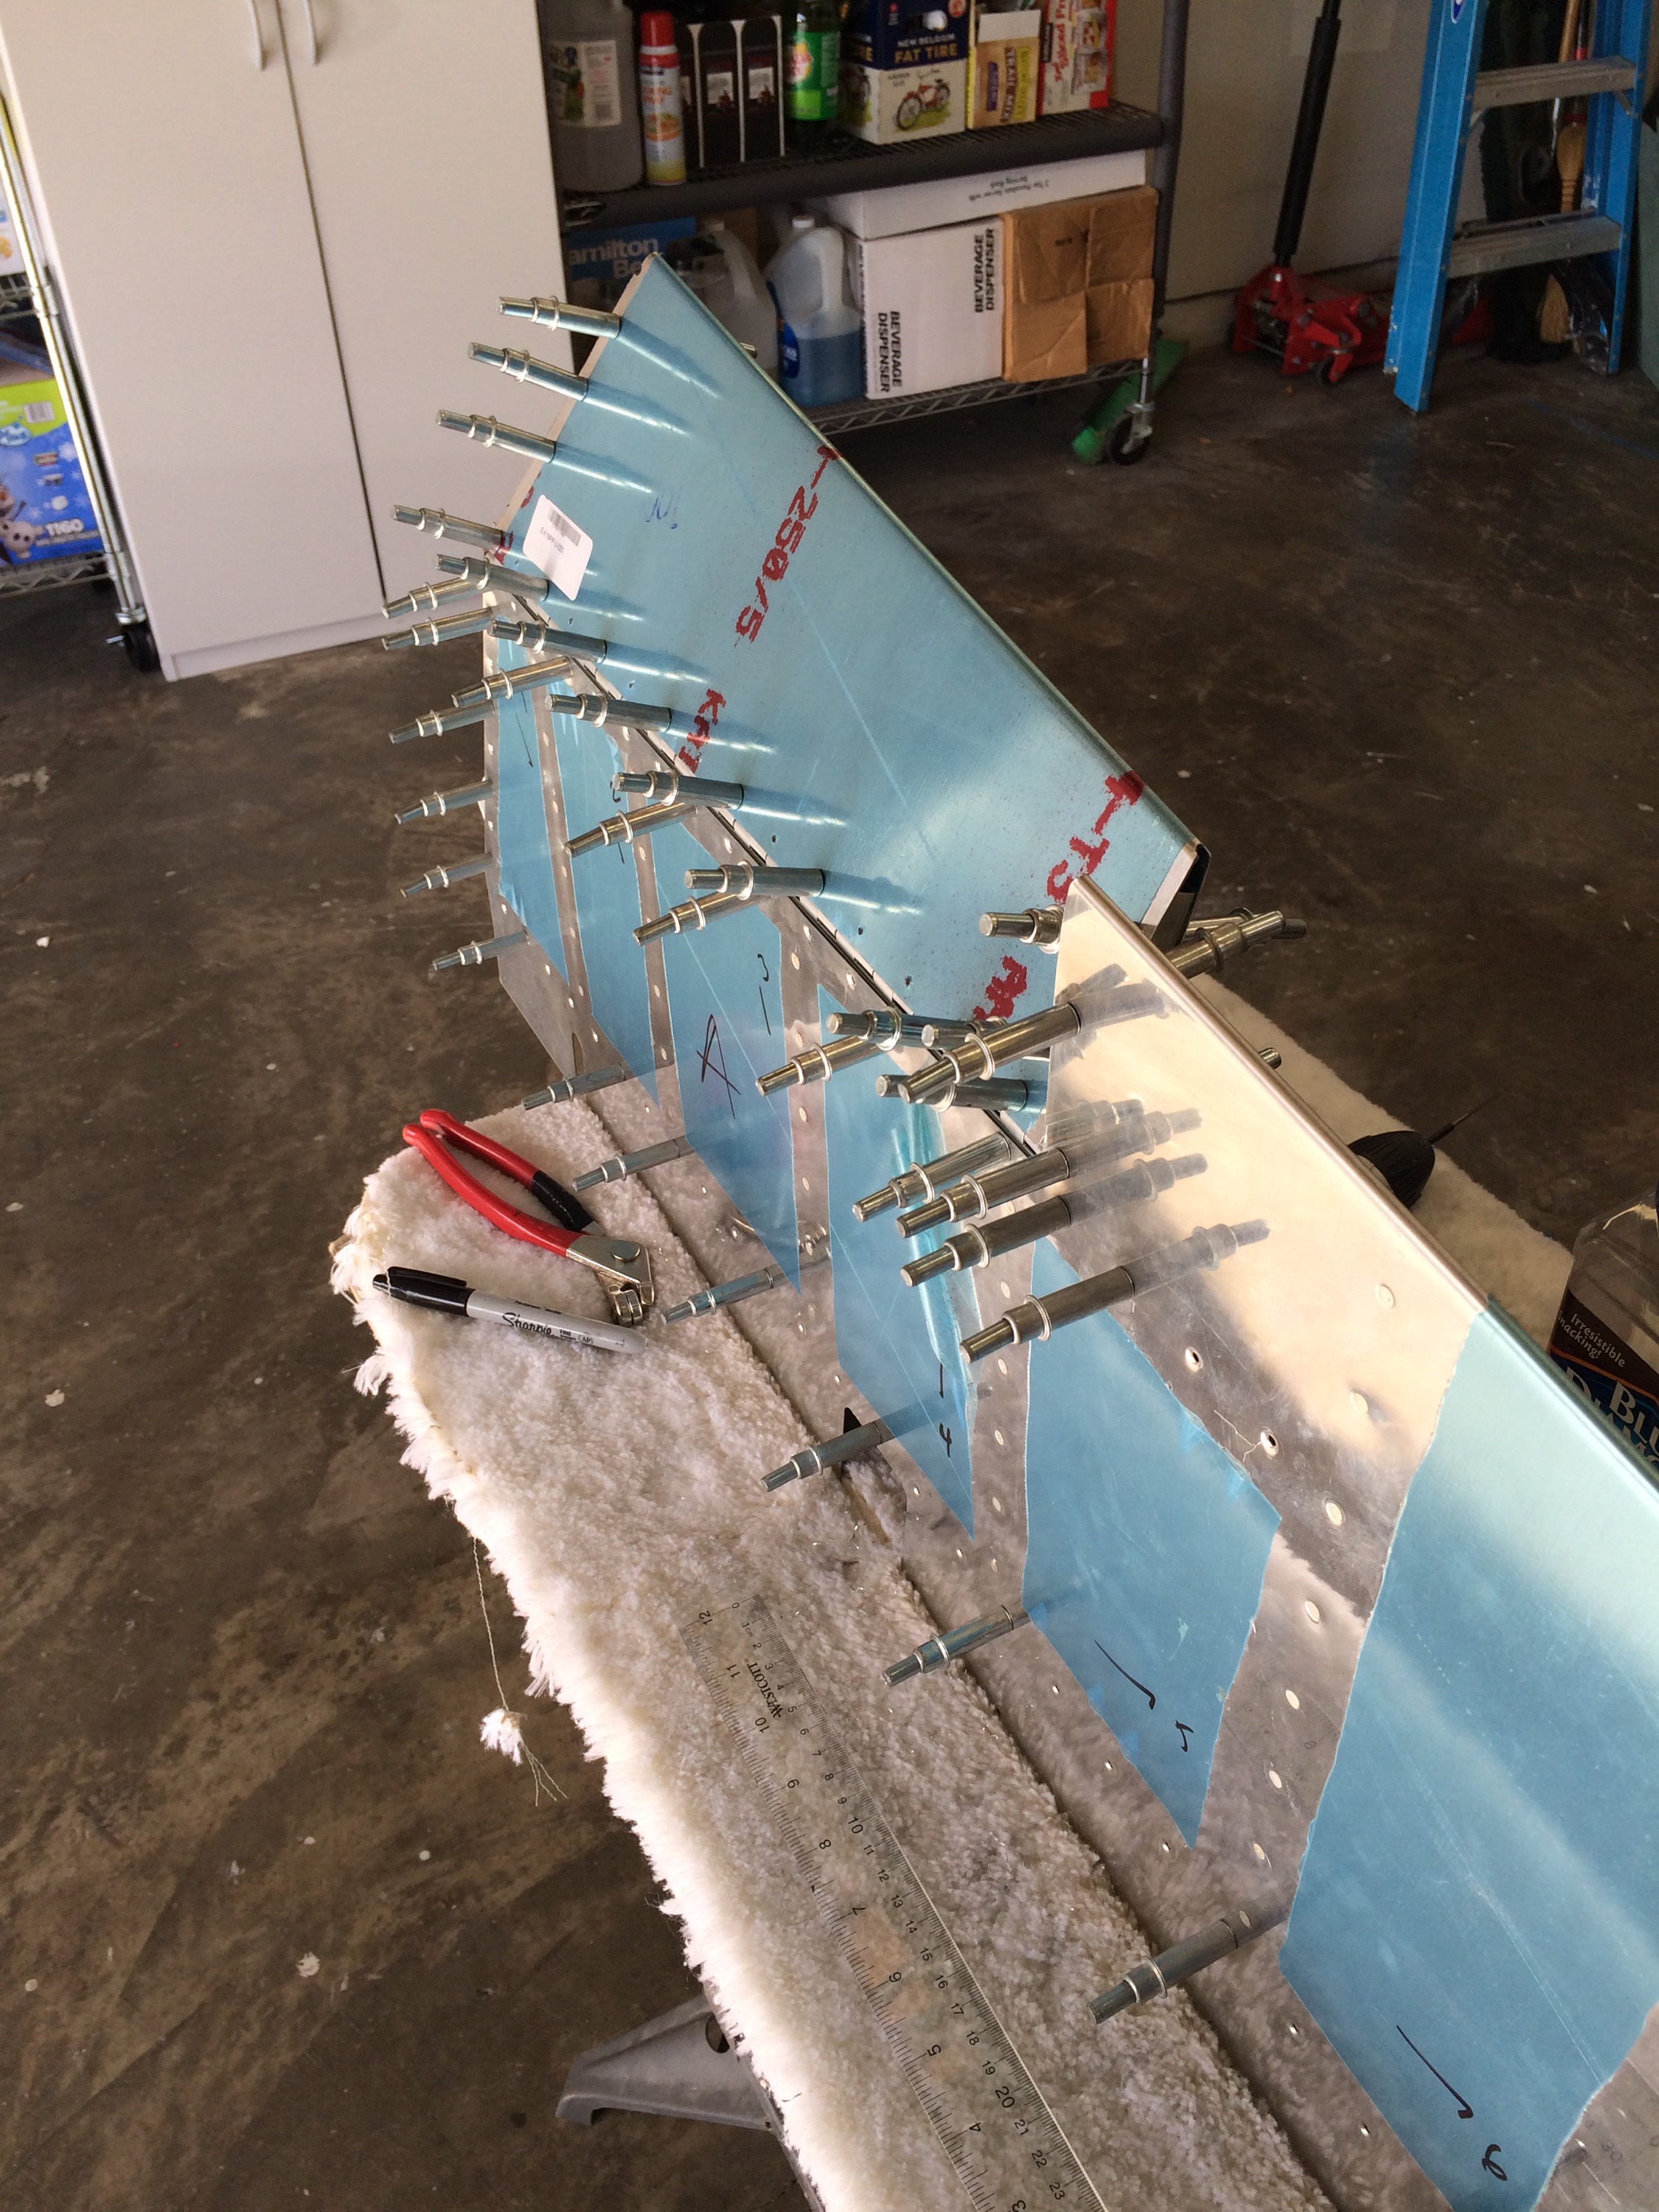
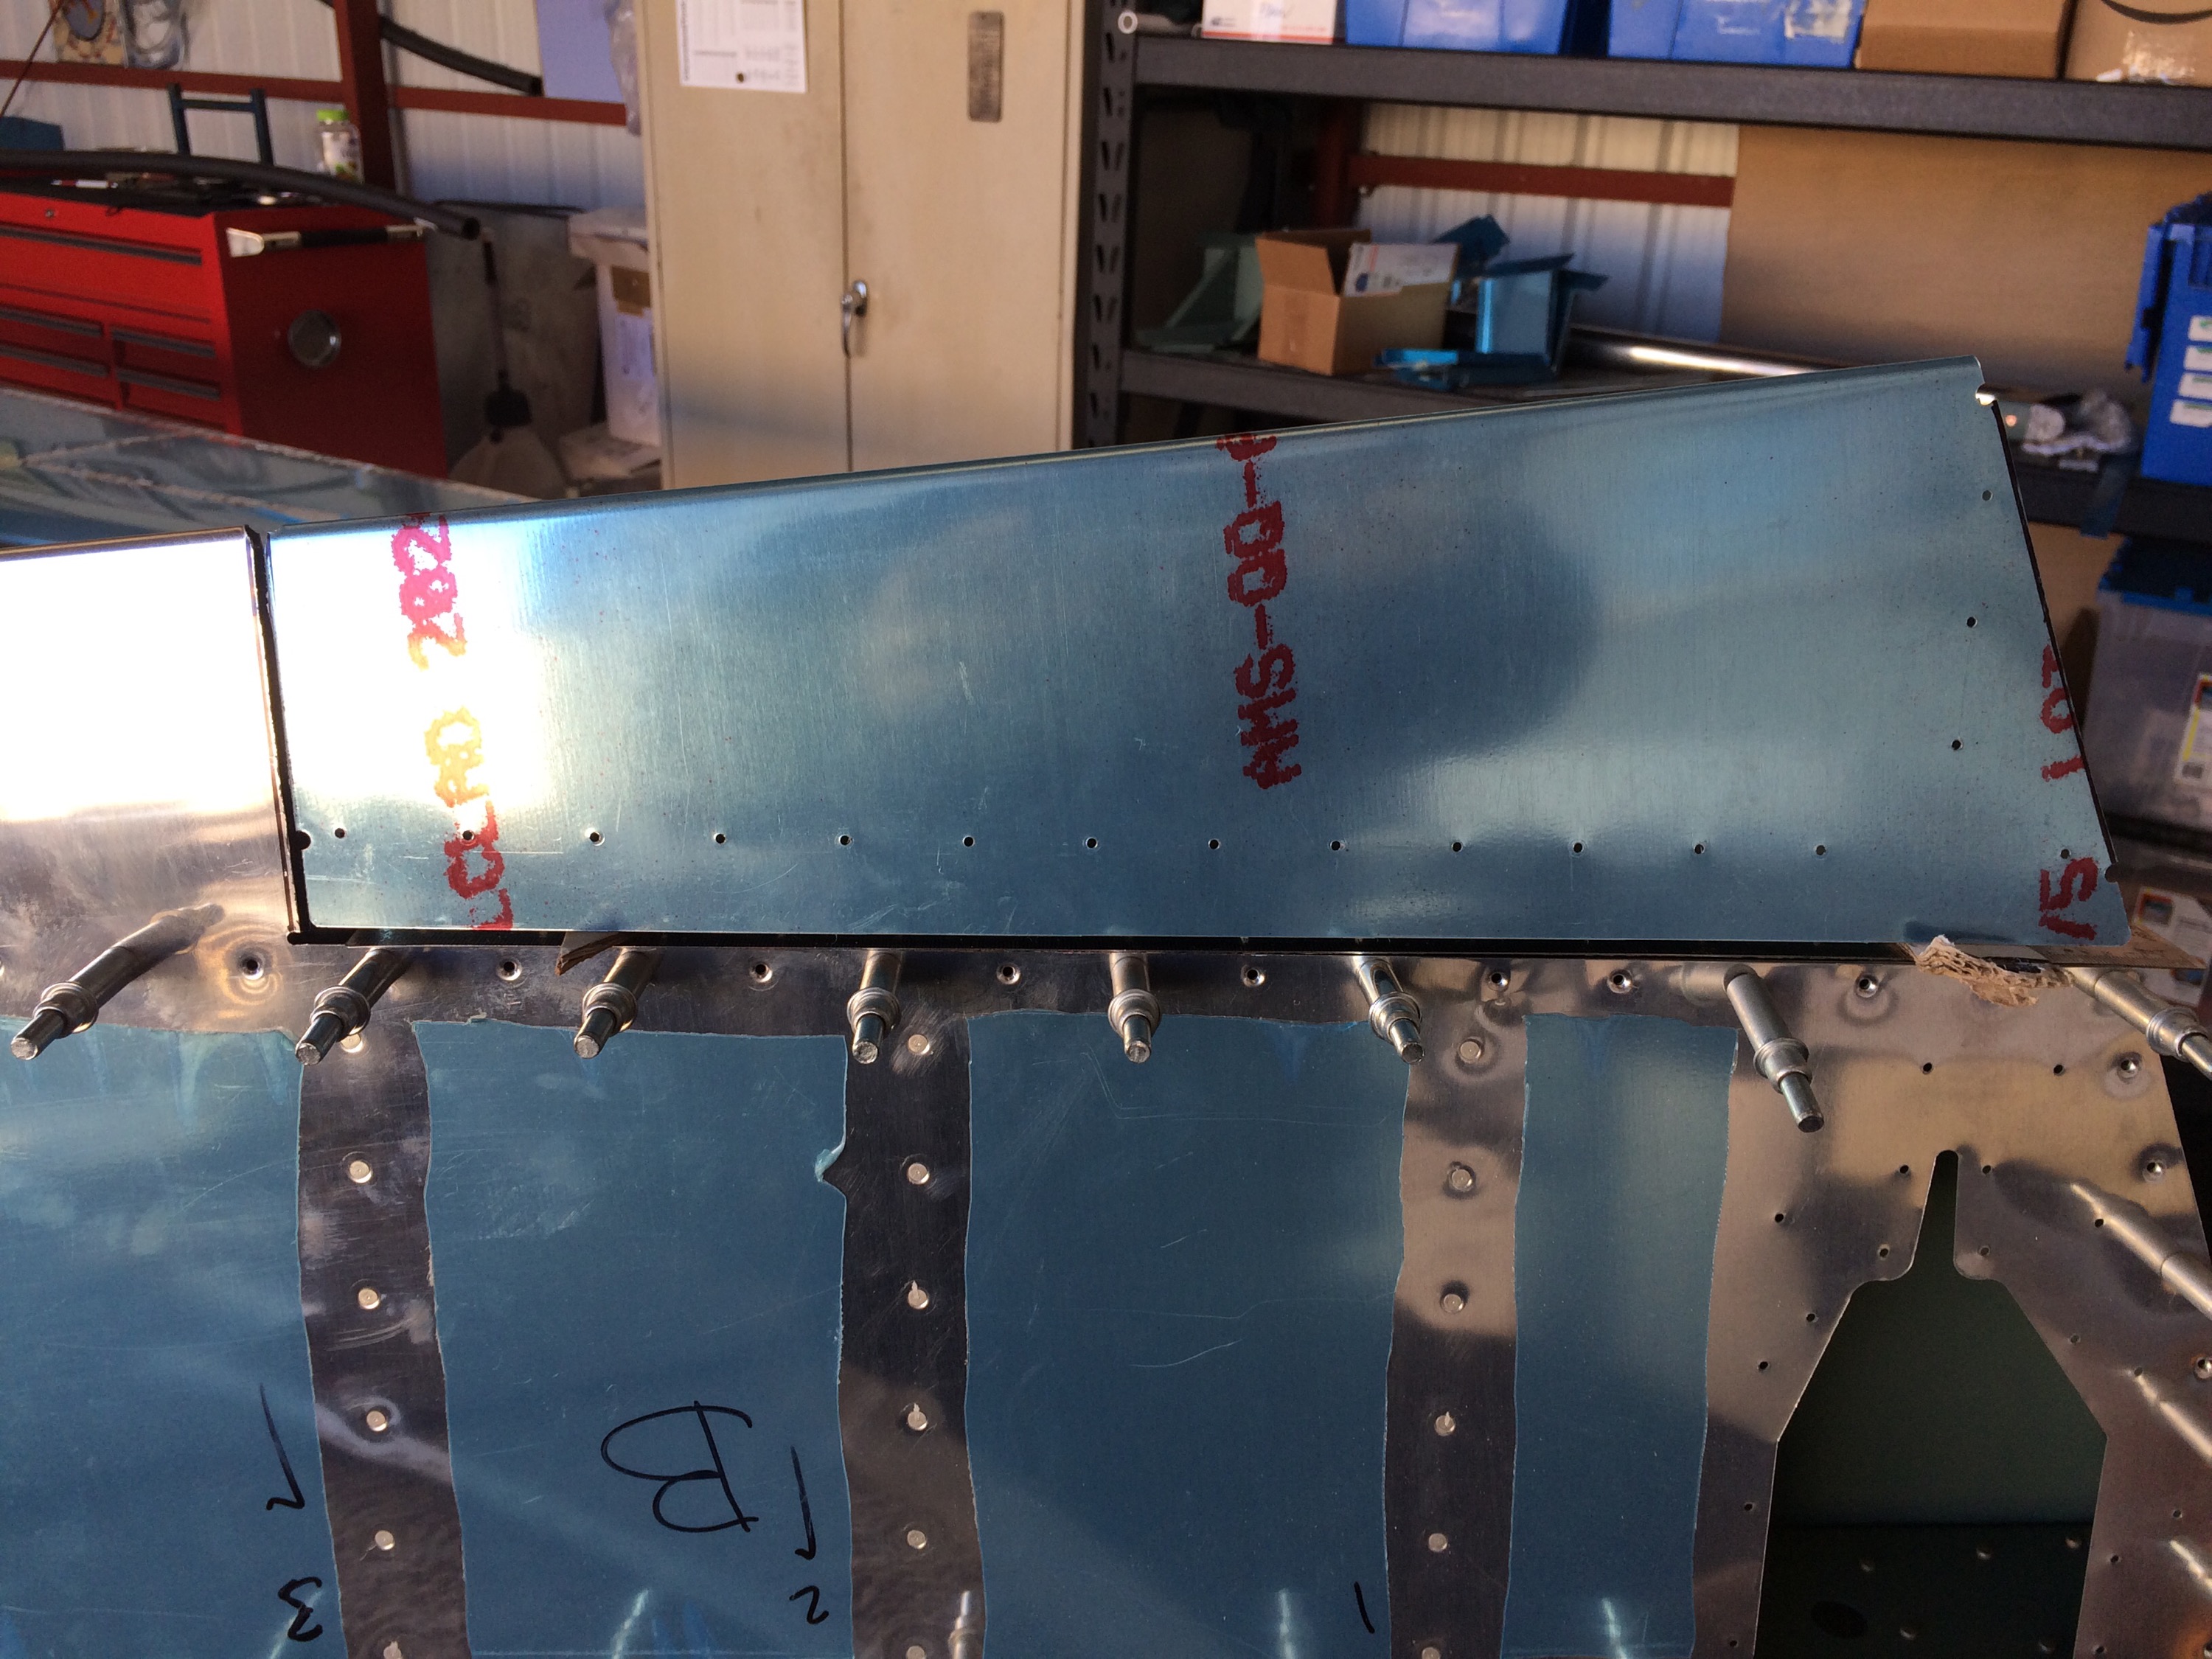
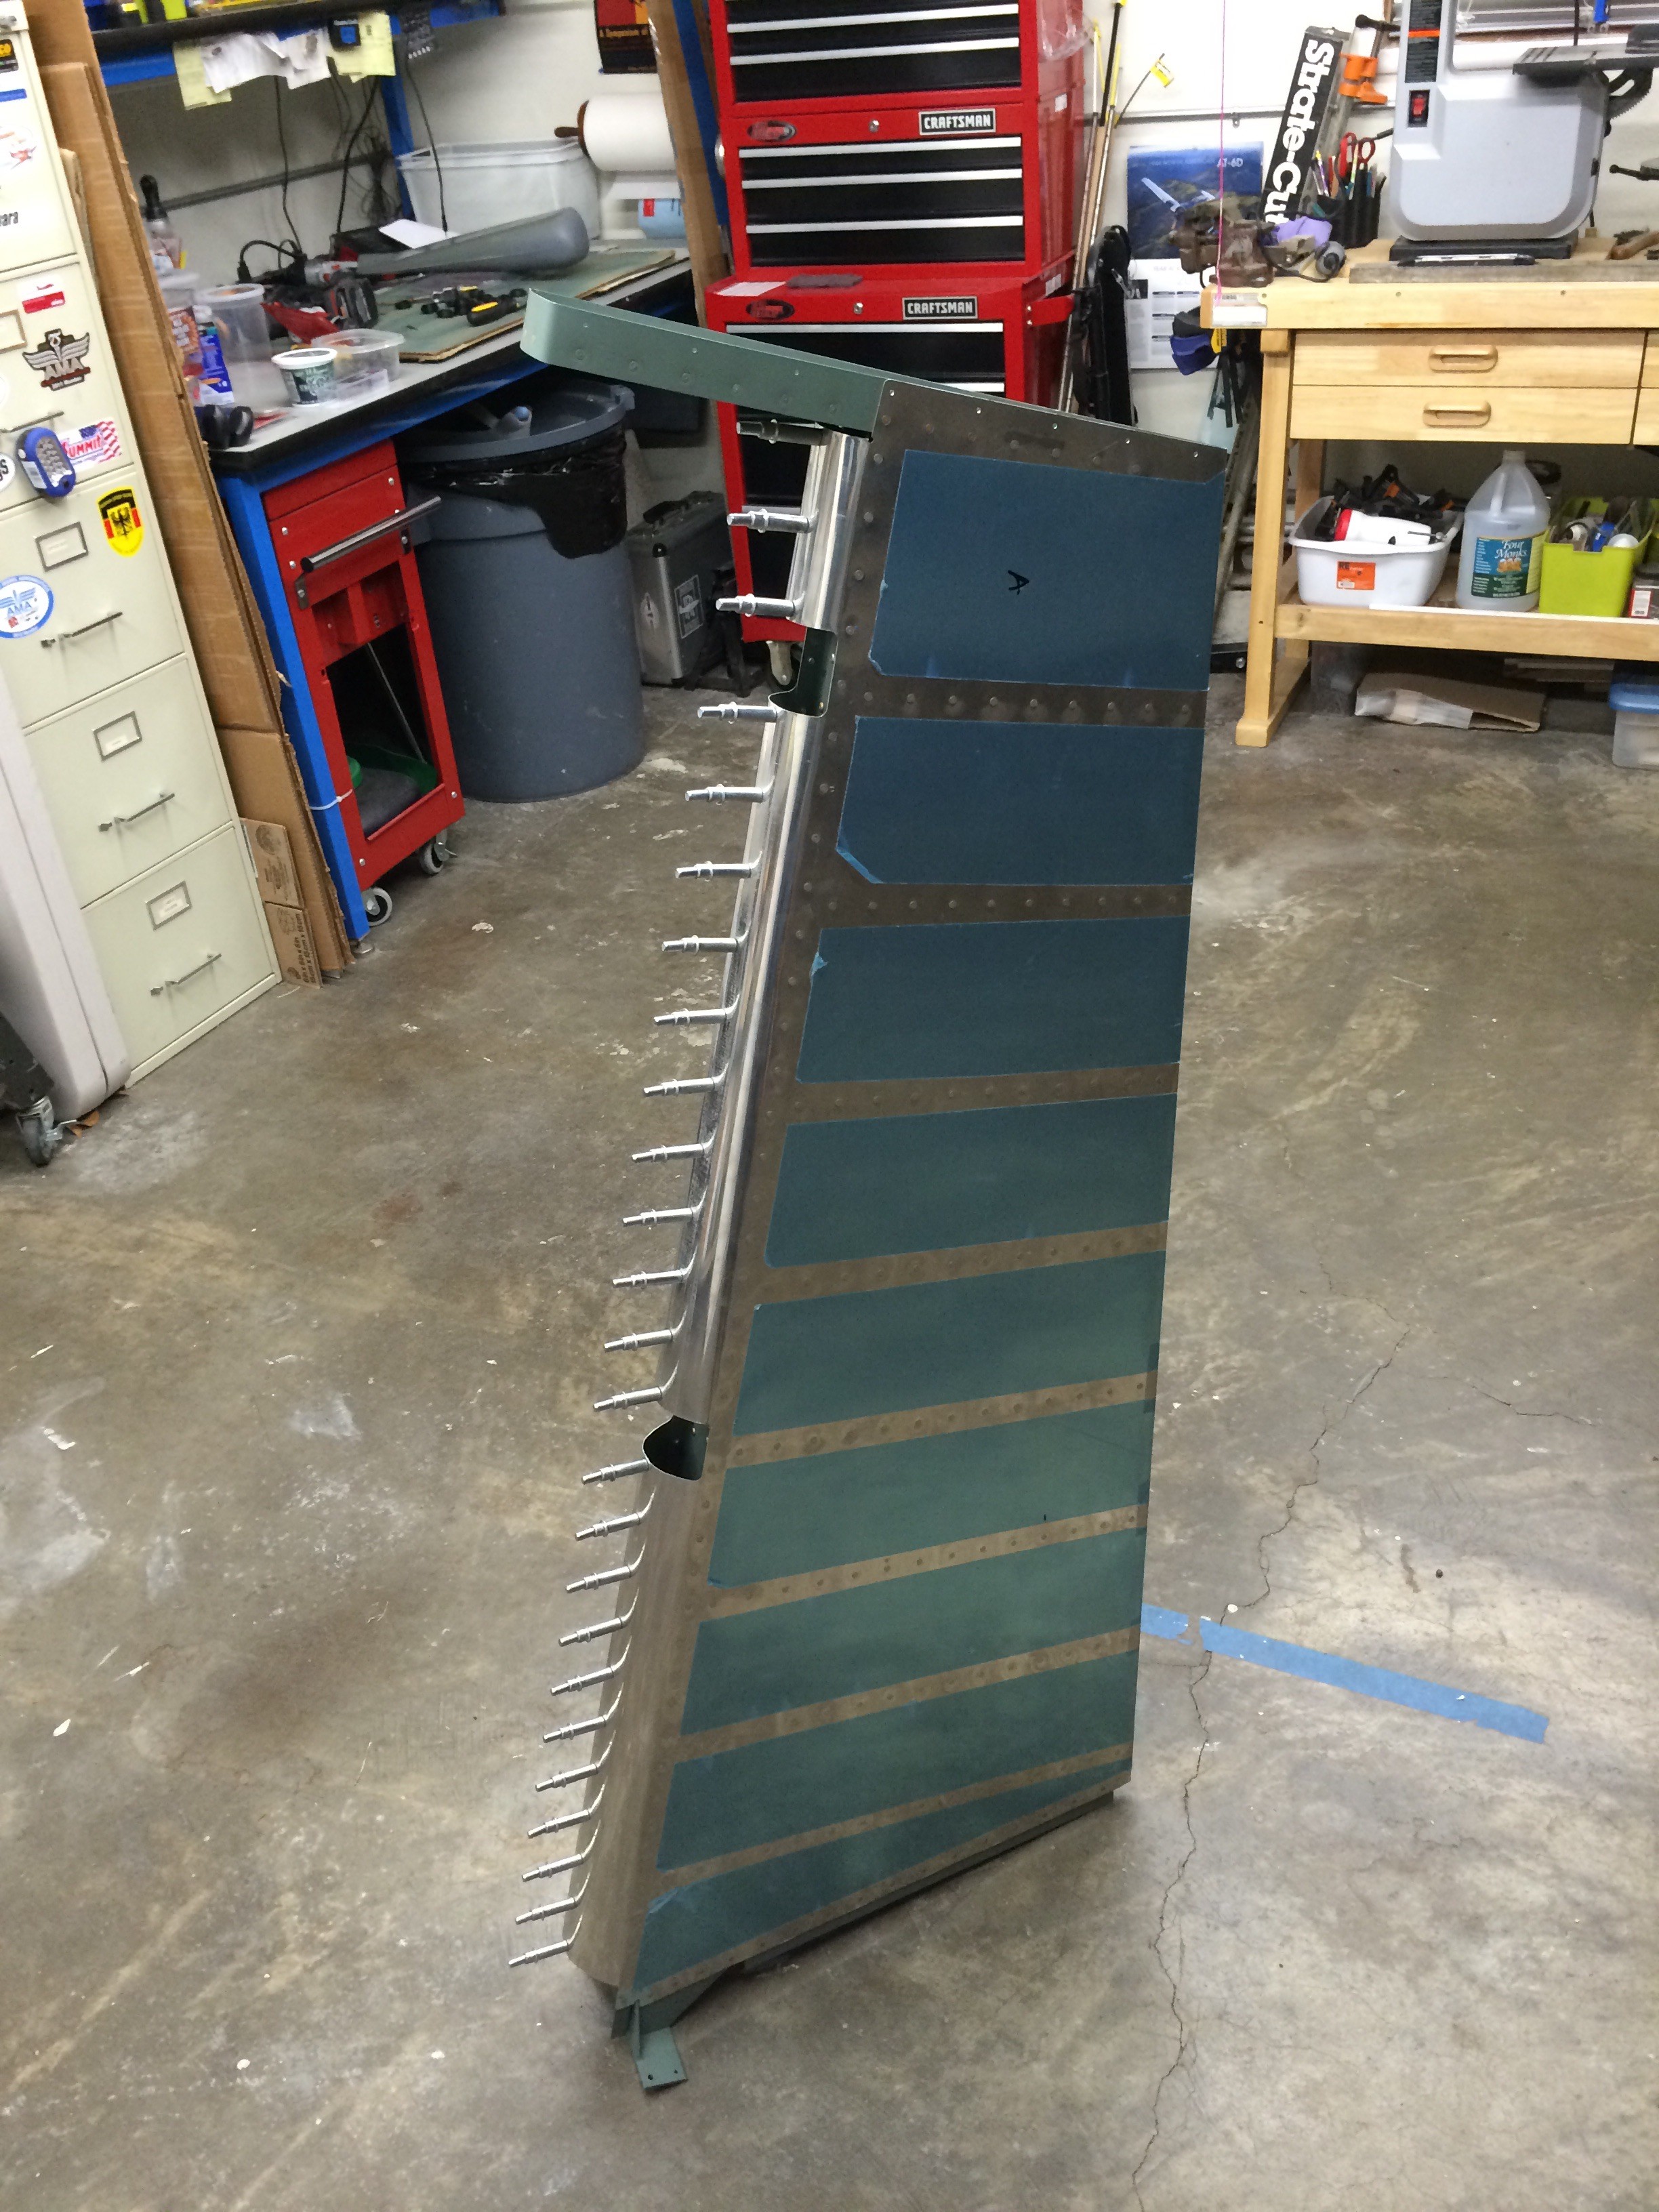
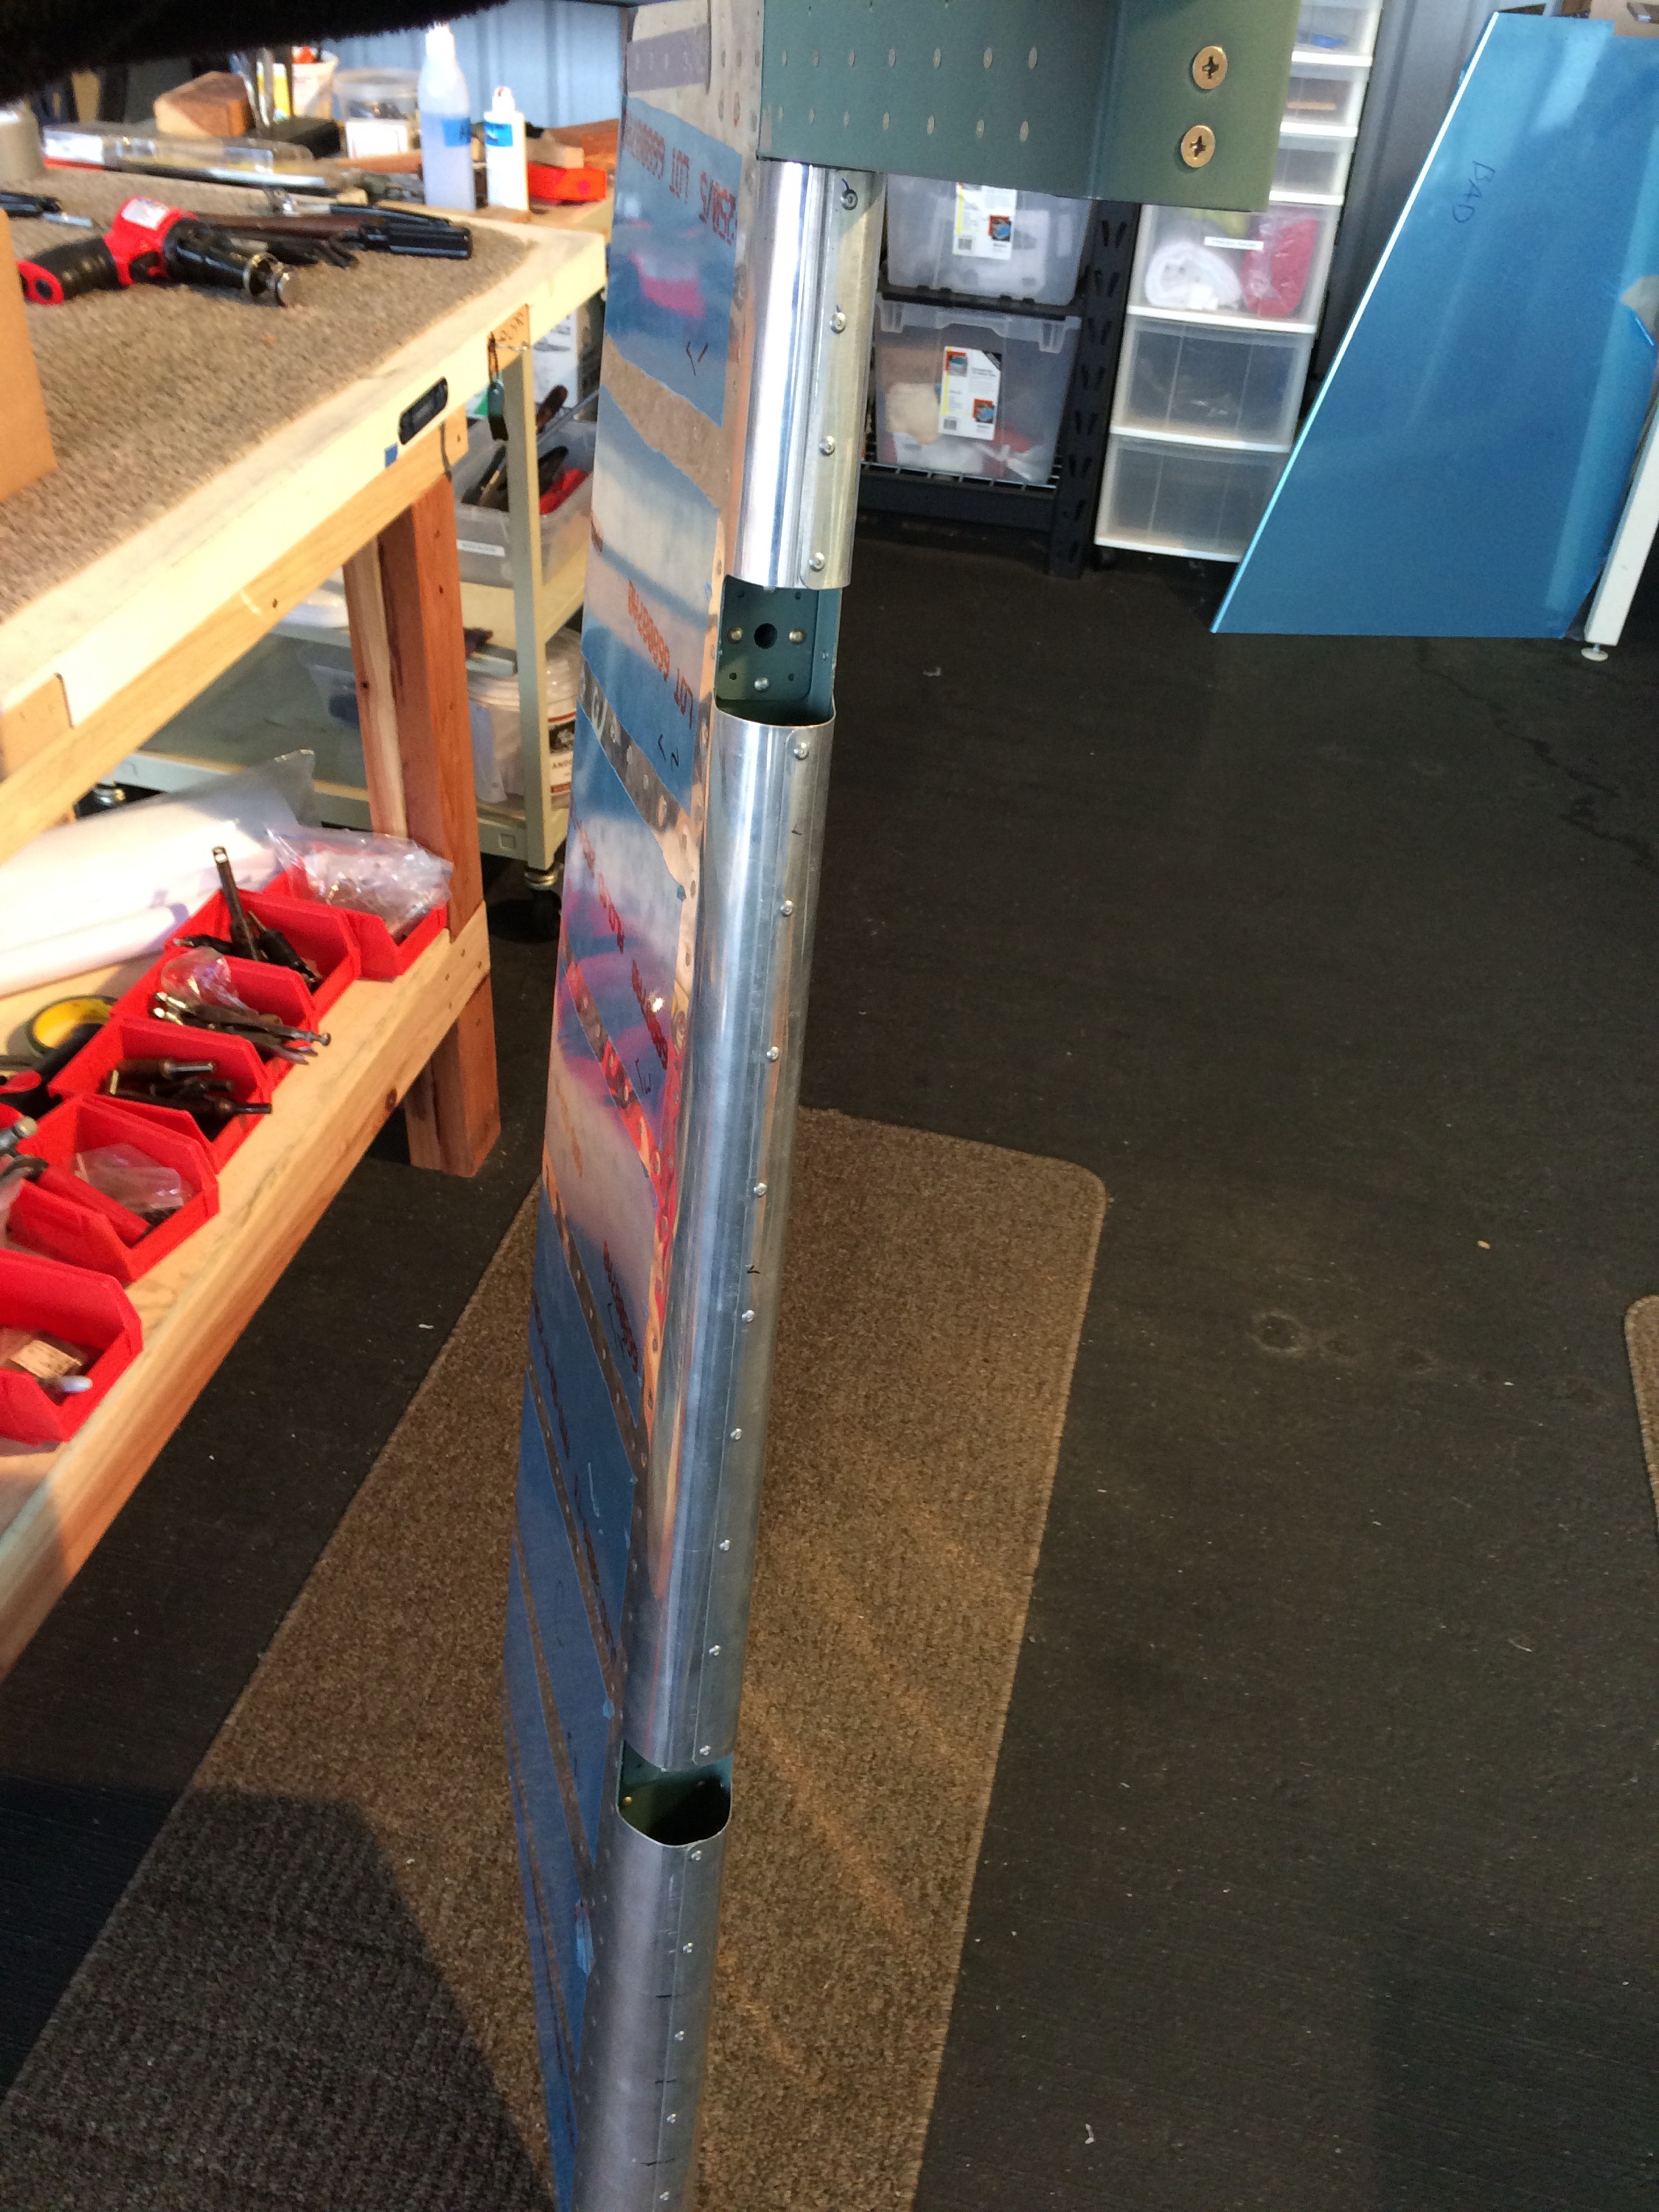
Worked on rolling the leading edges for the Rudder and Right Elevator. Found the best method was the Vans method with tape and the steel pipe with one of us on each end. A little more massaging and then we can blind rivet them.
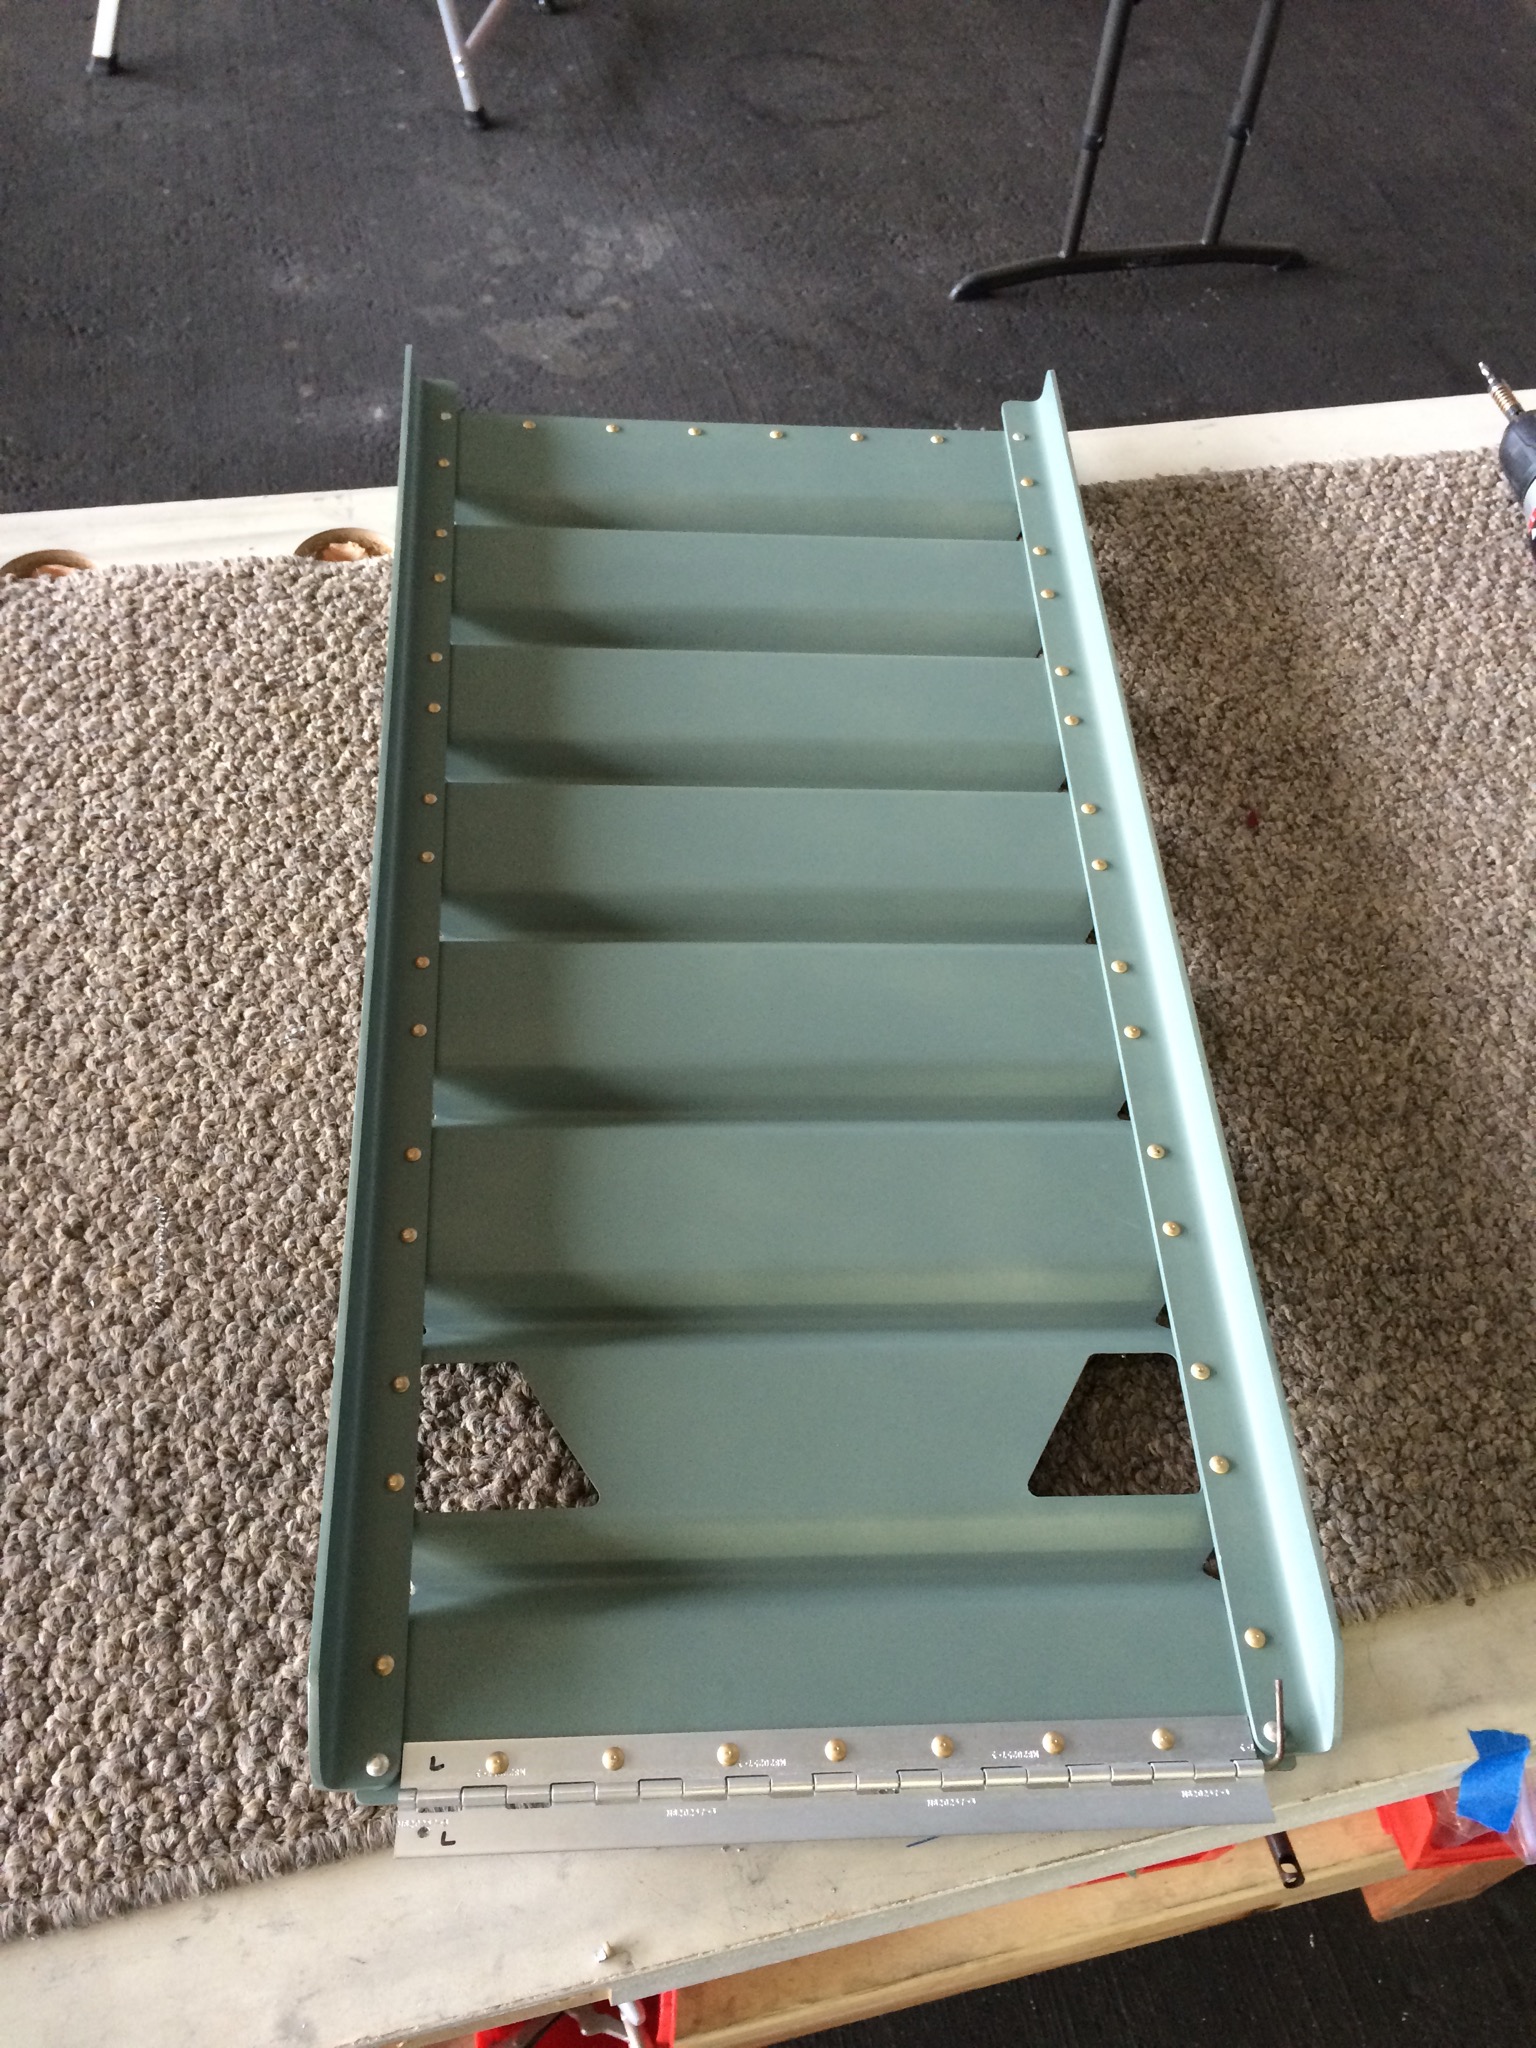
Started riveting the rear seat. Had a few problems with the rivets around the top curve, but ended up getting them bucked OK. Just need to finish riveting the hinge on the bottom and it’s done.
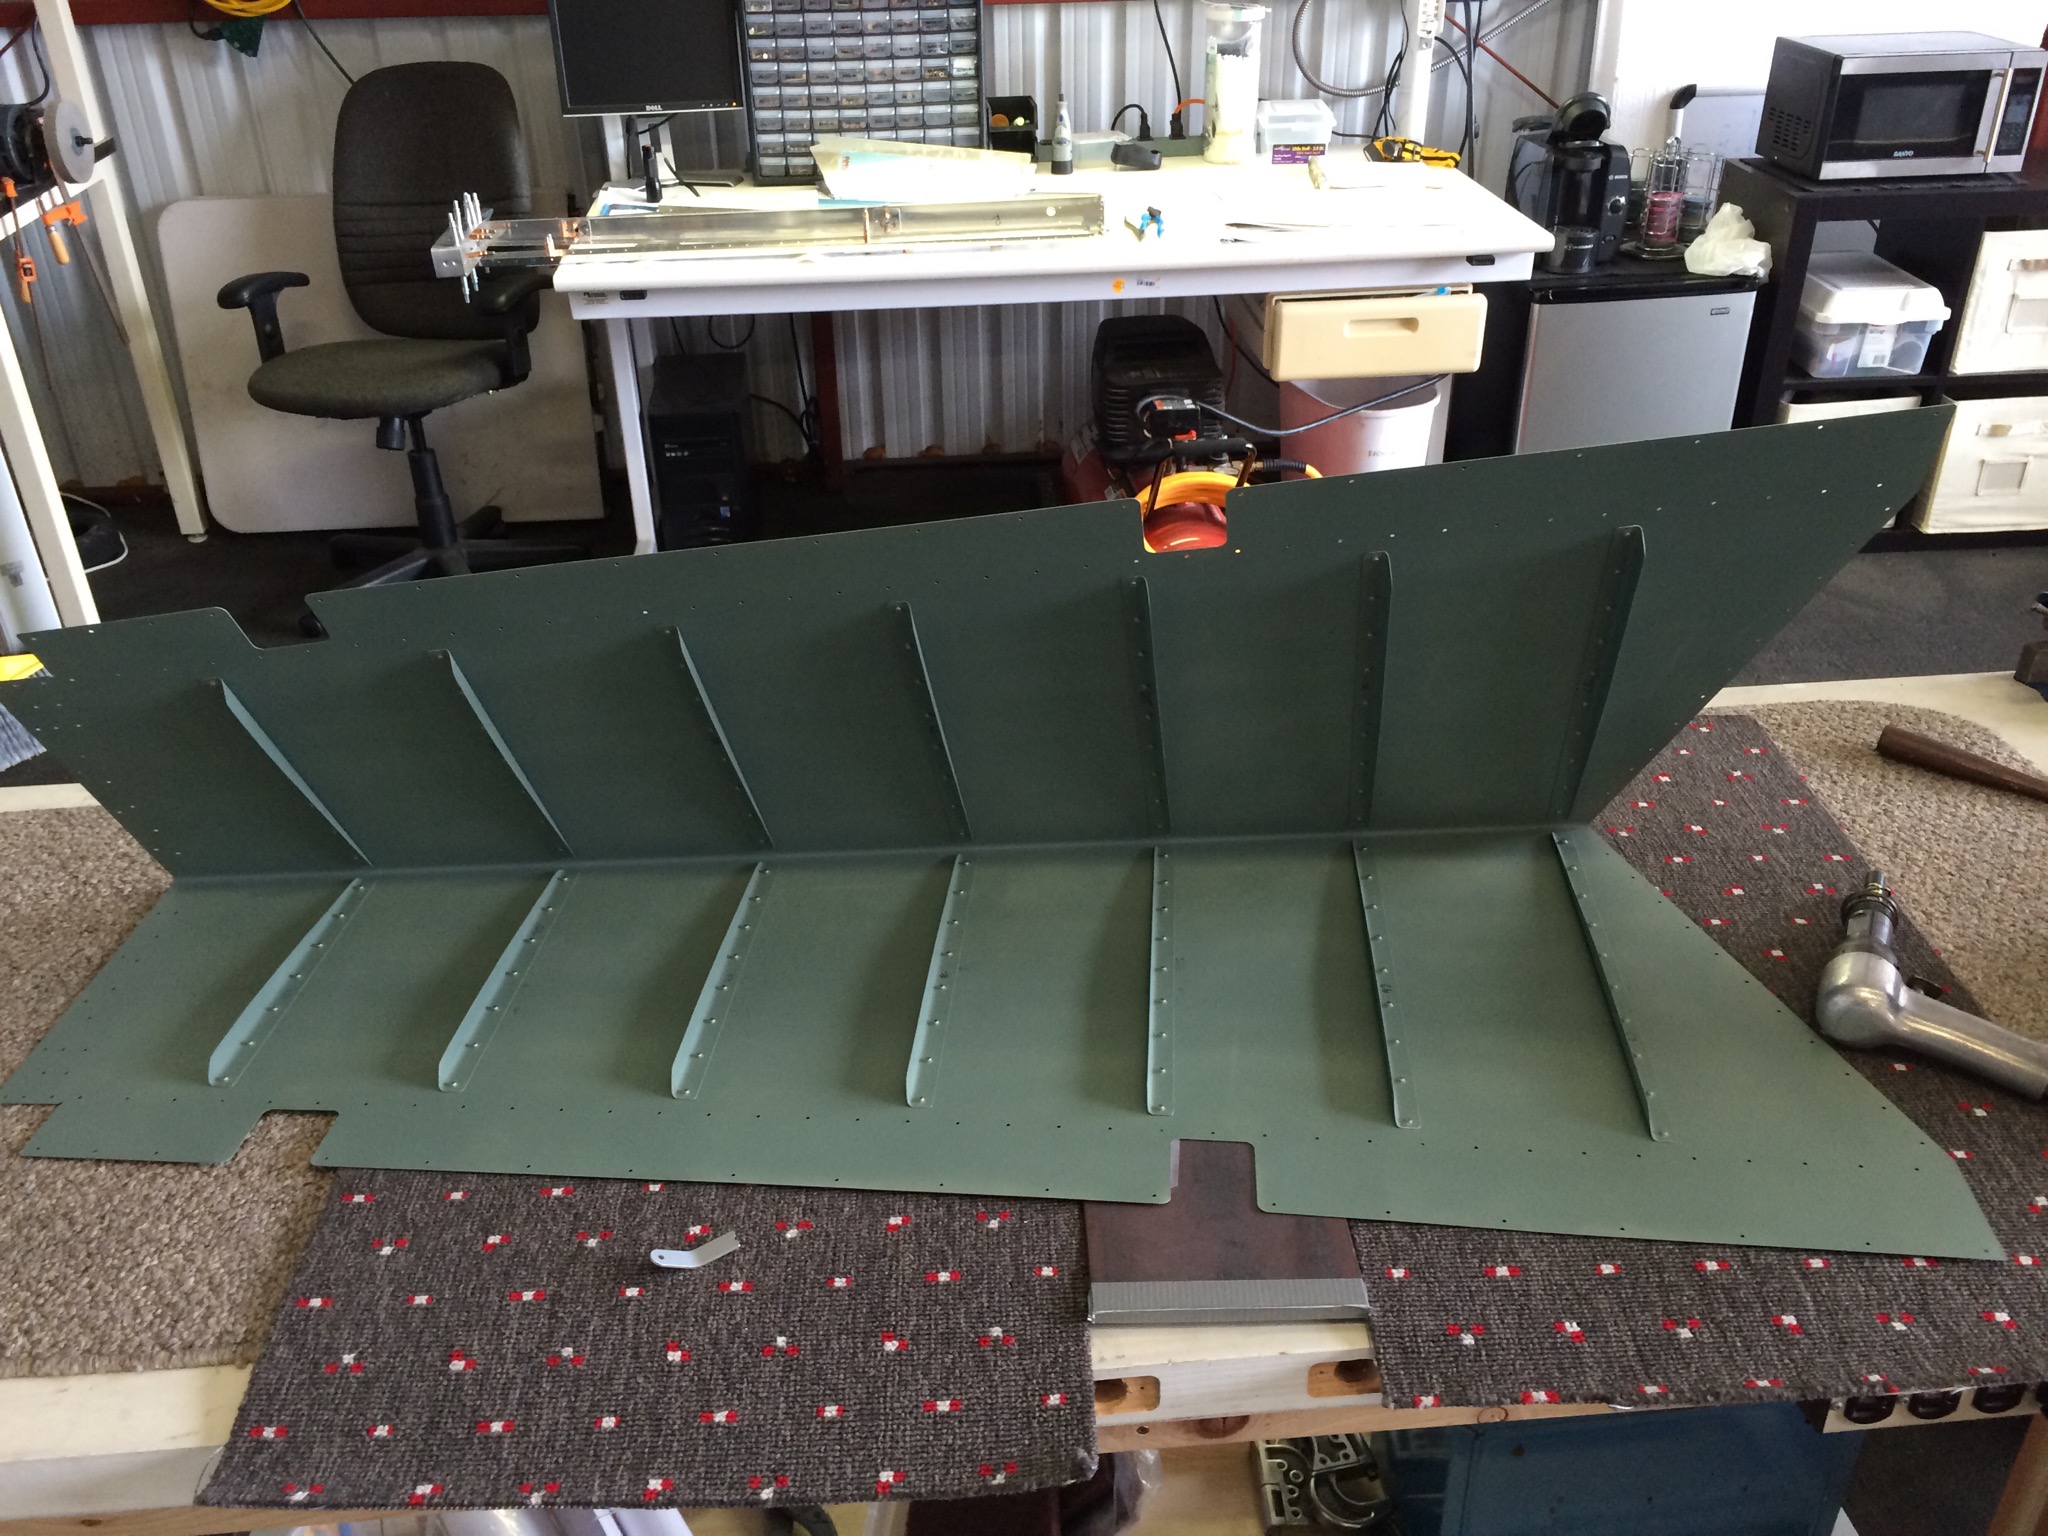
Primered the rear half of the fuse, along with the areas that will be under the floor boards. The fuse can now be moved to hangar and continue to be worked on. Once we get the rest of the components in and set, we’ll remove them, prime the rest and paint the interior.
Just as a side note… we shot the SEM primer with a Harbor Freight HVLP gun. The gun shot fine, but after about 10 minutes the top can started leaking. I loaded the threads up with teflon tape and that solved the issue.
Total Build Hours: 383.25
Empennage: 149
Fuselage: 207.75
Wing: 0.0