Mounted the Horizontal today, as well as finished riveting the ends of the control tubes. 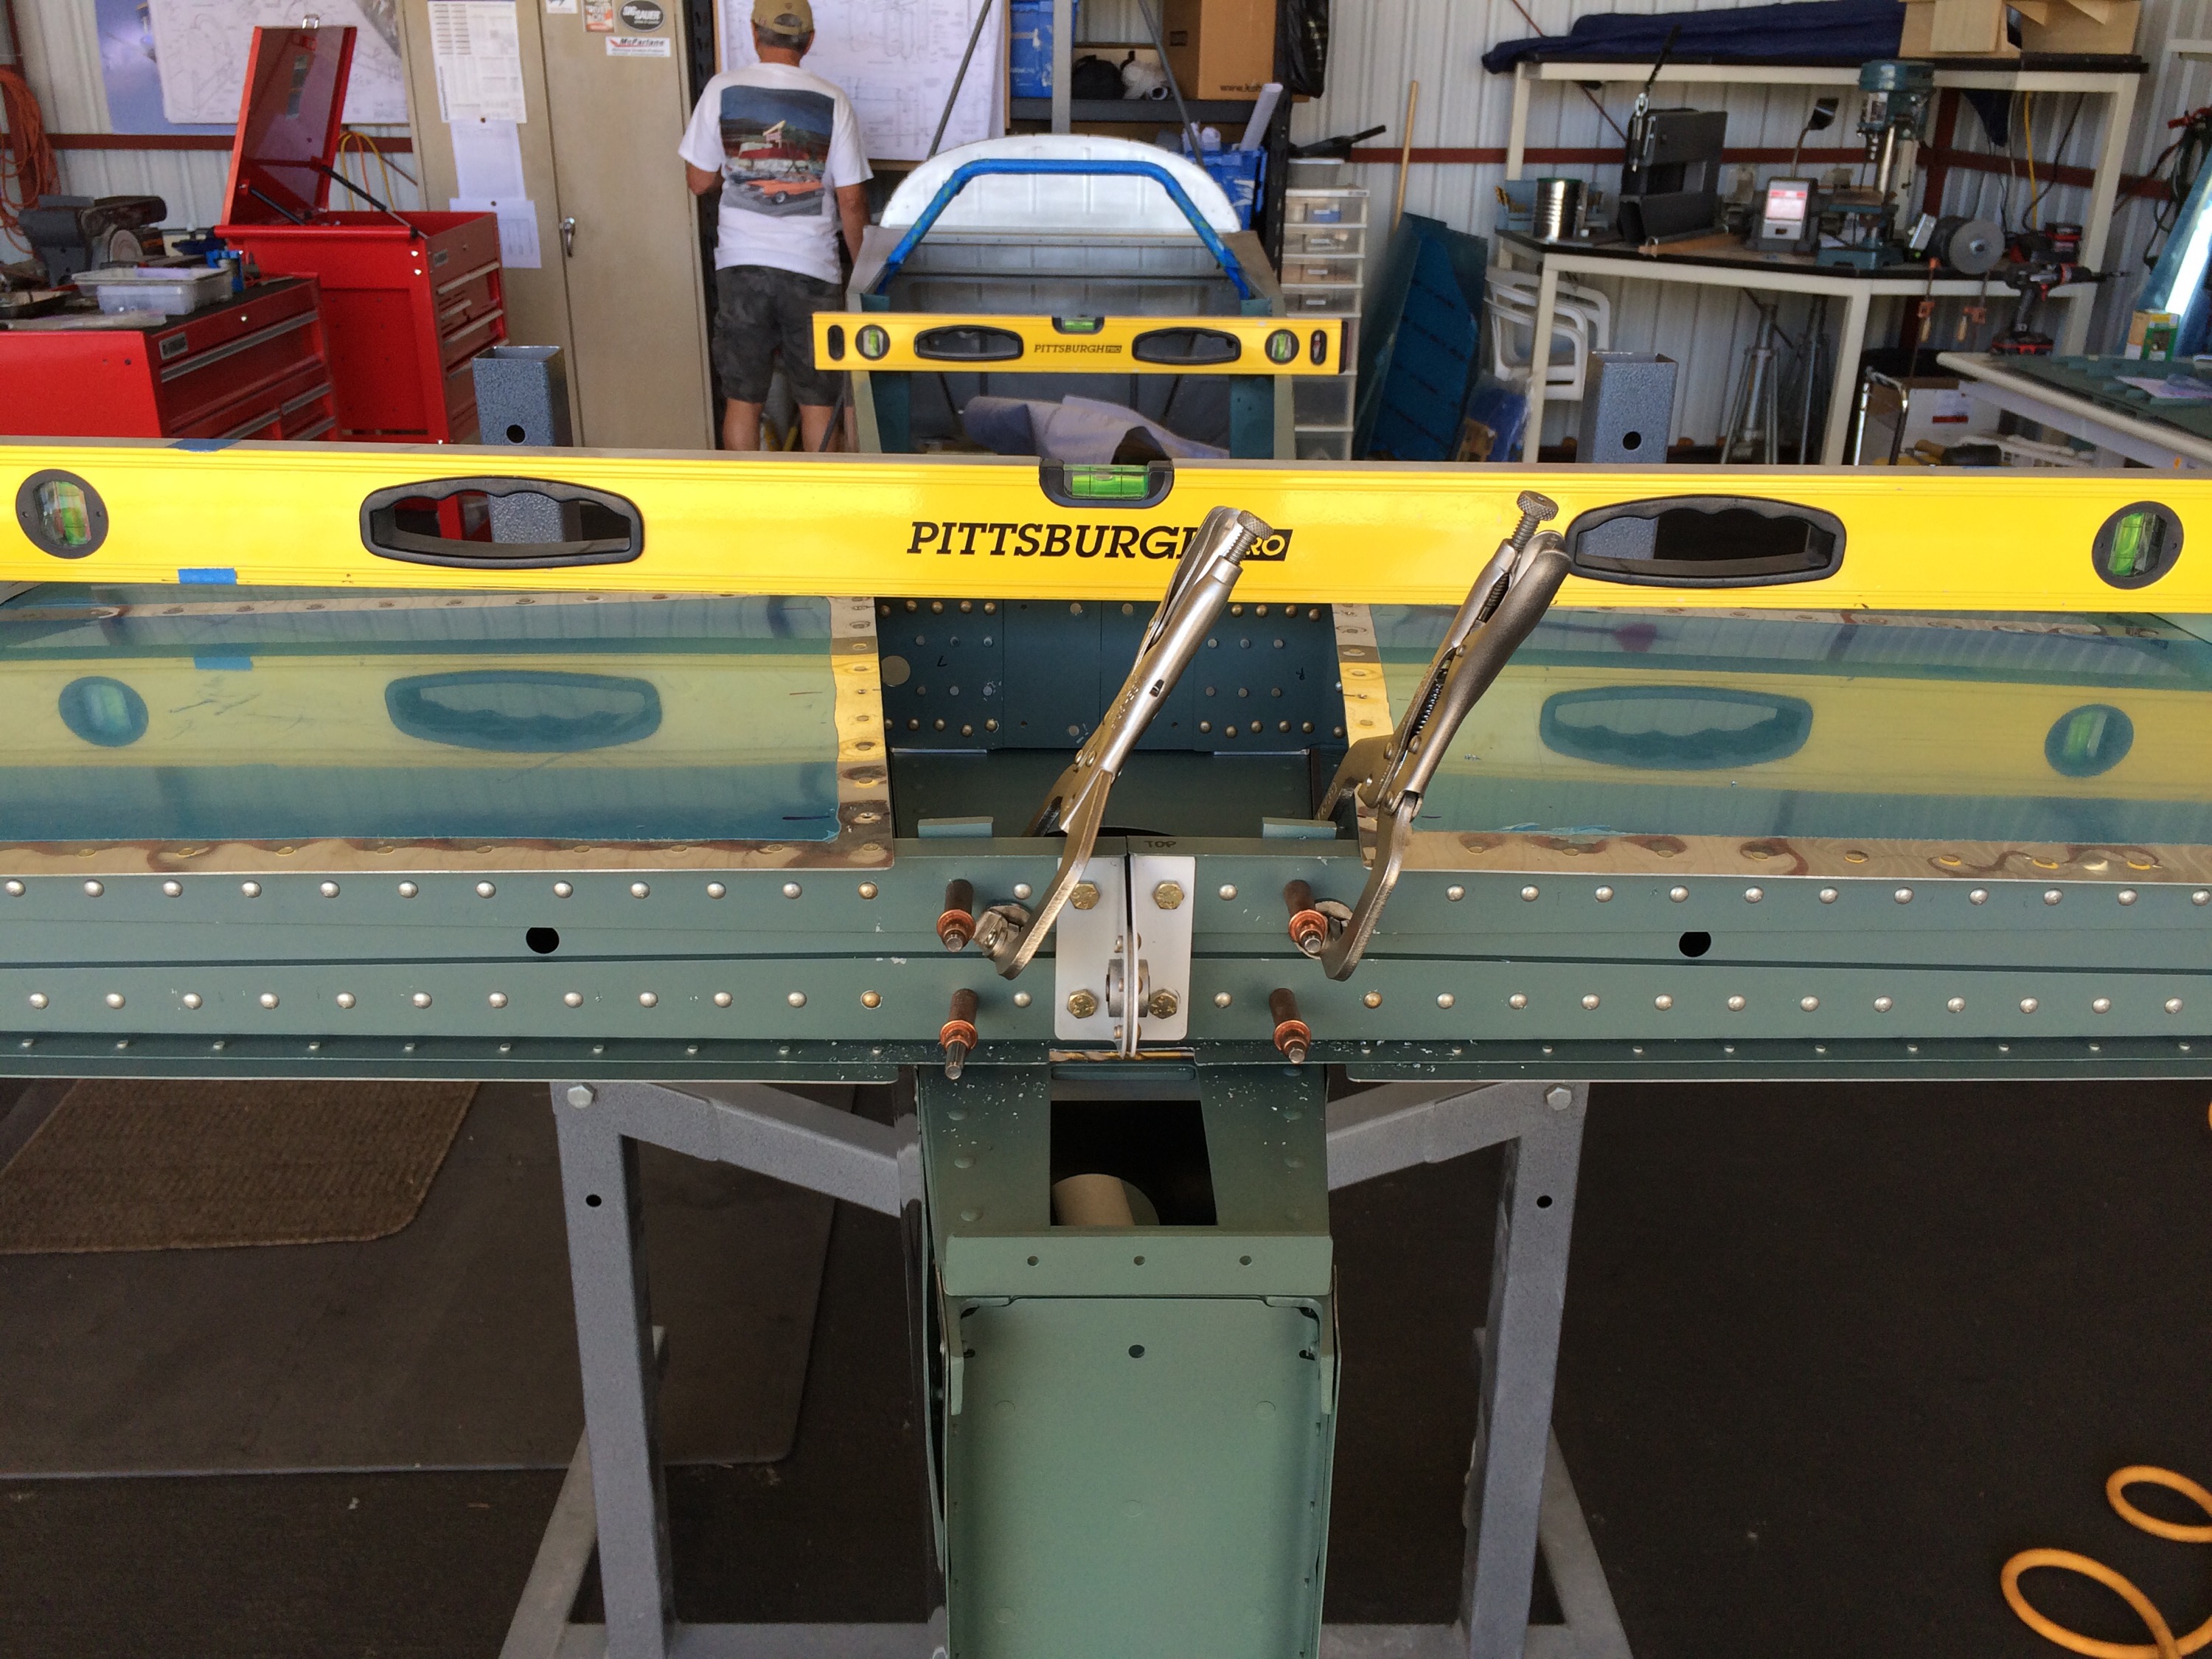
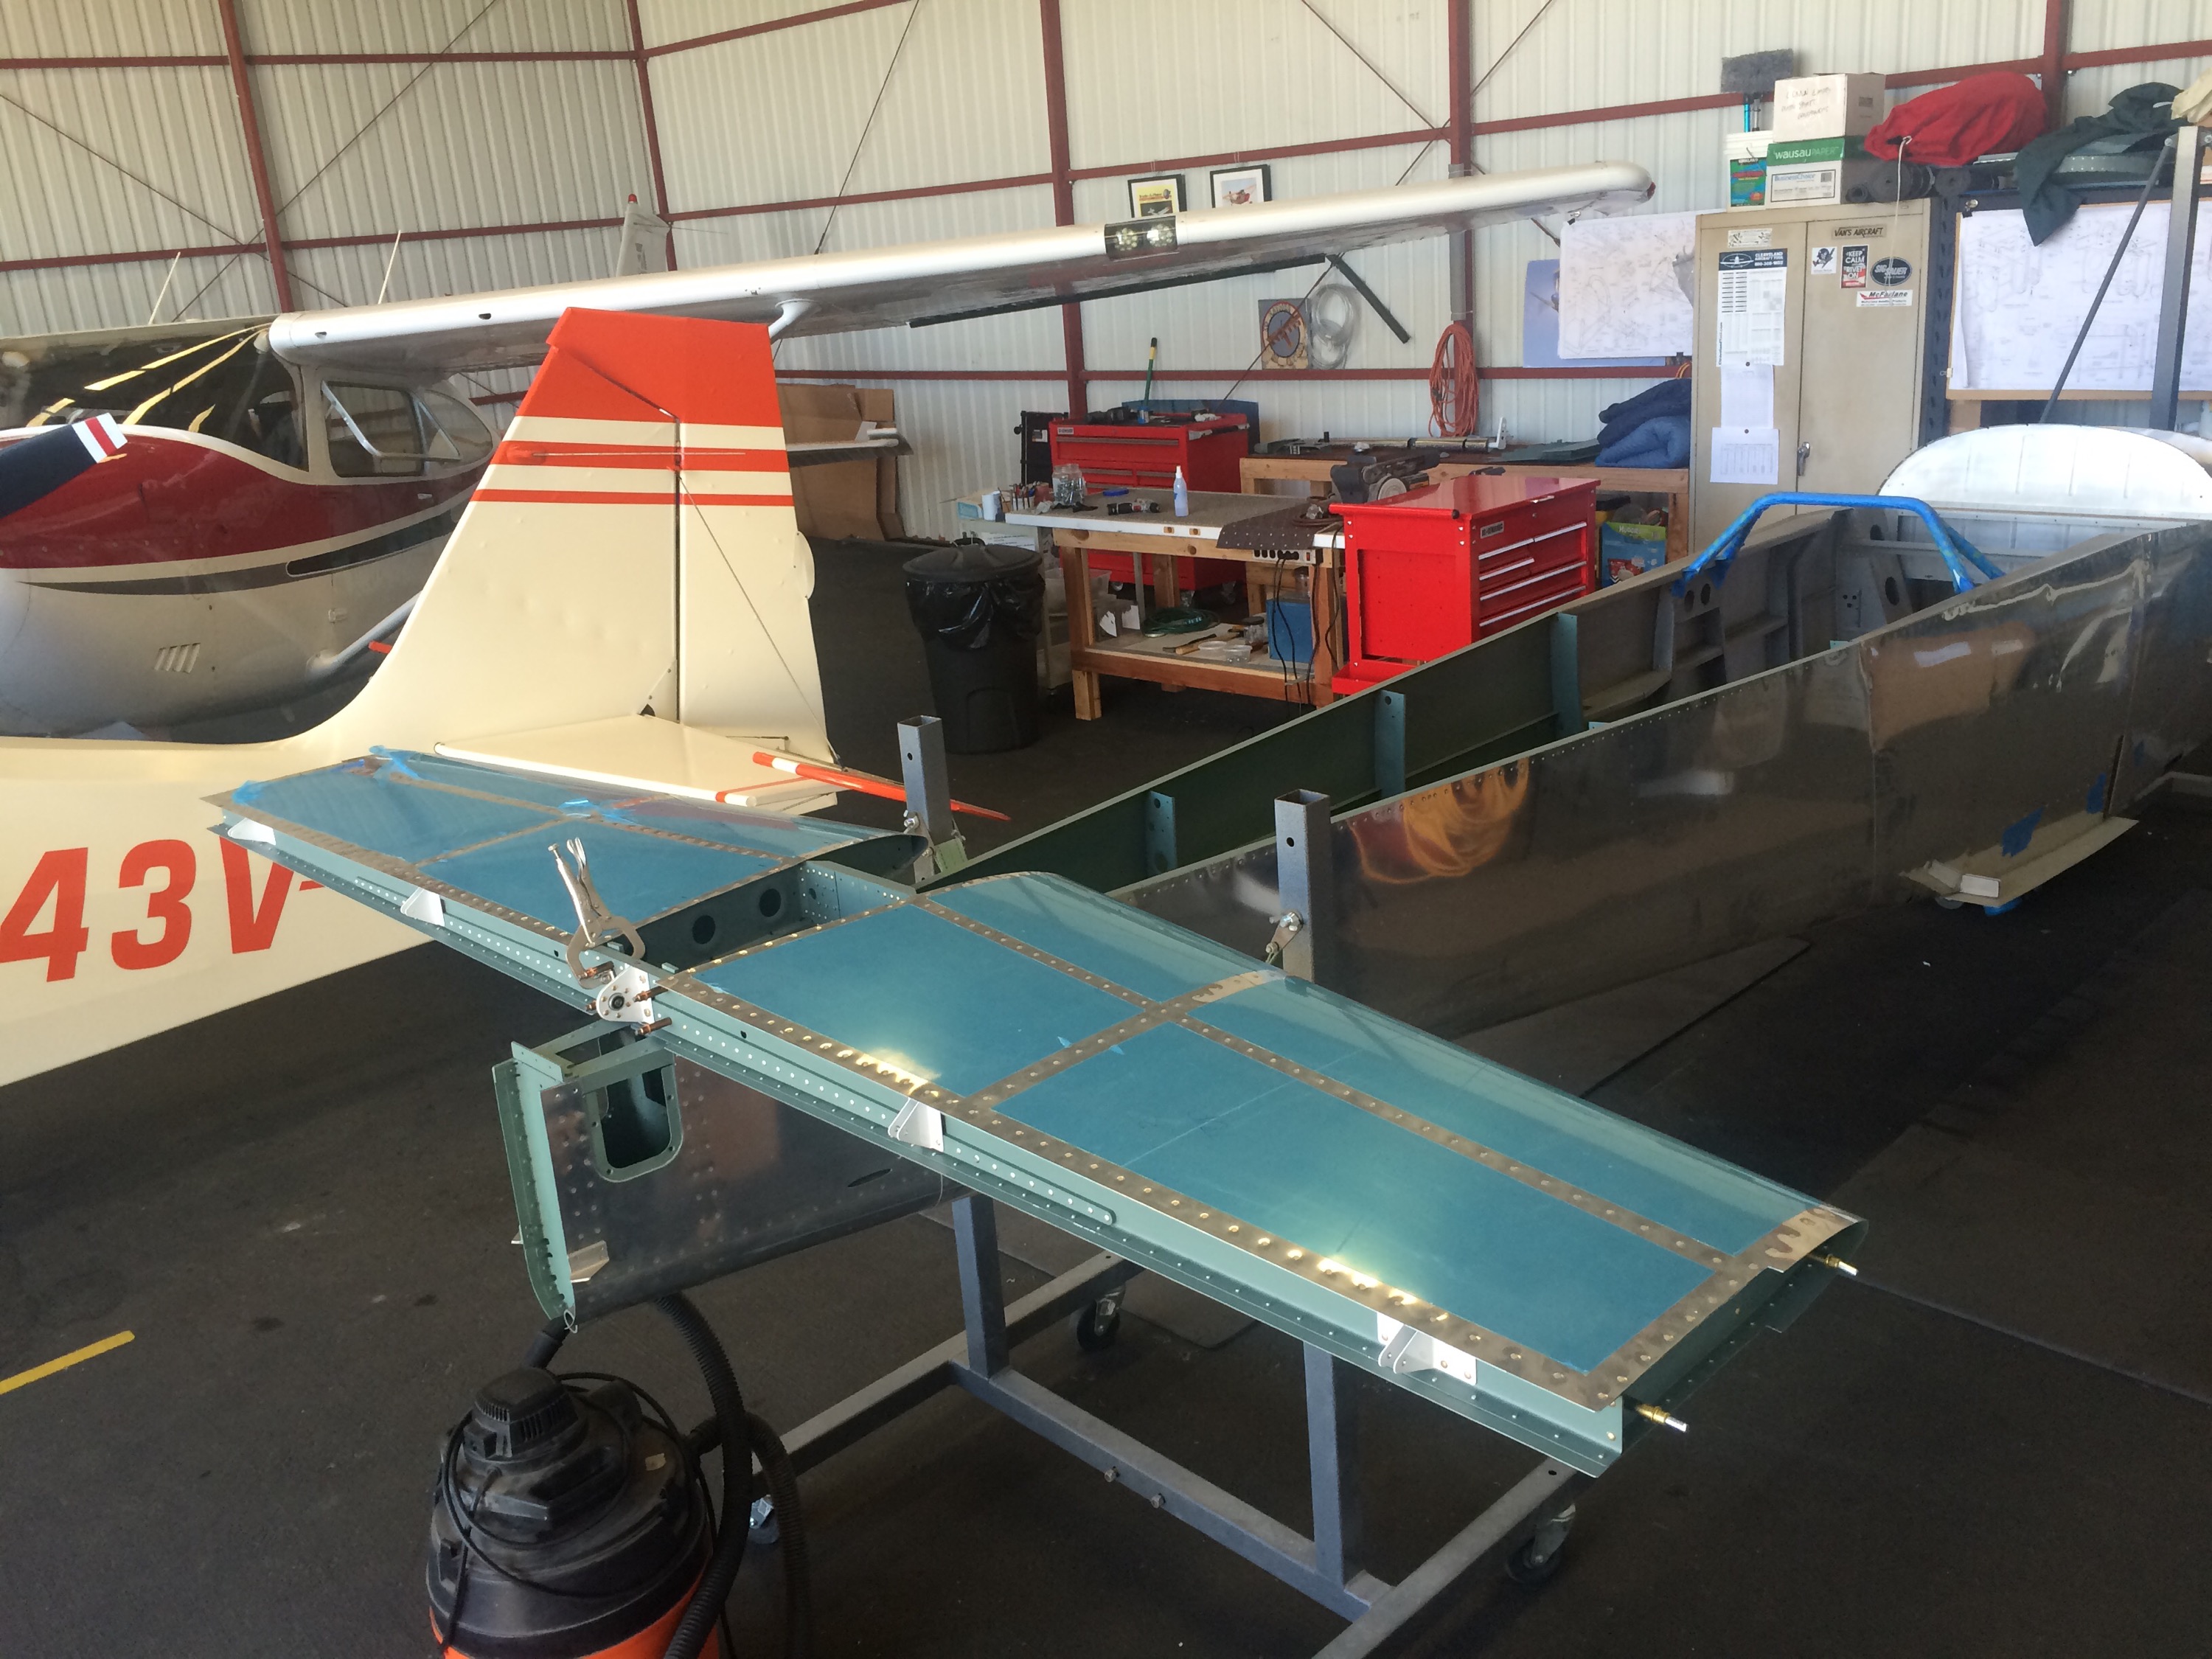
Mounted the Horizontal today, as well as finished riveting the ends of the control tubes.
Spent time getting the Elevators and Rudder attached.
As expected, Had to trim HS603pp to make clearance for the elevator horns.
Finished rolling the leading edge of the Left Elevator and then started to fit the Elevators to the Horizontal.
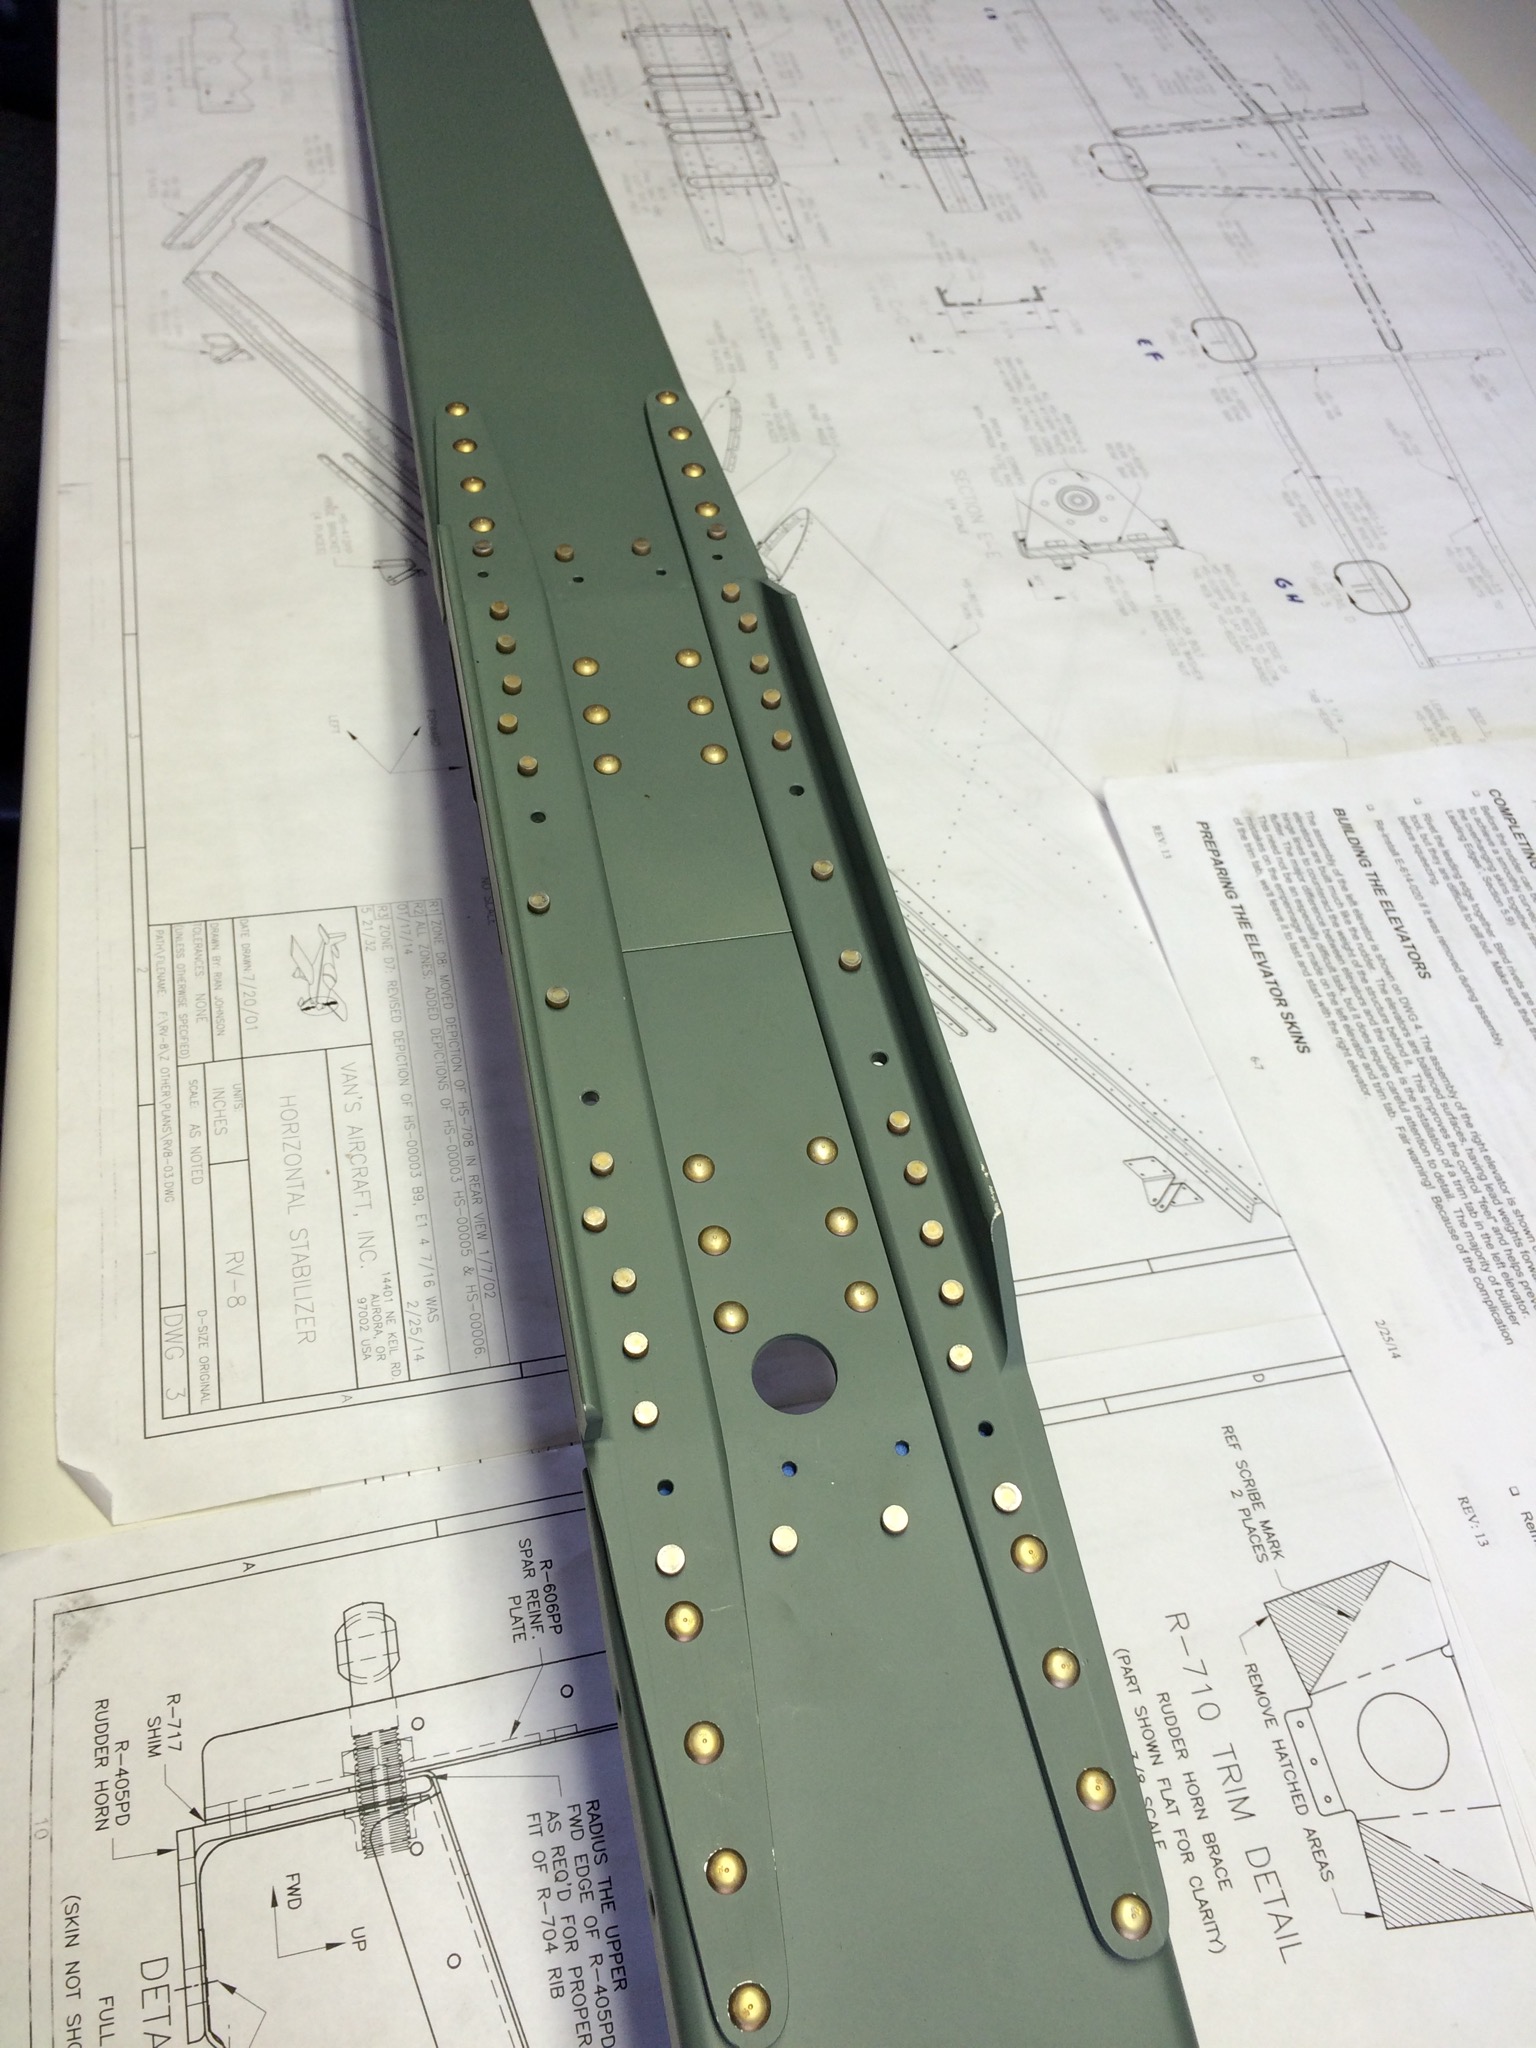
Finished up the Left side skins on the Horizontal and started on the right. Just need to rivet on the rear spar an it’s done!
Finished up riveting the Horizontal’s spars, before I moved onto riveting on the Left side skins.
While I was waiting for an extra set of hands, I started to rivet together the Rudder skeleton.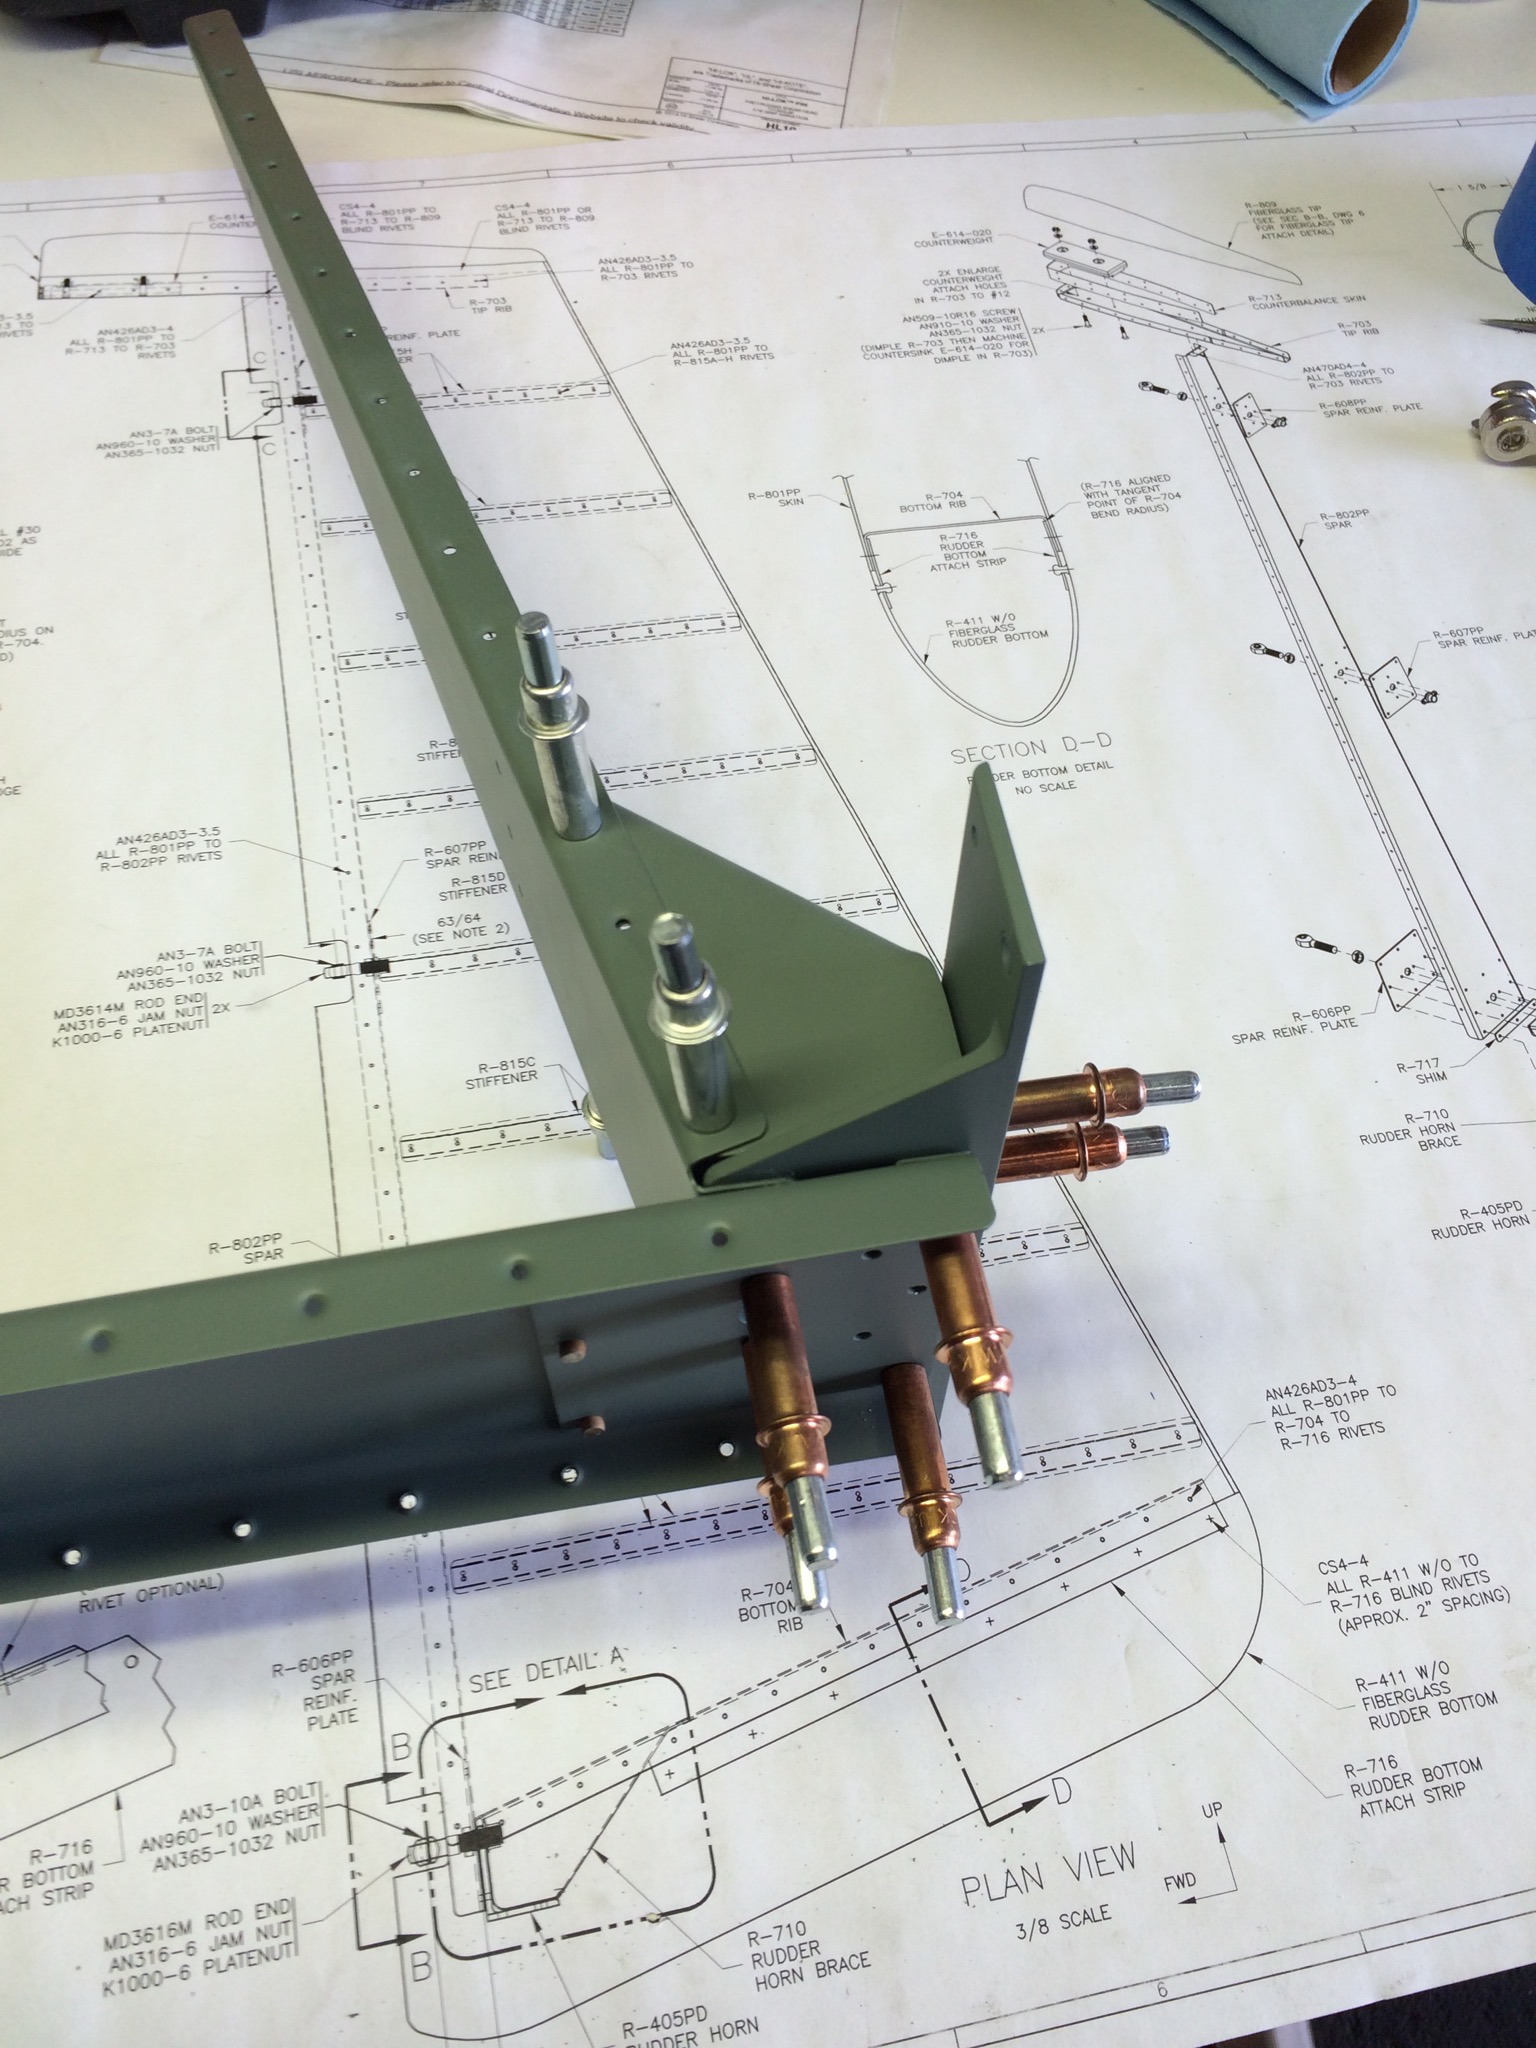
The instructions give you the option to use a blind rivet on the Rudder horn, but I opted to squeeze them. I had to put the shop head on the outside, but they came out pretty good.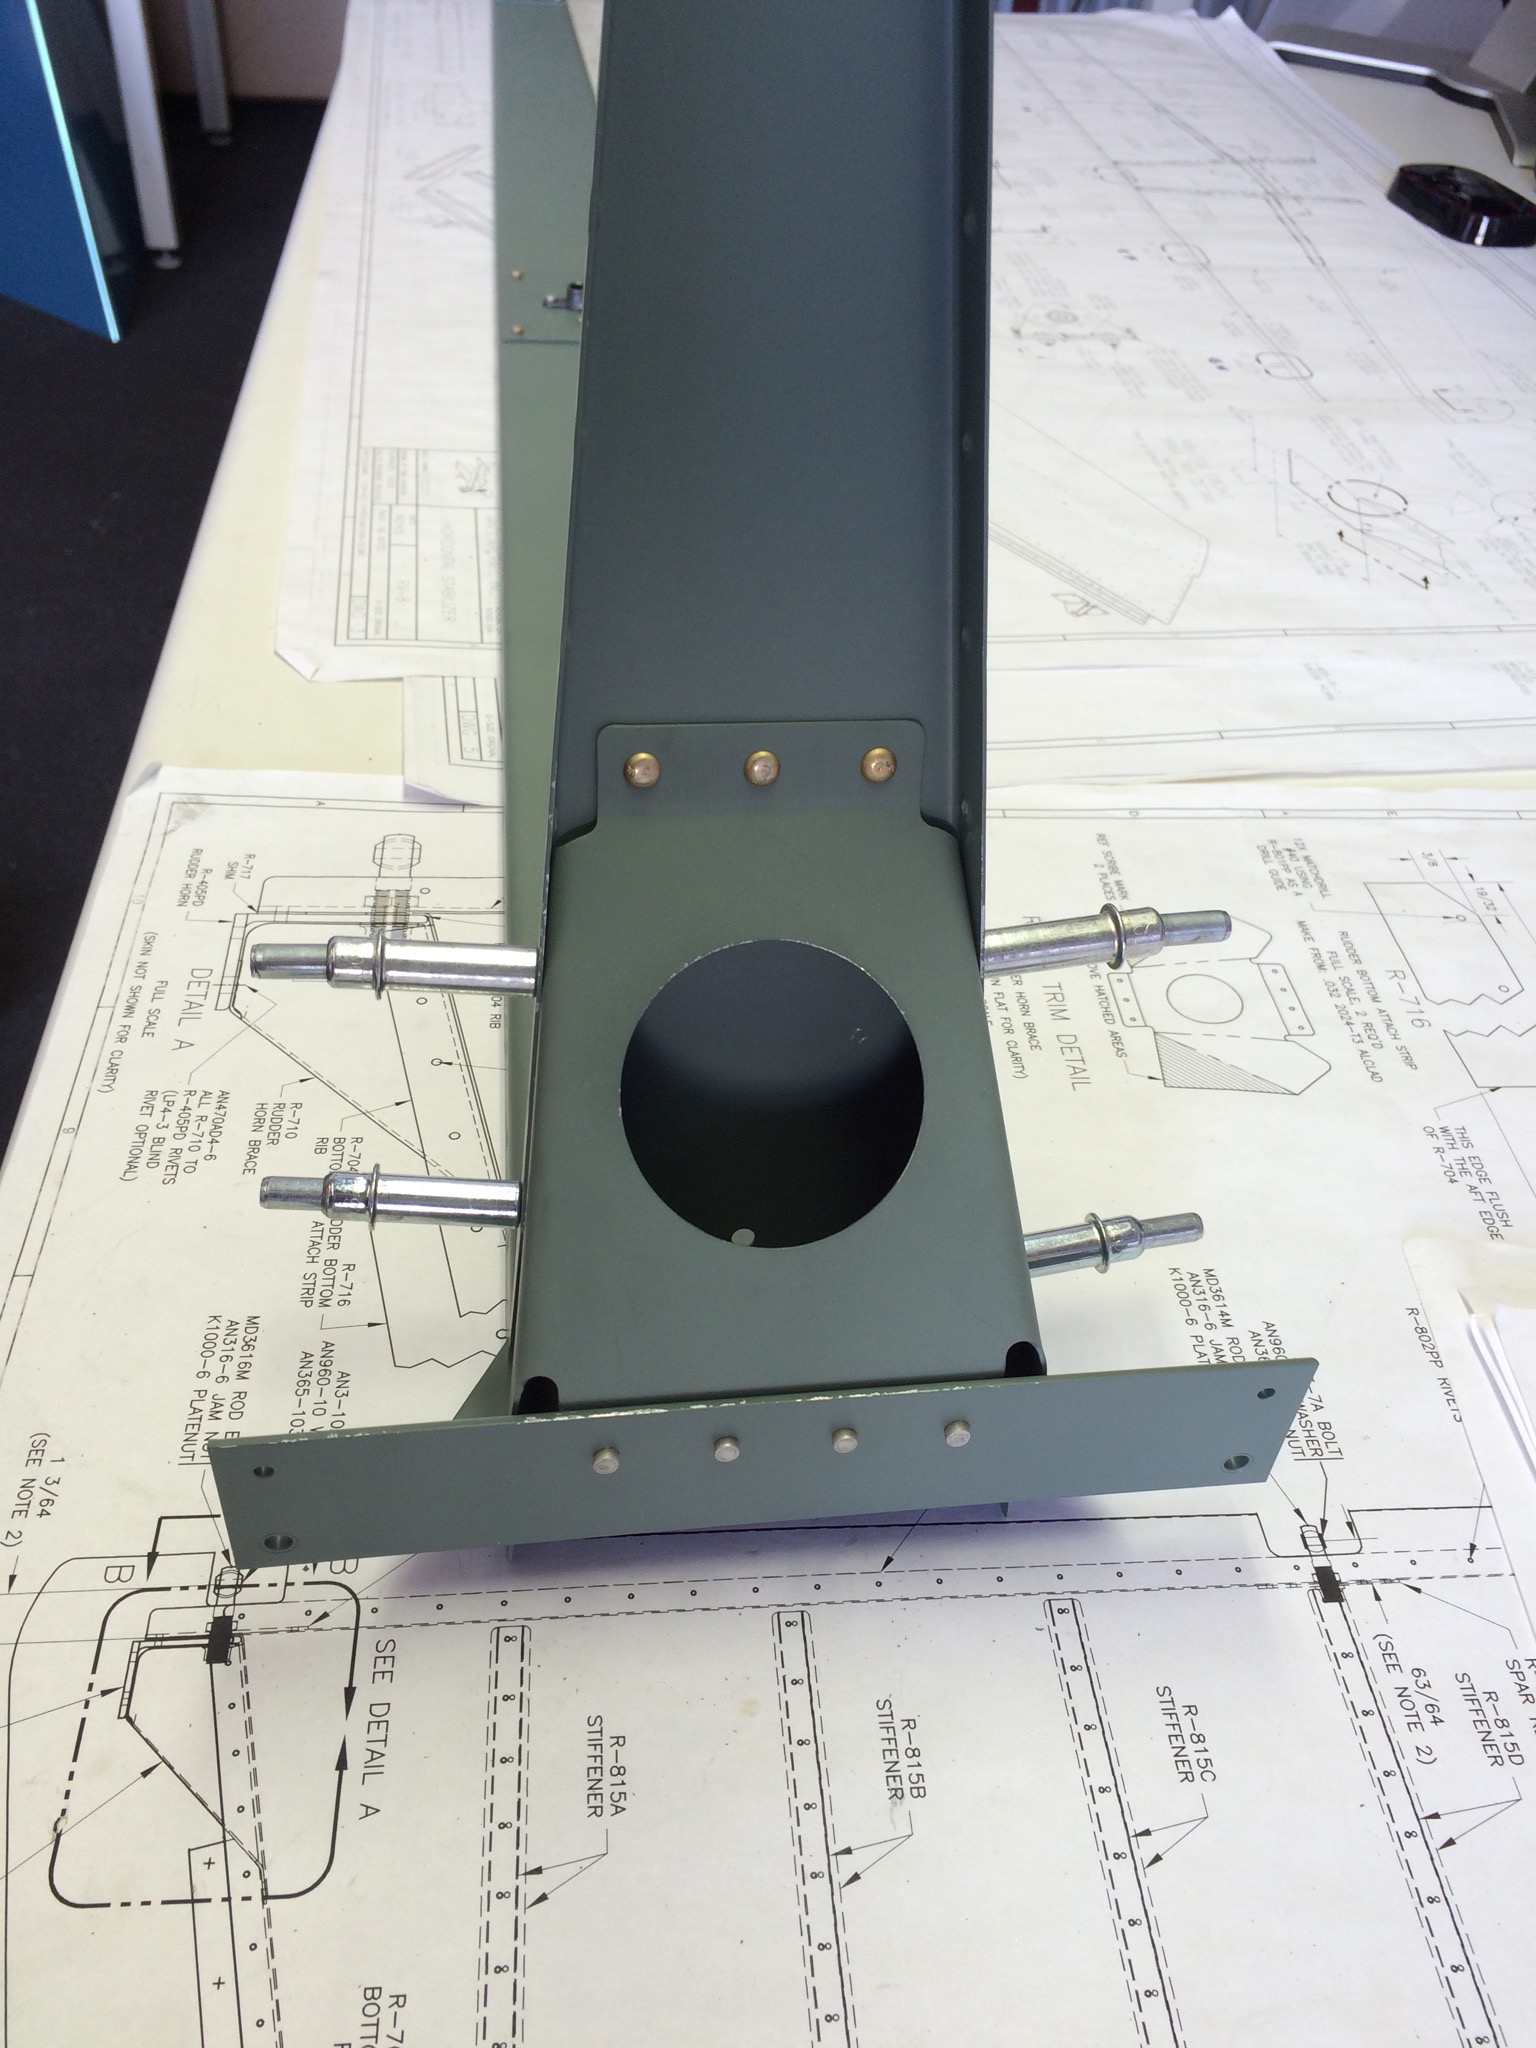
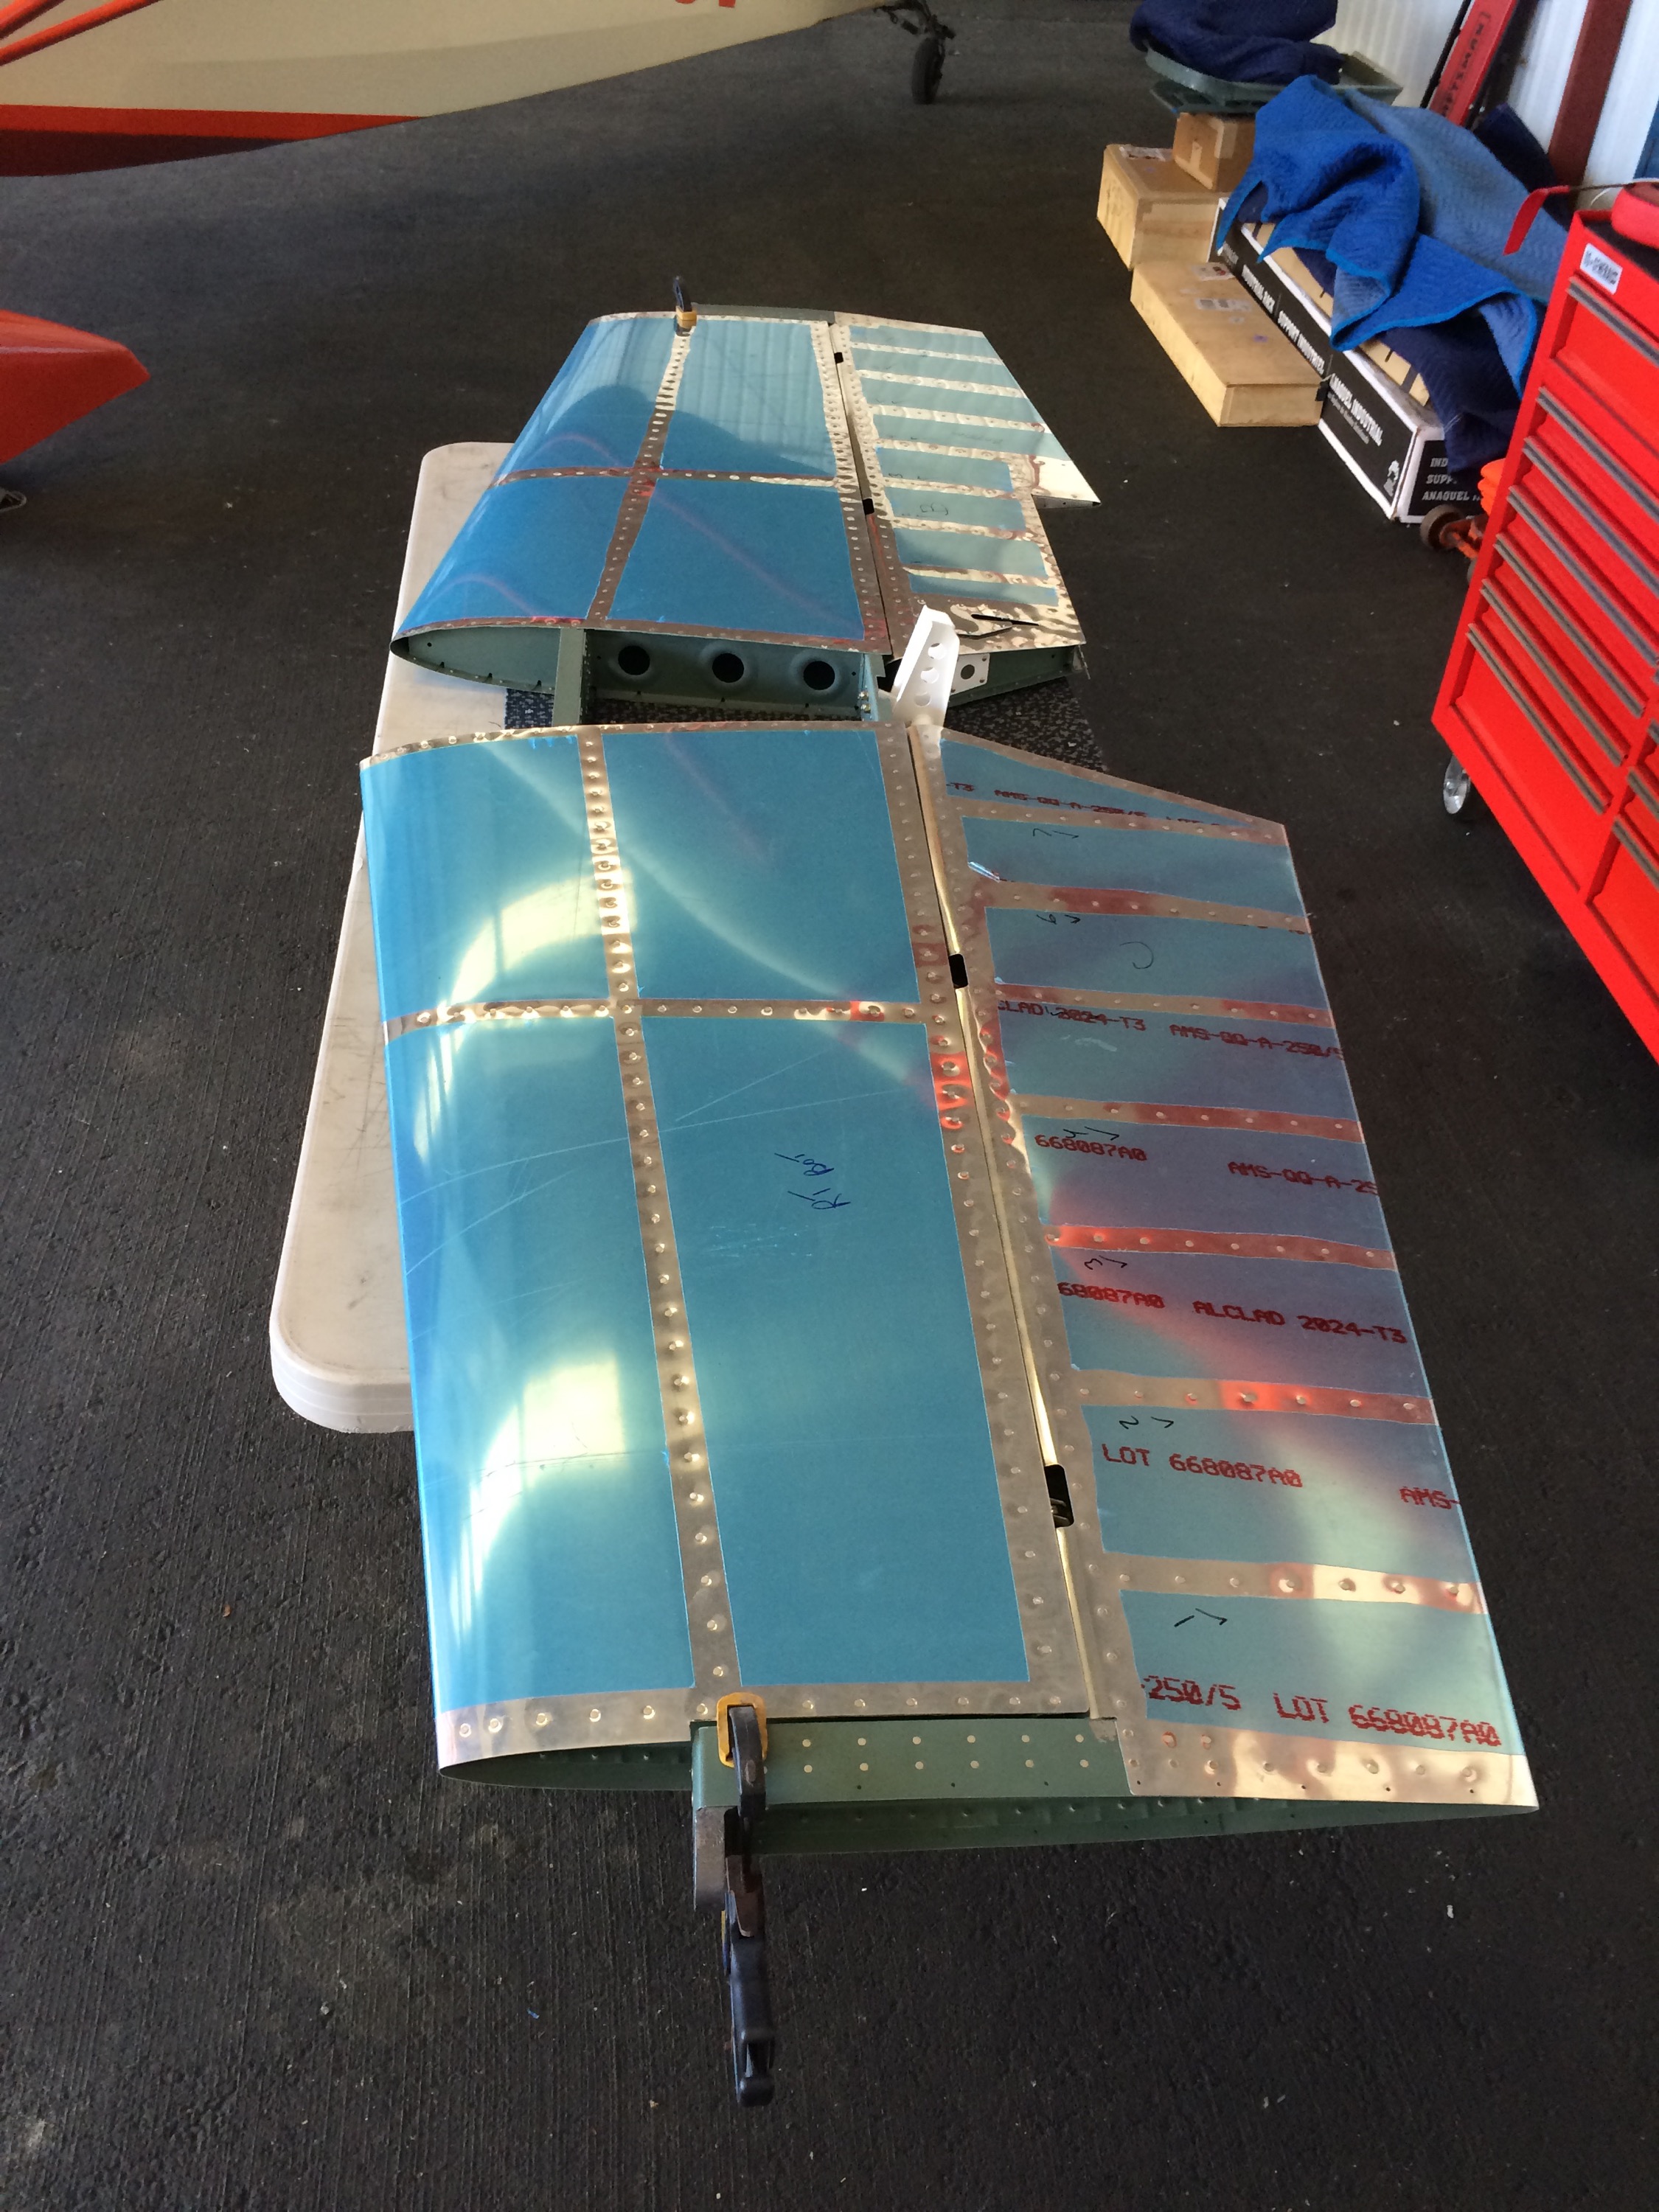
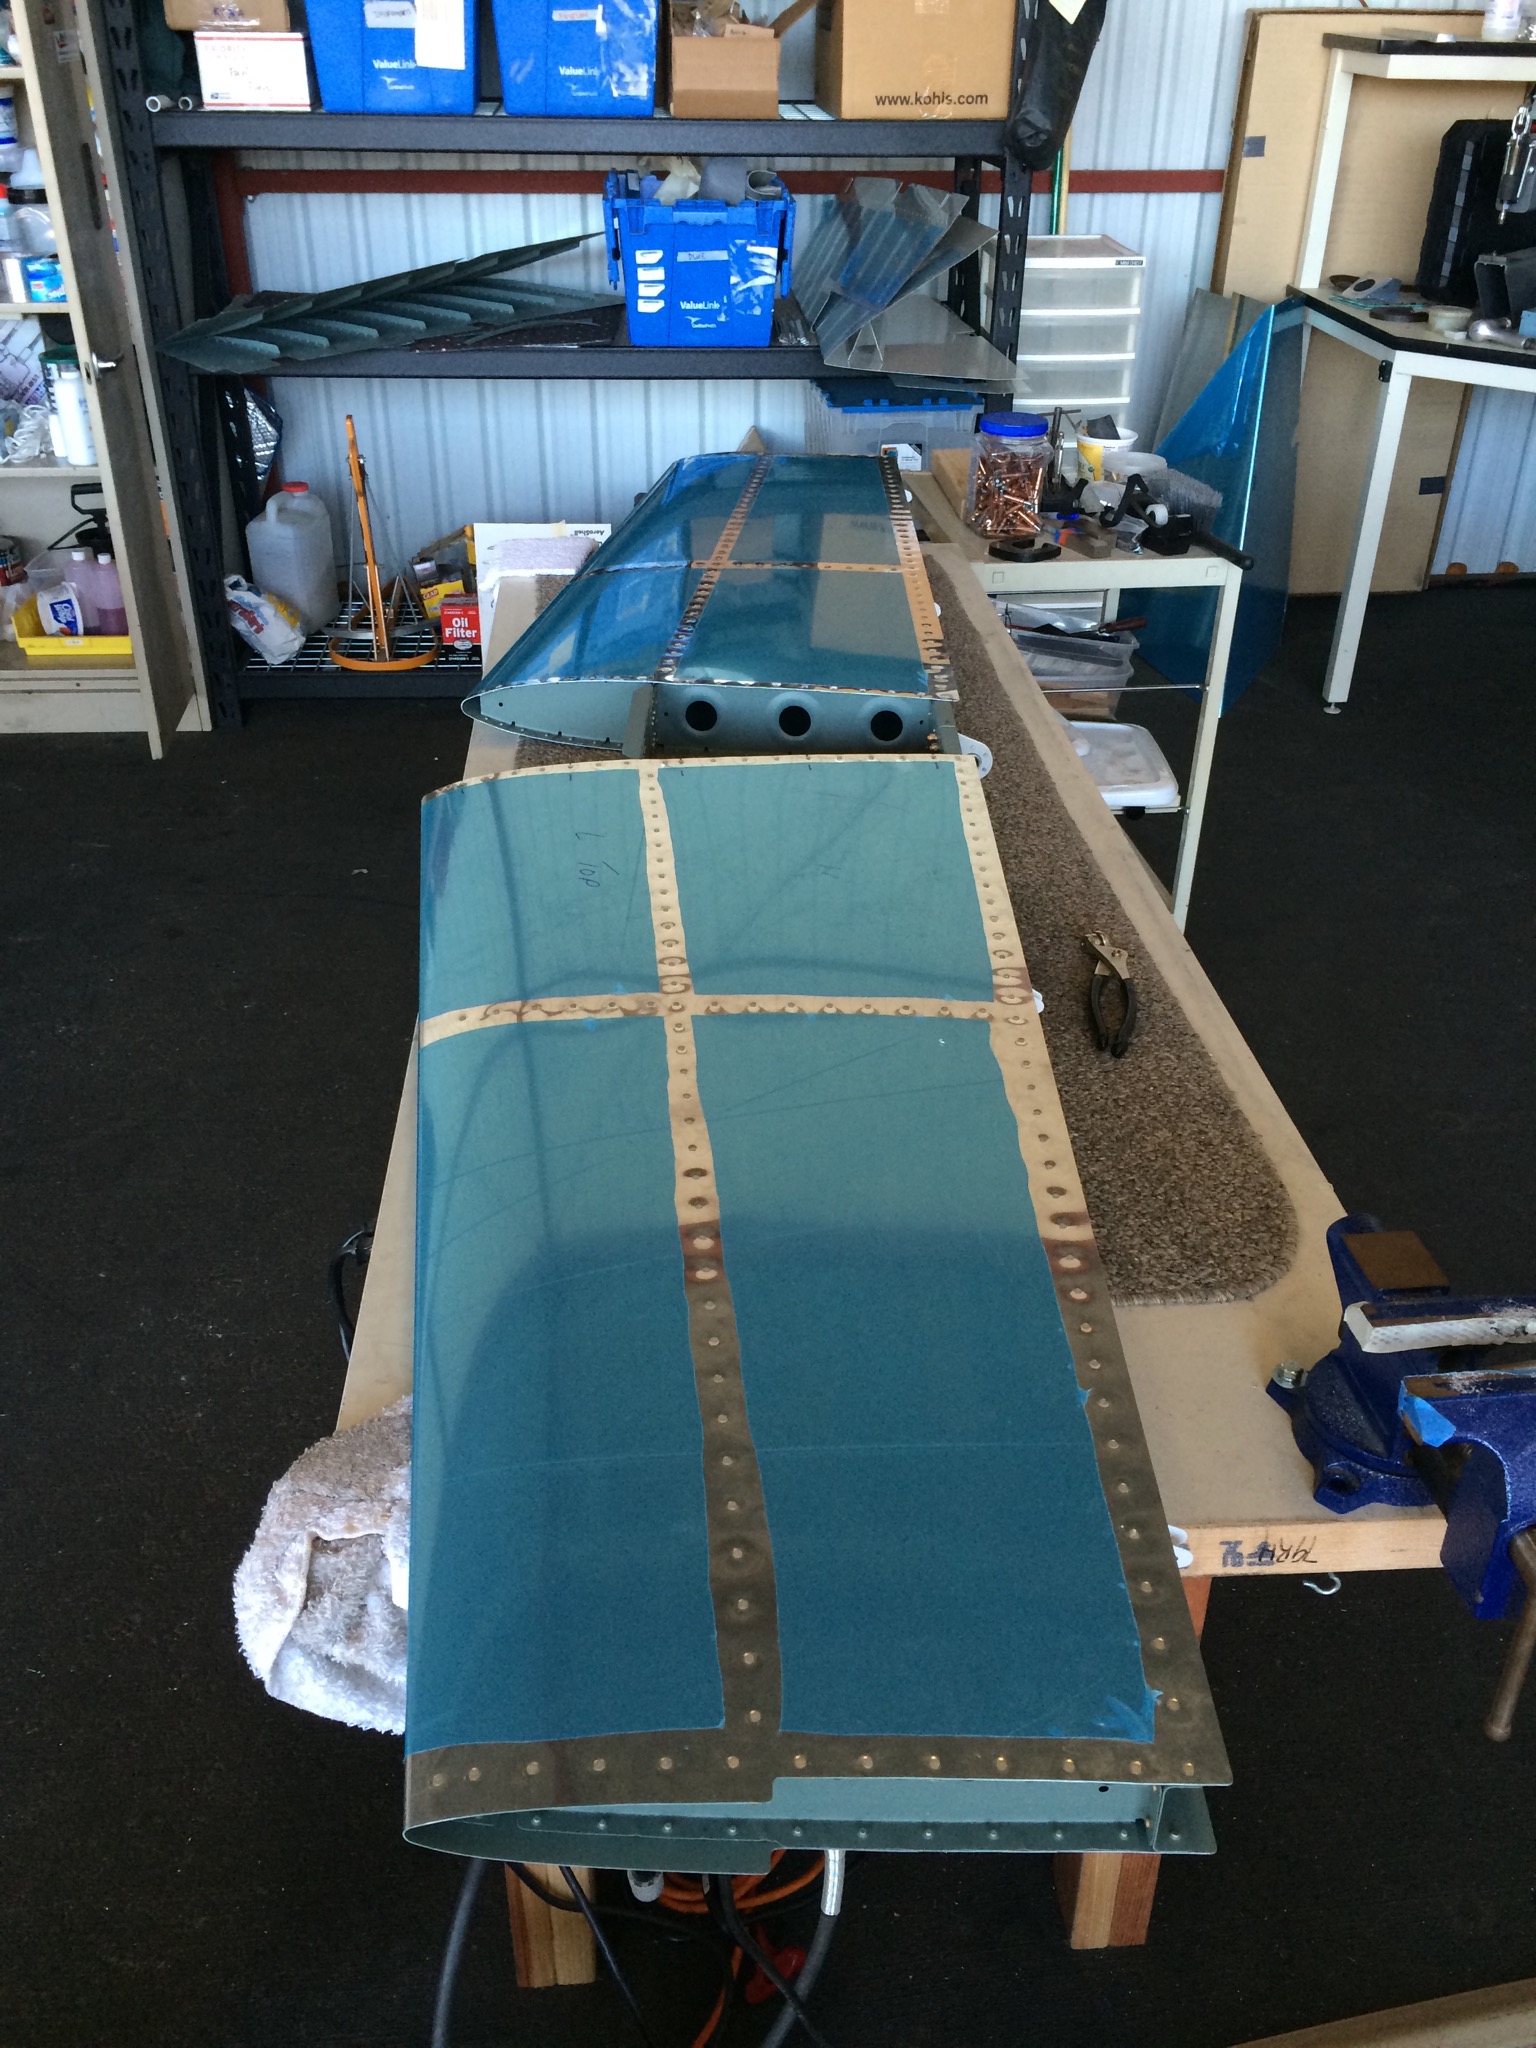
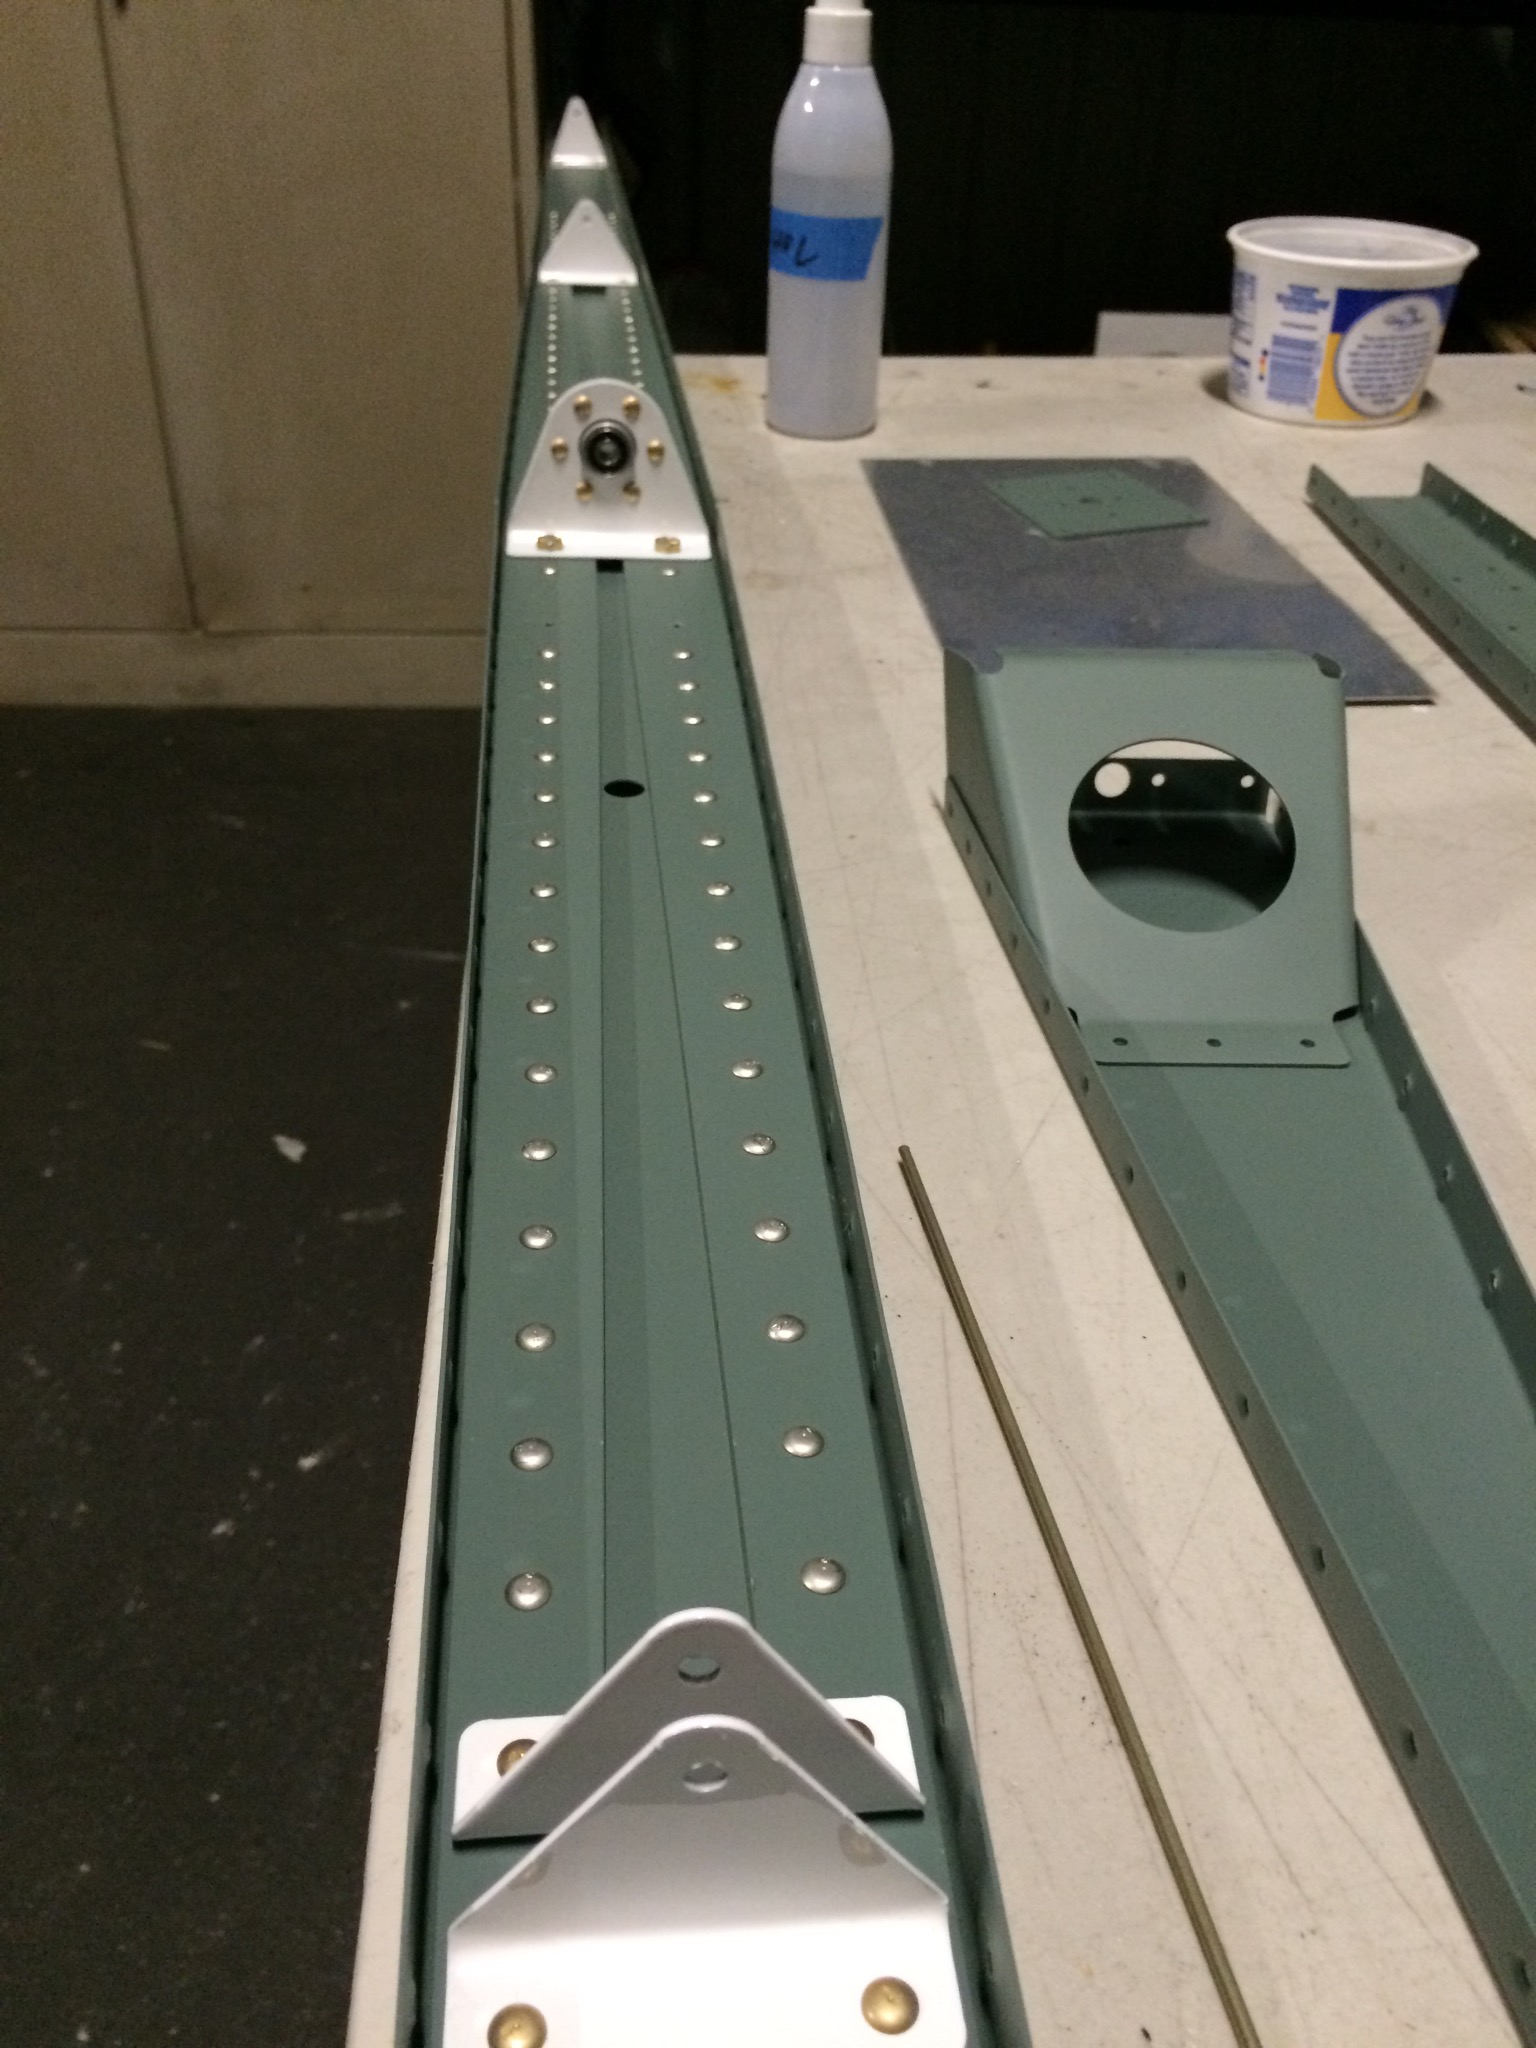
The Horizontal skeleton ready for the first skin: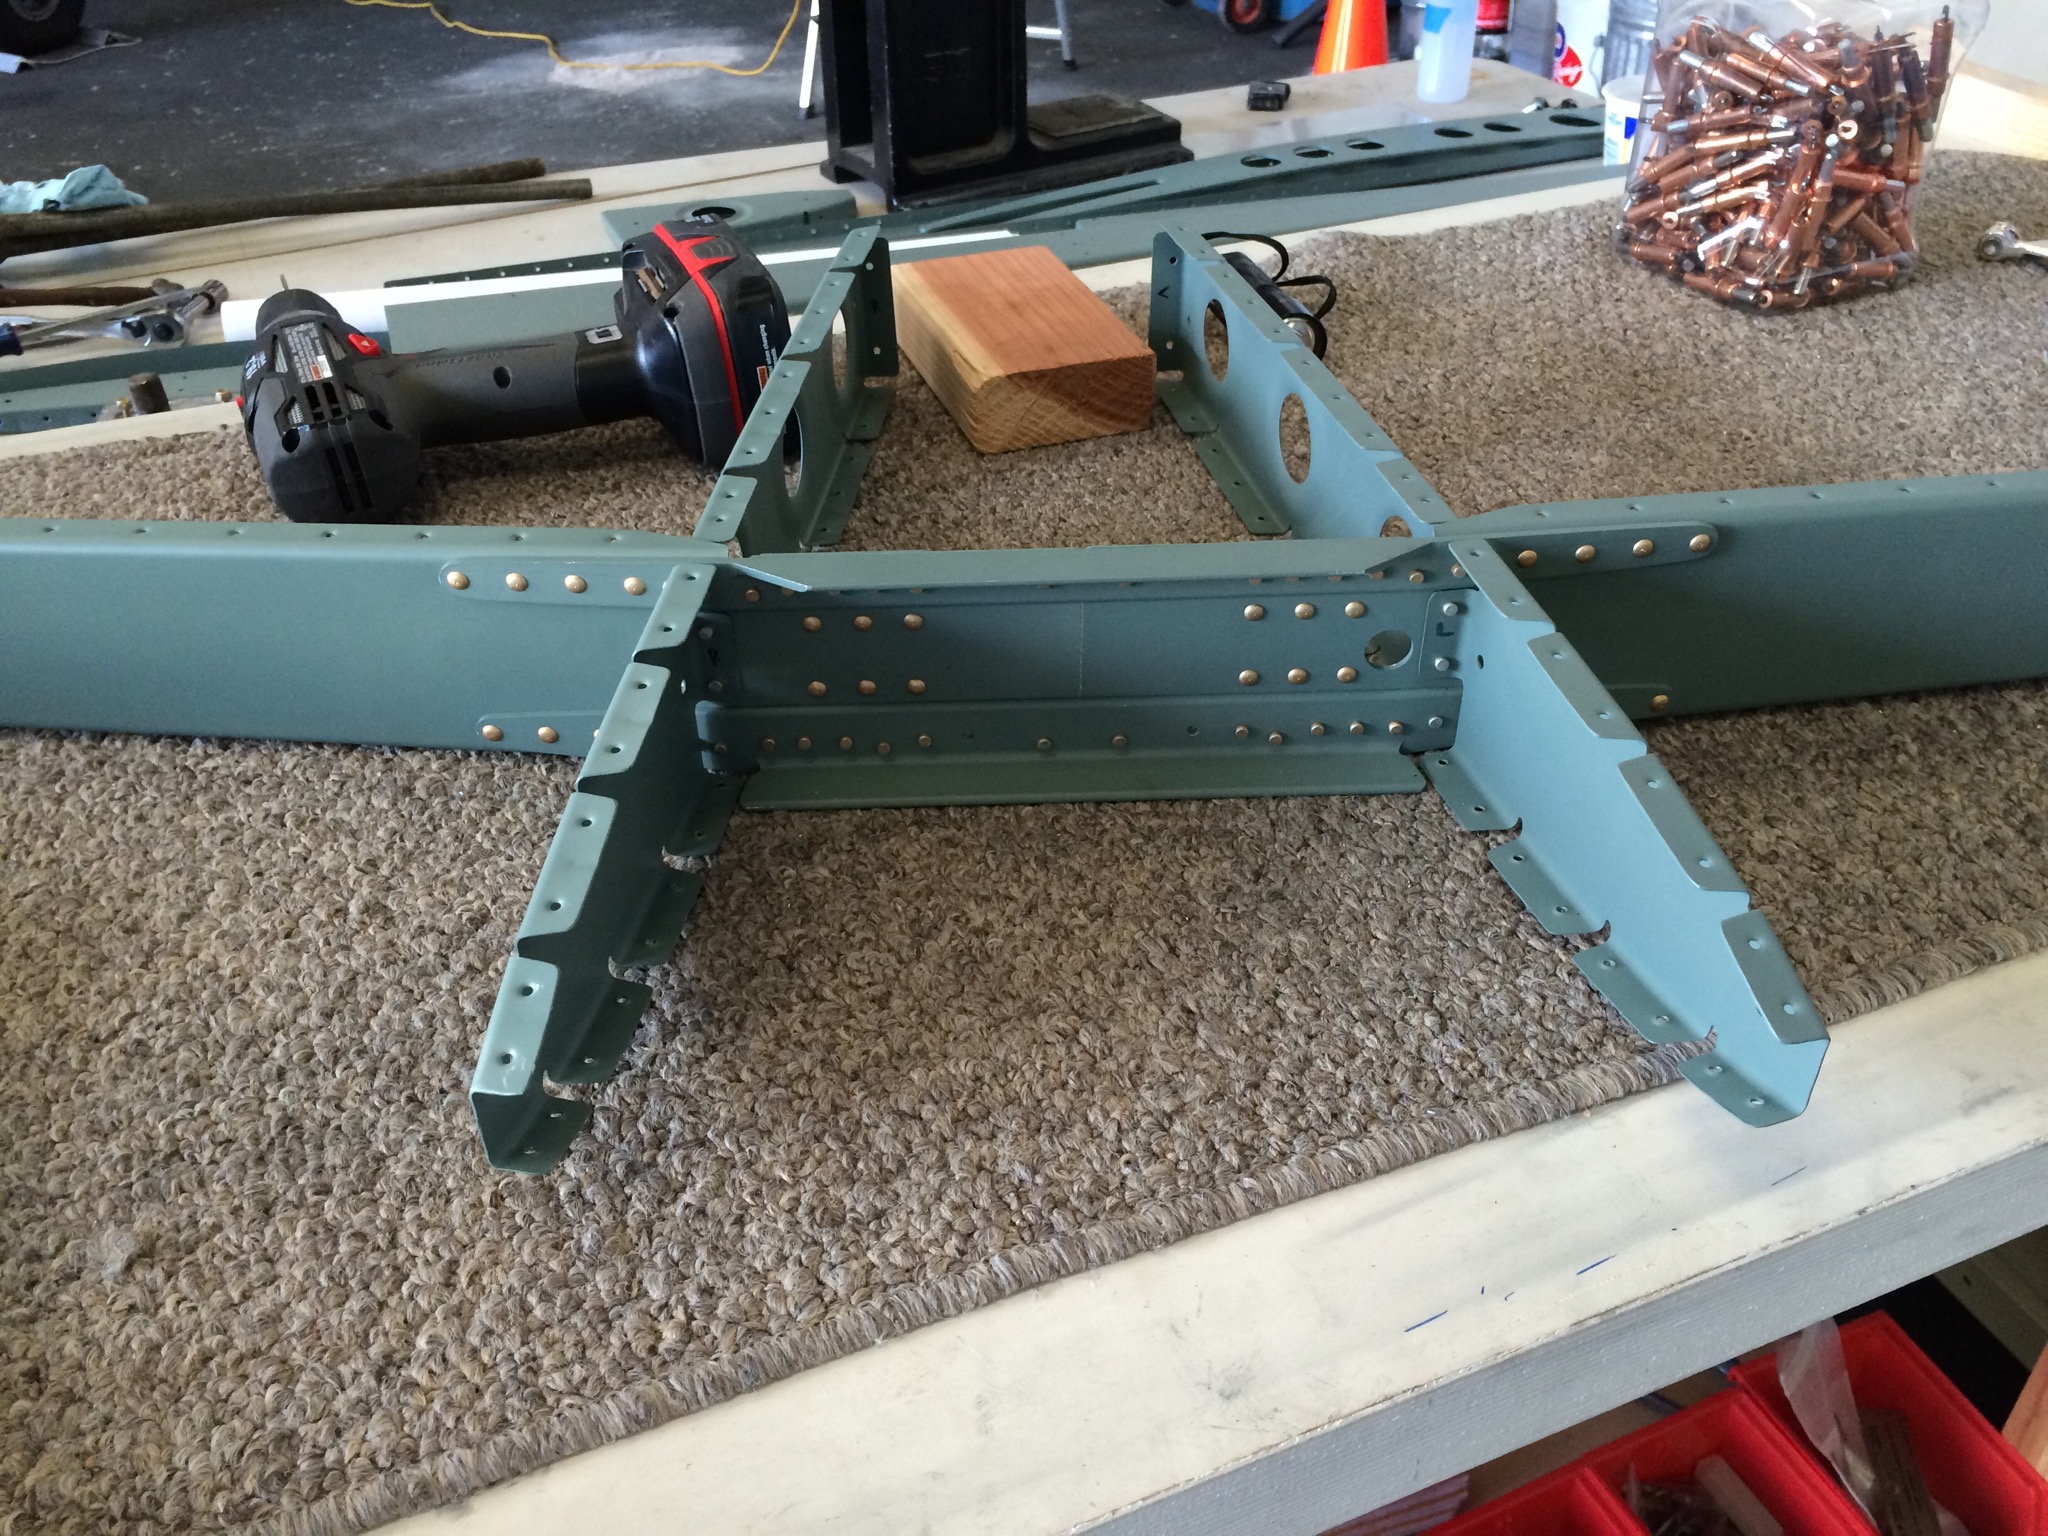
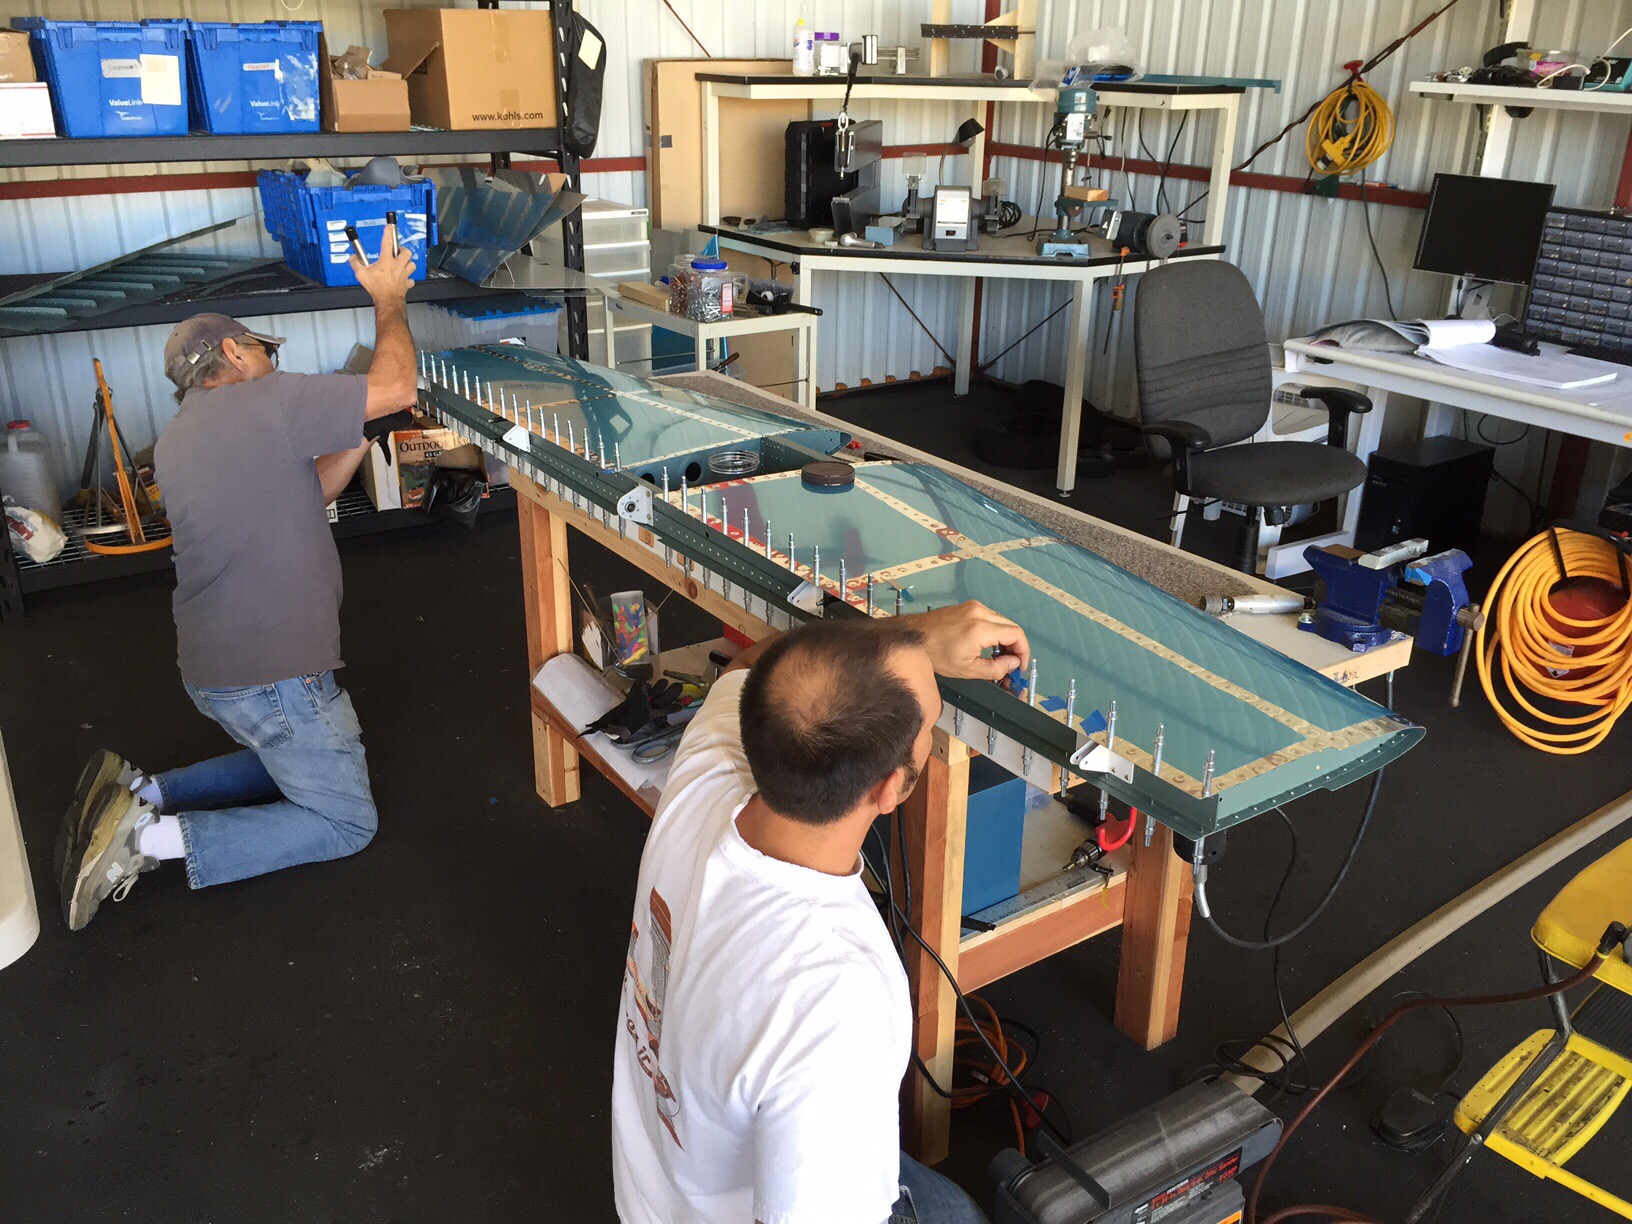
Once my extra set of hands showed up, we started to put the left Horizontal skin on.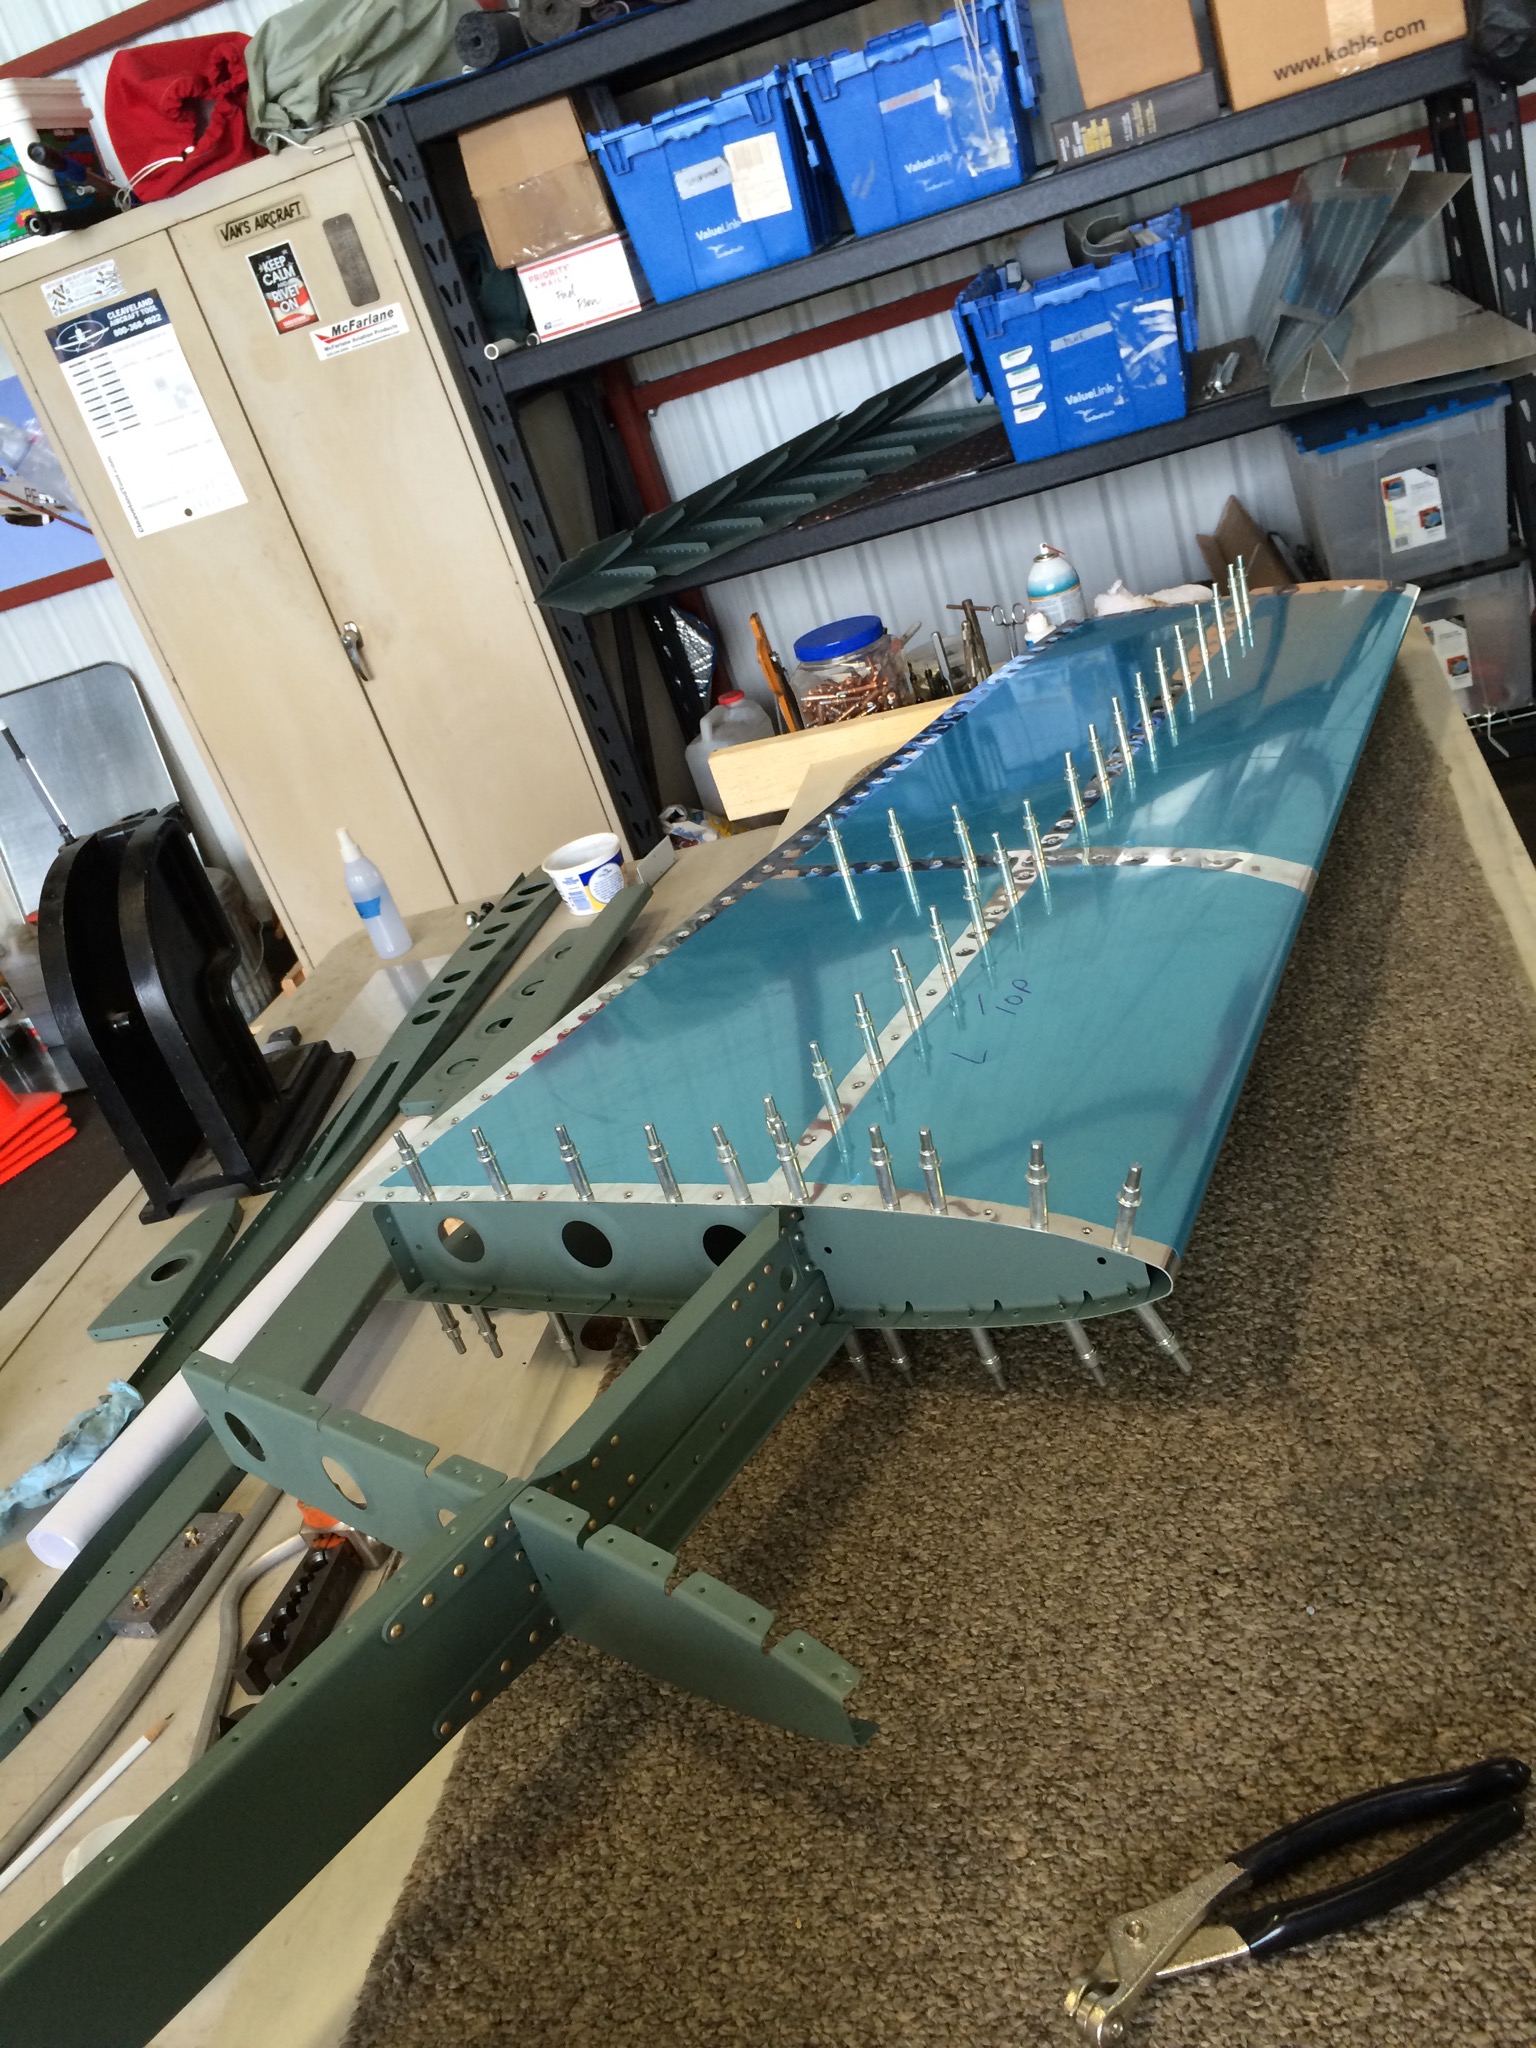
Finally back at it after almost a month away. Spent all of the effort today riveting the Horizontal Stabilizer together.
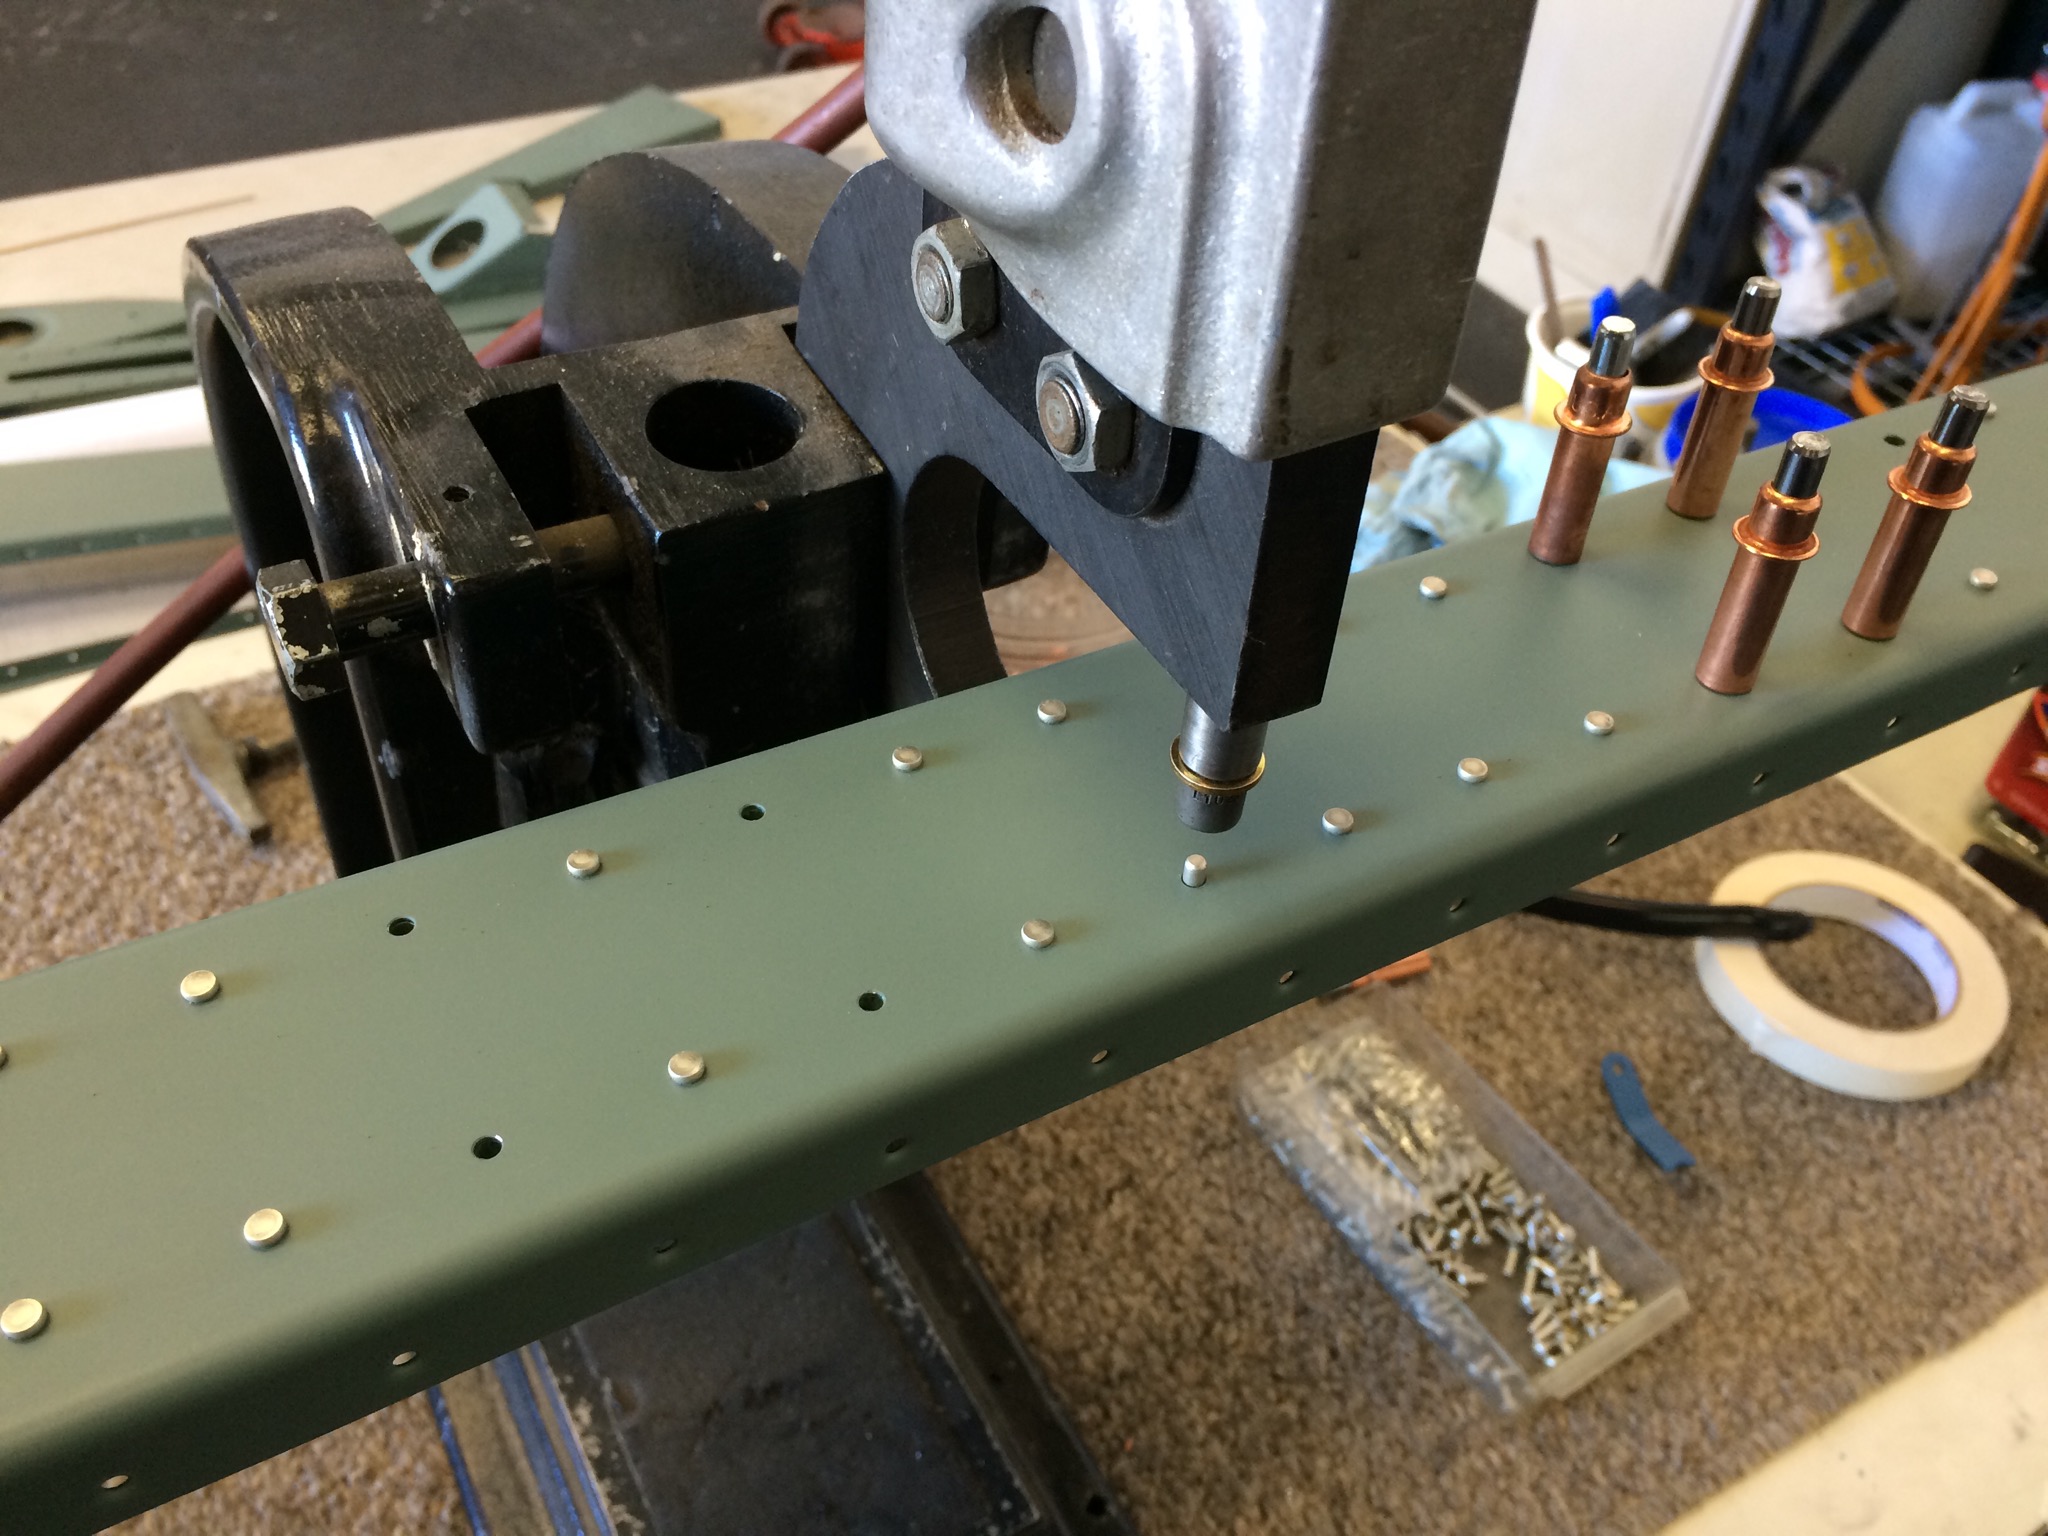
About to set a rivet:
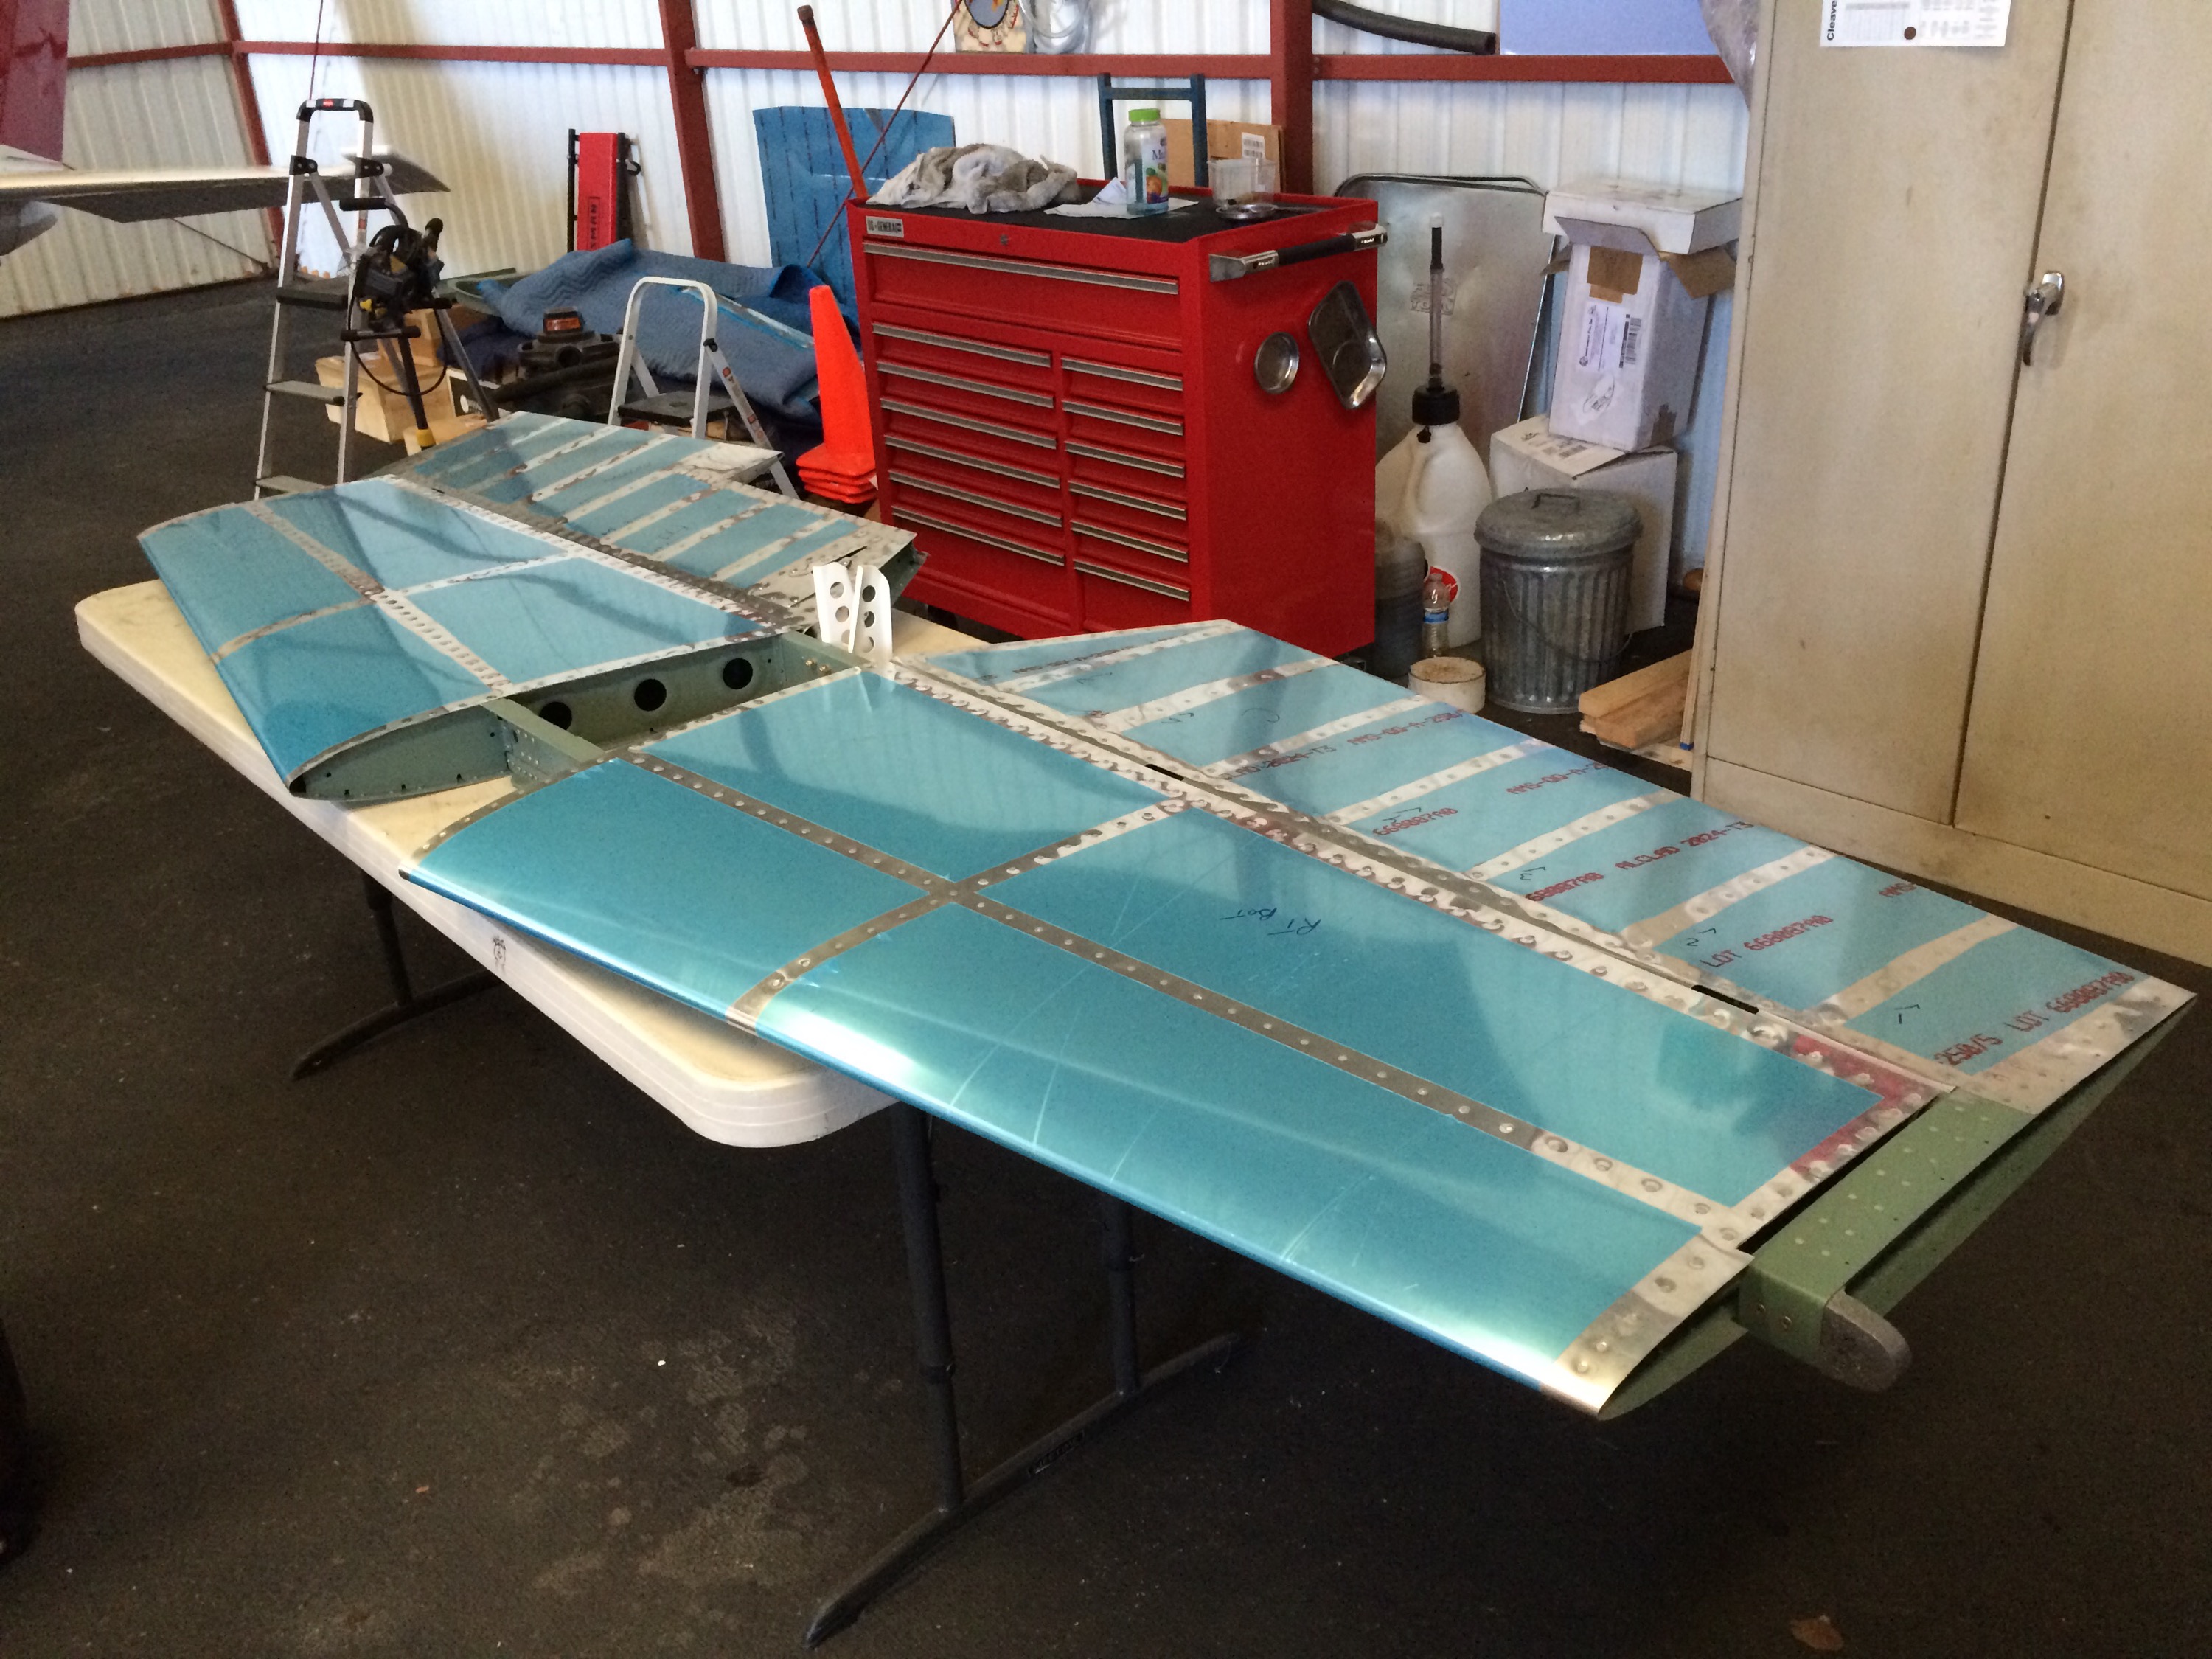
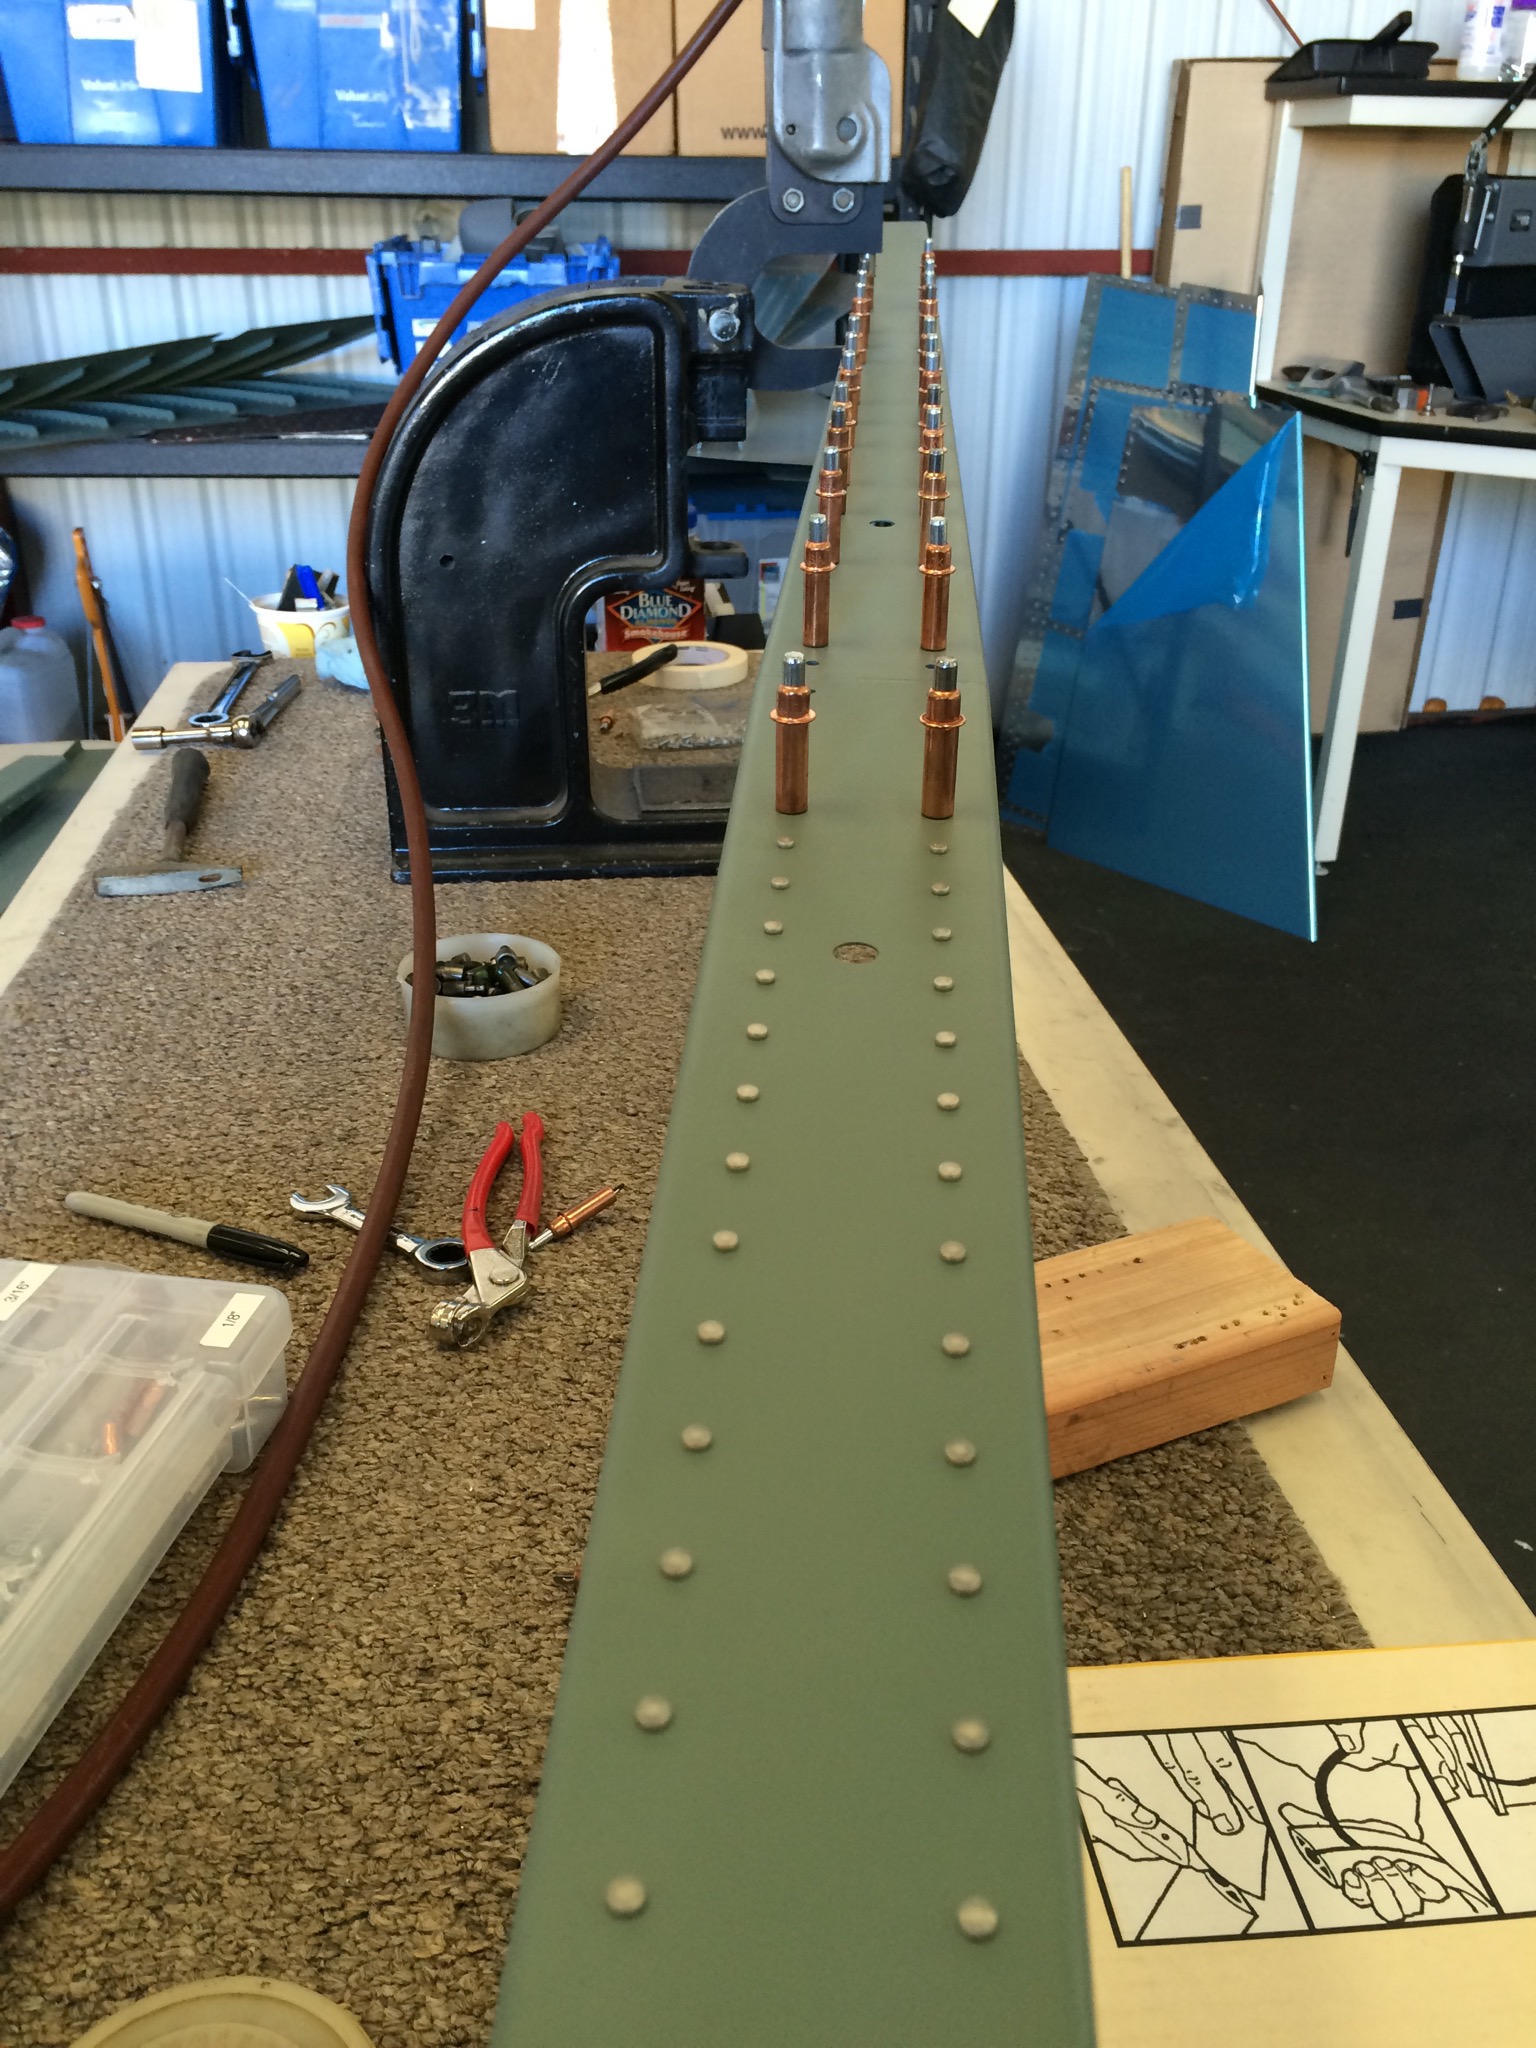
One side done:
Spent more time priming the rest of the parts for the right side of the Horizontal. Quick shot of some of the ribs and stiffener.
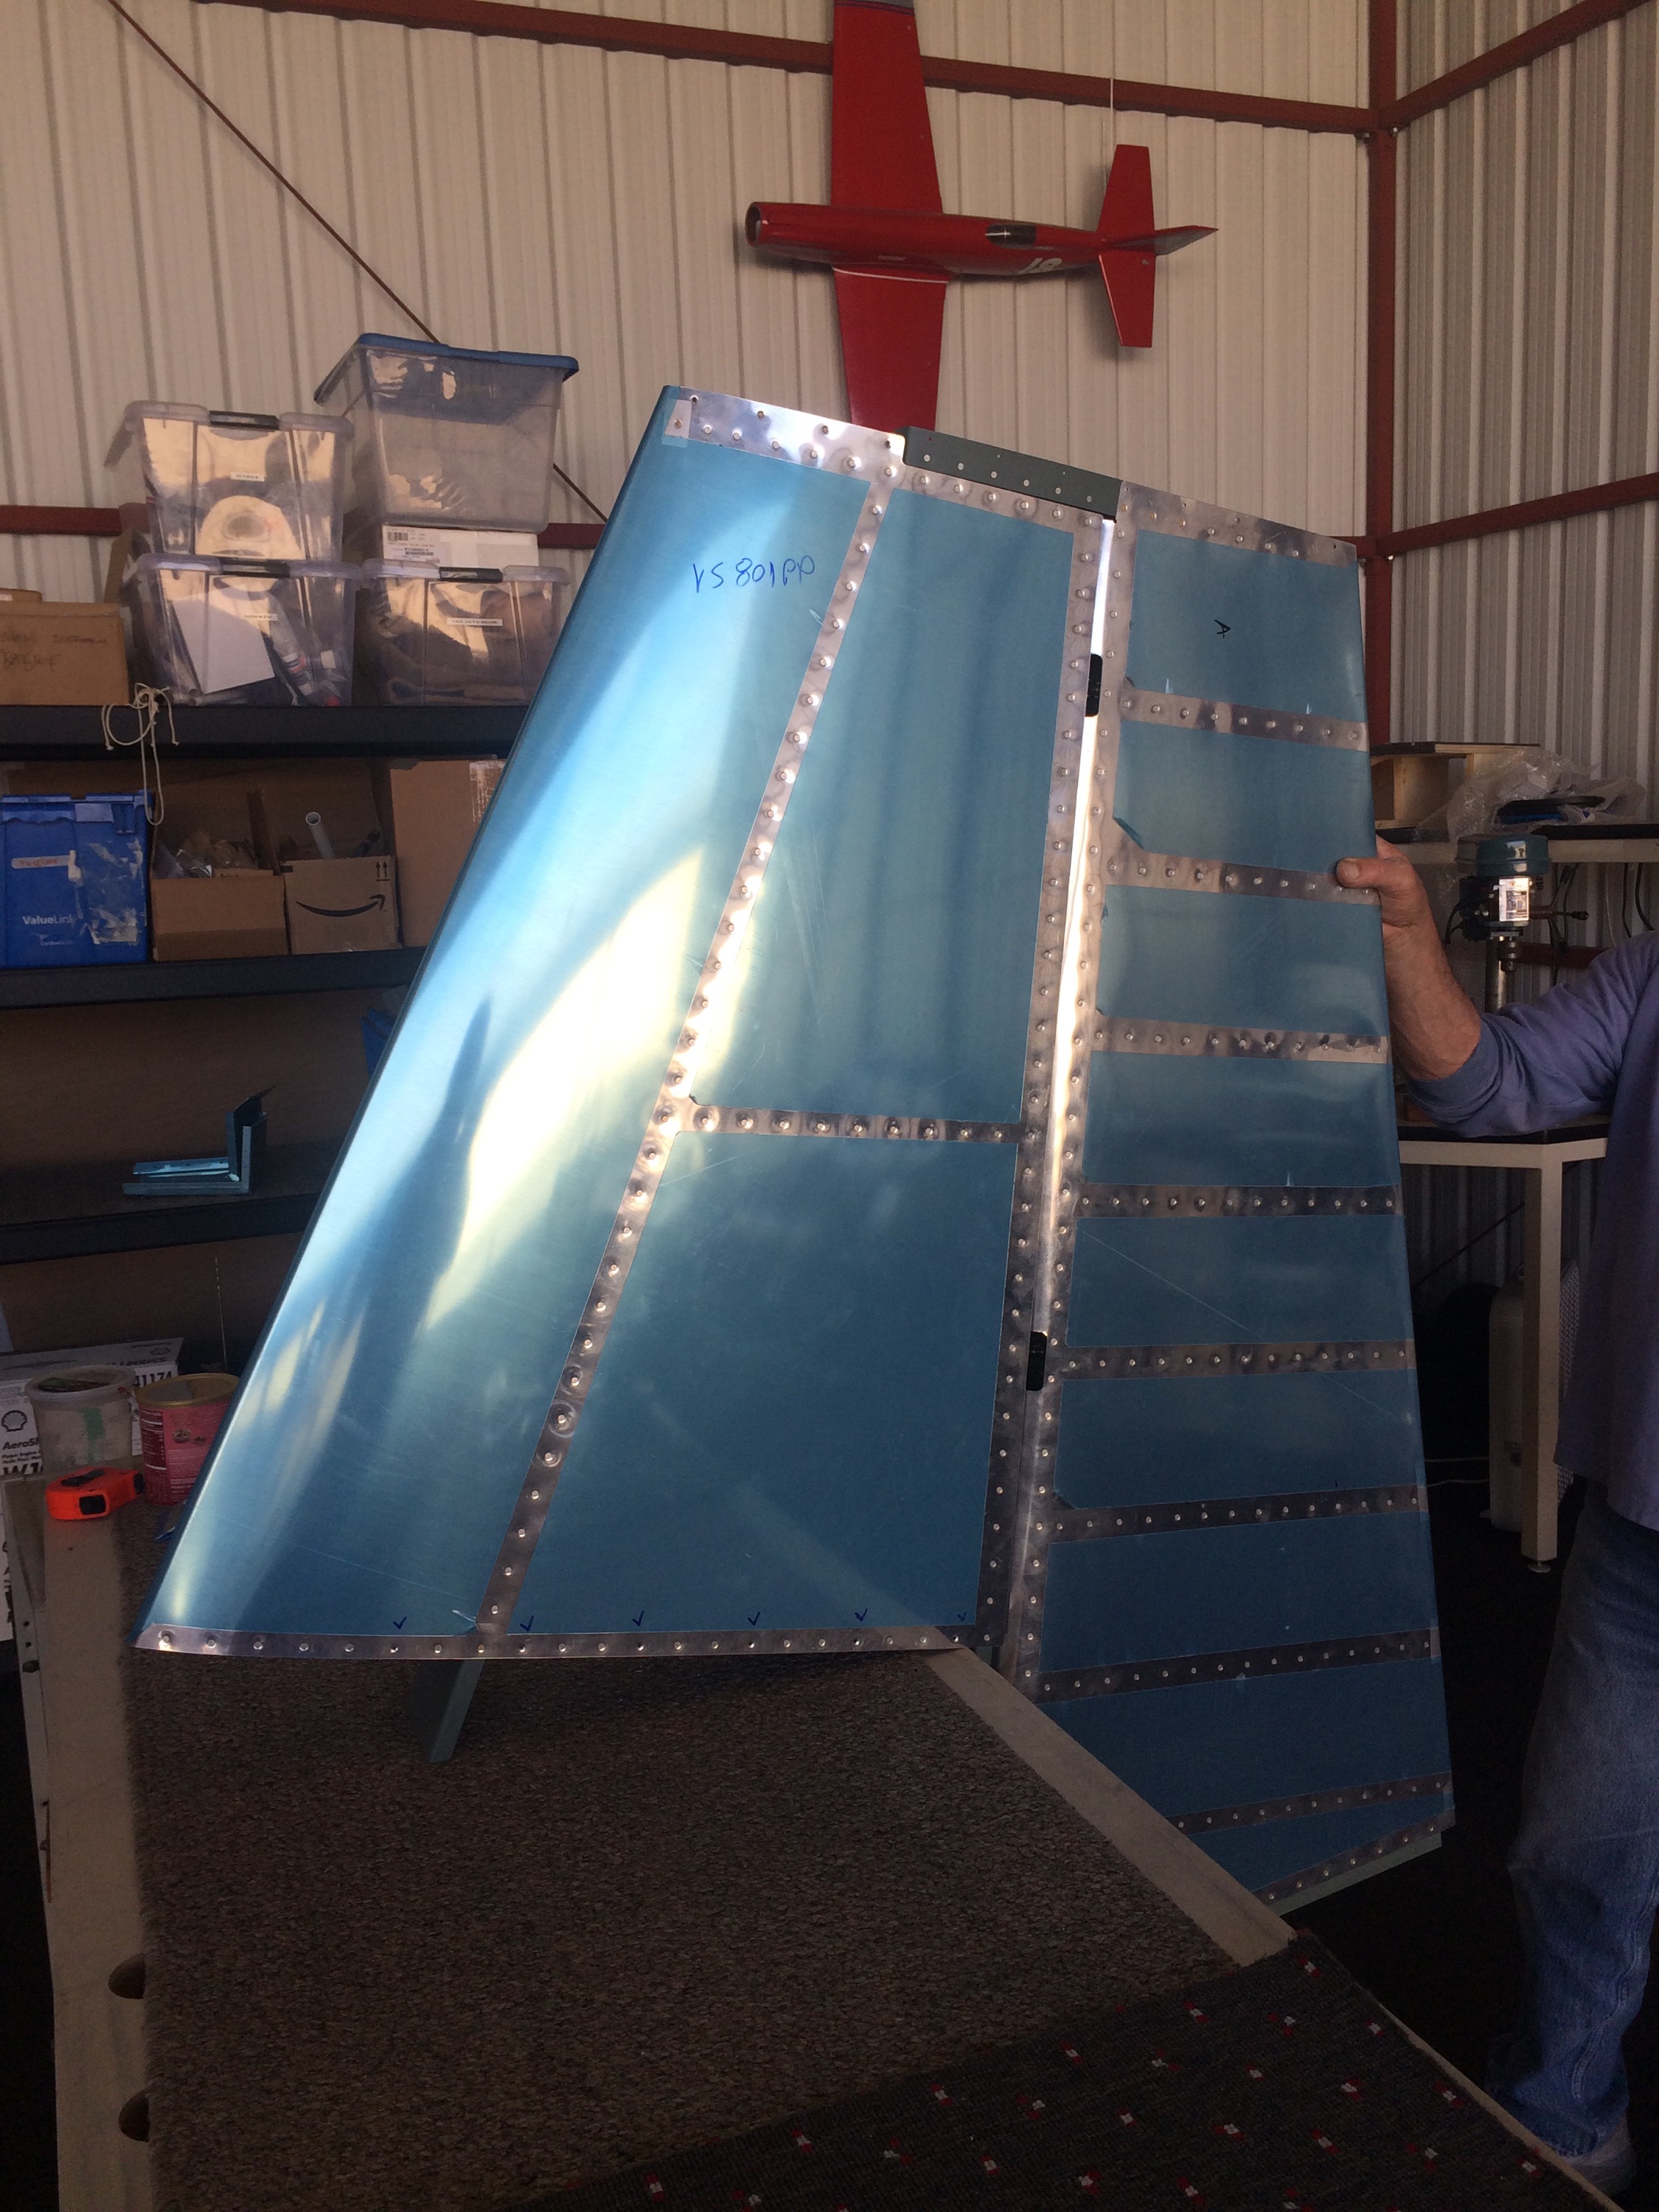
In addition to the priming, it was time to start deburring, dimpling and prepping the Vertical stabilizer for primer.
Spent more time today deburring and dimpling the right side of the elevator to get it ready for primer.
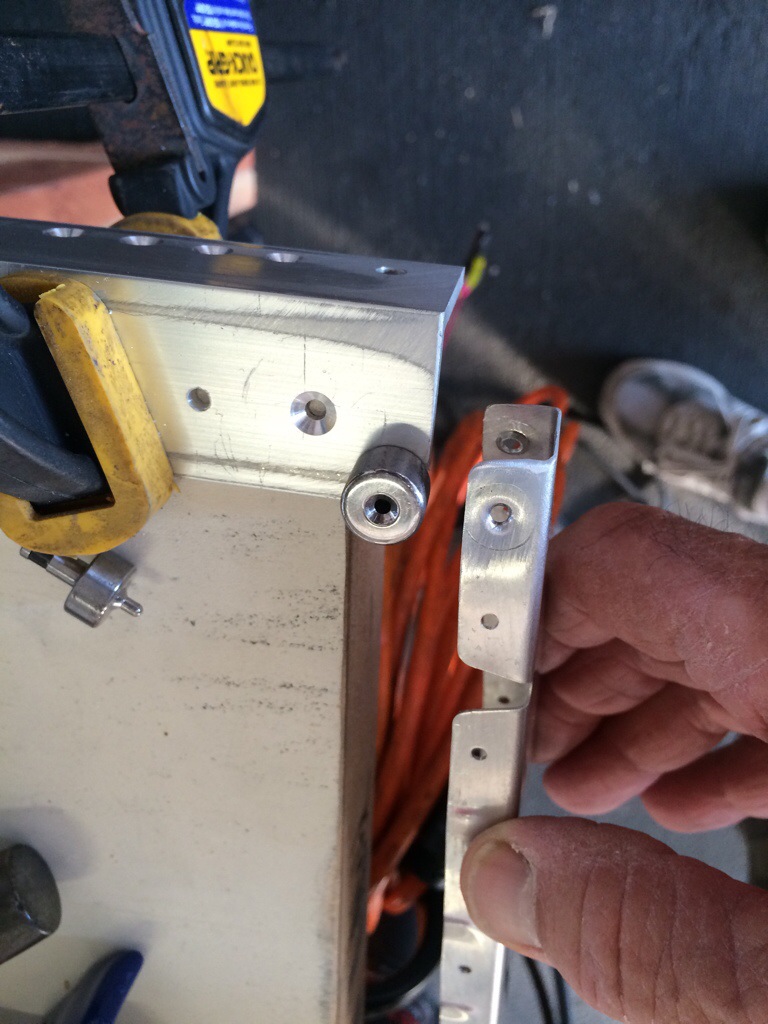
The outer rib (HS706) is too compact to dimple the forward most hole with a squeezer, so you have to get a little creative. I’ve seen close quarters dimple die sets, which is basically just a bar with a countersink drilled in it, but we decided to do something different. We found that the full dimple would fit inside the rib w/o the squeezer, so we clamped a piece of scrap to the table and drilled a hole in it so the dimple set could be pushed through it. We then slide the rib over the dimple and tapped it with a hammer. Voila!
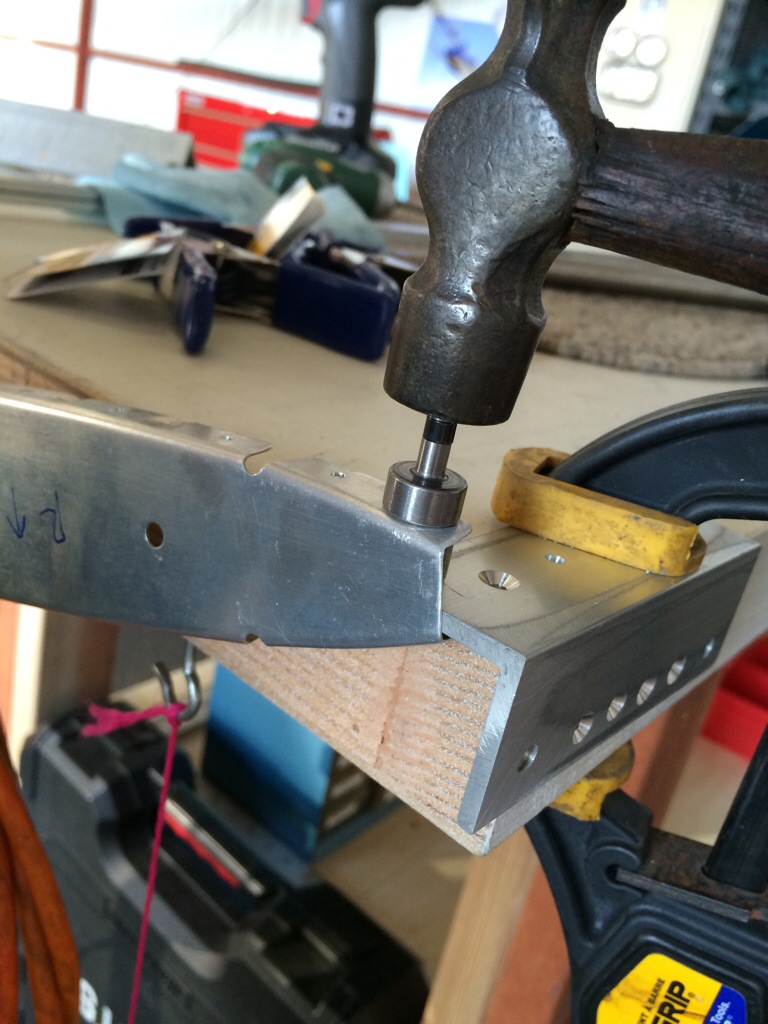
Top down view of the scrap clamped to the table.
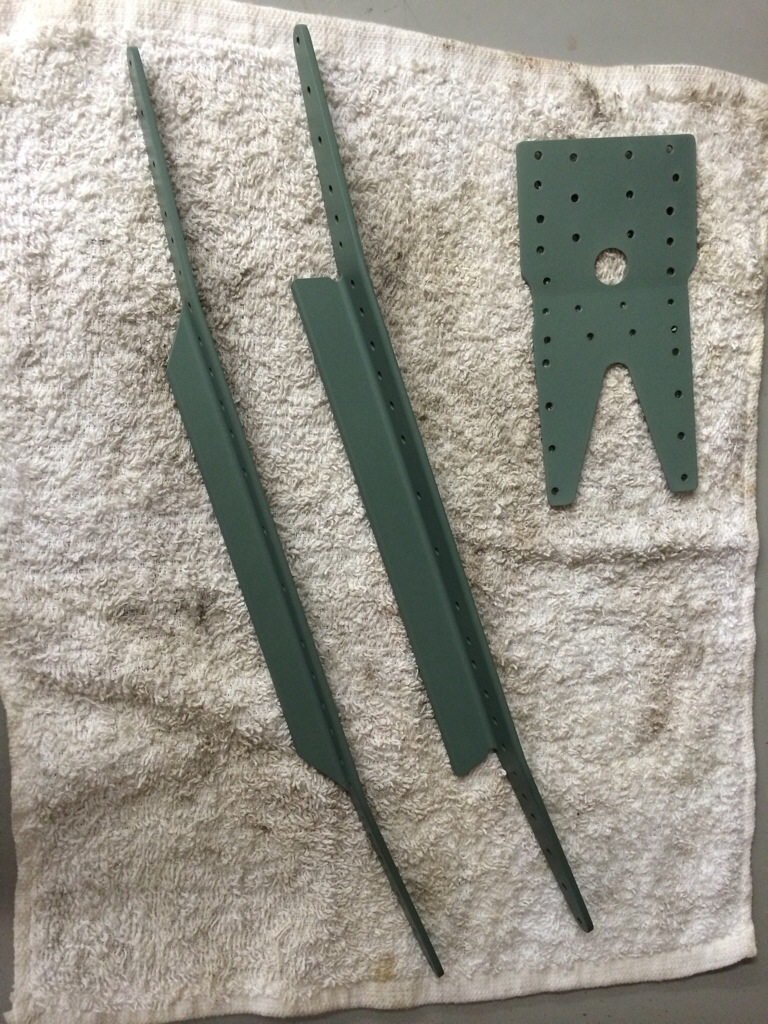
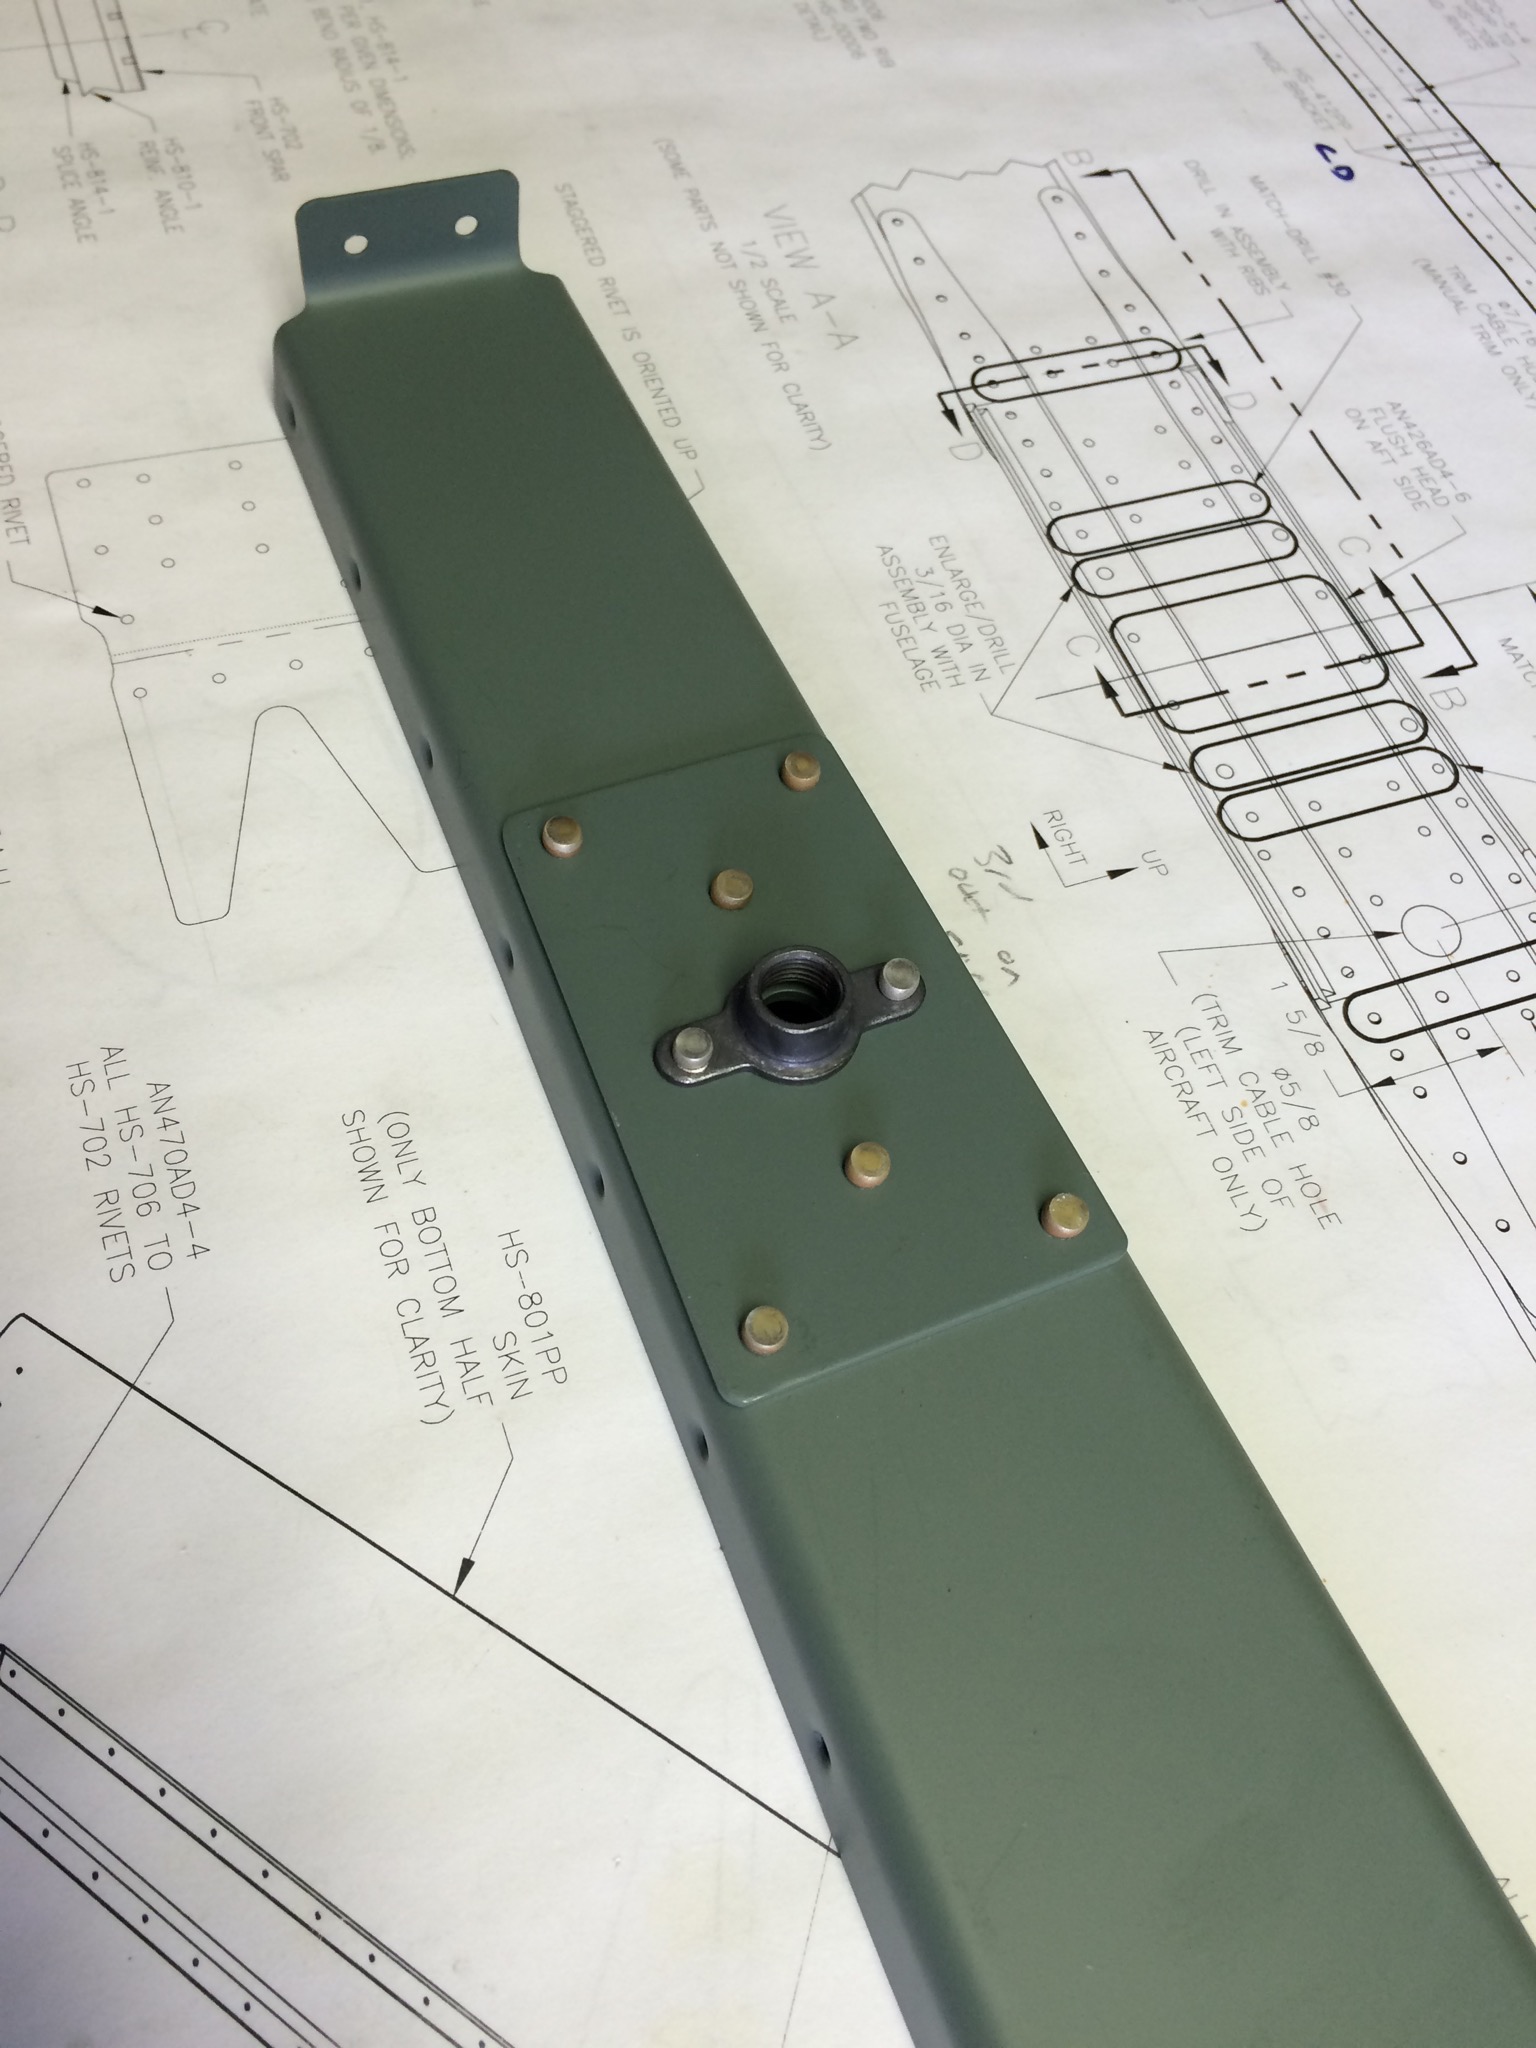
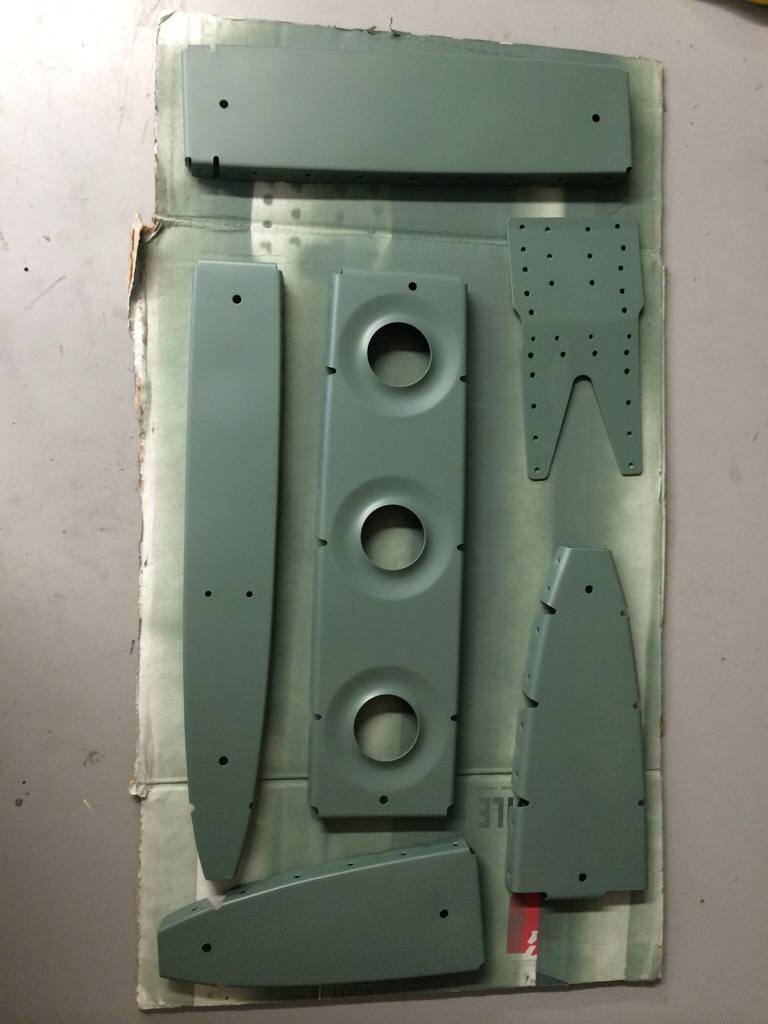
I decided to test out the SEM Primer and Prekote on a few of the Horizontal parts before I went ahead with priming all the Horizontal parts. I also couldn’t figure out the best way to keep the Left and Right side parts seperate, so I only took home the easily identifiable parts (like HS810 and HS814) along with the Left side parts (Spar, Ribs, etc).
For the Prekote process, I sprayed the parts liberally and hit them with the scotchbrite pad again. Once that step was complete, I rinsed them with the hose into a bucket. I then took and sprayed Prekote on all parts a second time, and once again rinsed them in the bucket. I let them dry completely and then sprayed them with the SEM Primer. Below is a photo of the parts I tested with the primer.