Change elevator trim to electric. Rivet on new horn, fit mount and install servo into elevator . Test on bench.
Change elevator trim to electric. Rivet on new horn, fit mount and install servo into elevator . Test on bench.
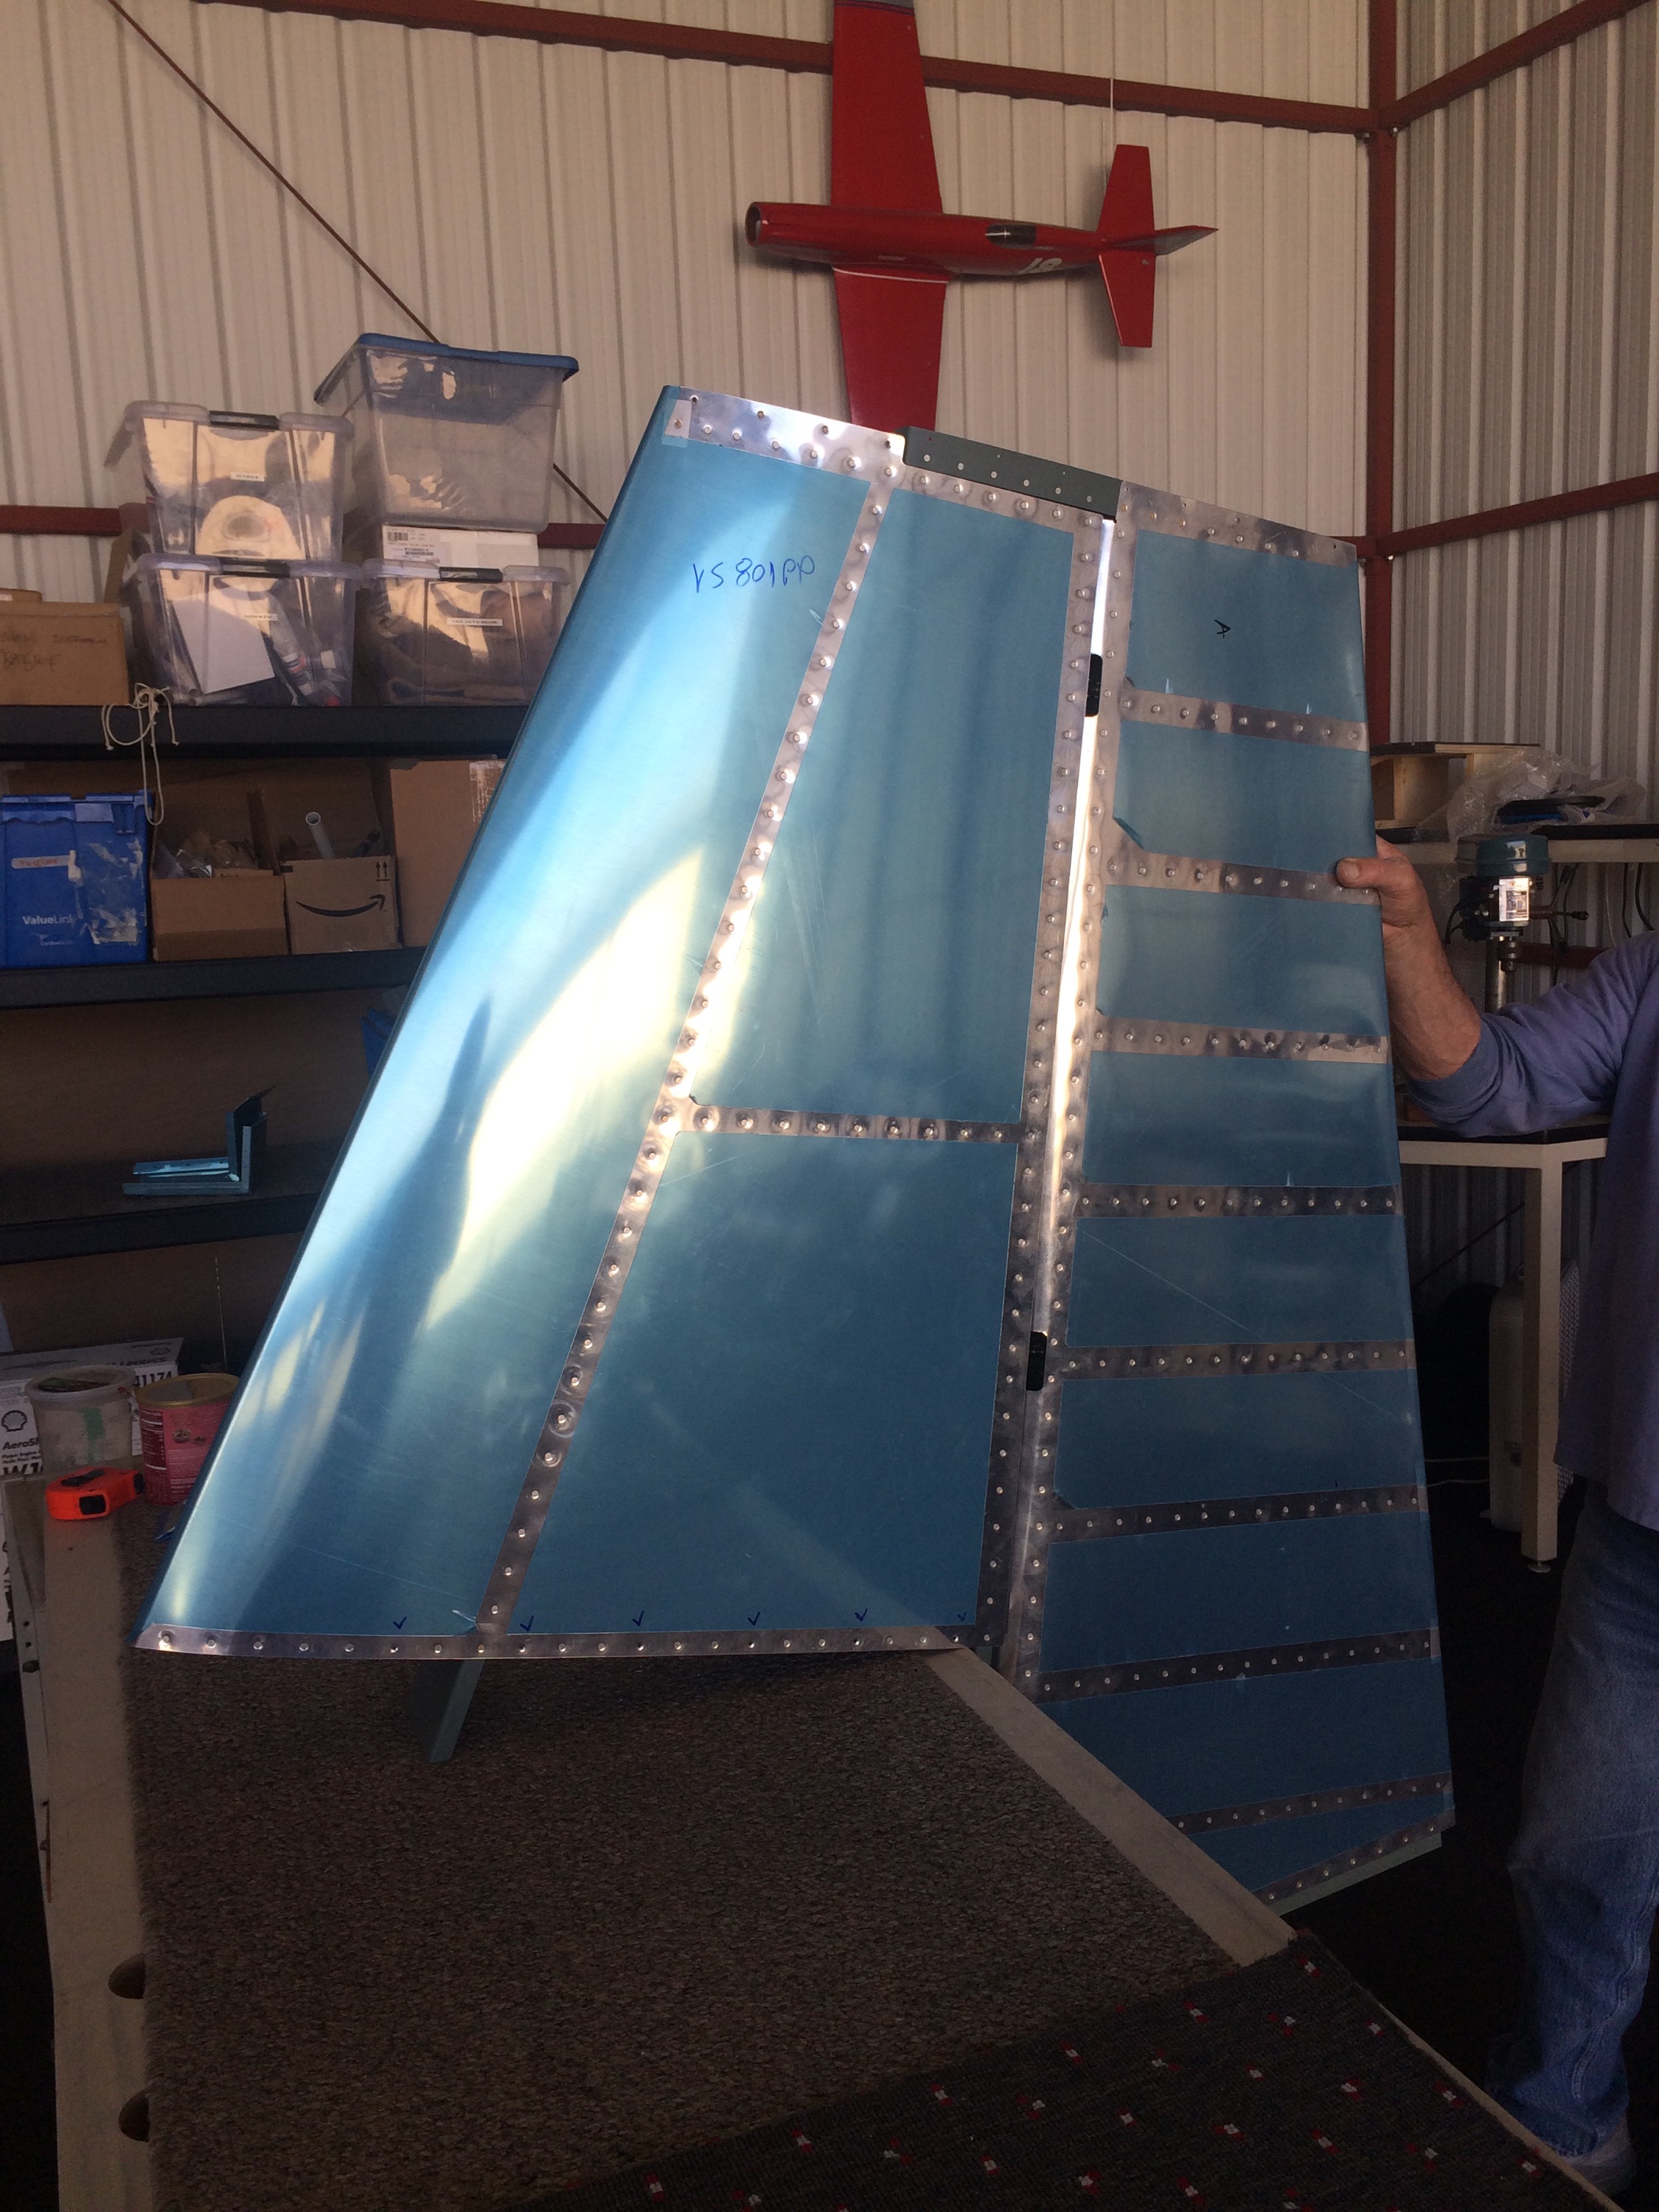
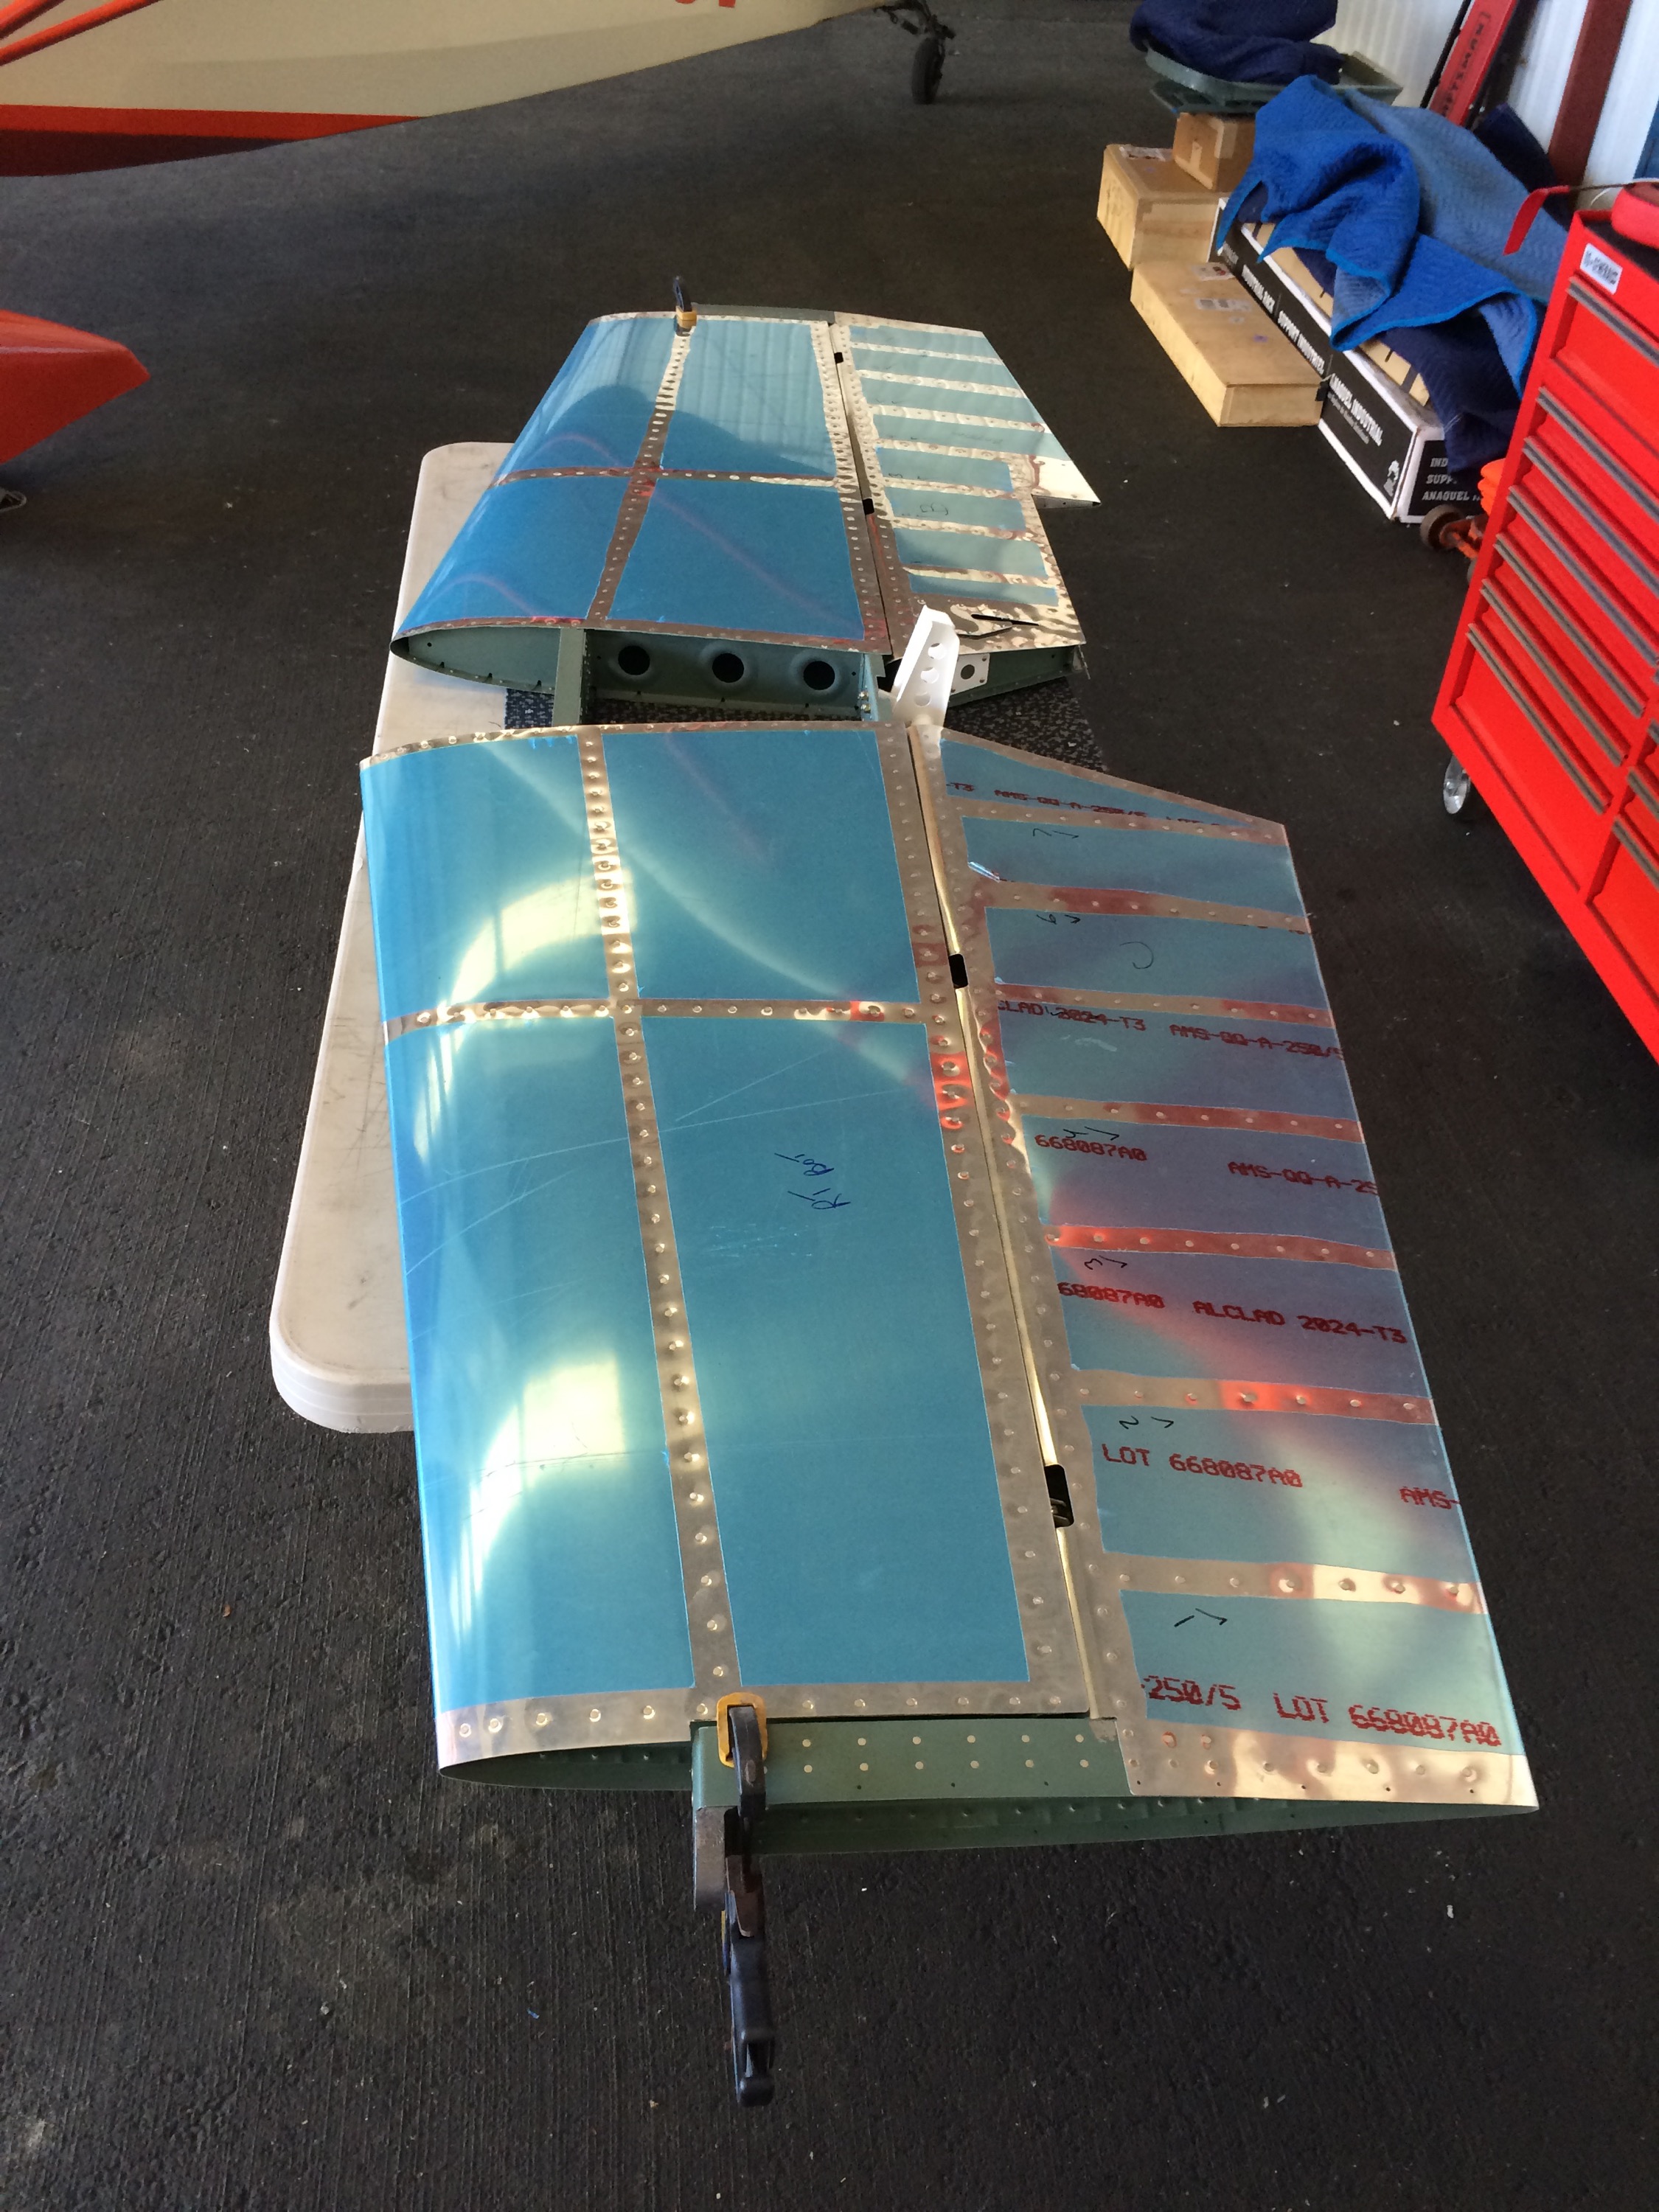
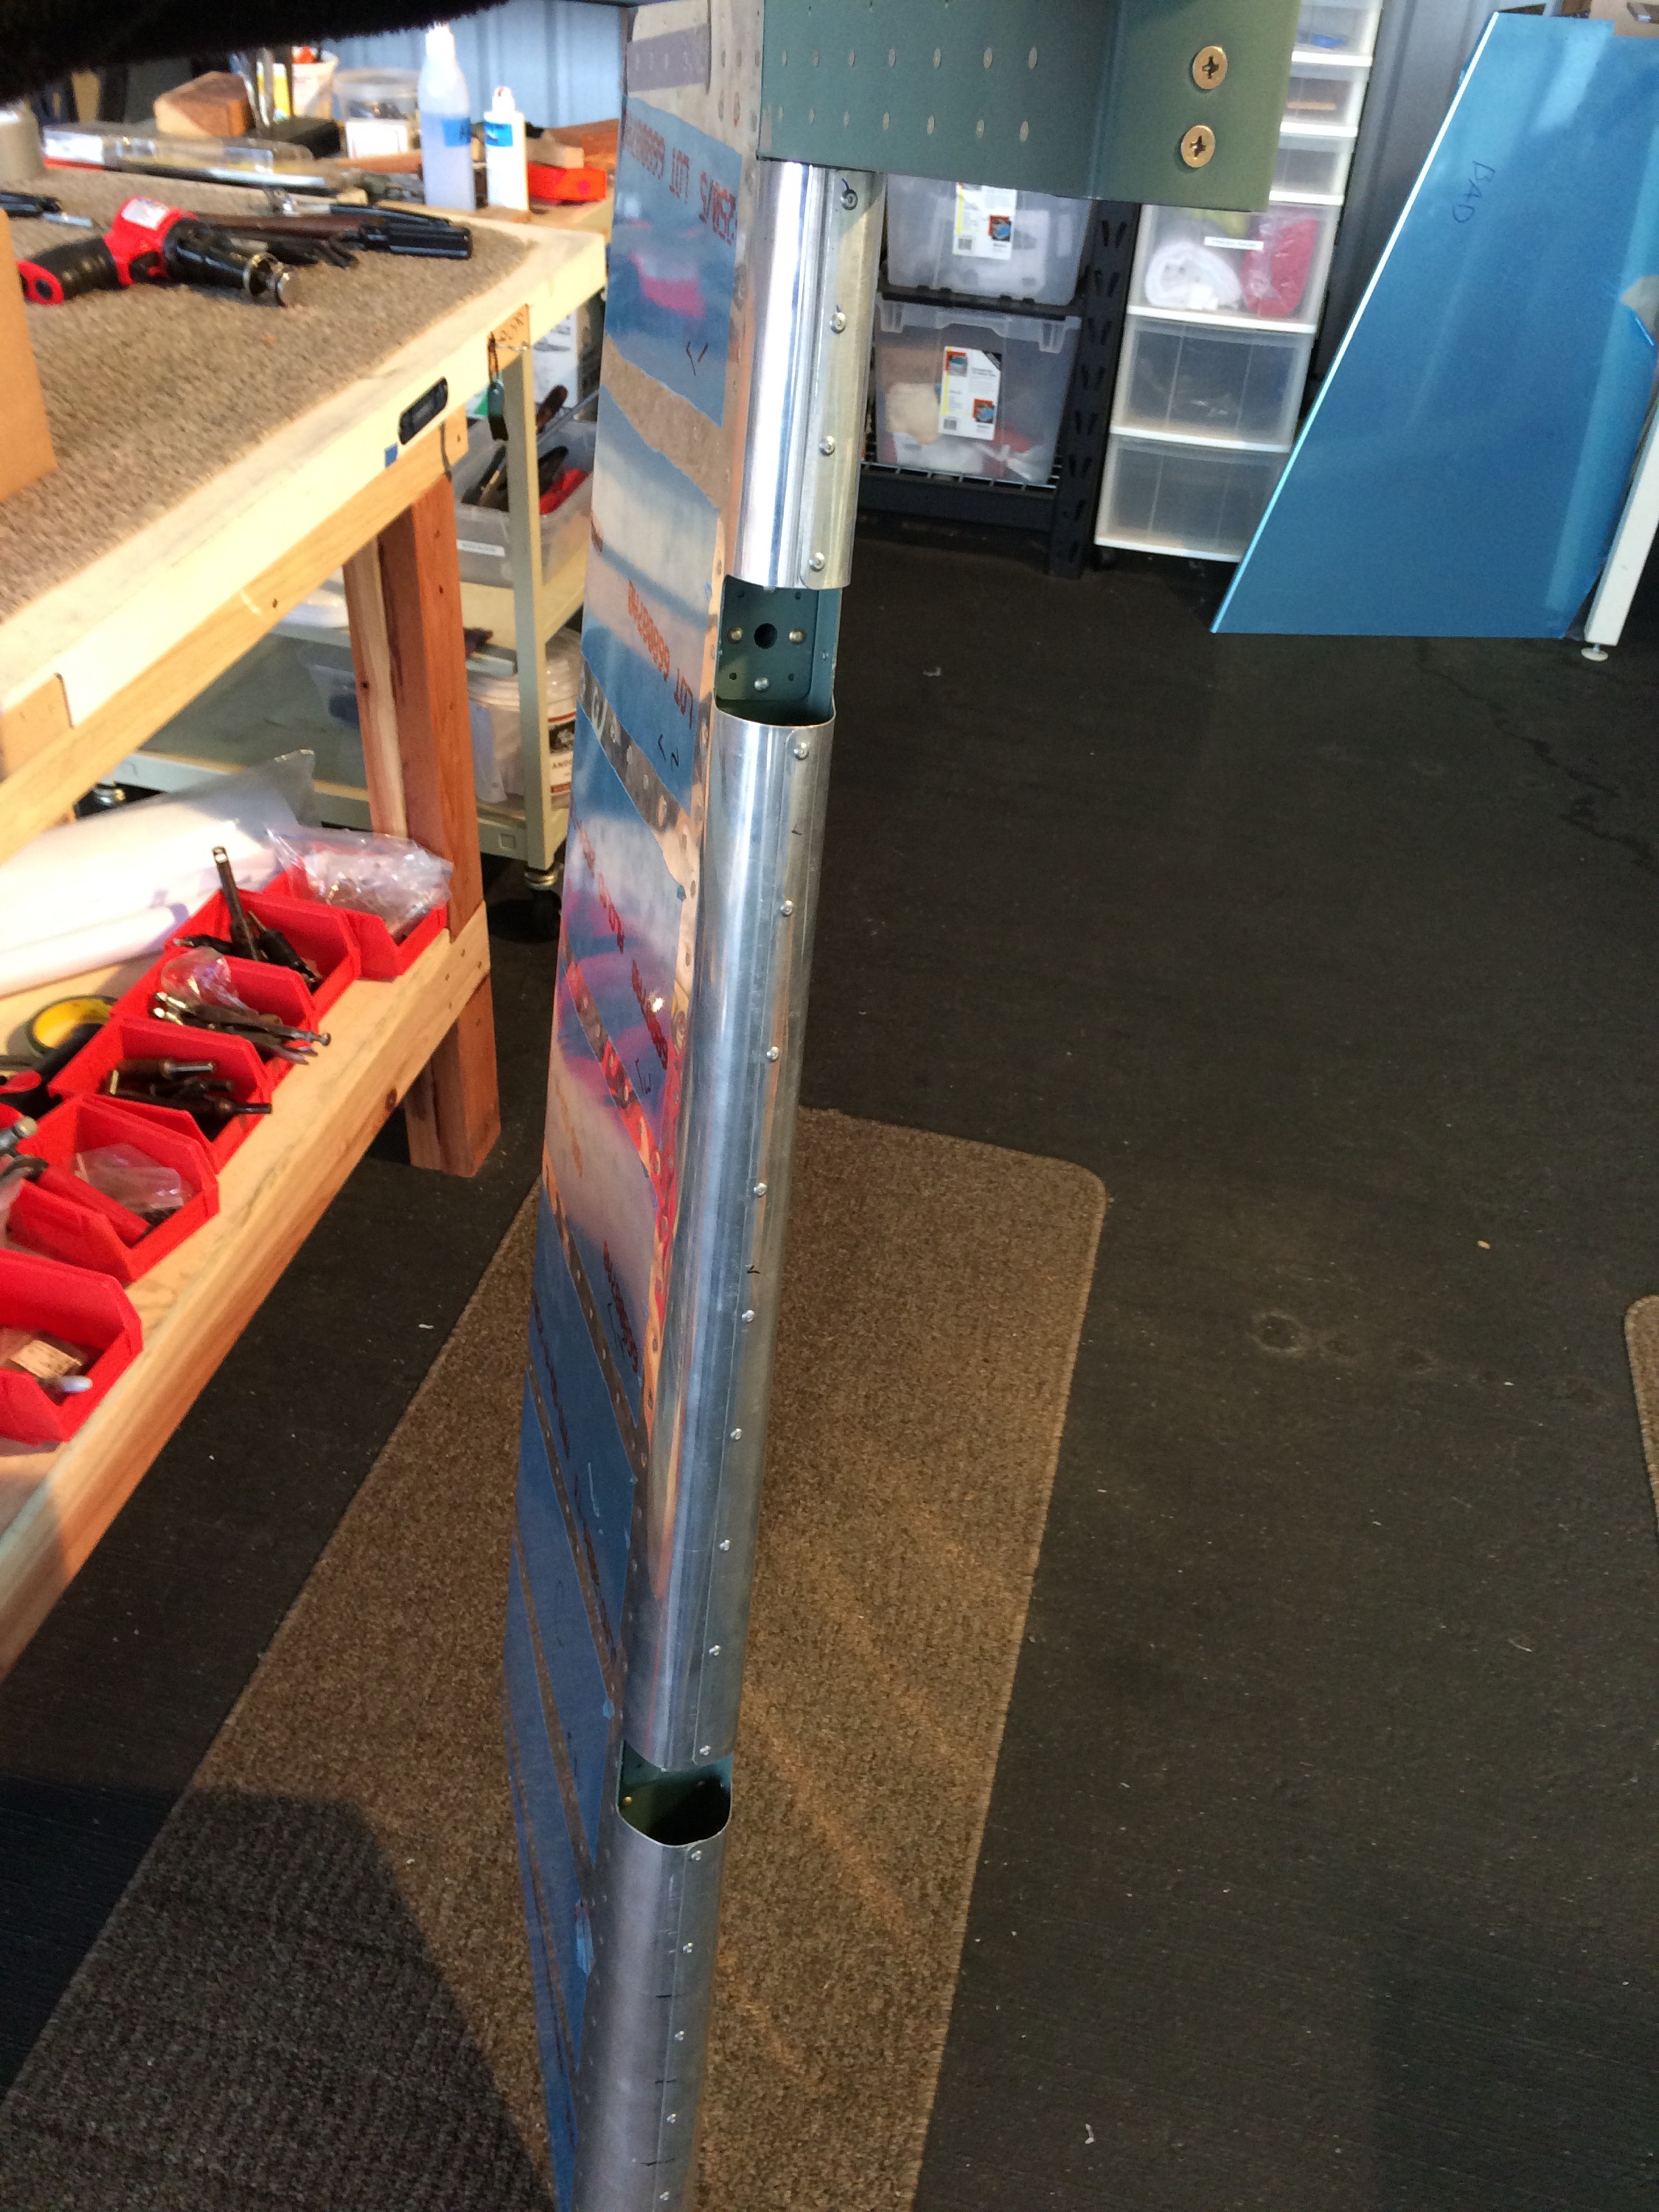
Finished getting the vertical mounted and riveted the front joiner and spacer to the spar. Got the holes into the Horizontal drilled to final size, and bolted down as well.

Next it was time to work on the Elevator horns and get them drilled. 
Unlike some other builders, our horns were pretty well in line with each other and the hole for the pushrod end ended up perfect.

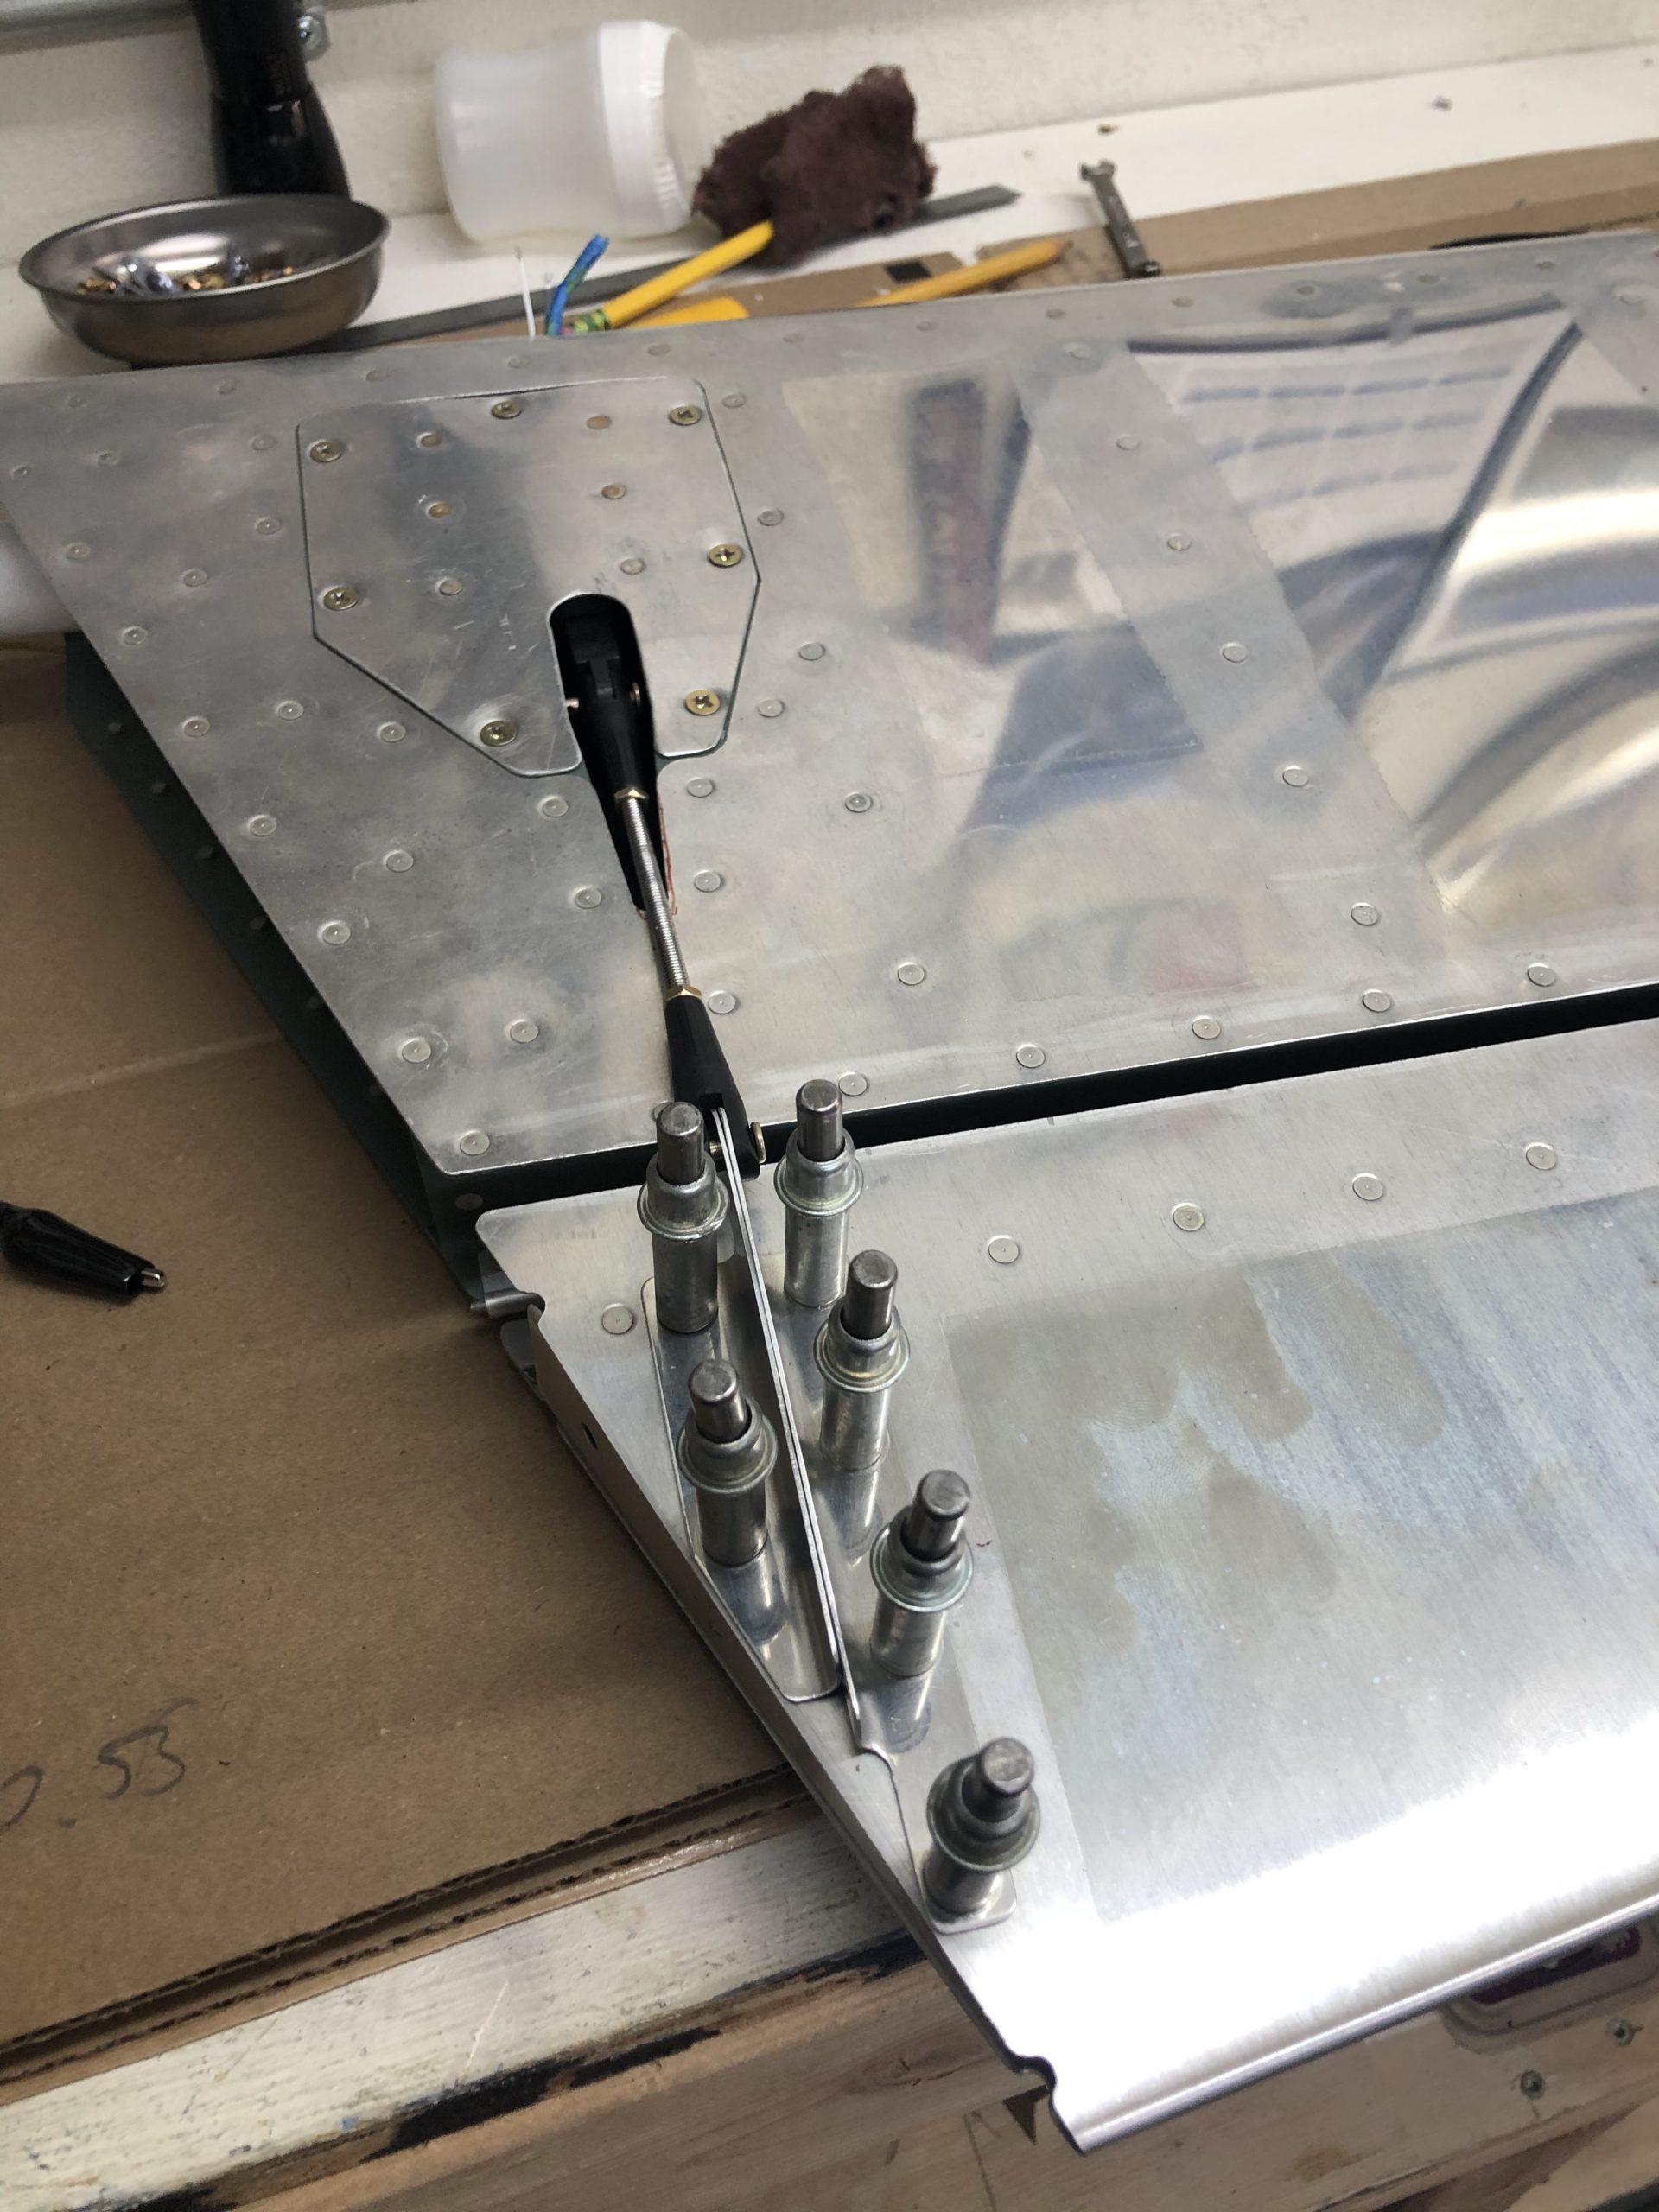
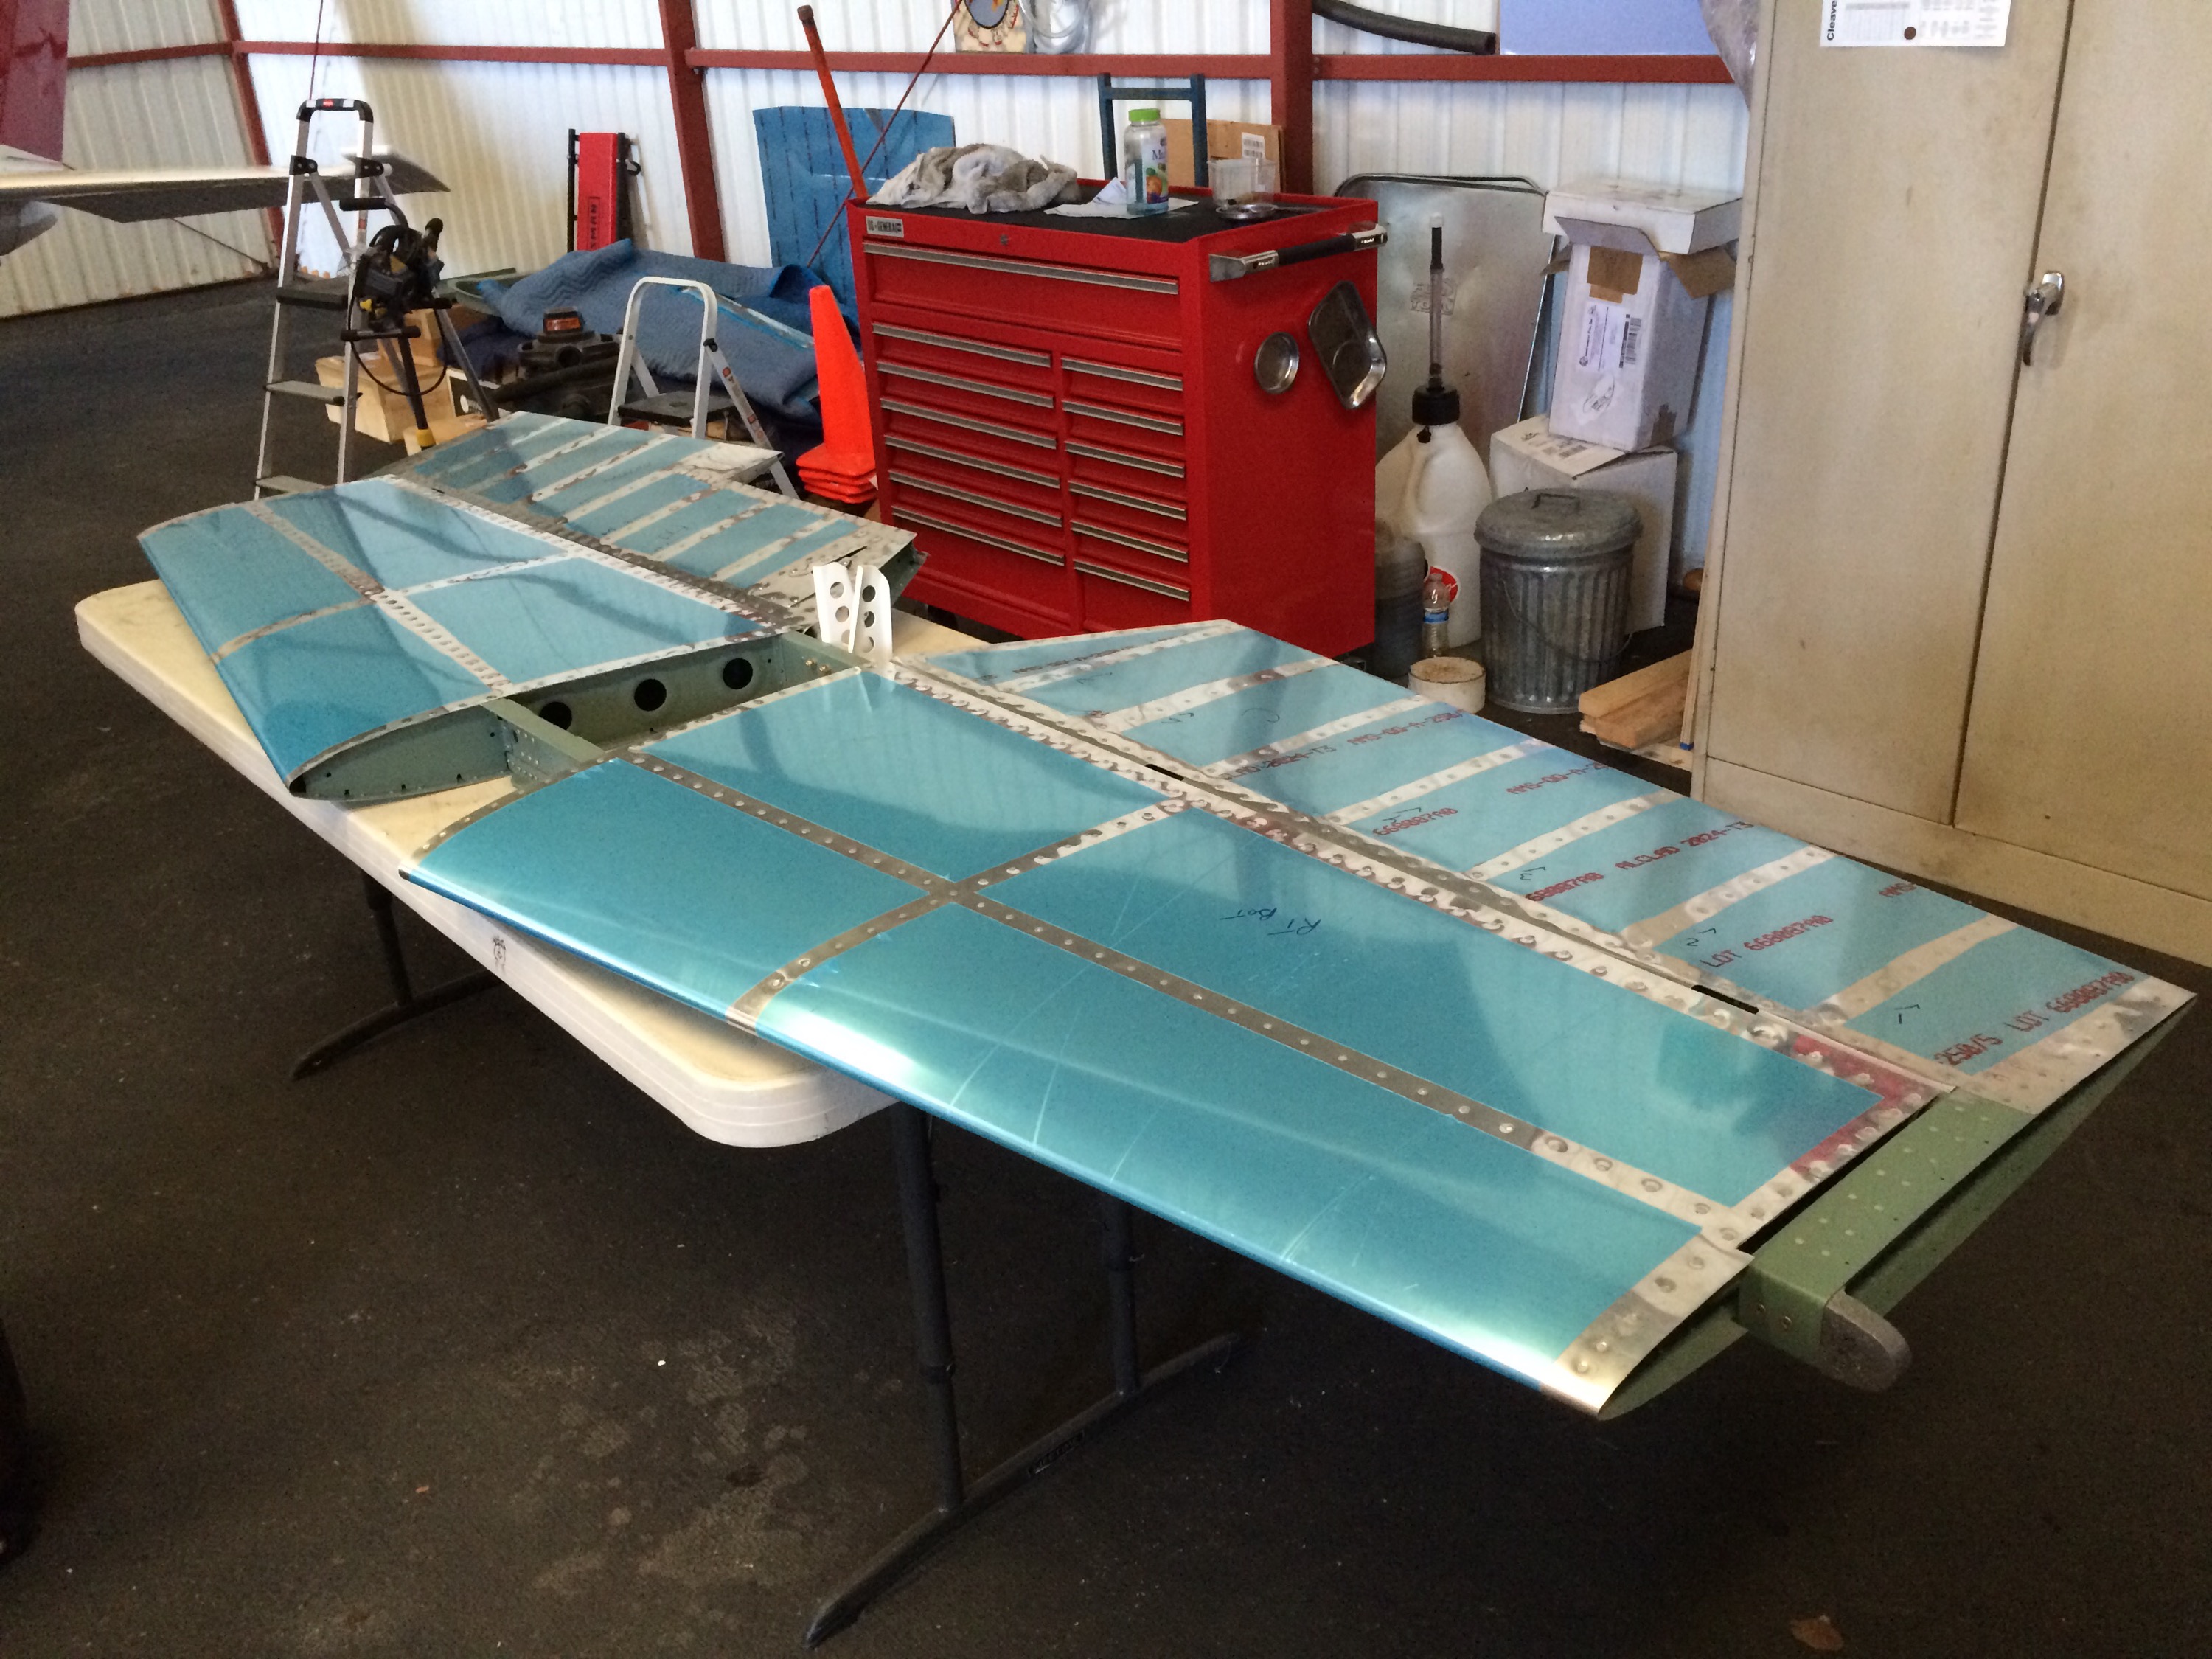
Spent time getting the Elevators and Rudder attached.
As expected, Had to trim HS603pp to make clearance for the elevator horns.
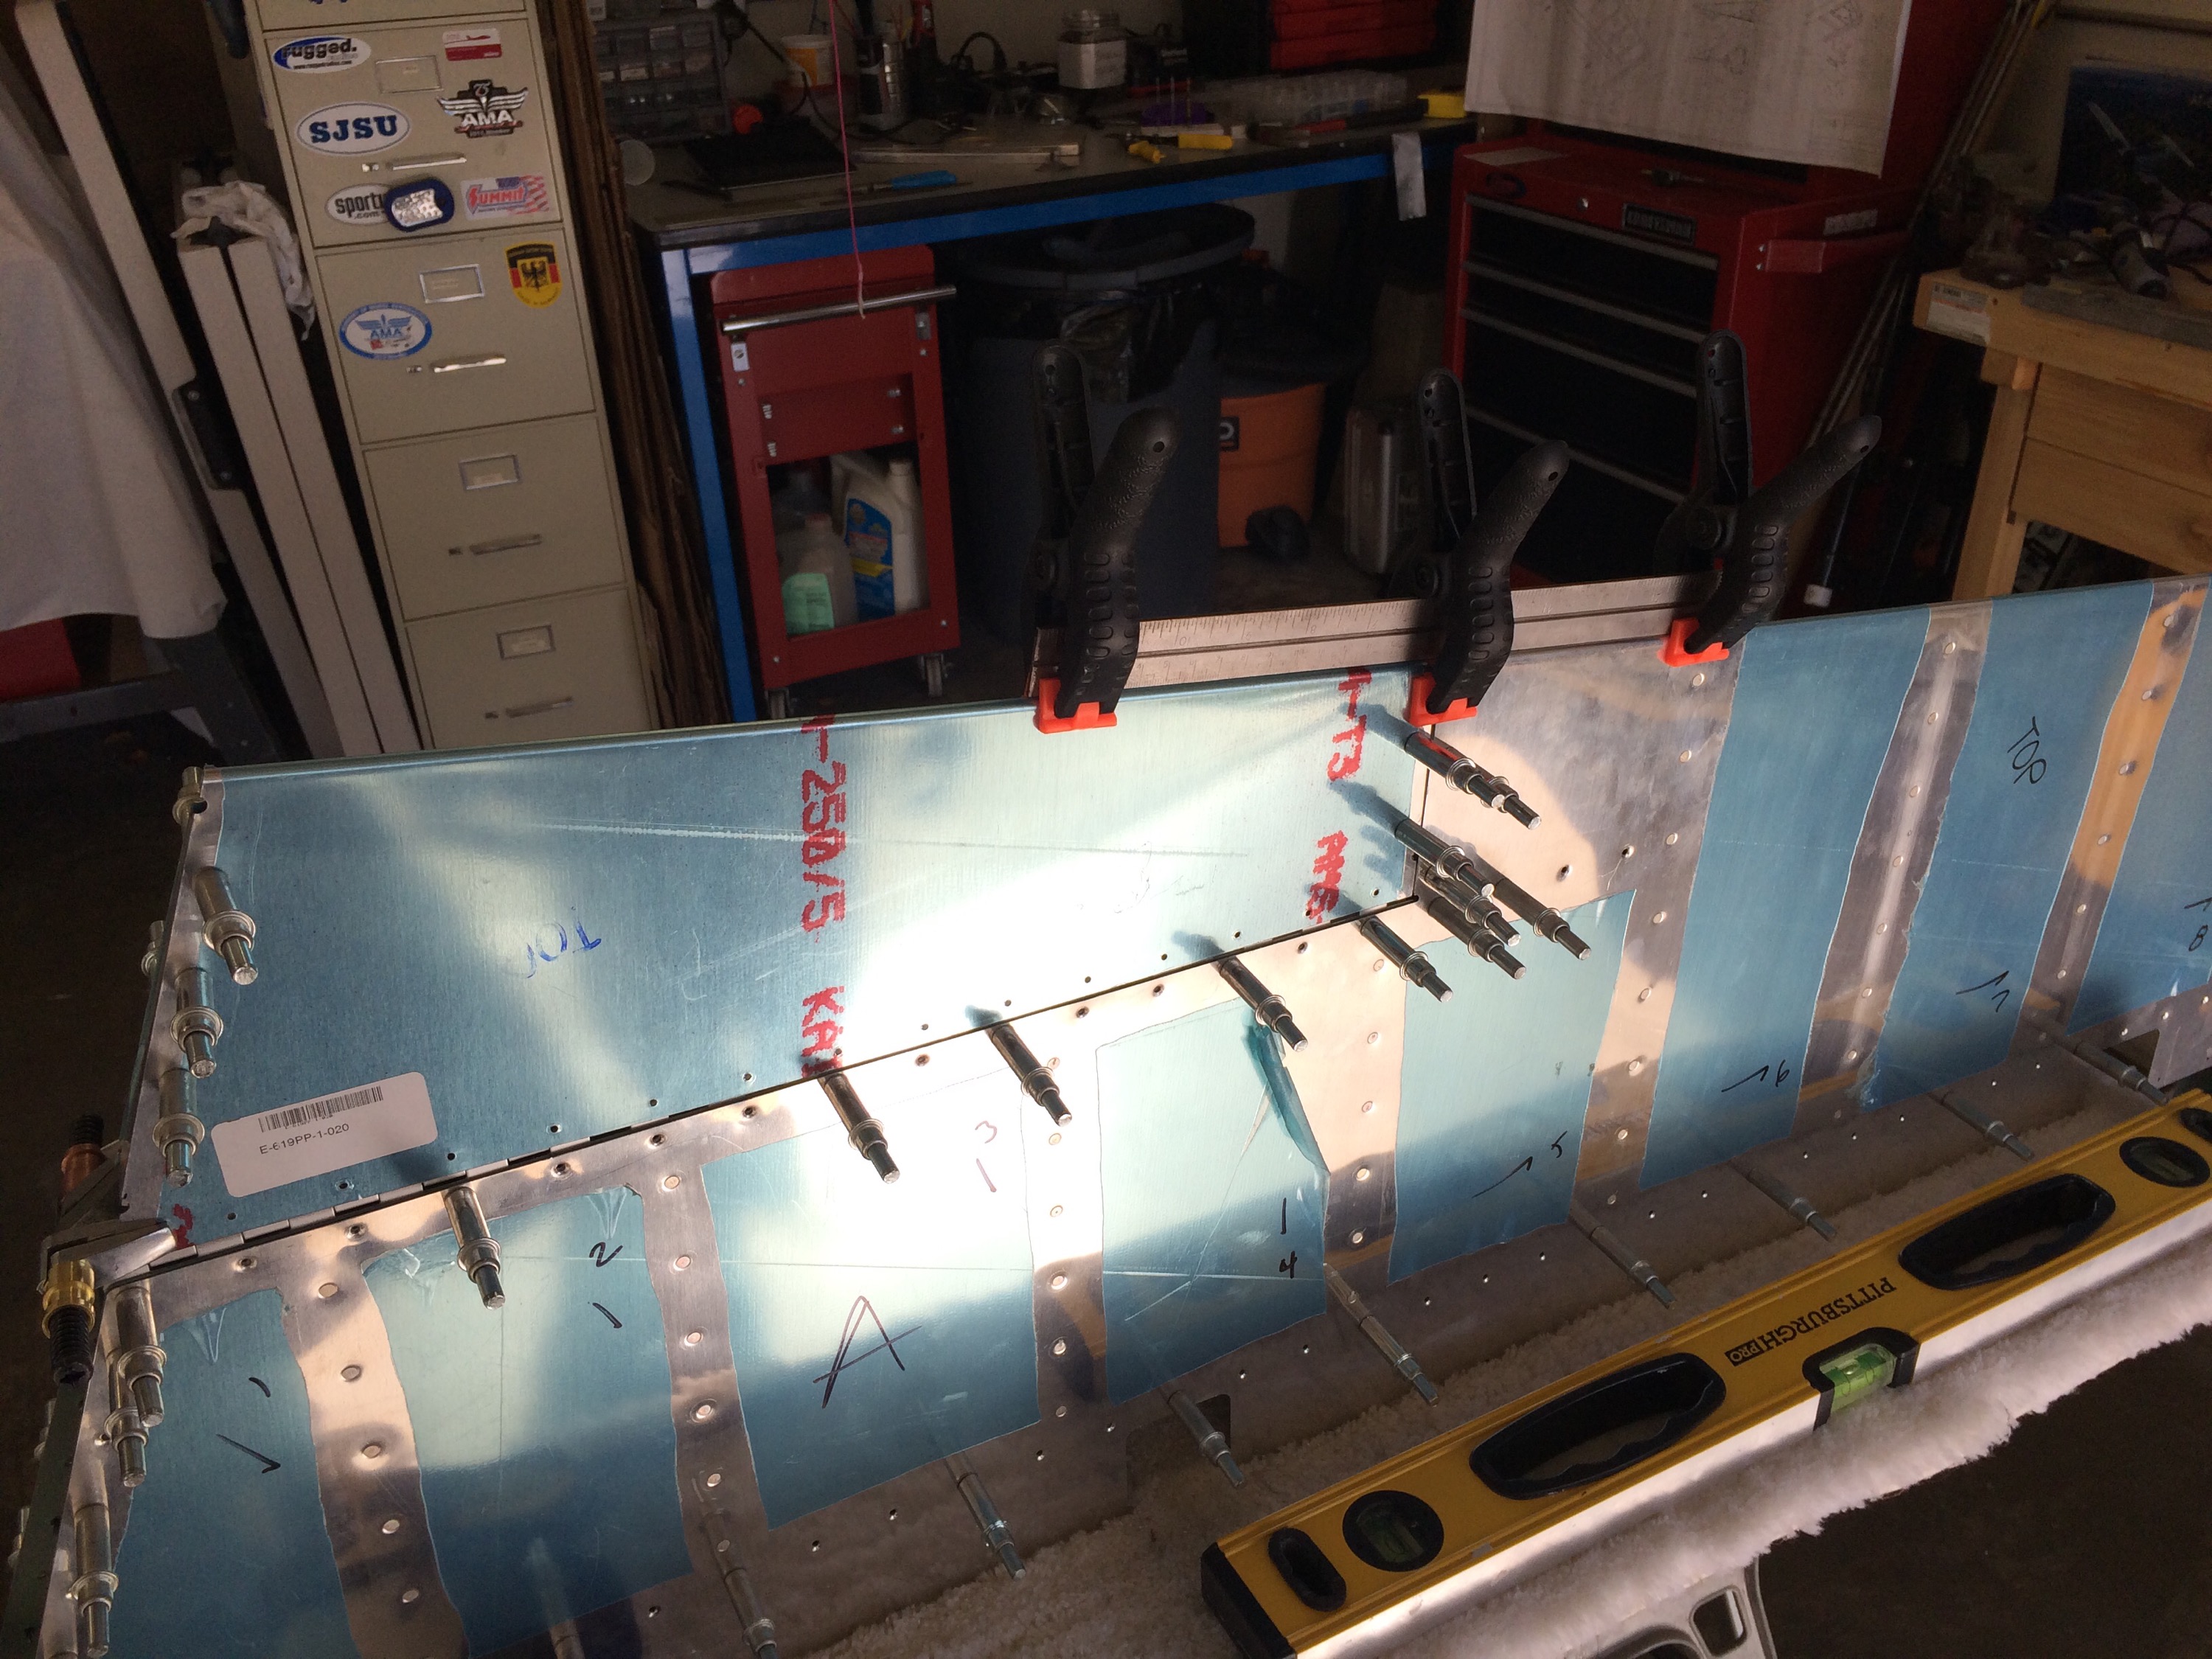
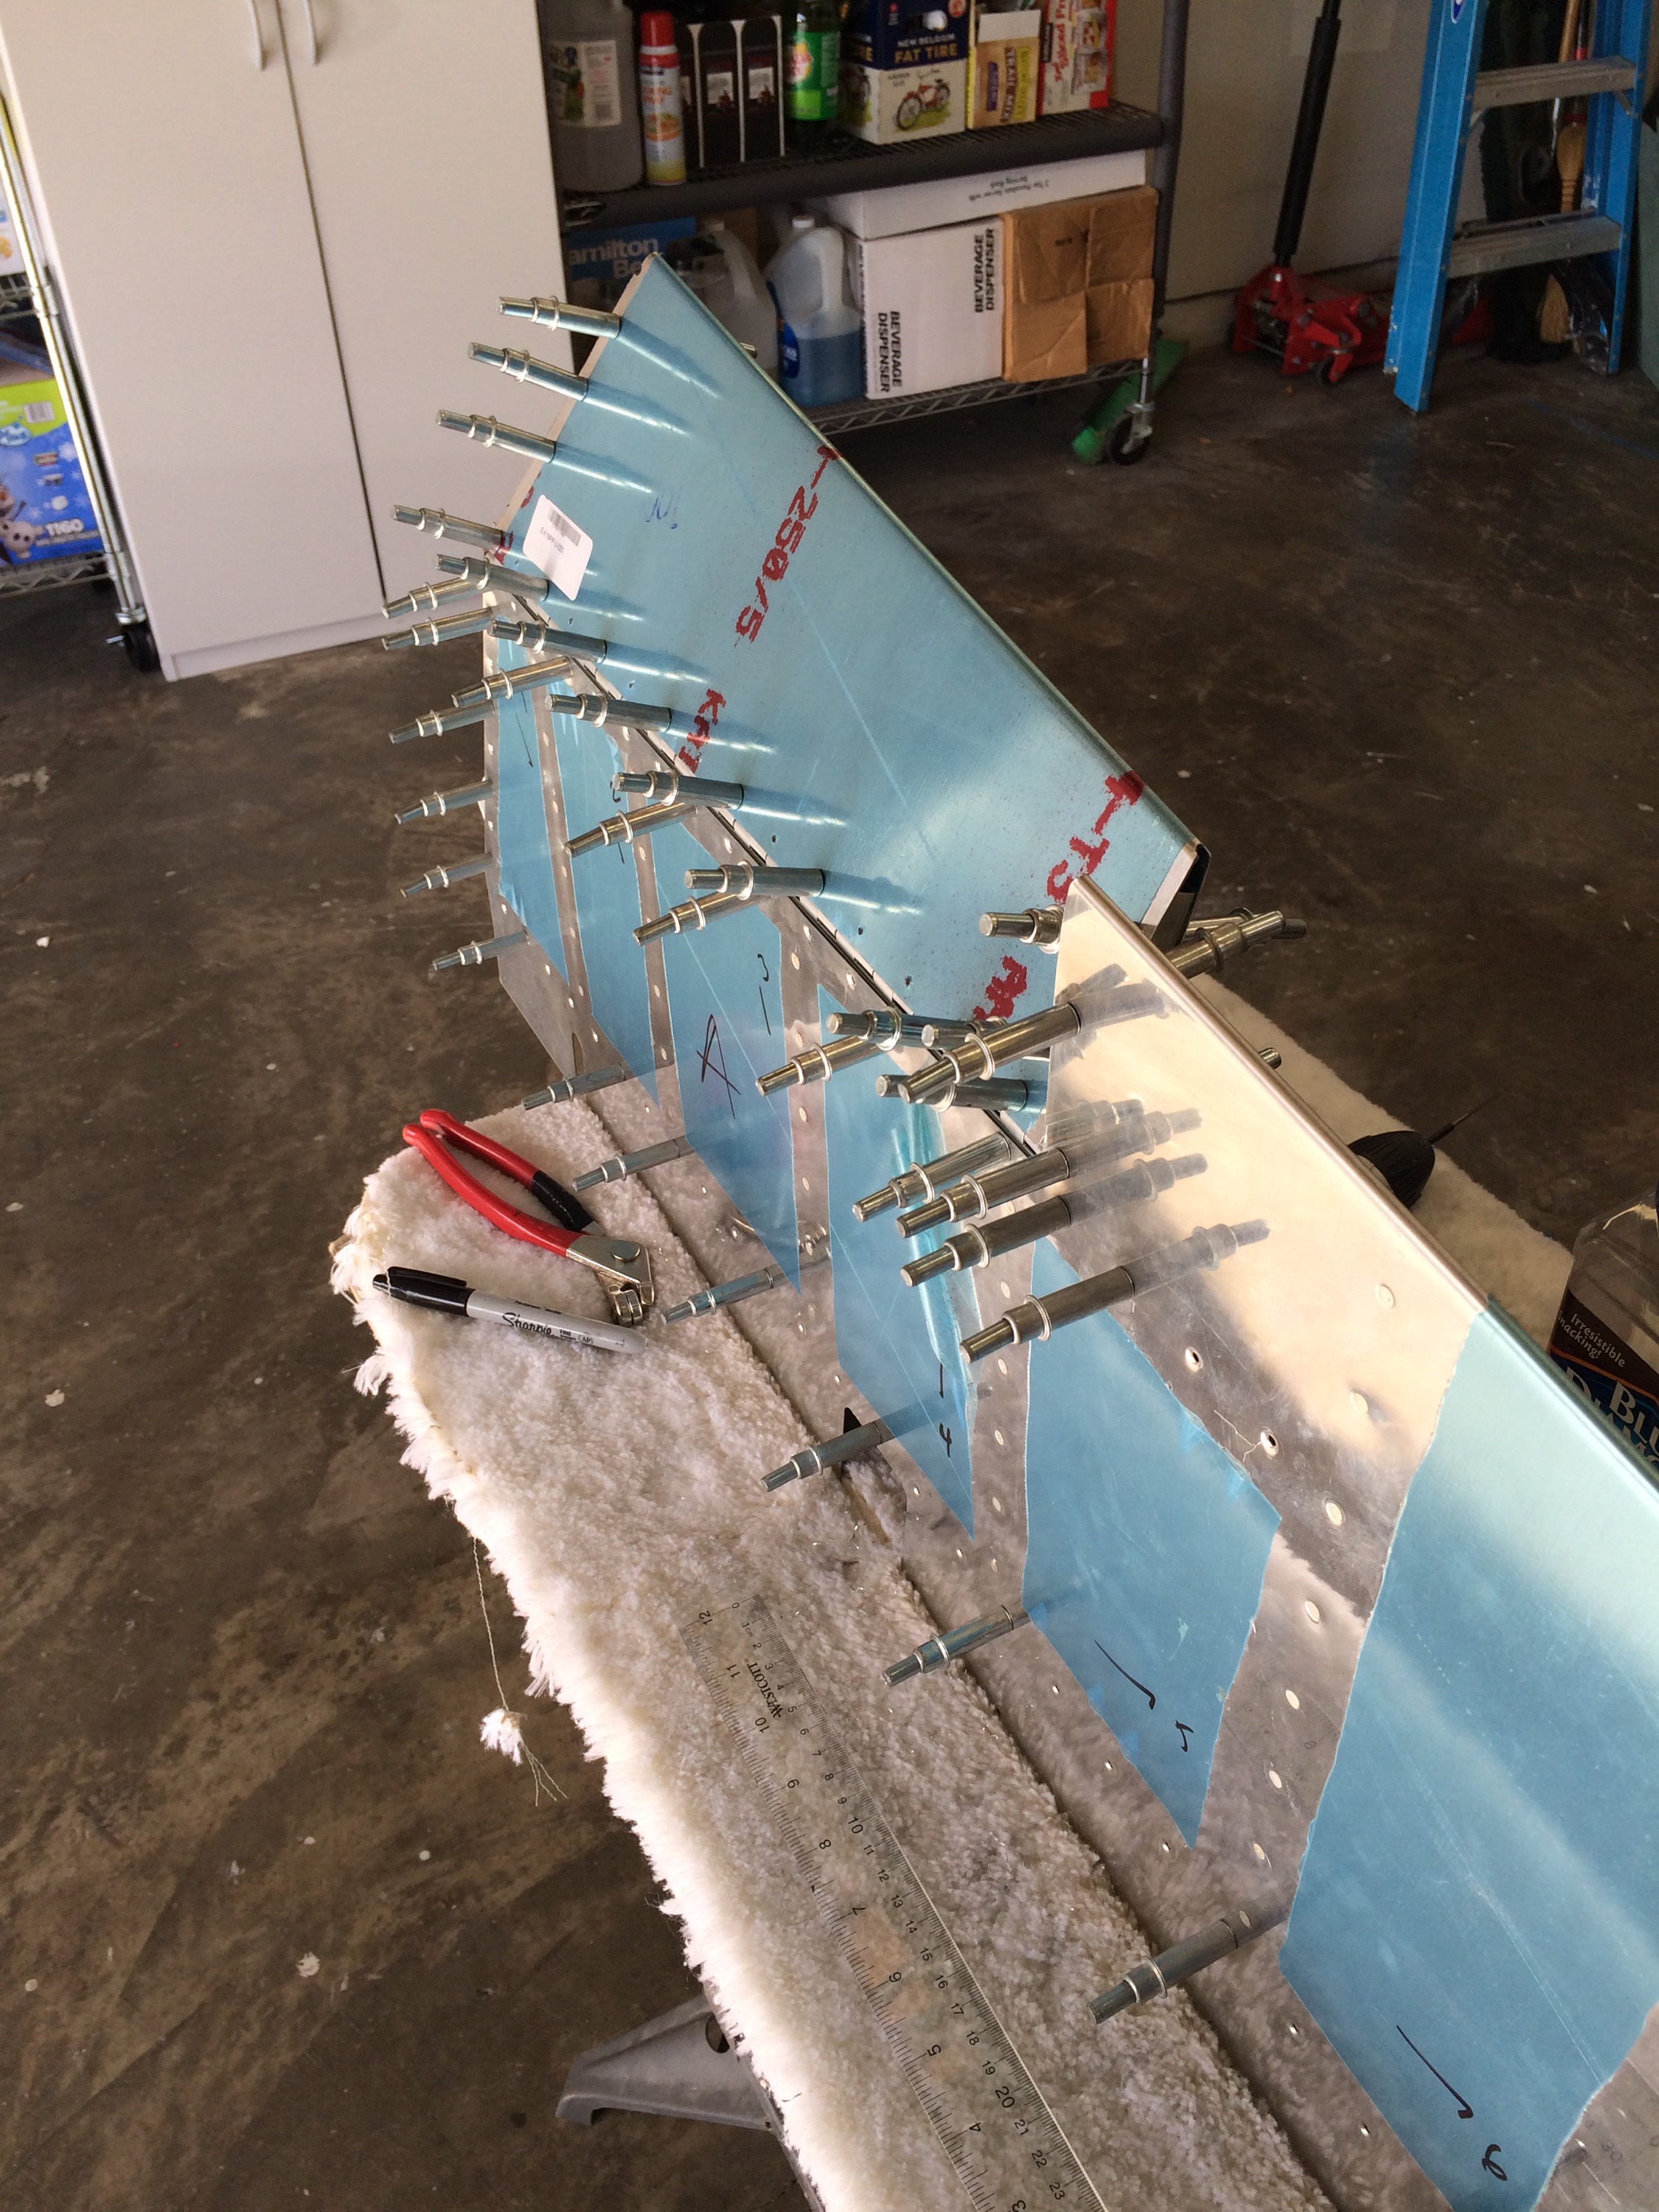
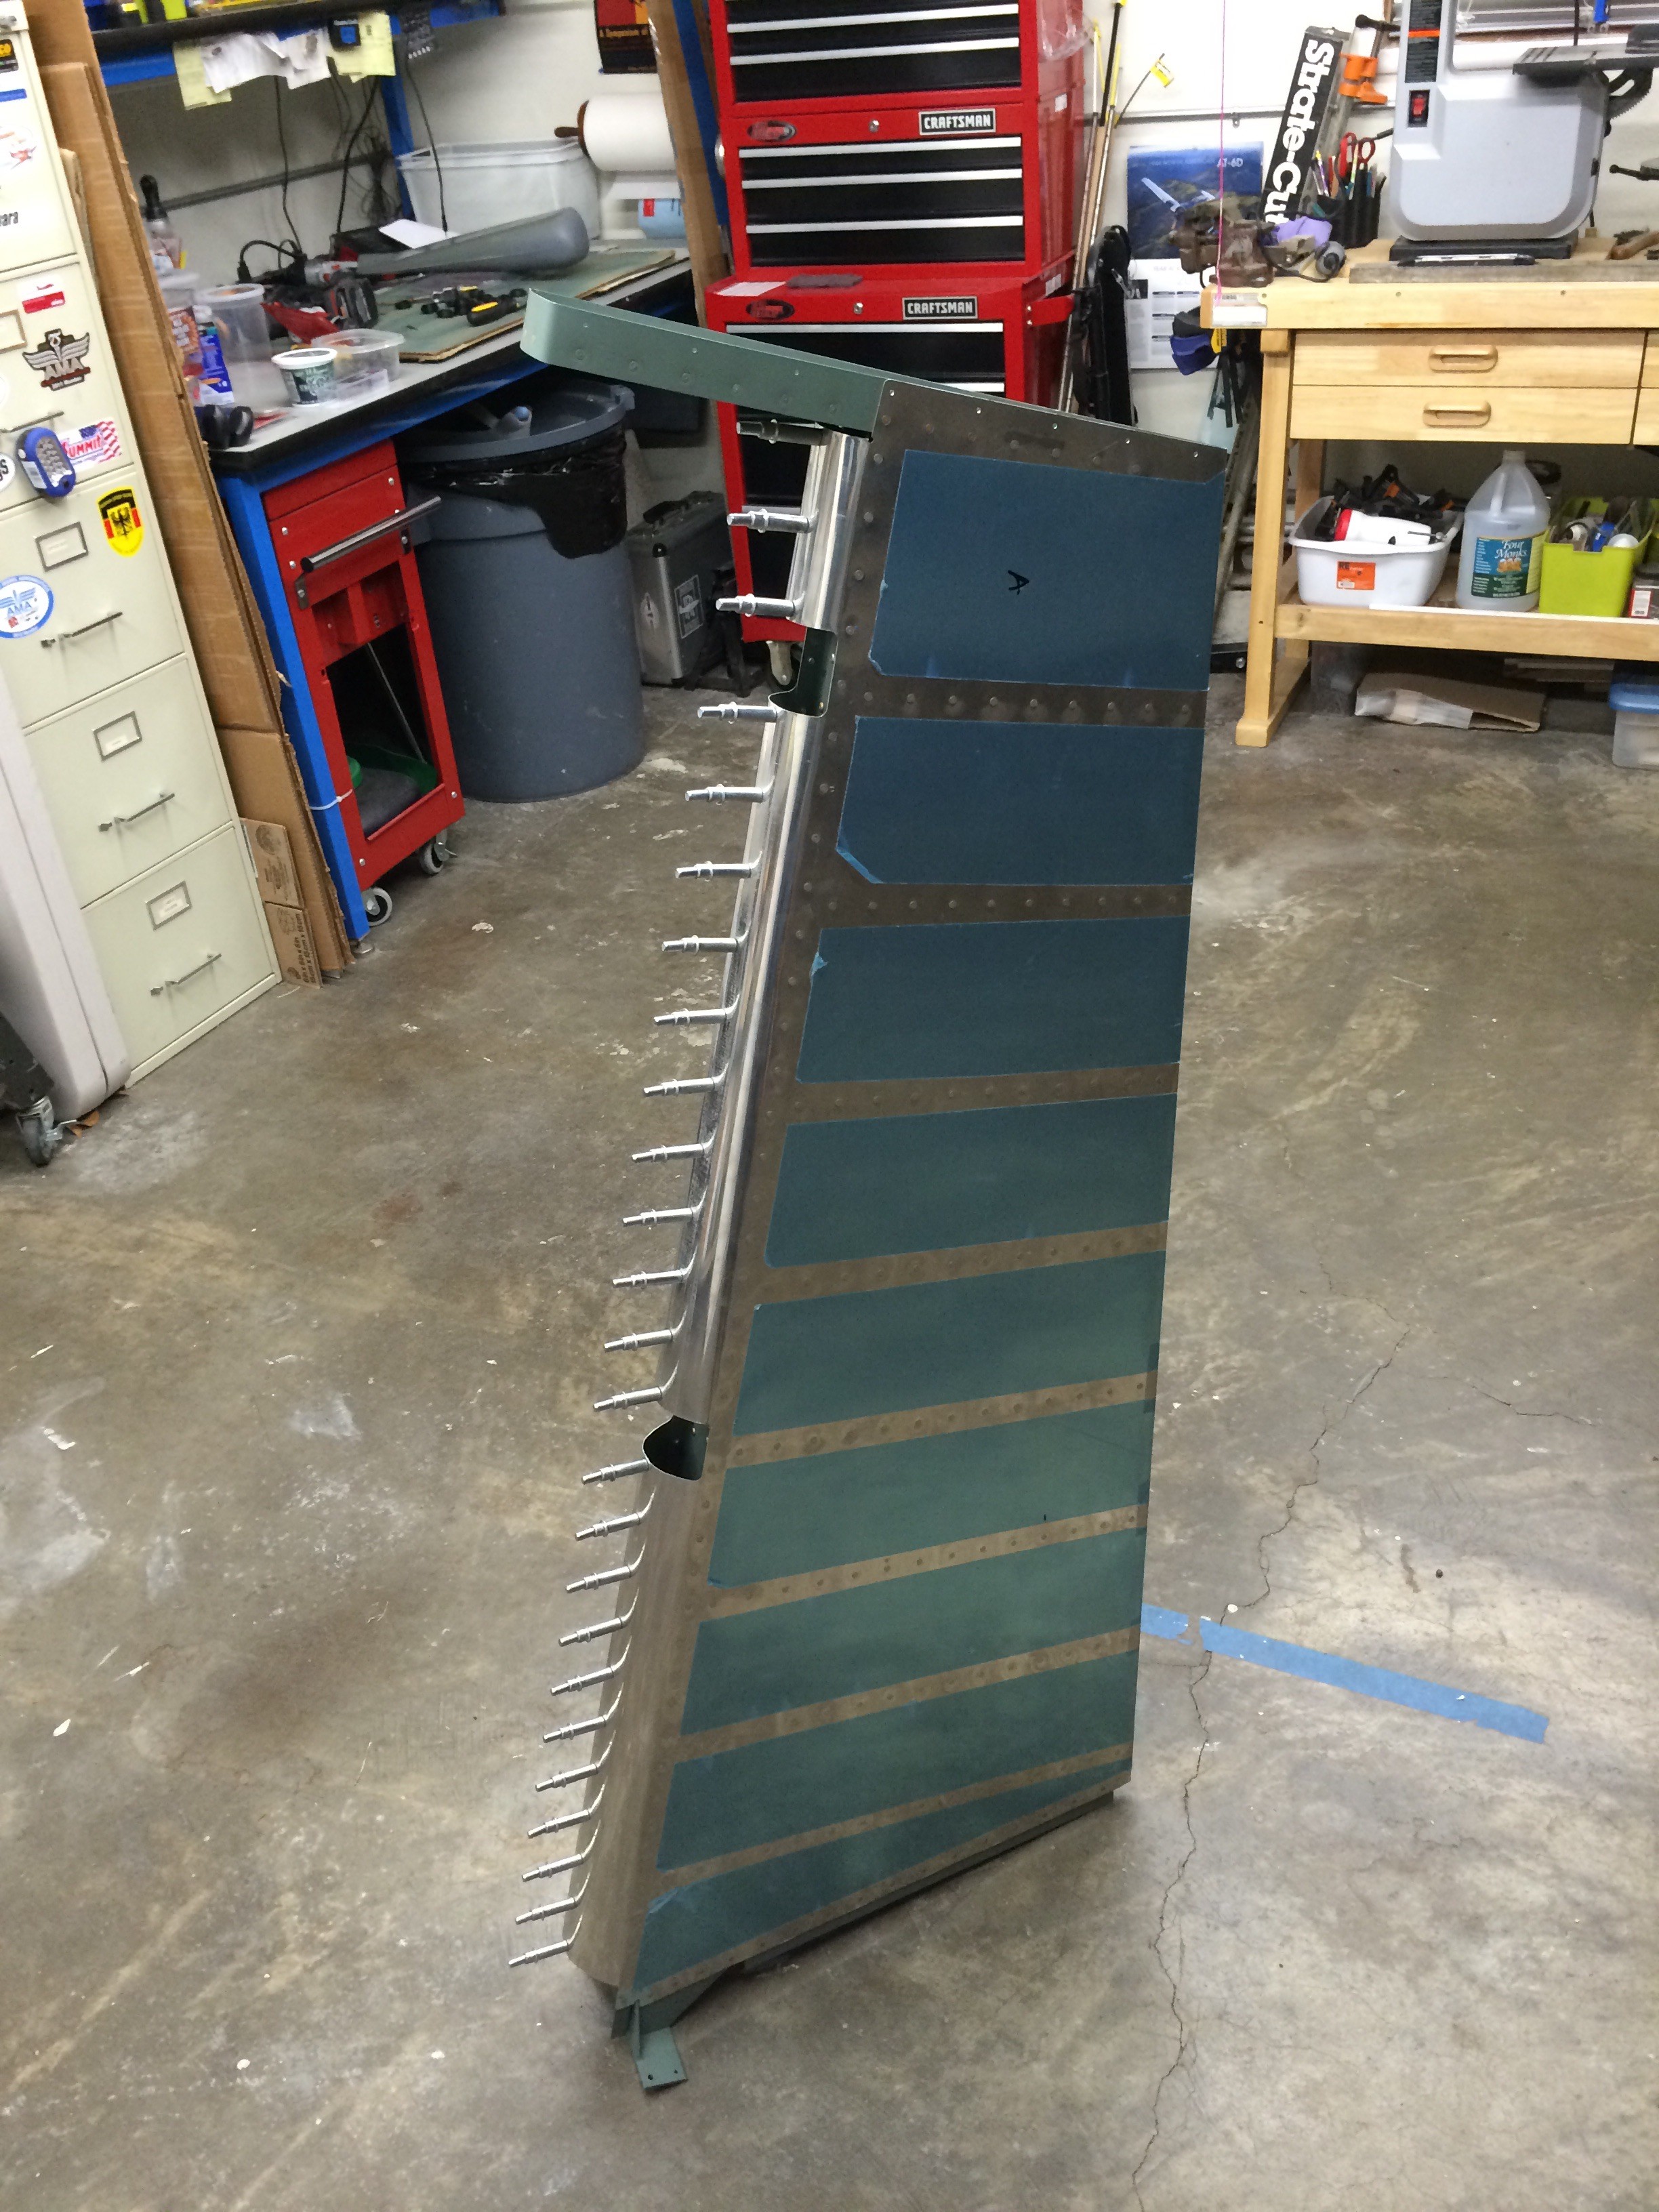
Finished rolling the leading edge of the Left Elevator and then started to fit the Elevators to the Horizontal.
Got the left Elevator riveted and Trim Tab fit. Just need to roll the skins and get ready to attach to the horizontal and right side Elevator.
I started to rivet the trim tab today. Because I chose to use the riblet method and face the flanges inboard, I have to use blind rivets on them. Got to the hangar thinking I had the right ones, but I didn’t so I had to order a few.
Riveting the tab’s spar to the bottom skin looked like it was going to be a challenge, but using the longeron yoke worked perfectly. I ended up having to buck a couple of the trim tab horn’s rivets, but they came out really nice.
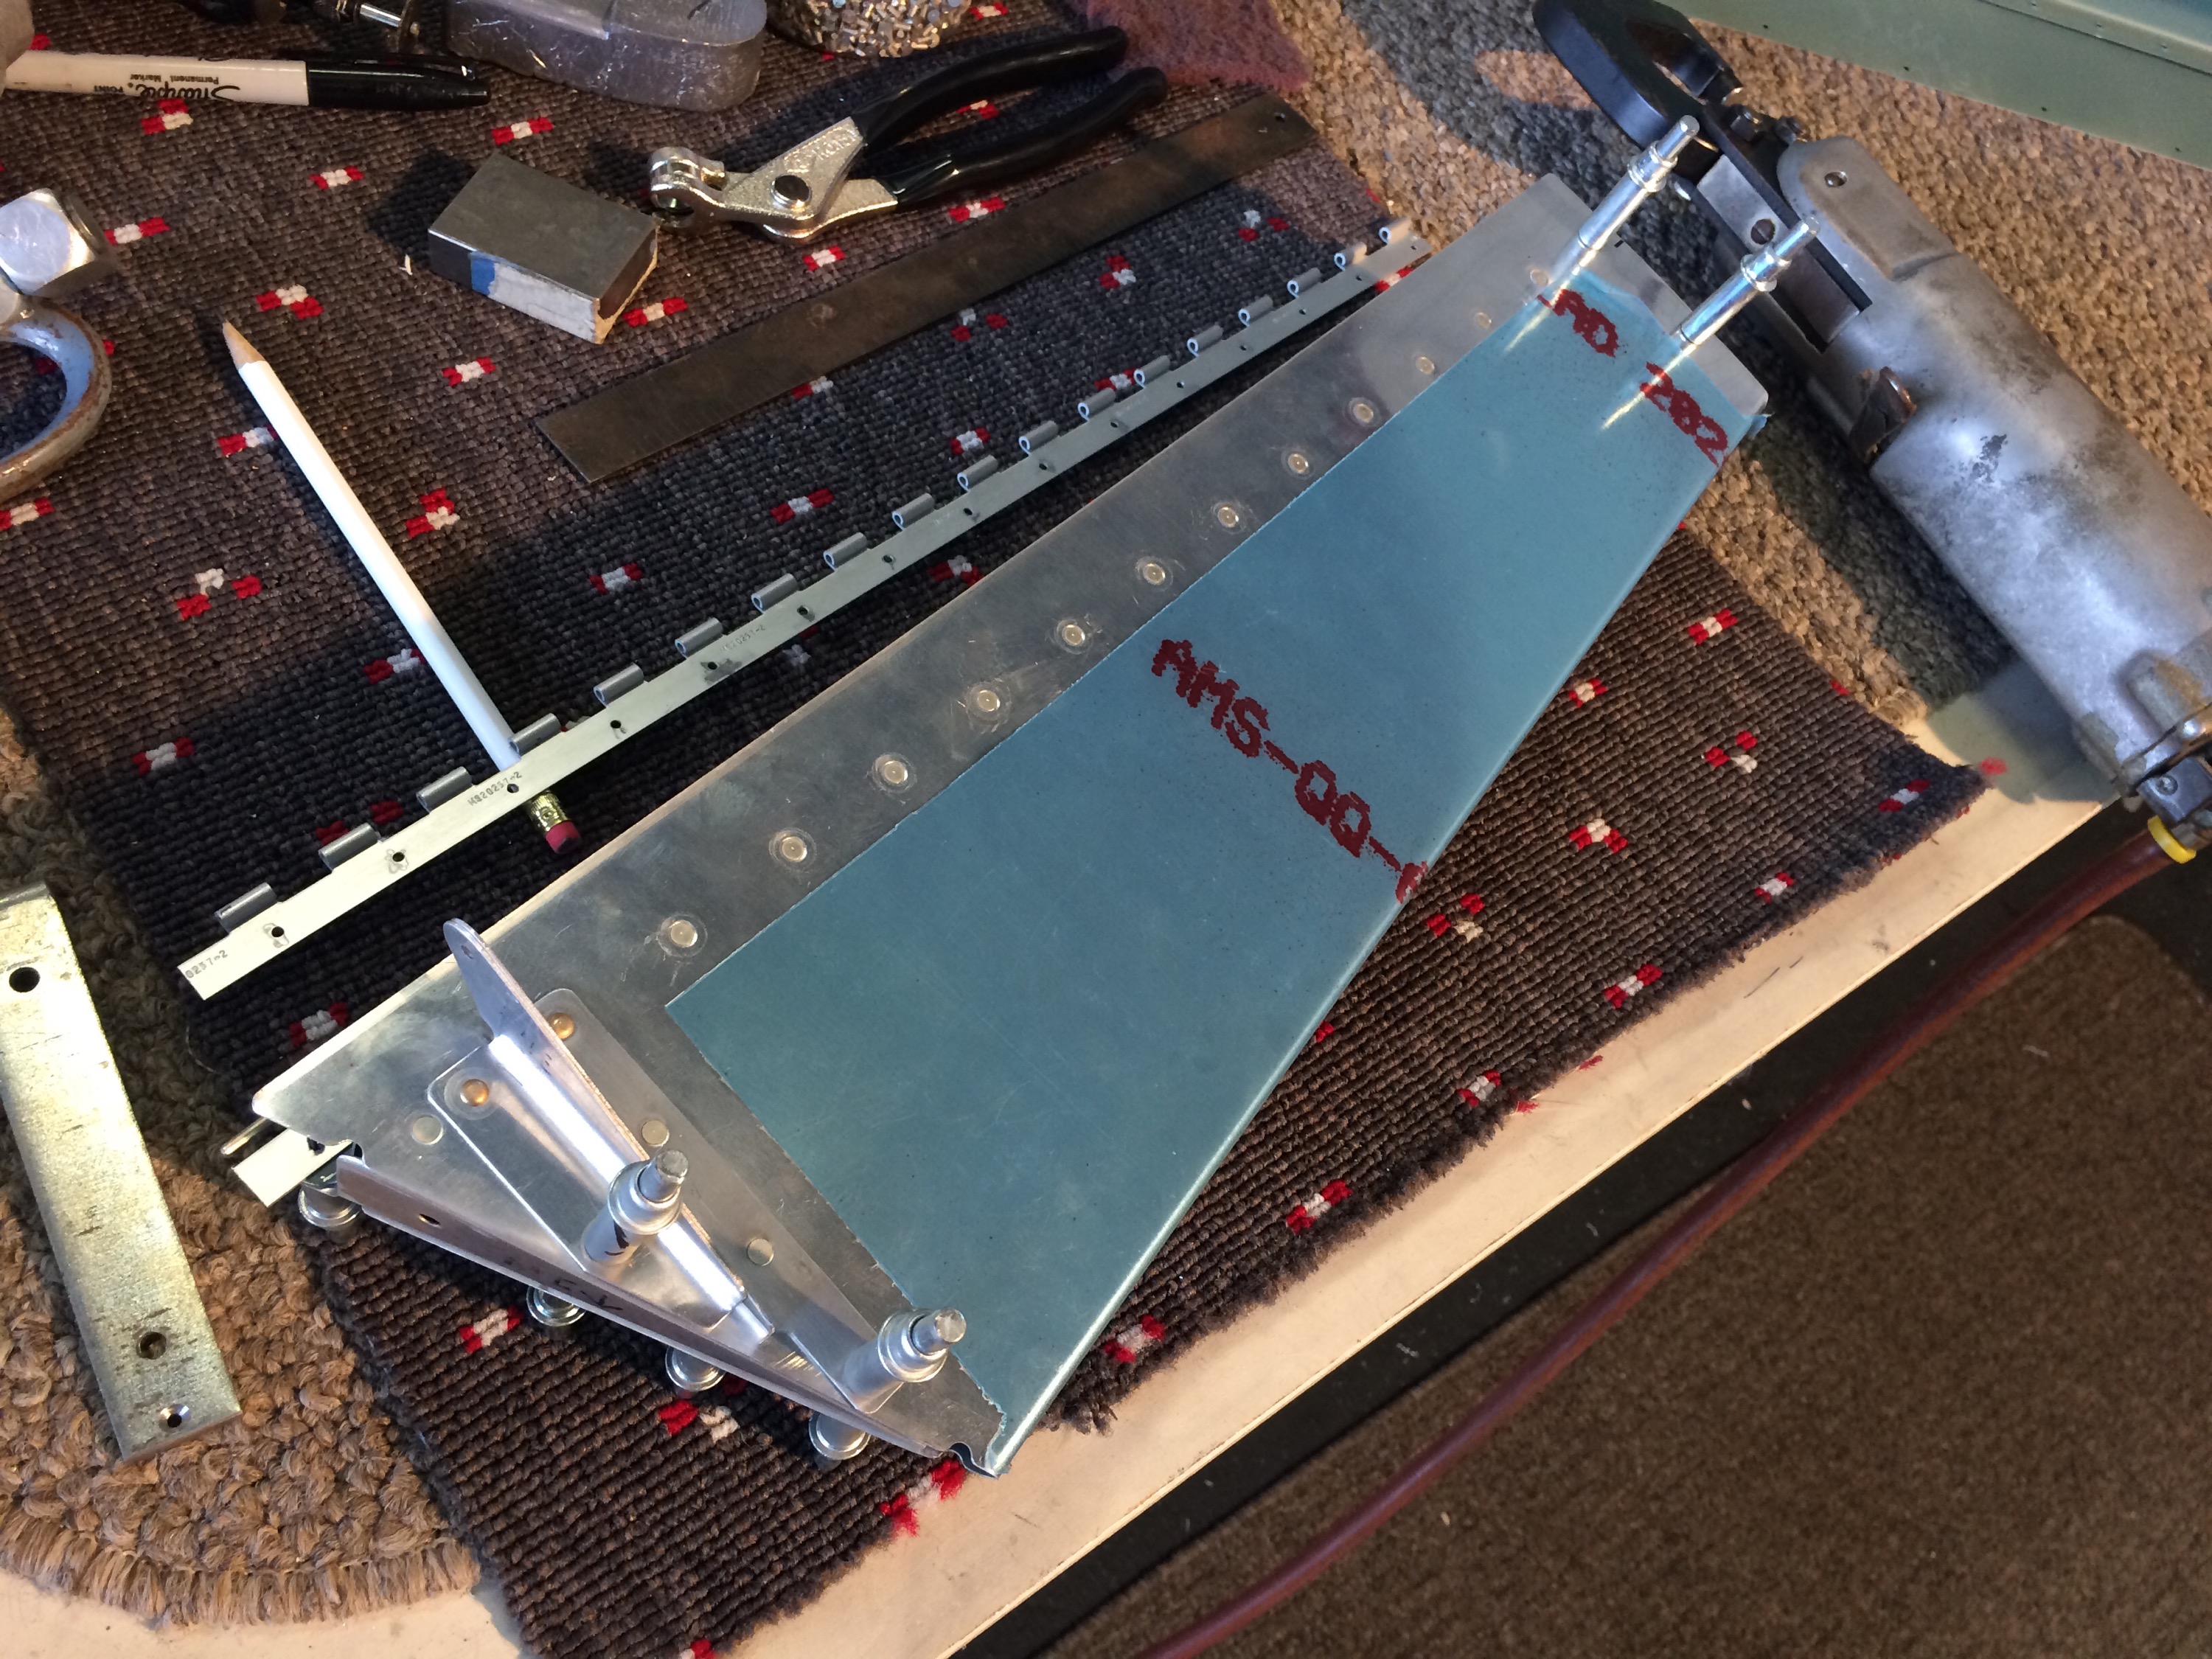
I decided to go the riblet method instead of folding over the ears on the tab. Here is the first riblet being fit on the Elevator skin.
Riblet inside the tab.
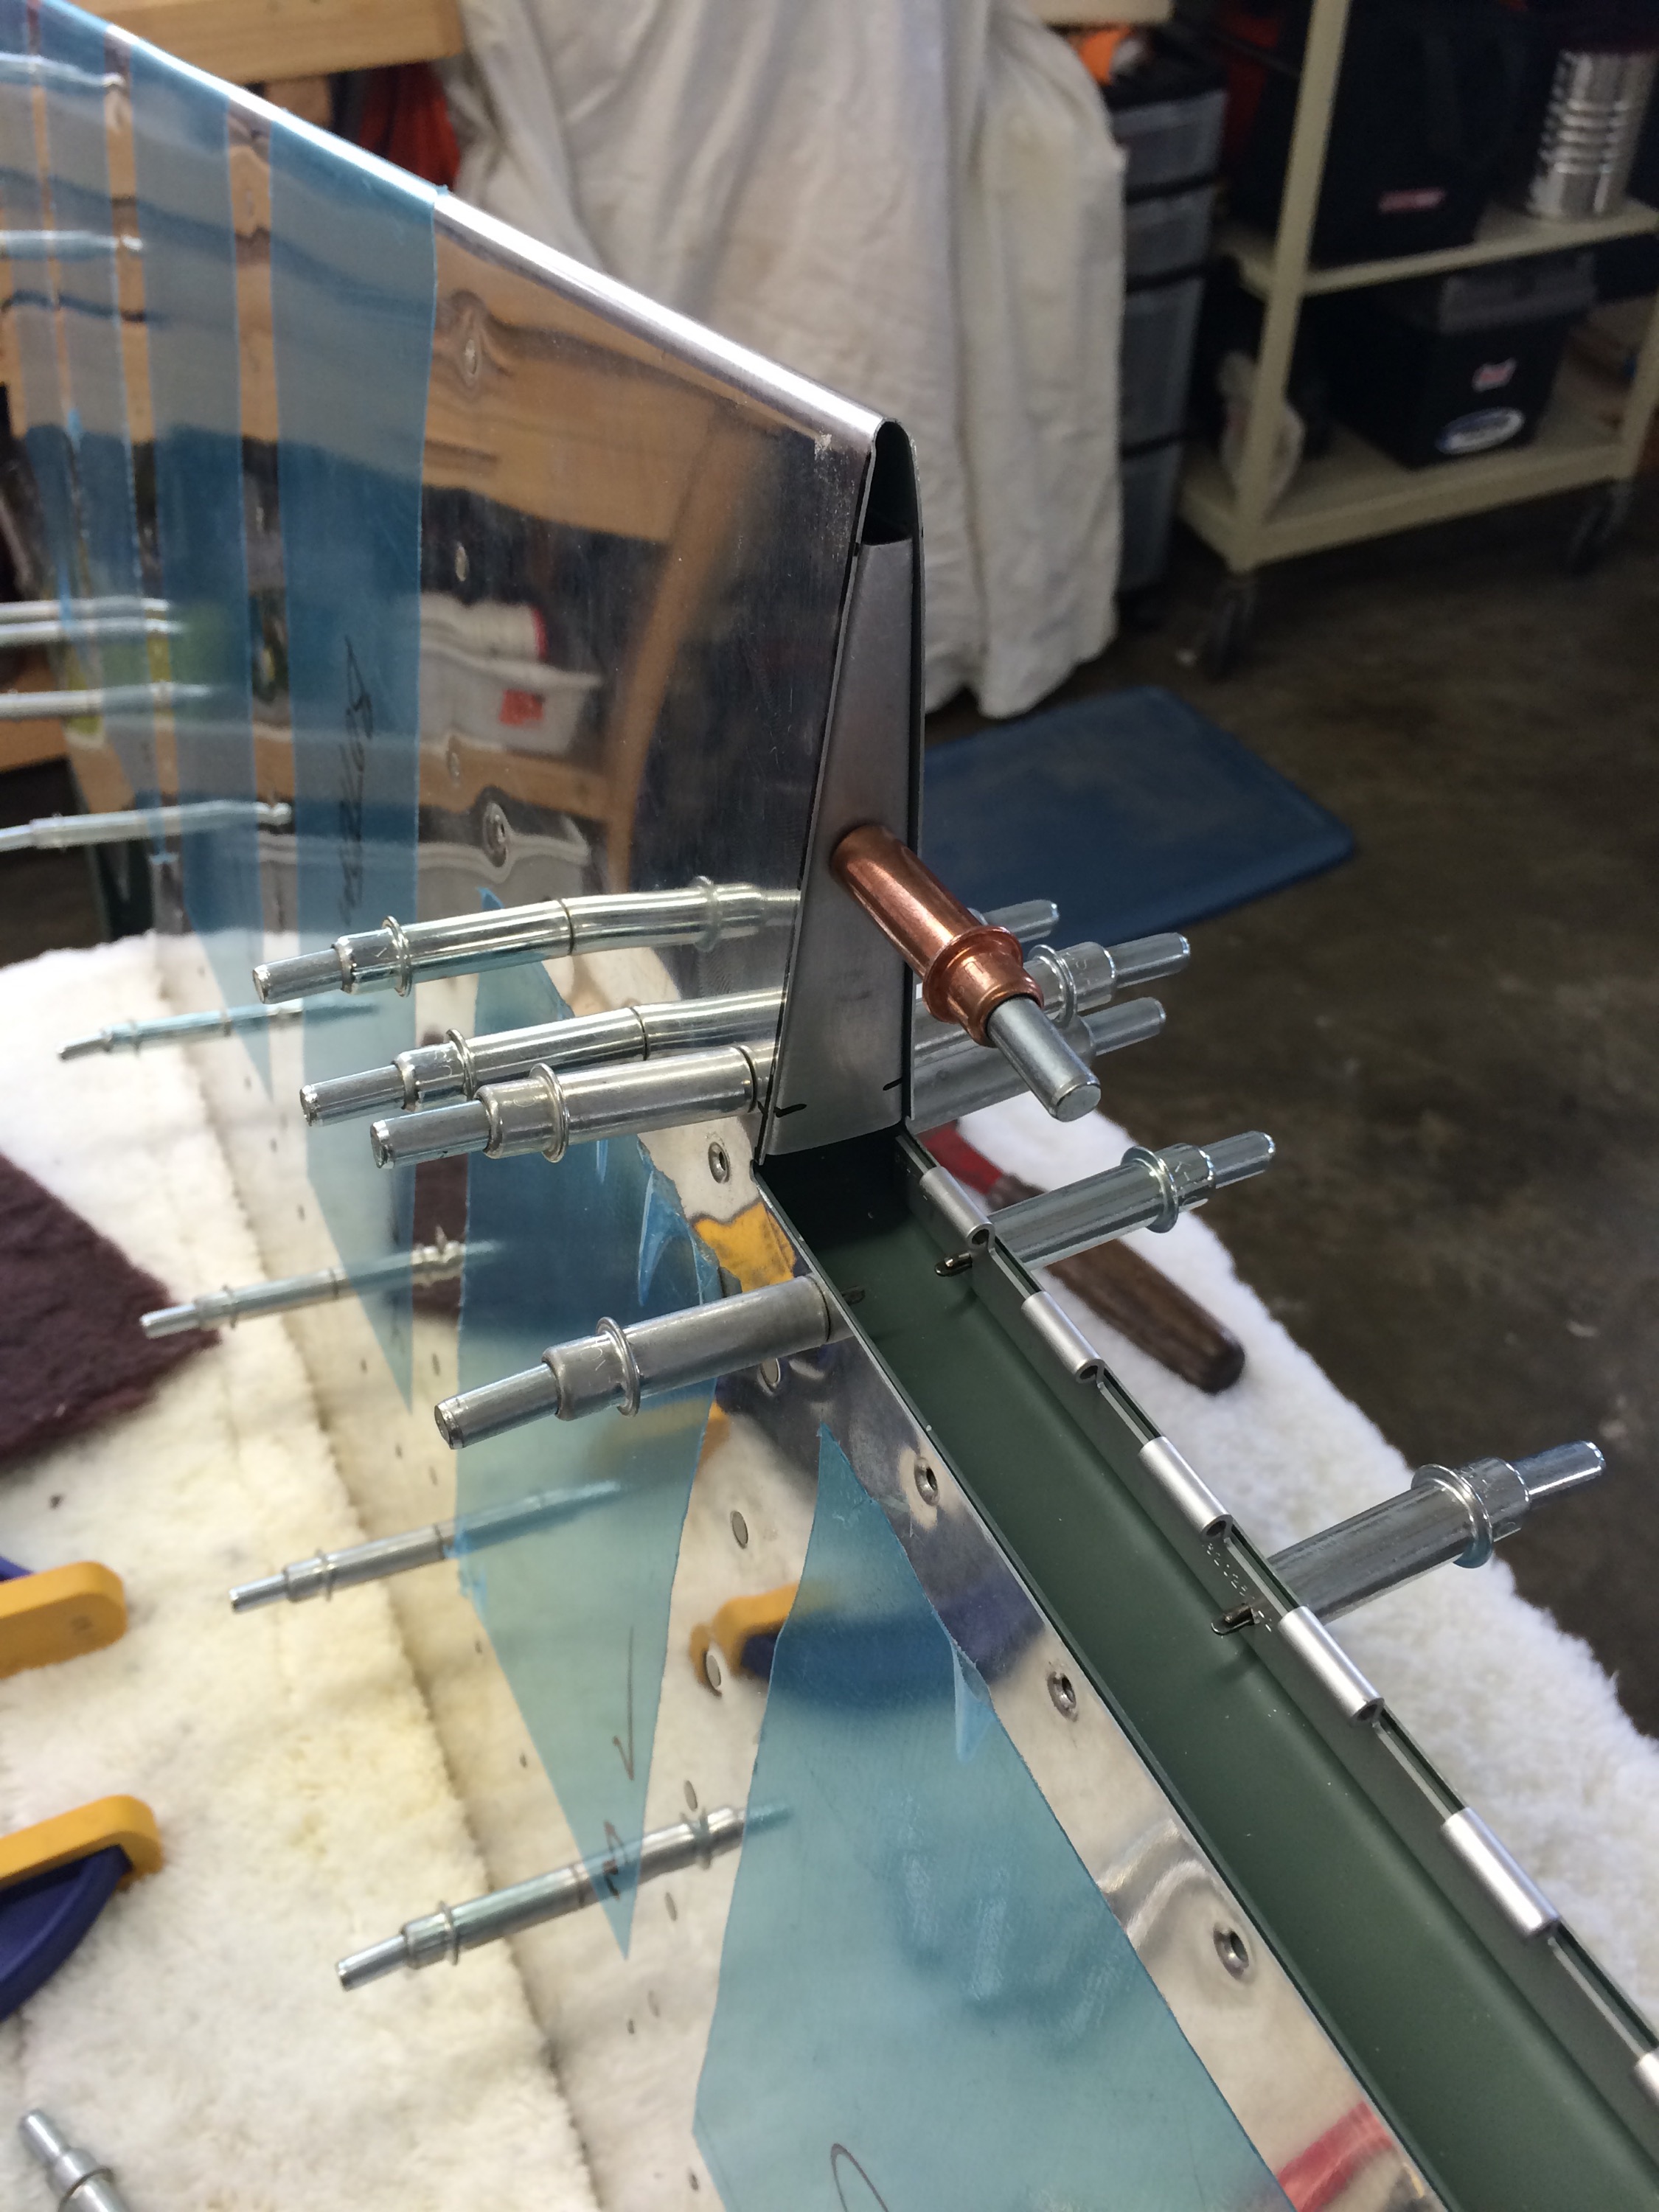
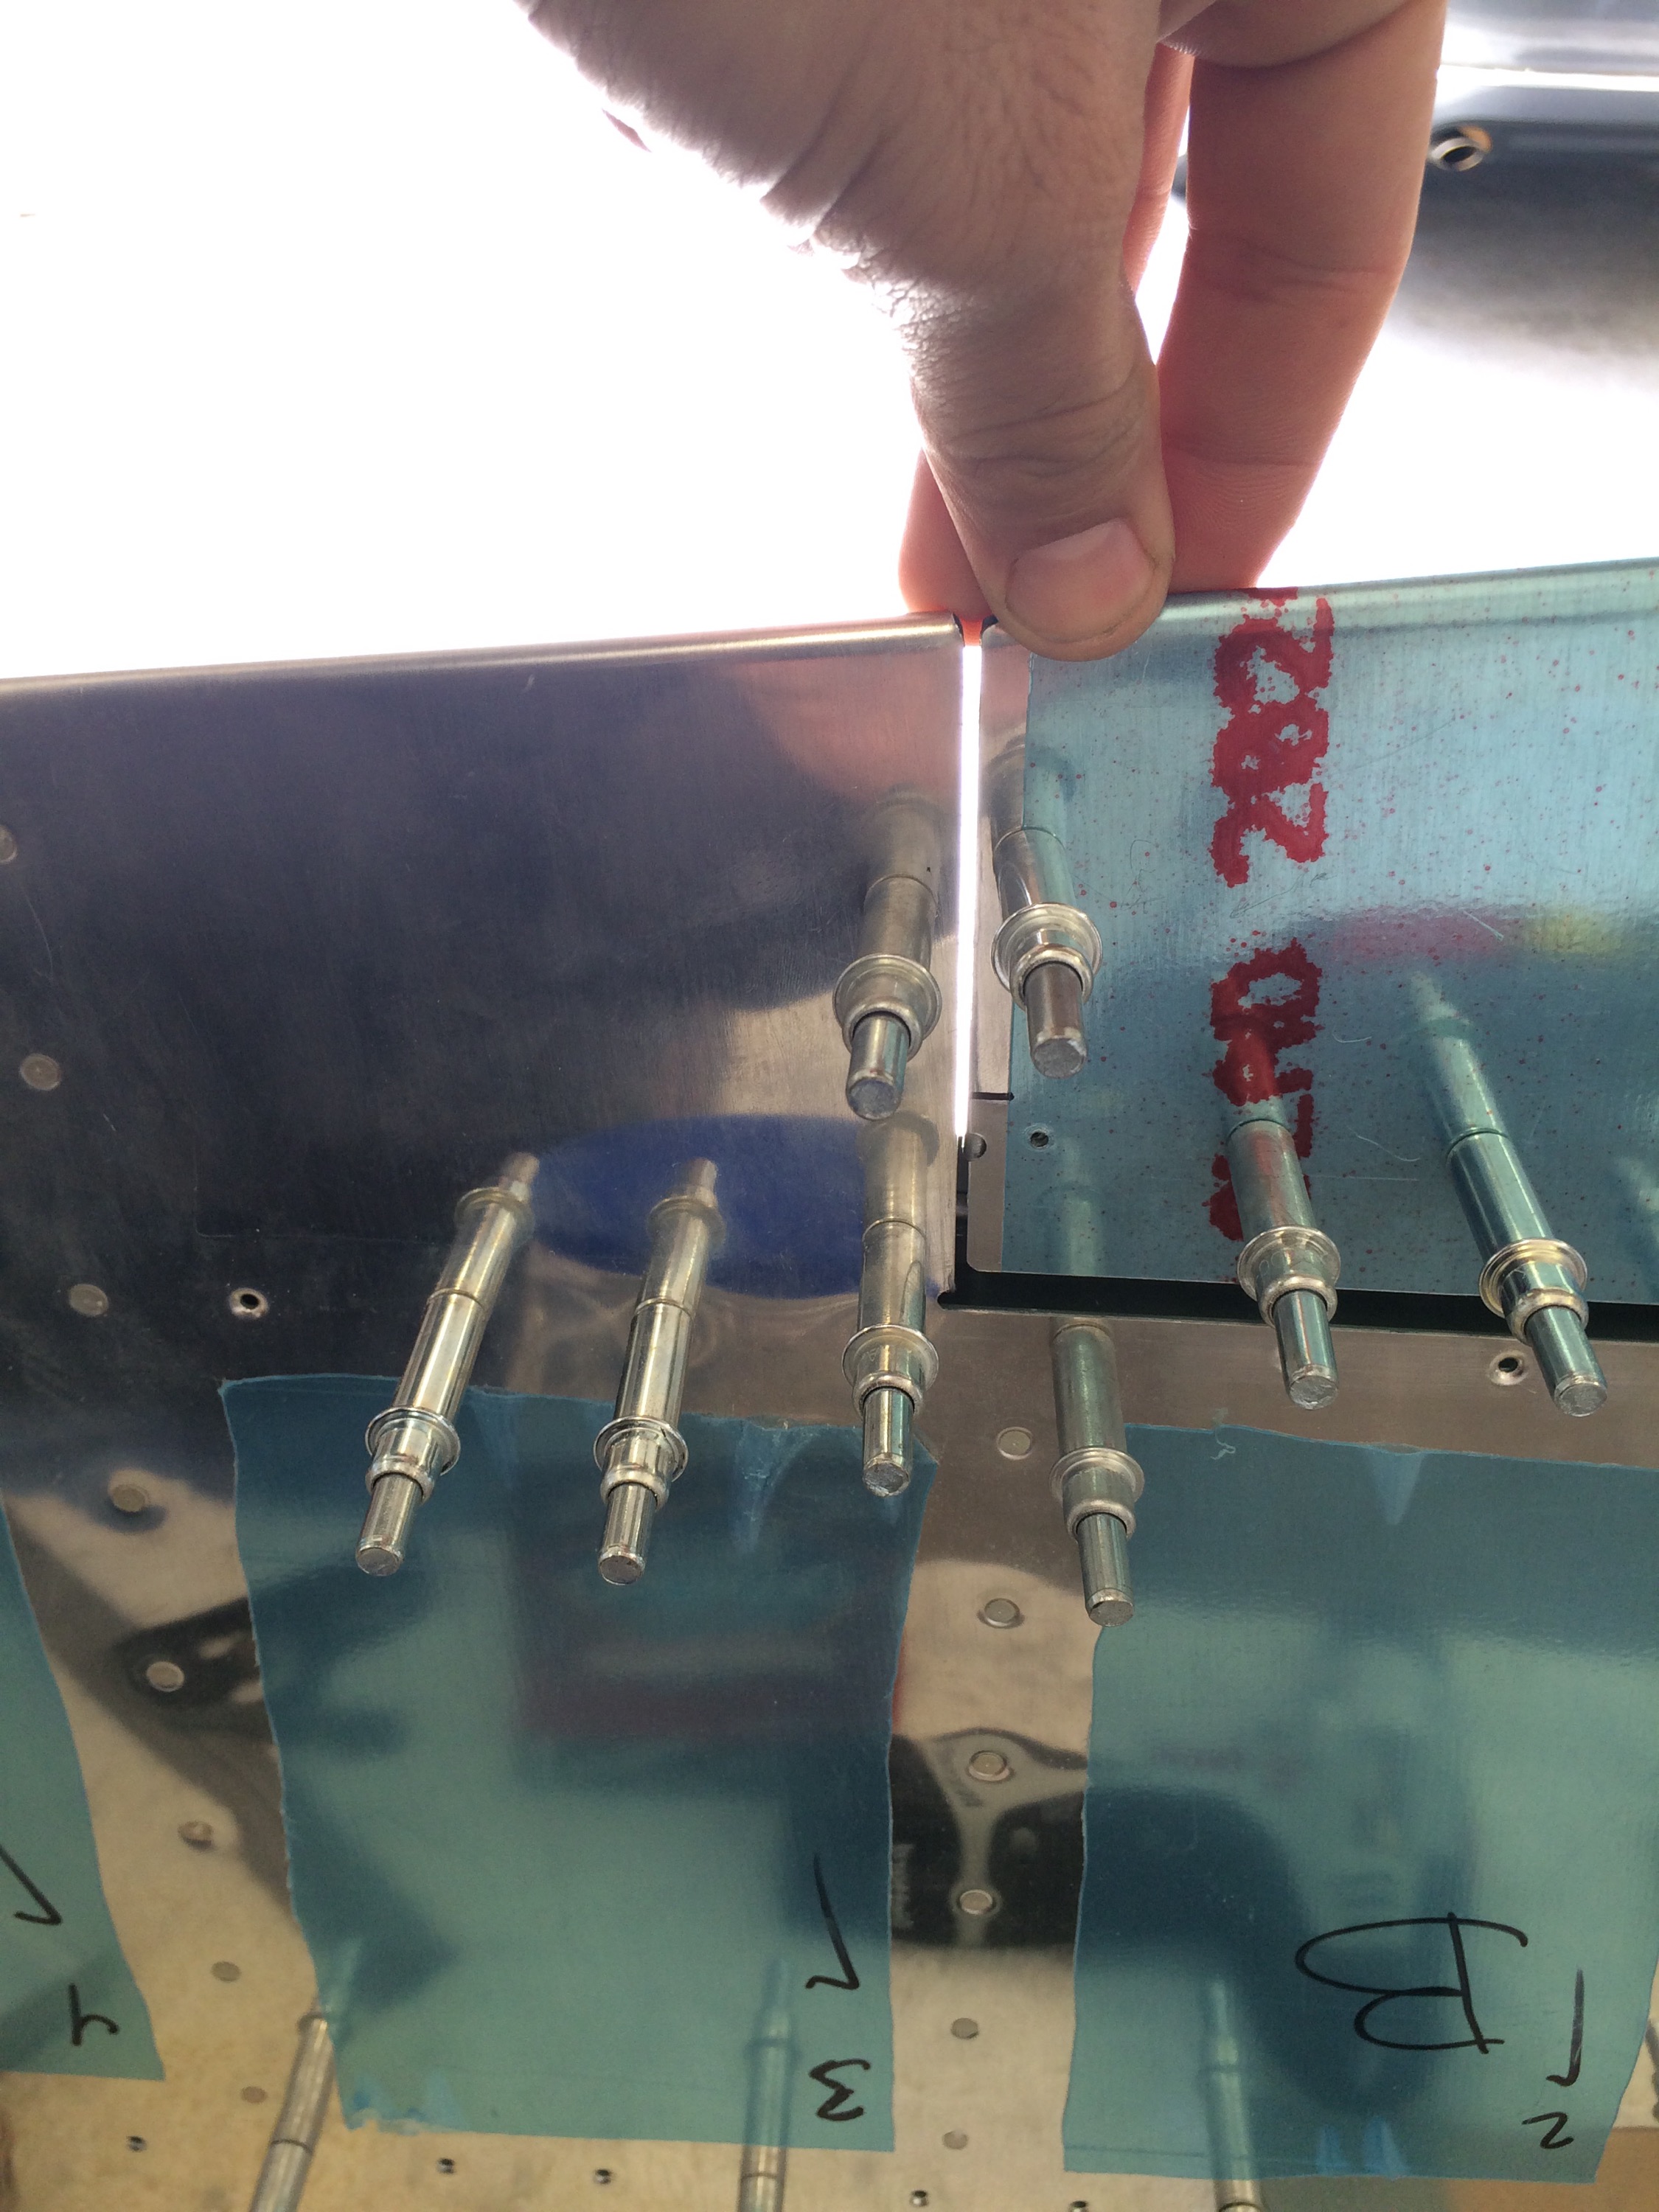
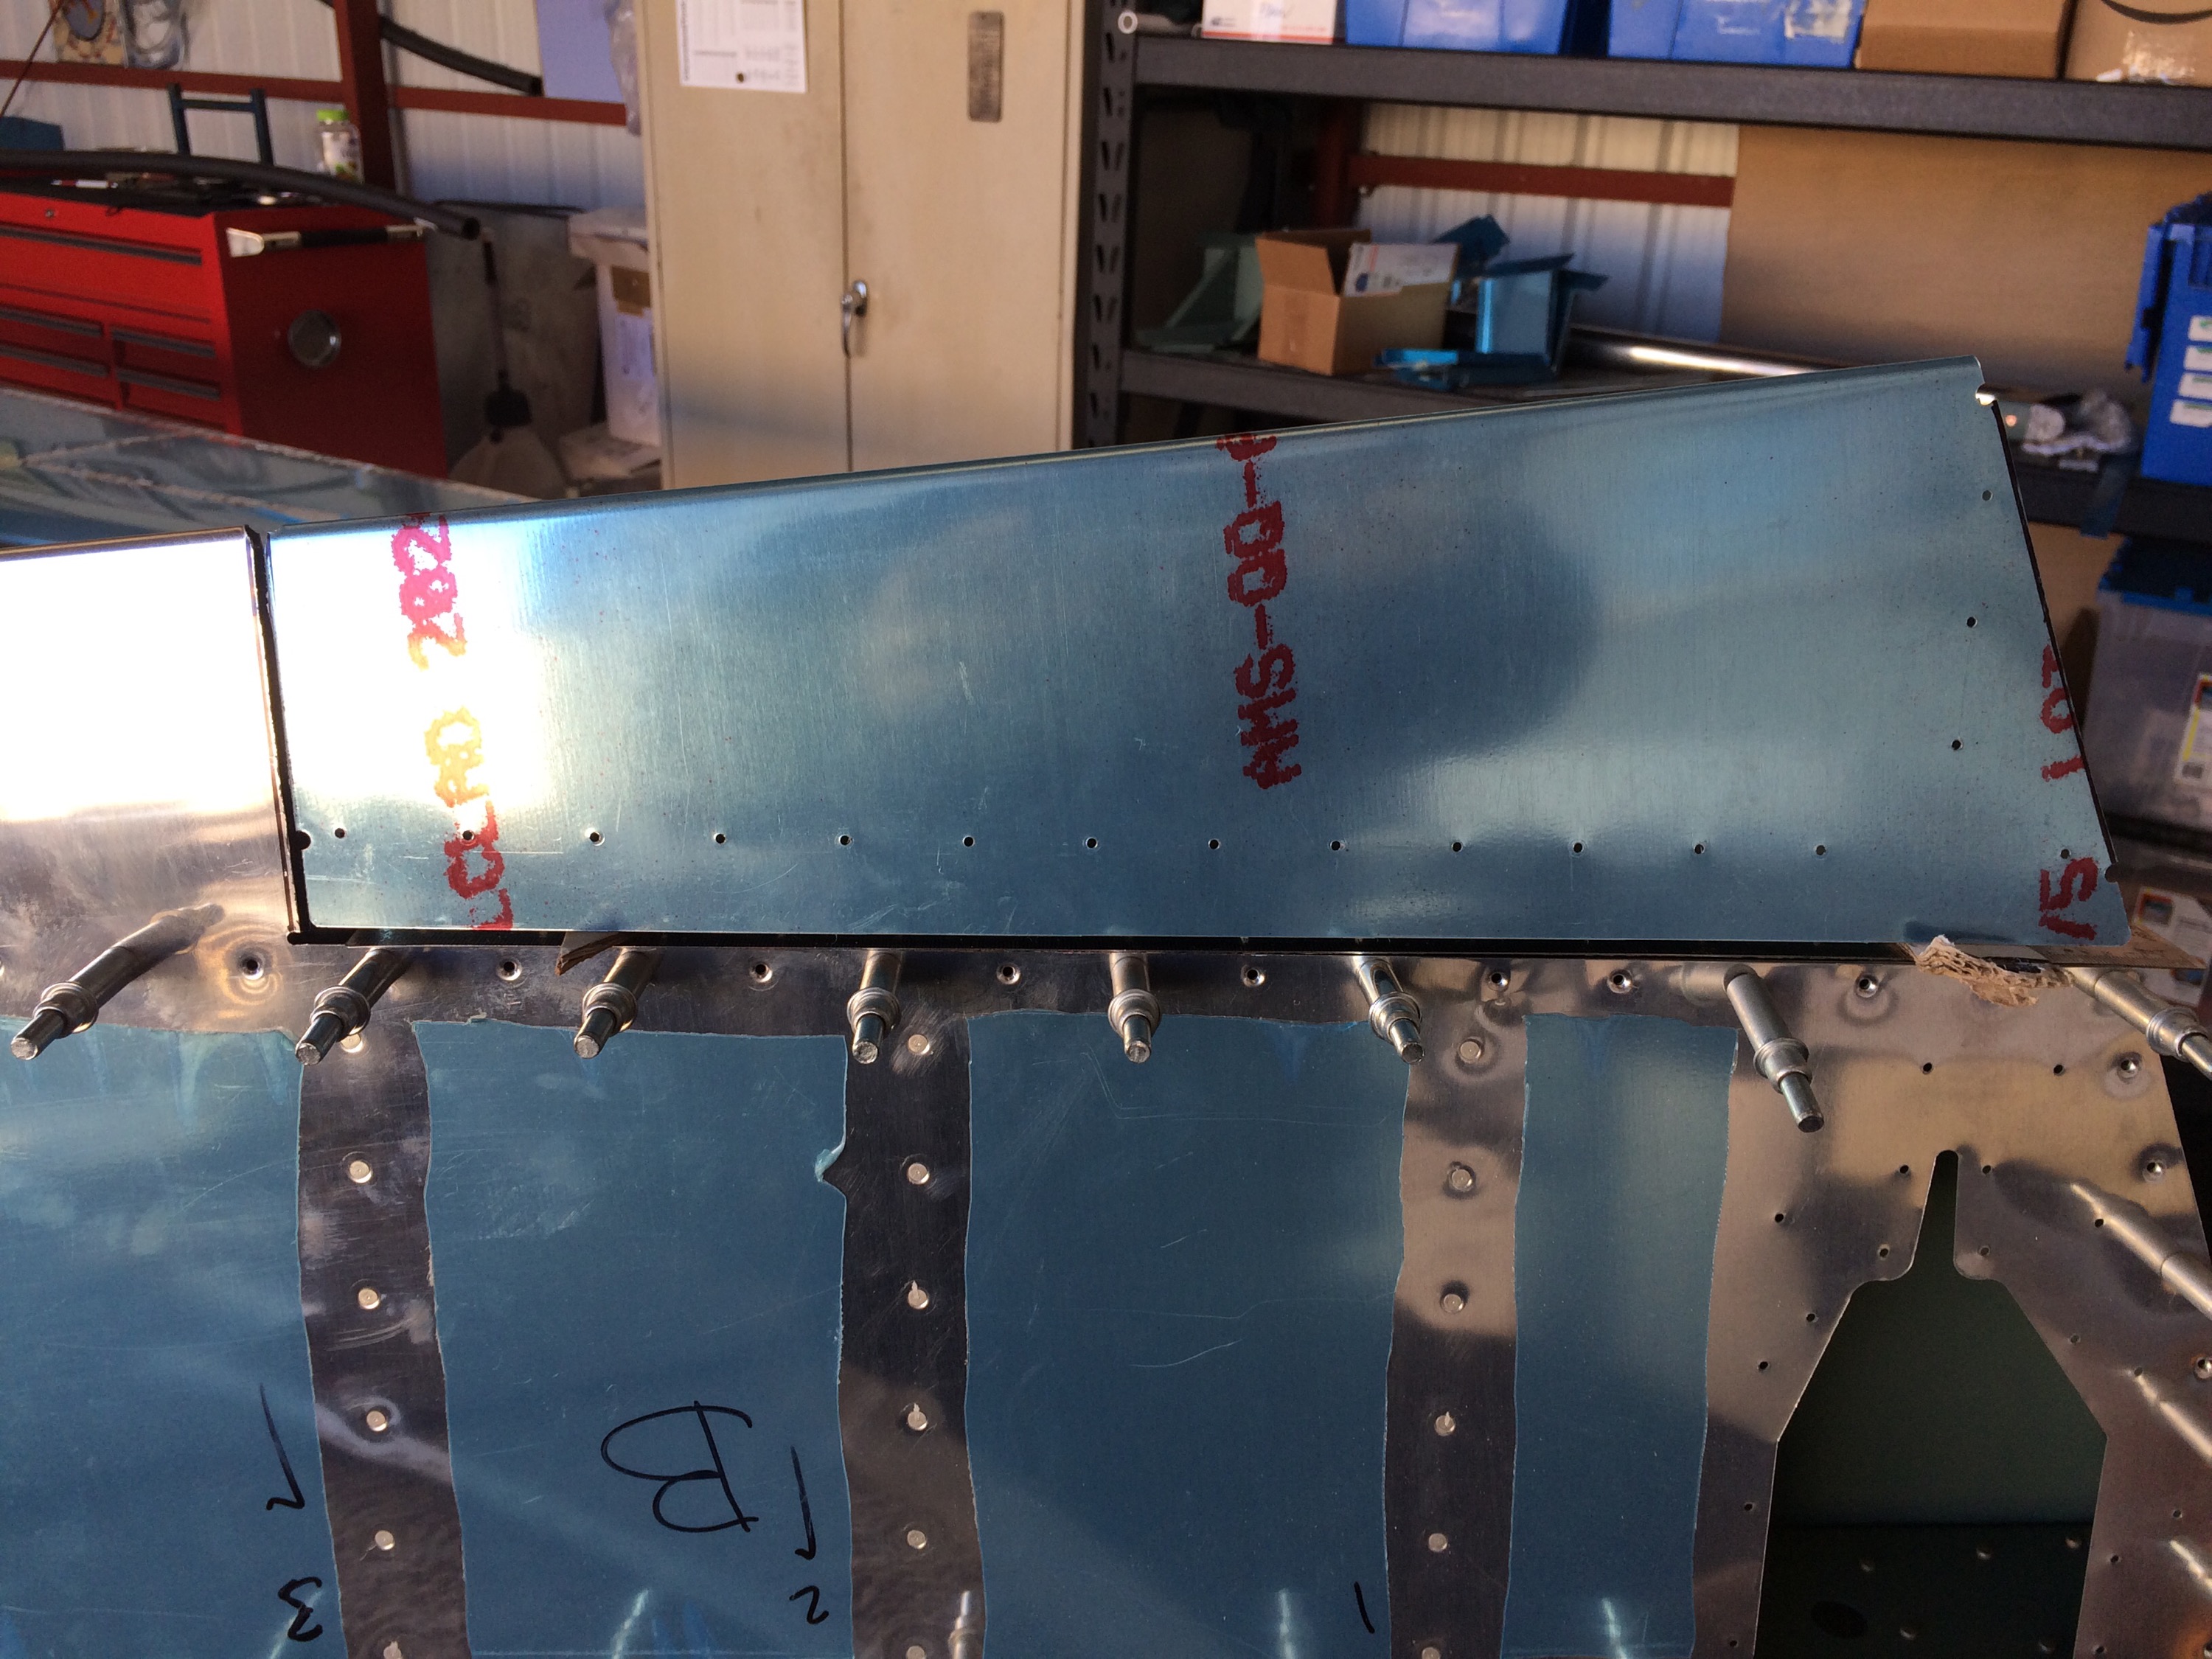
Checking the trailing edge alignment before drilling the hinge.
Hinge drilled and clecoed.
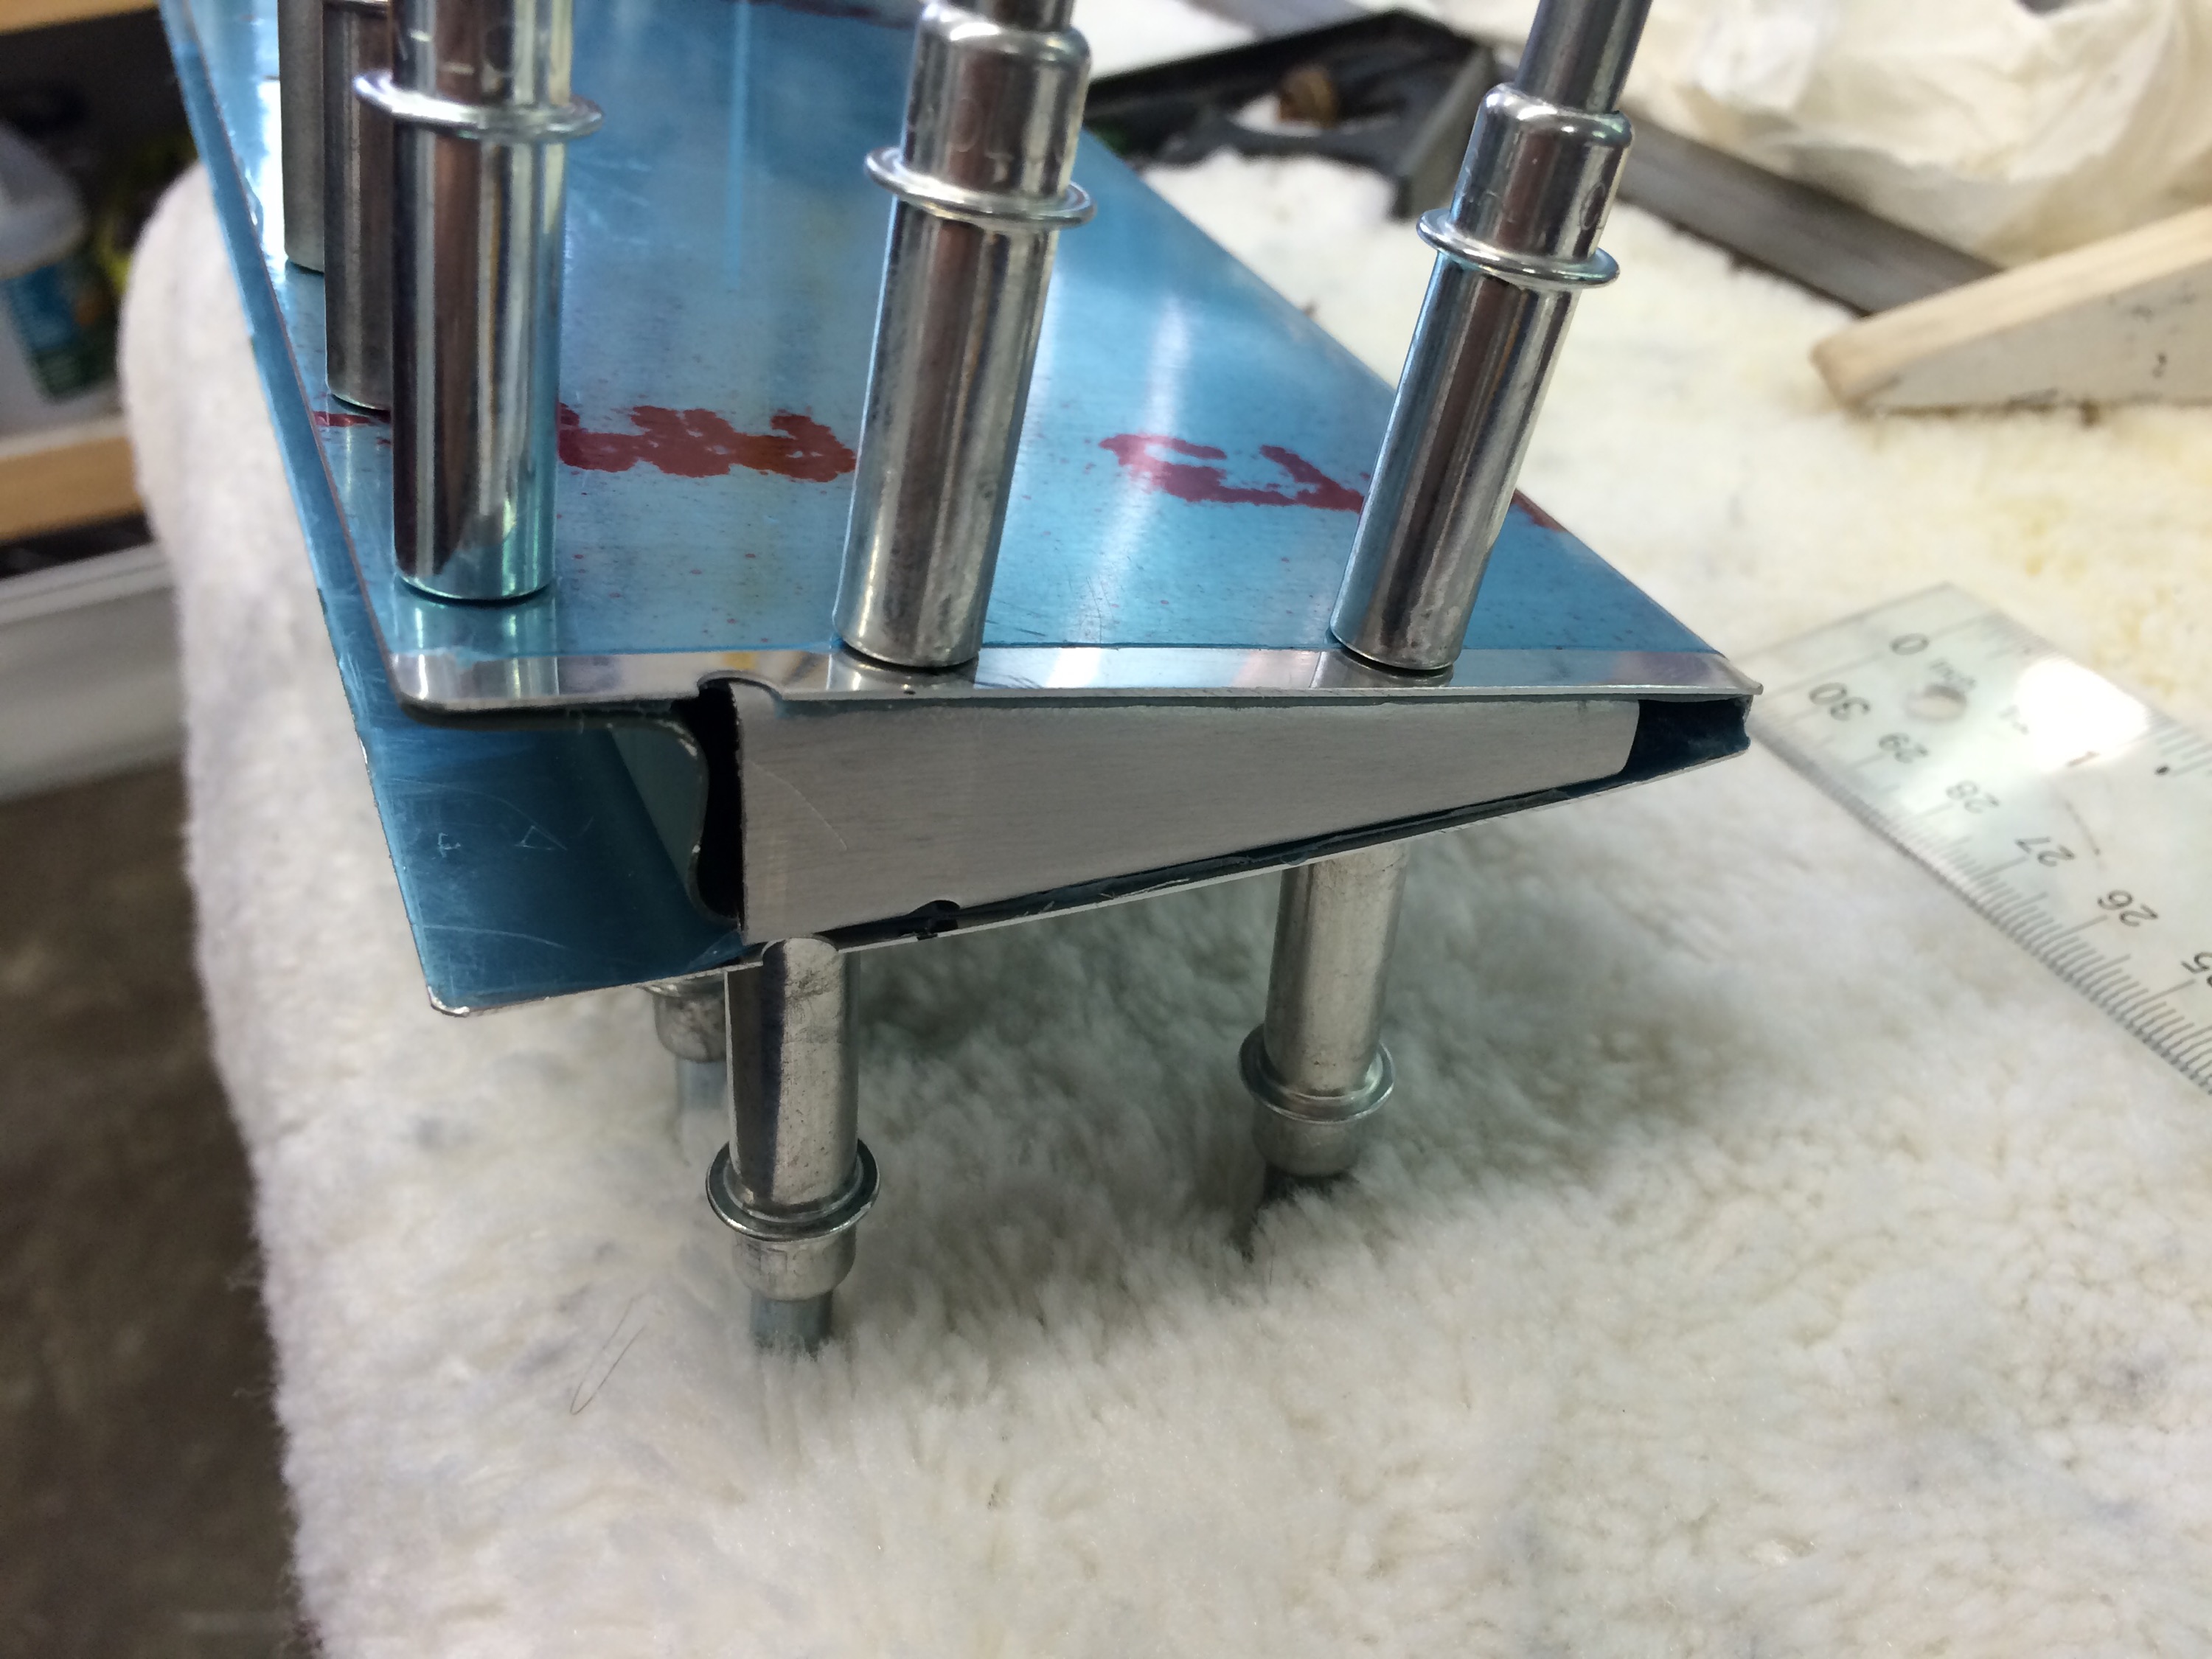
Nice width on the gap between the skin and tab.
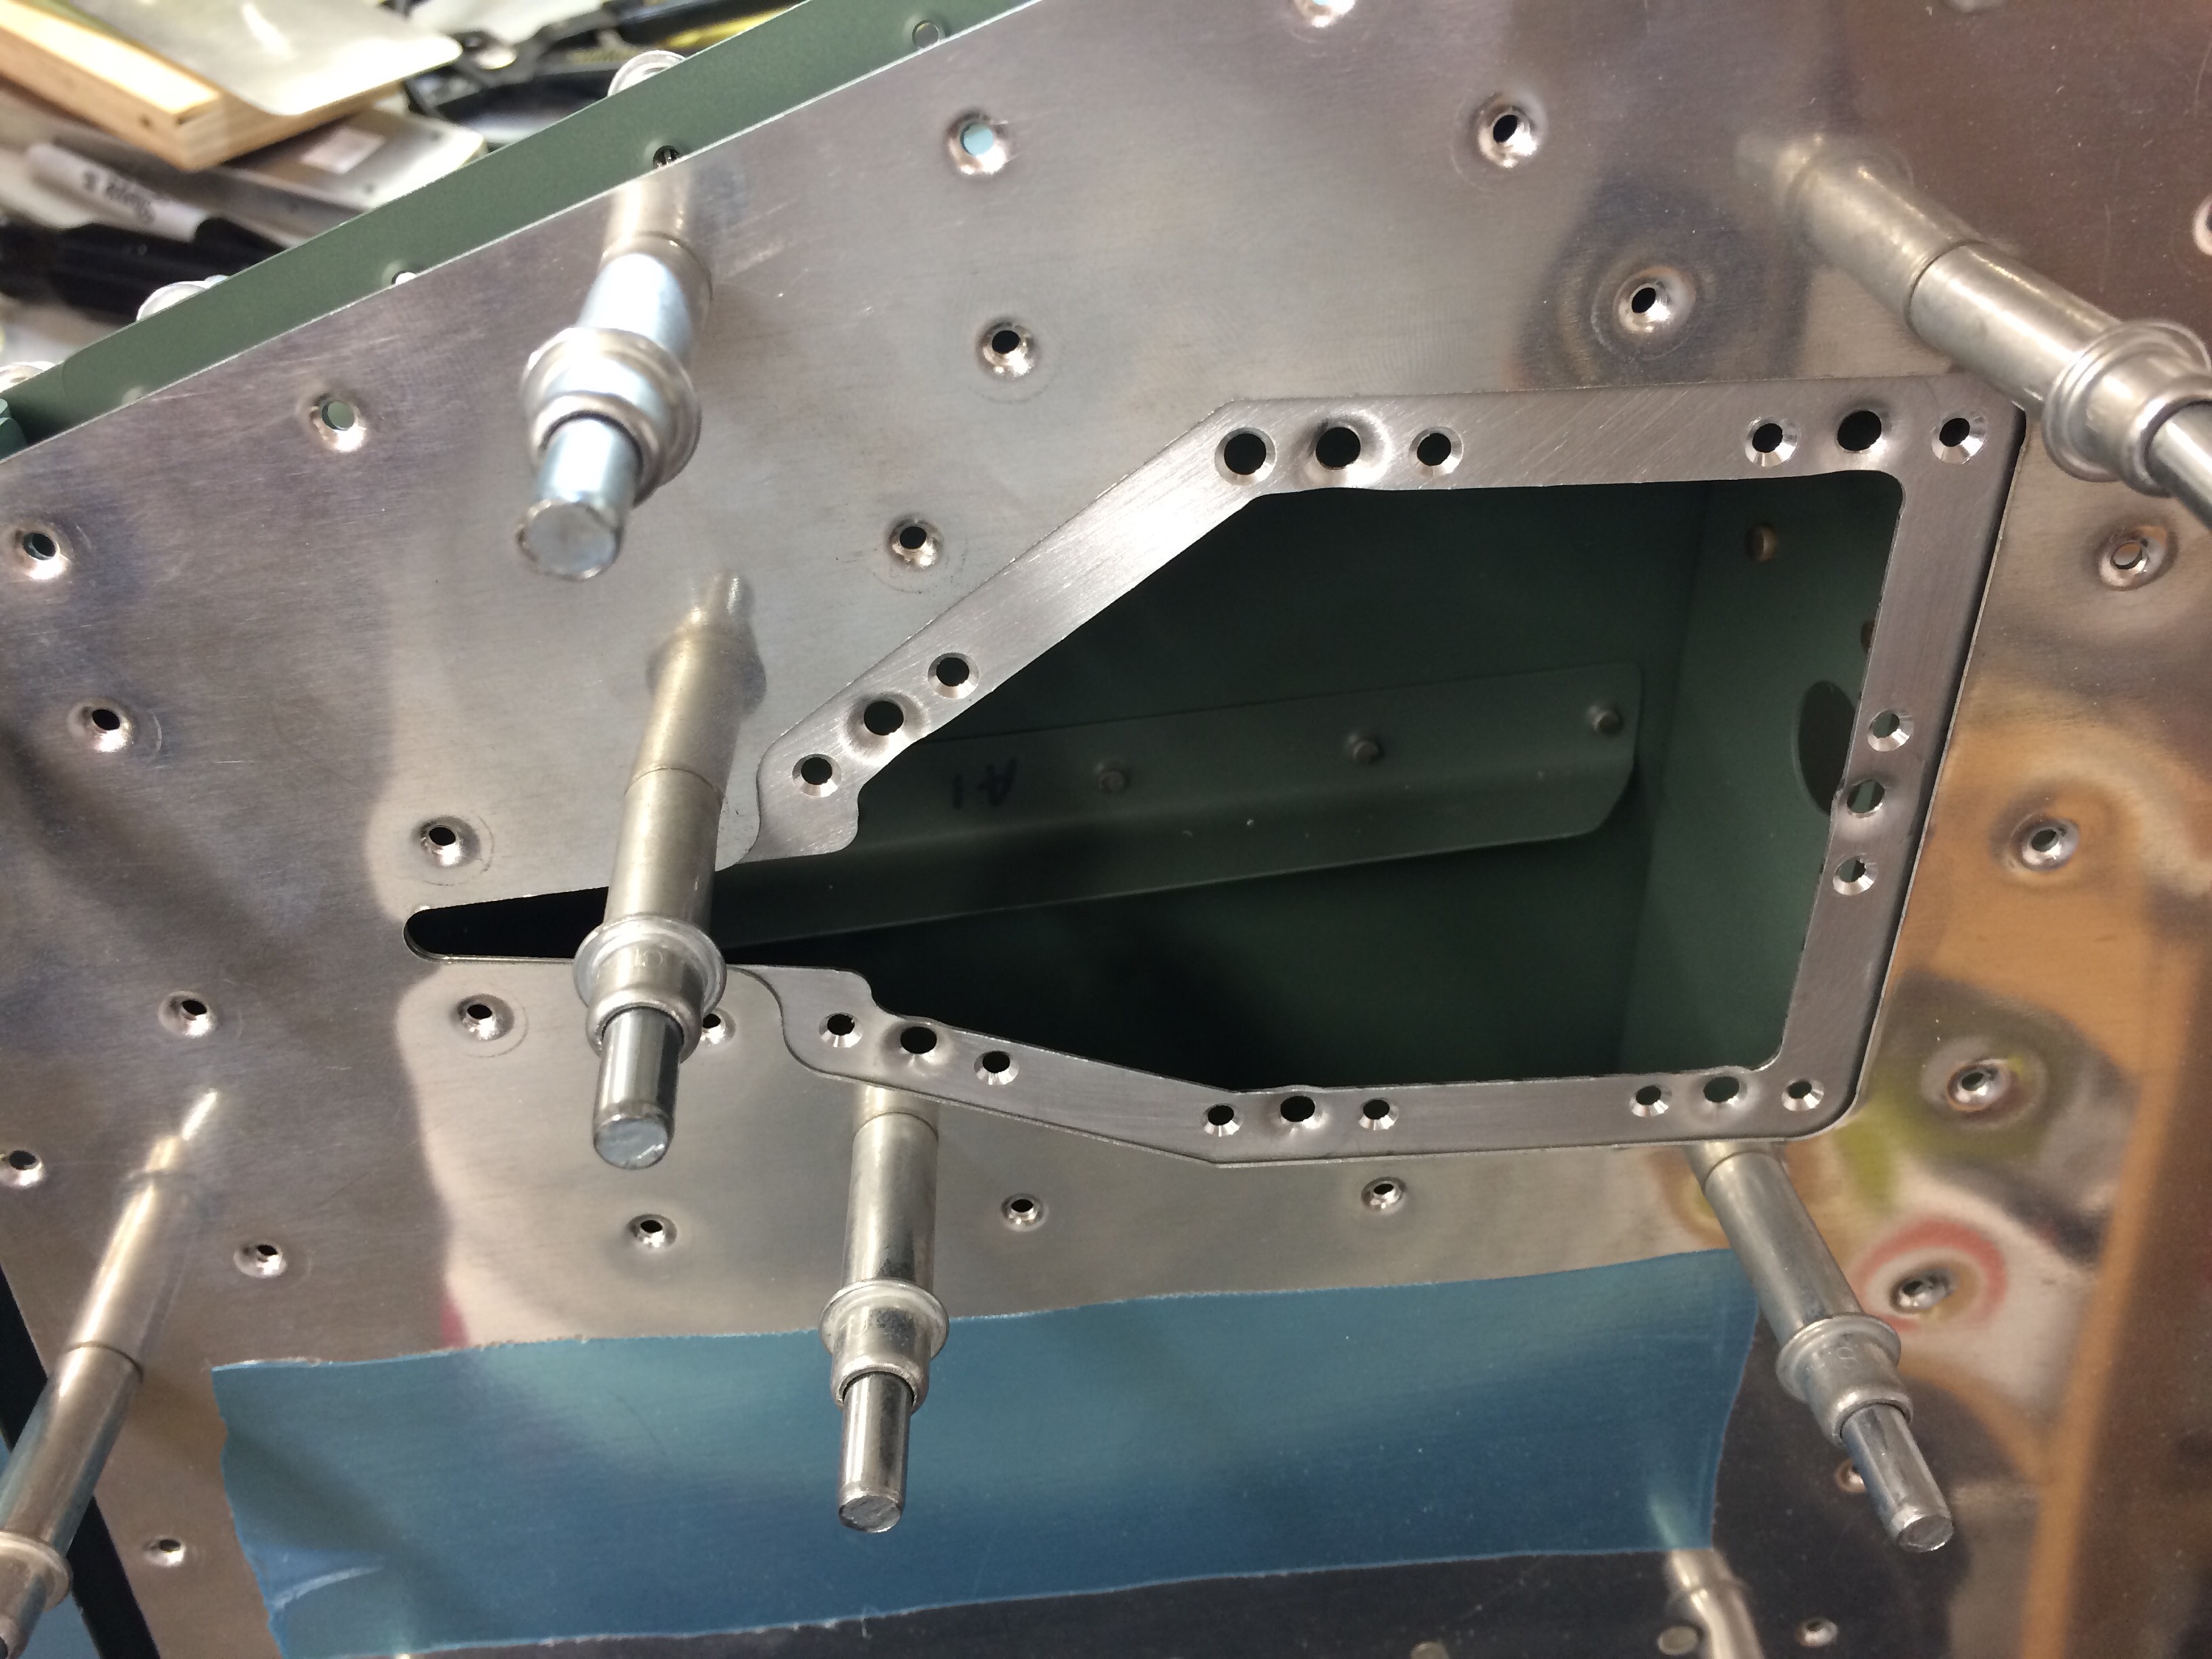
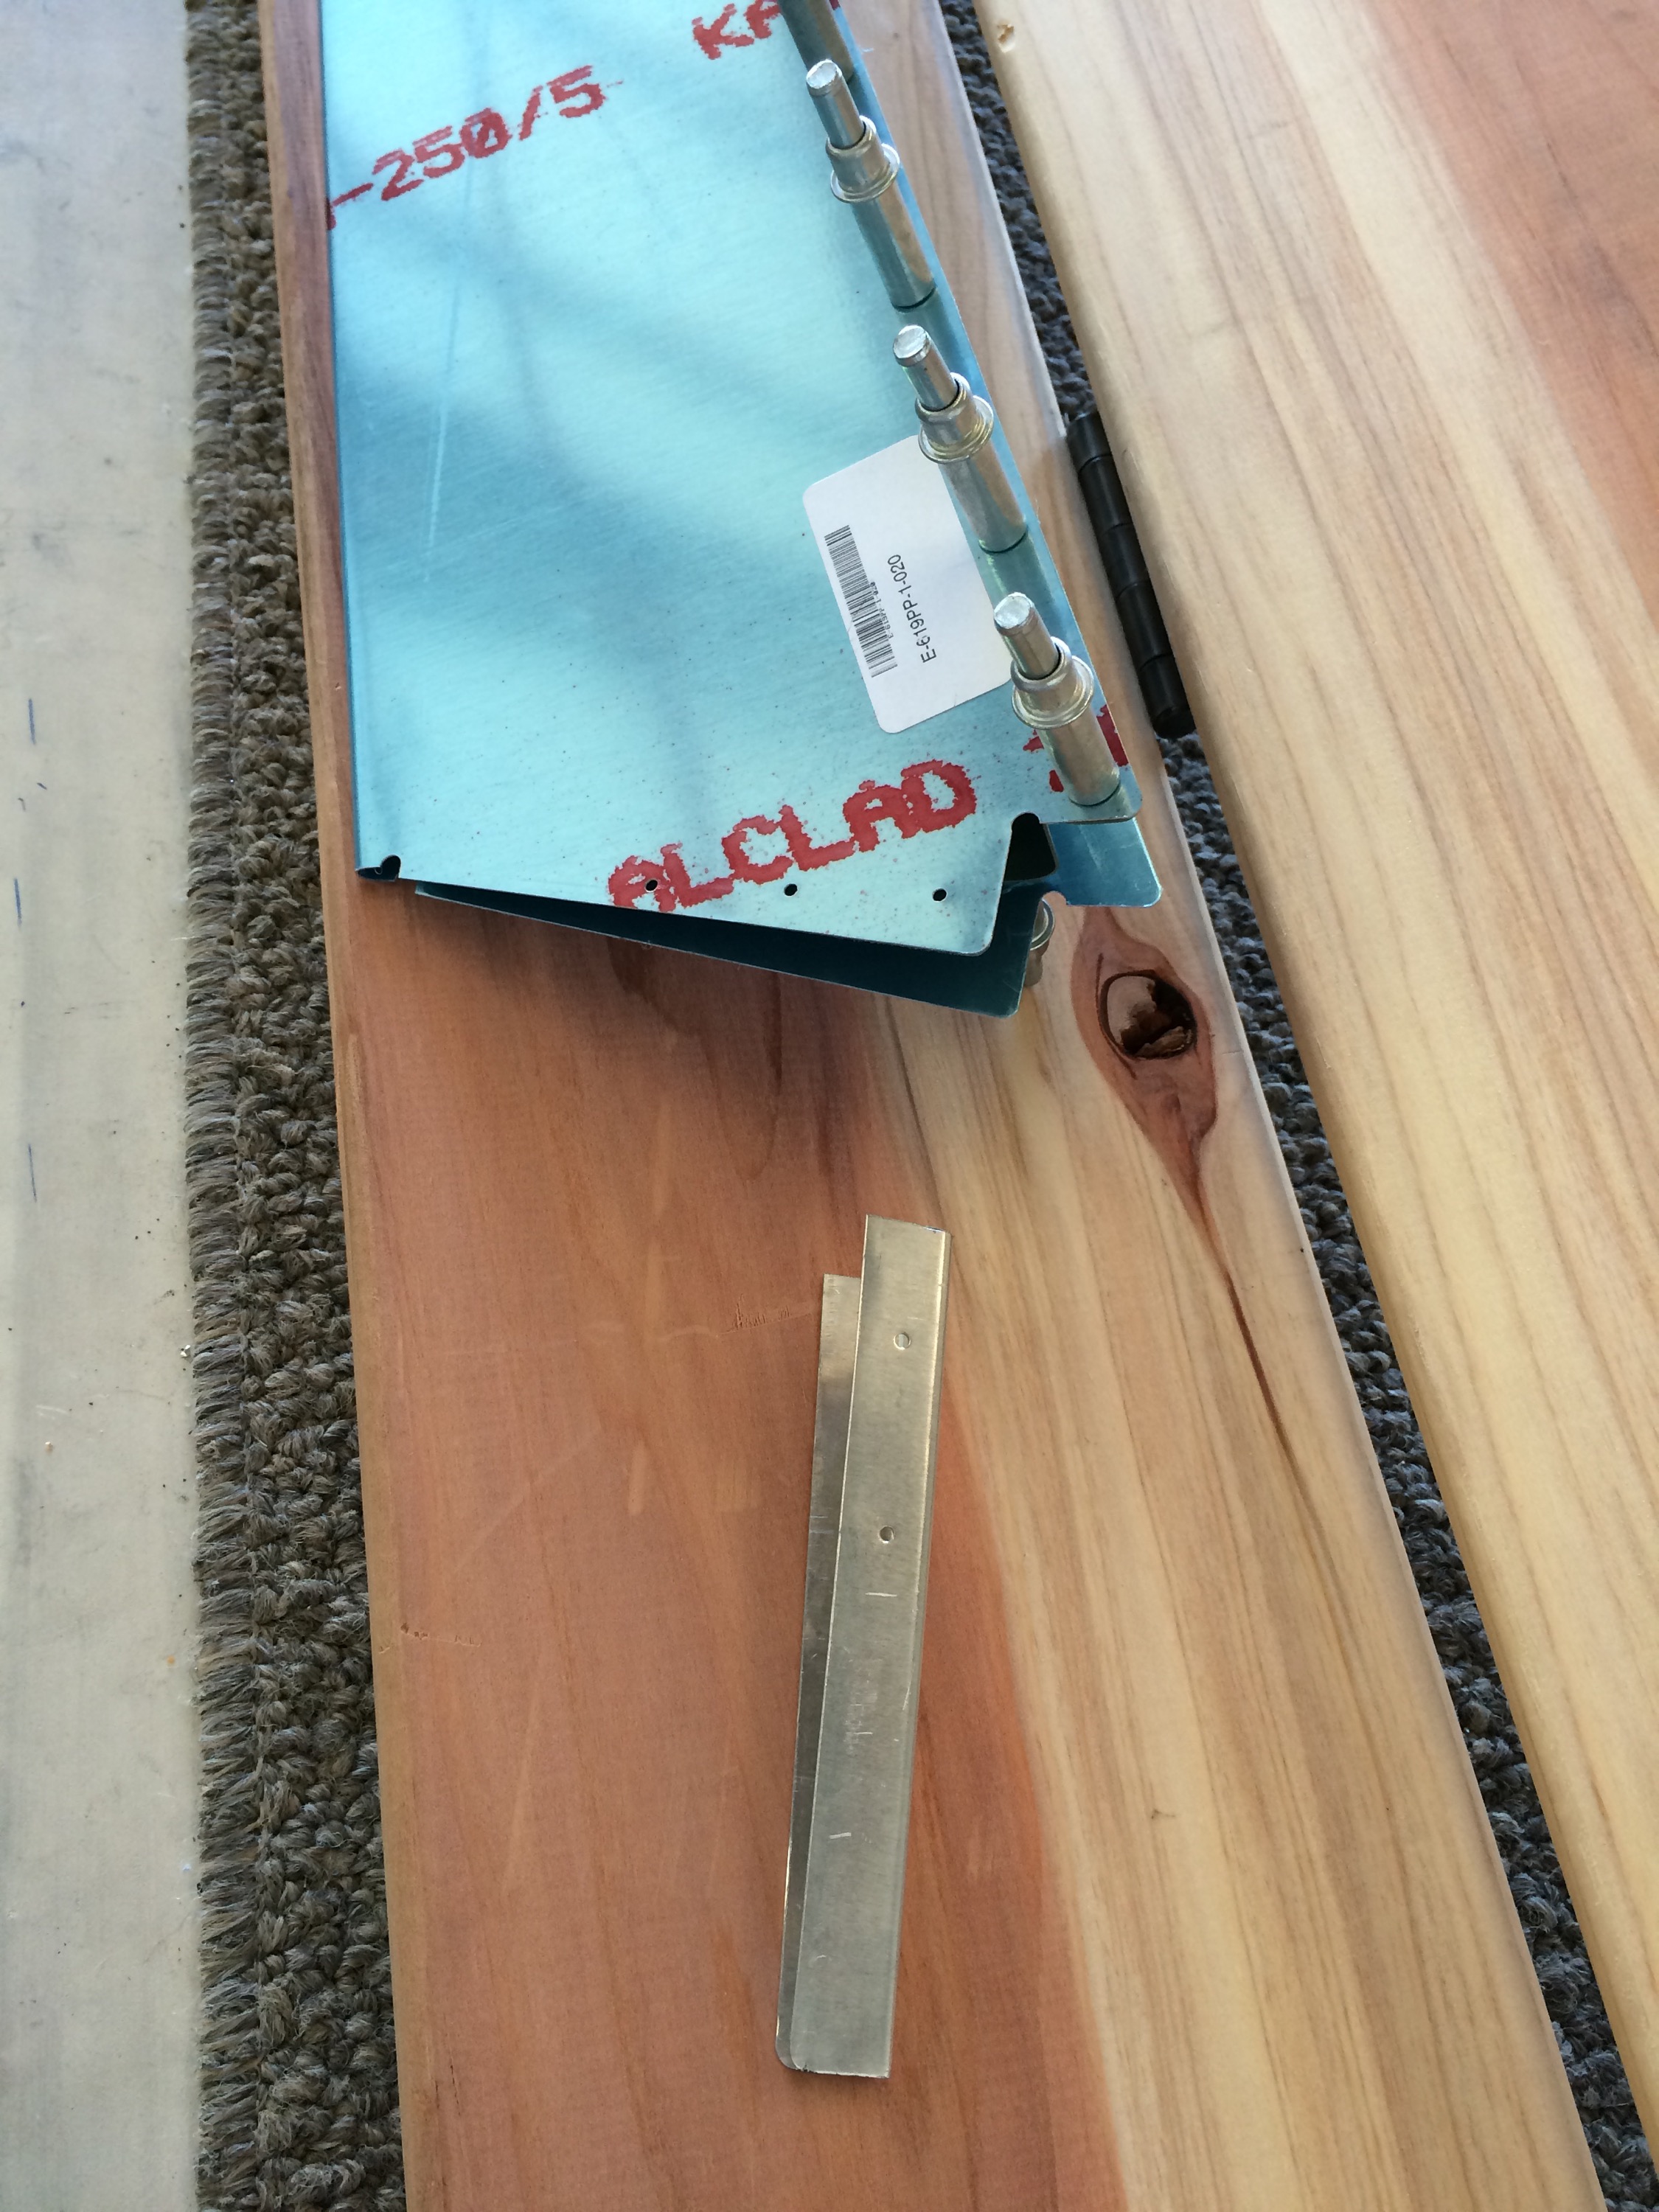
Trim access plate.
Building the Left elevator was a non event until getting to the trim tab. After spending a bit of time forming the block to get the ears bent, I got the first bend OK, but the subsequent bend didn’t come out so well. It was time to order a new tab, along with some more E-703 ribs so I could go the riblet route.
Here’s the first riblet cut:
Test fitting the trim tab once the ears are cut off.
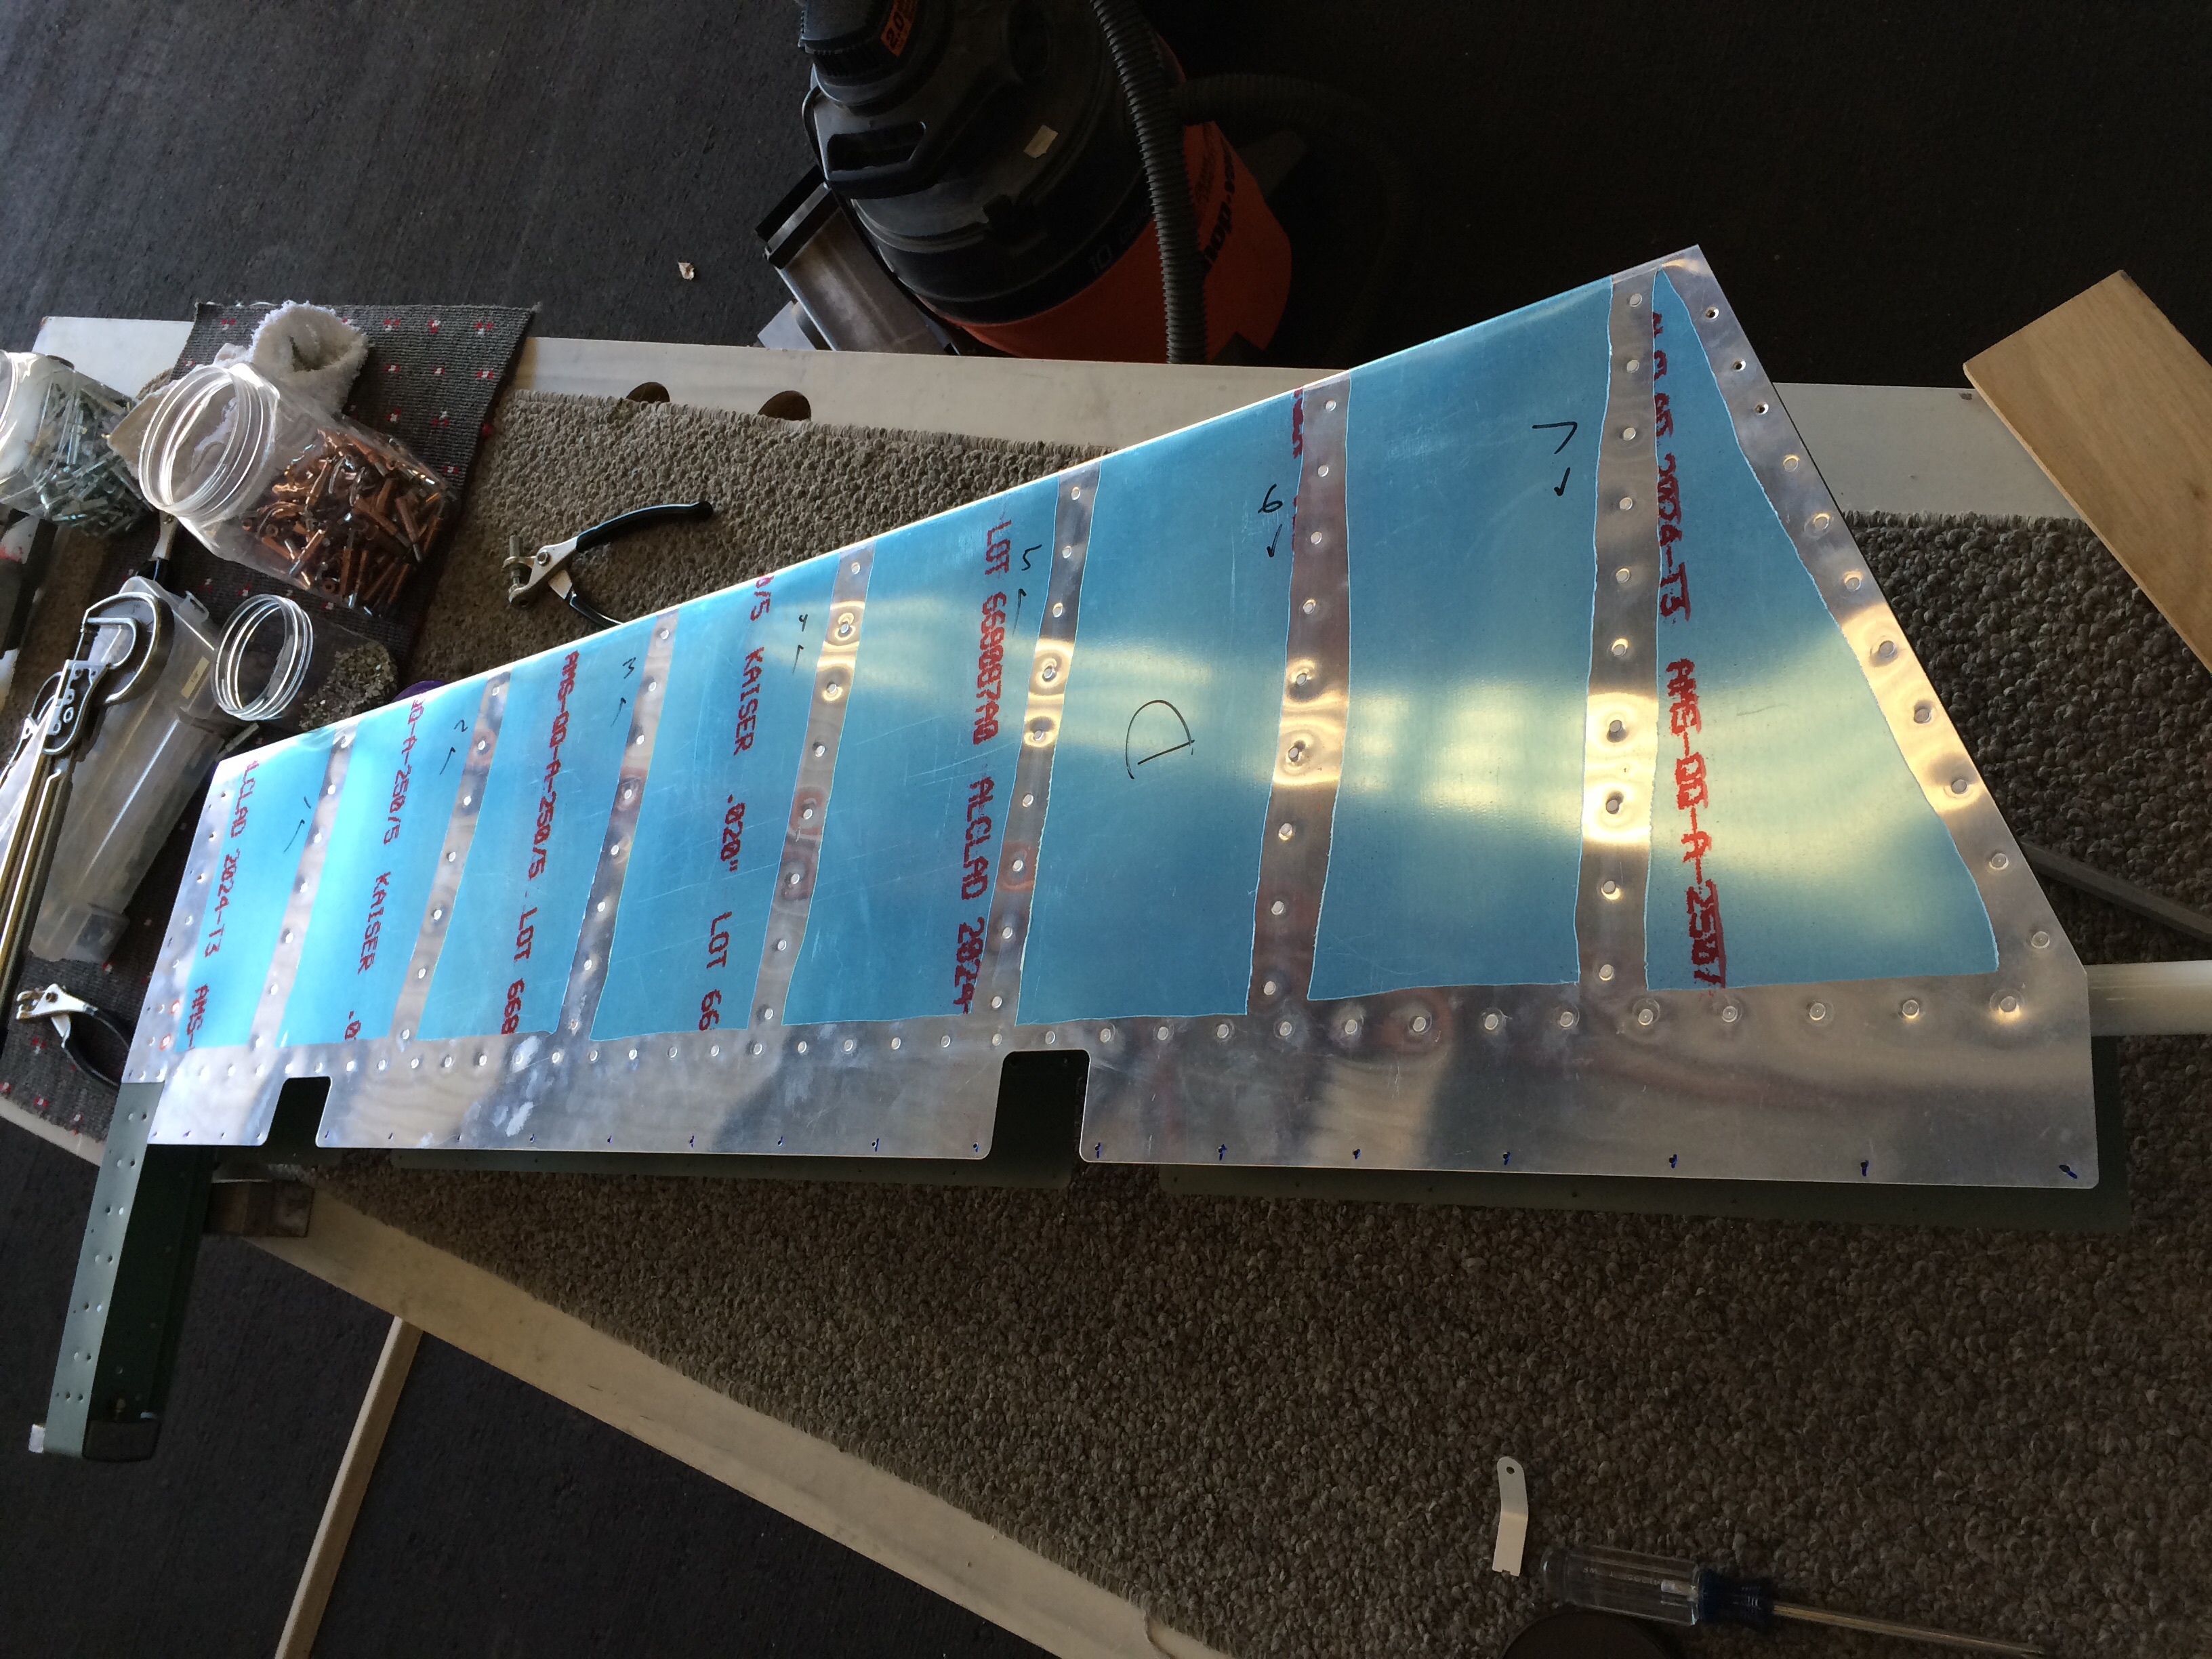
Worked on rolling the leading edges for the Rudder and Right Elevator. Found the best method was the Vans method with tape and the steel pipe with one of us on each end. A little more massaging and then we can blind rivet them.
Riveted the Right Elevator structure together.