Spent some time scotch brighting, cleaning and then priming parts for the fuselage.
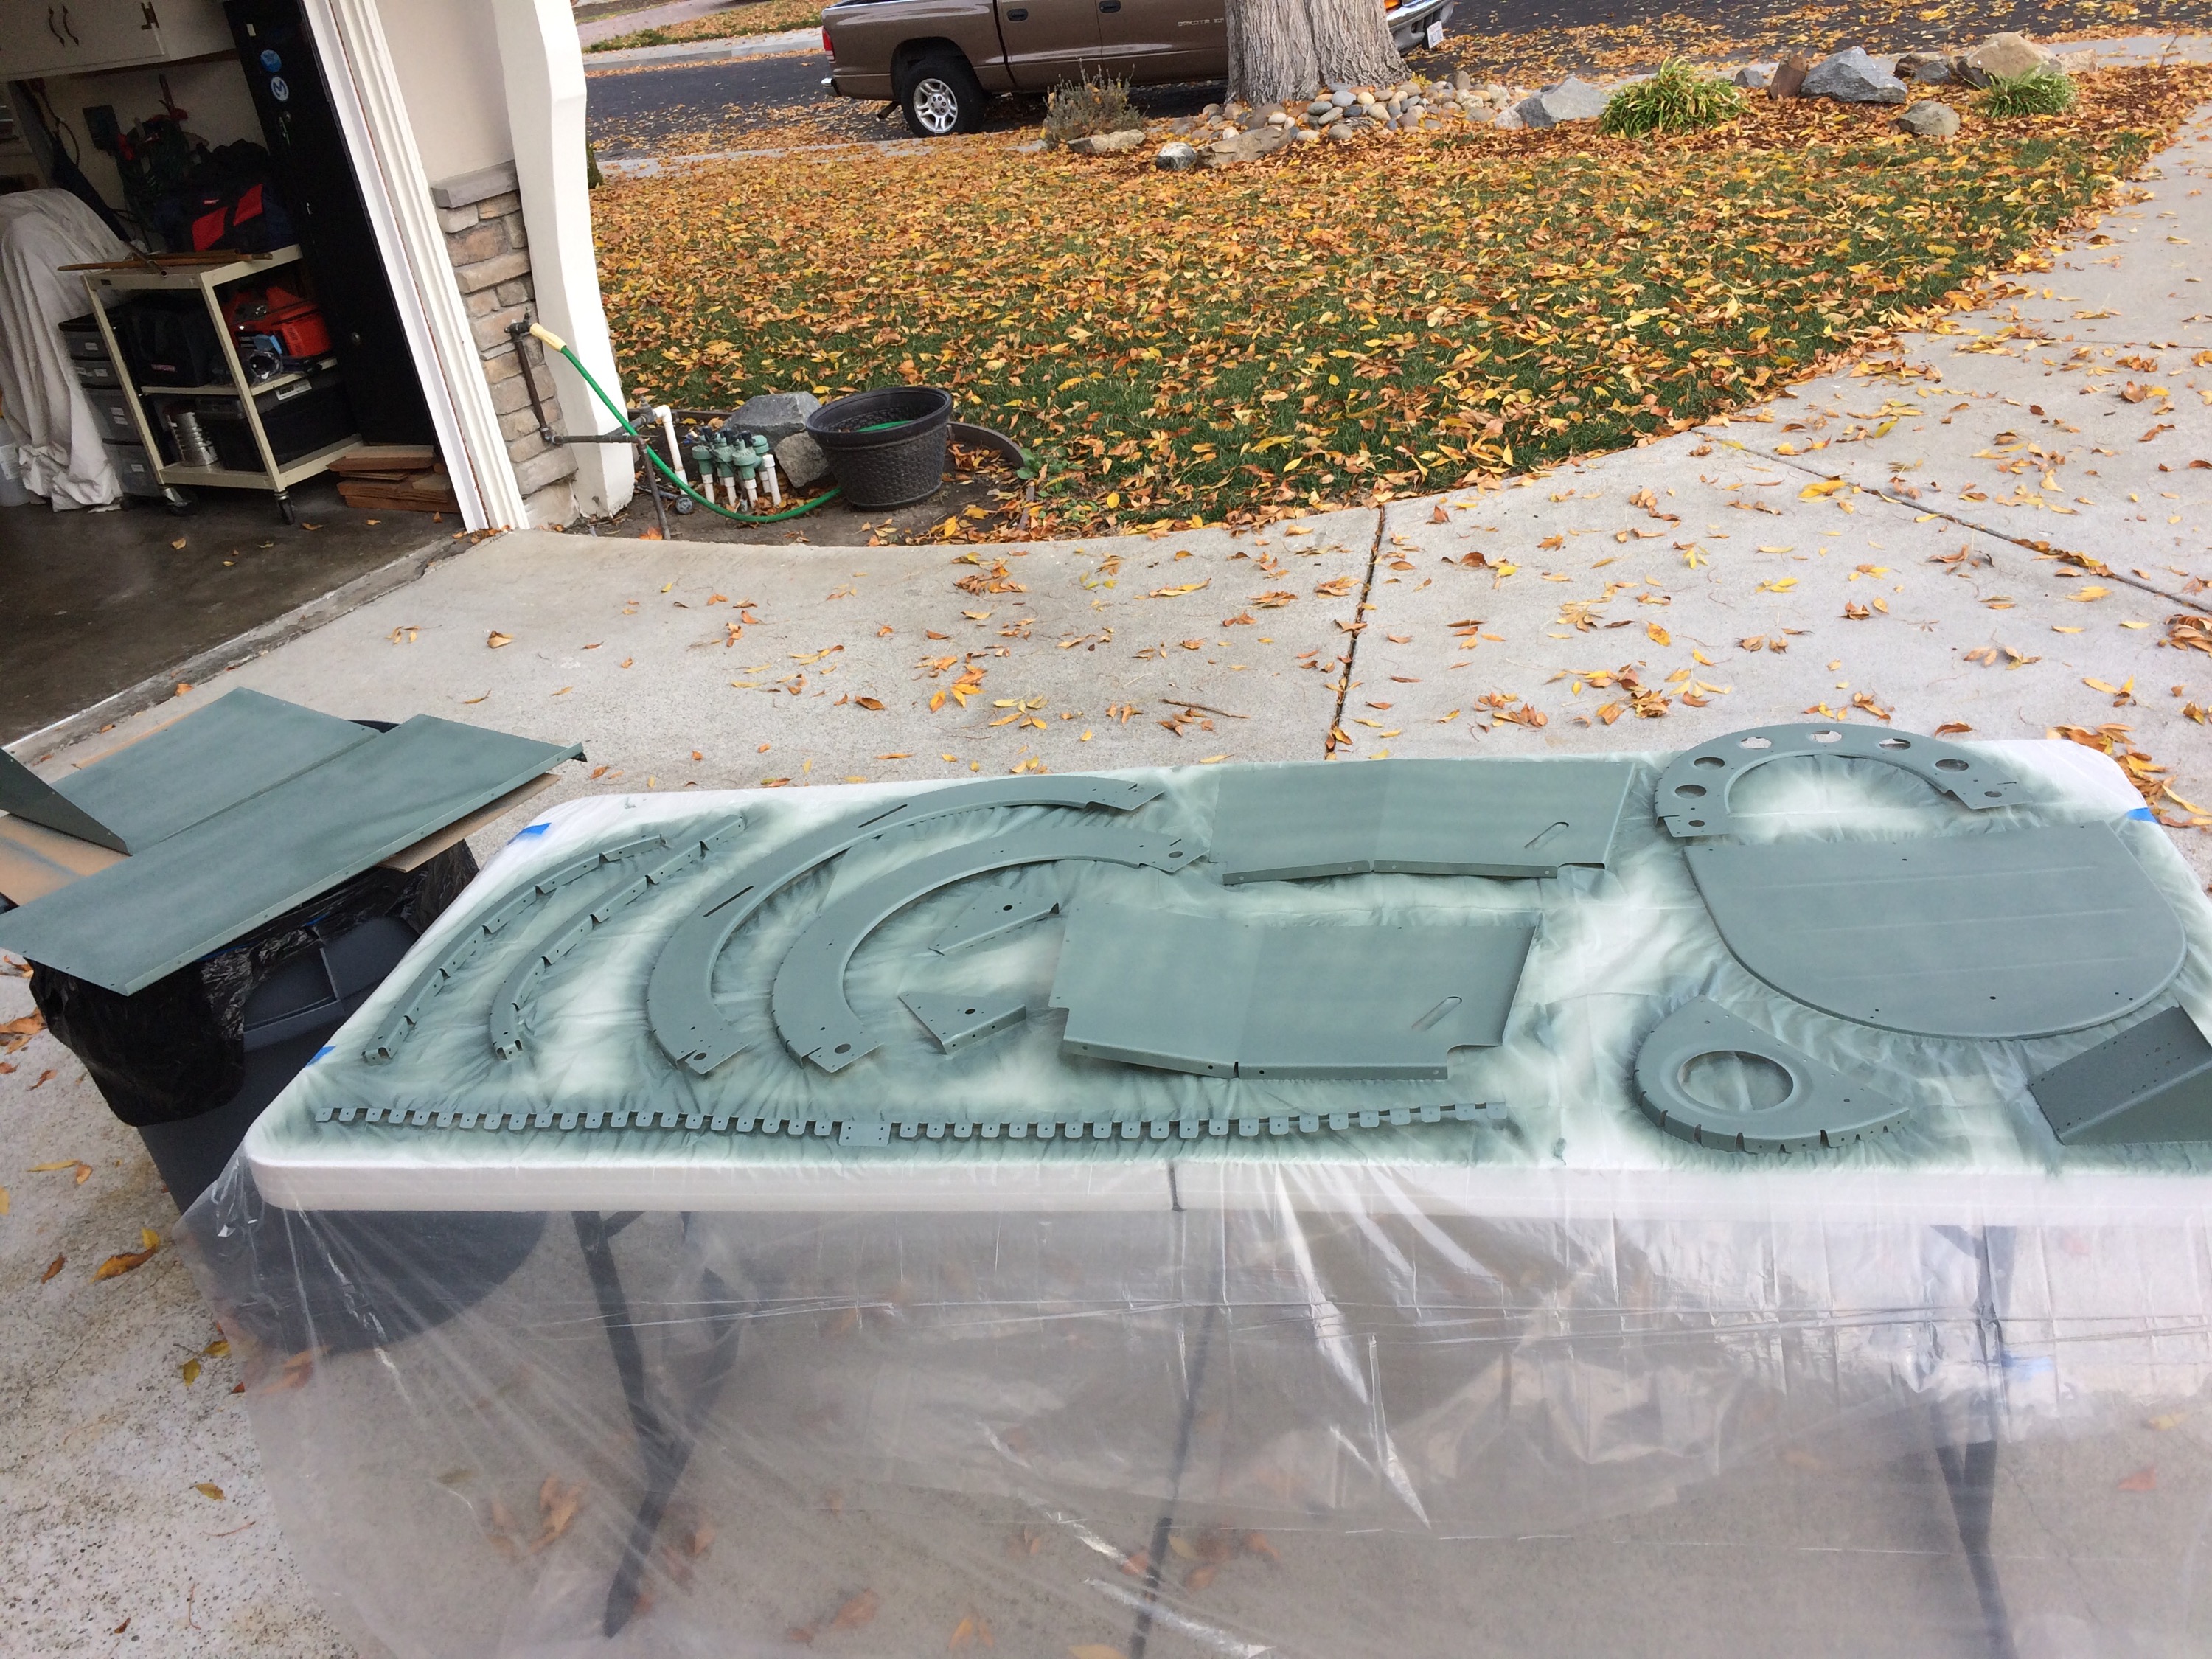
Spent some time scotch brighting, cleaning and then priming parts for the fuselage.
Nothing exciting, just spent time deburring and cleaning up fuse parts, formers, etc.
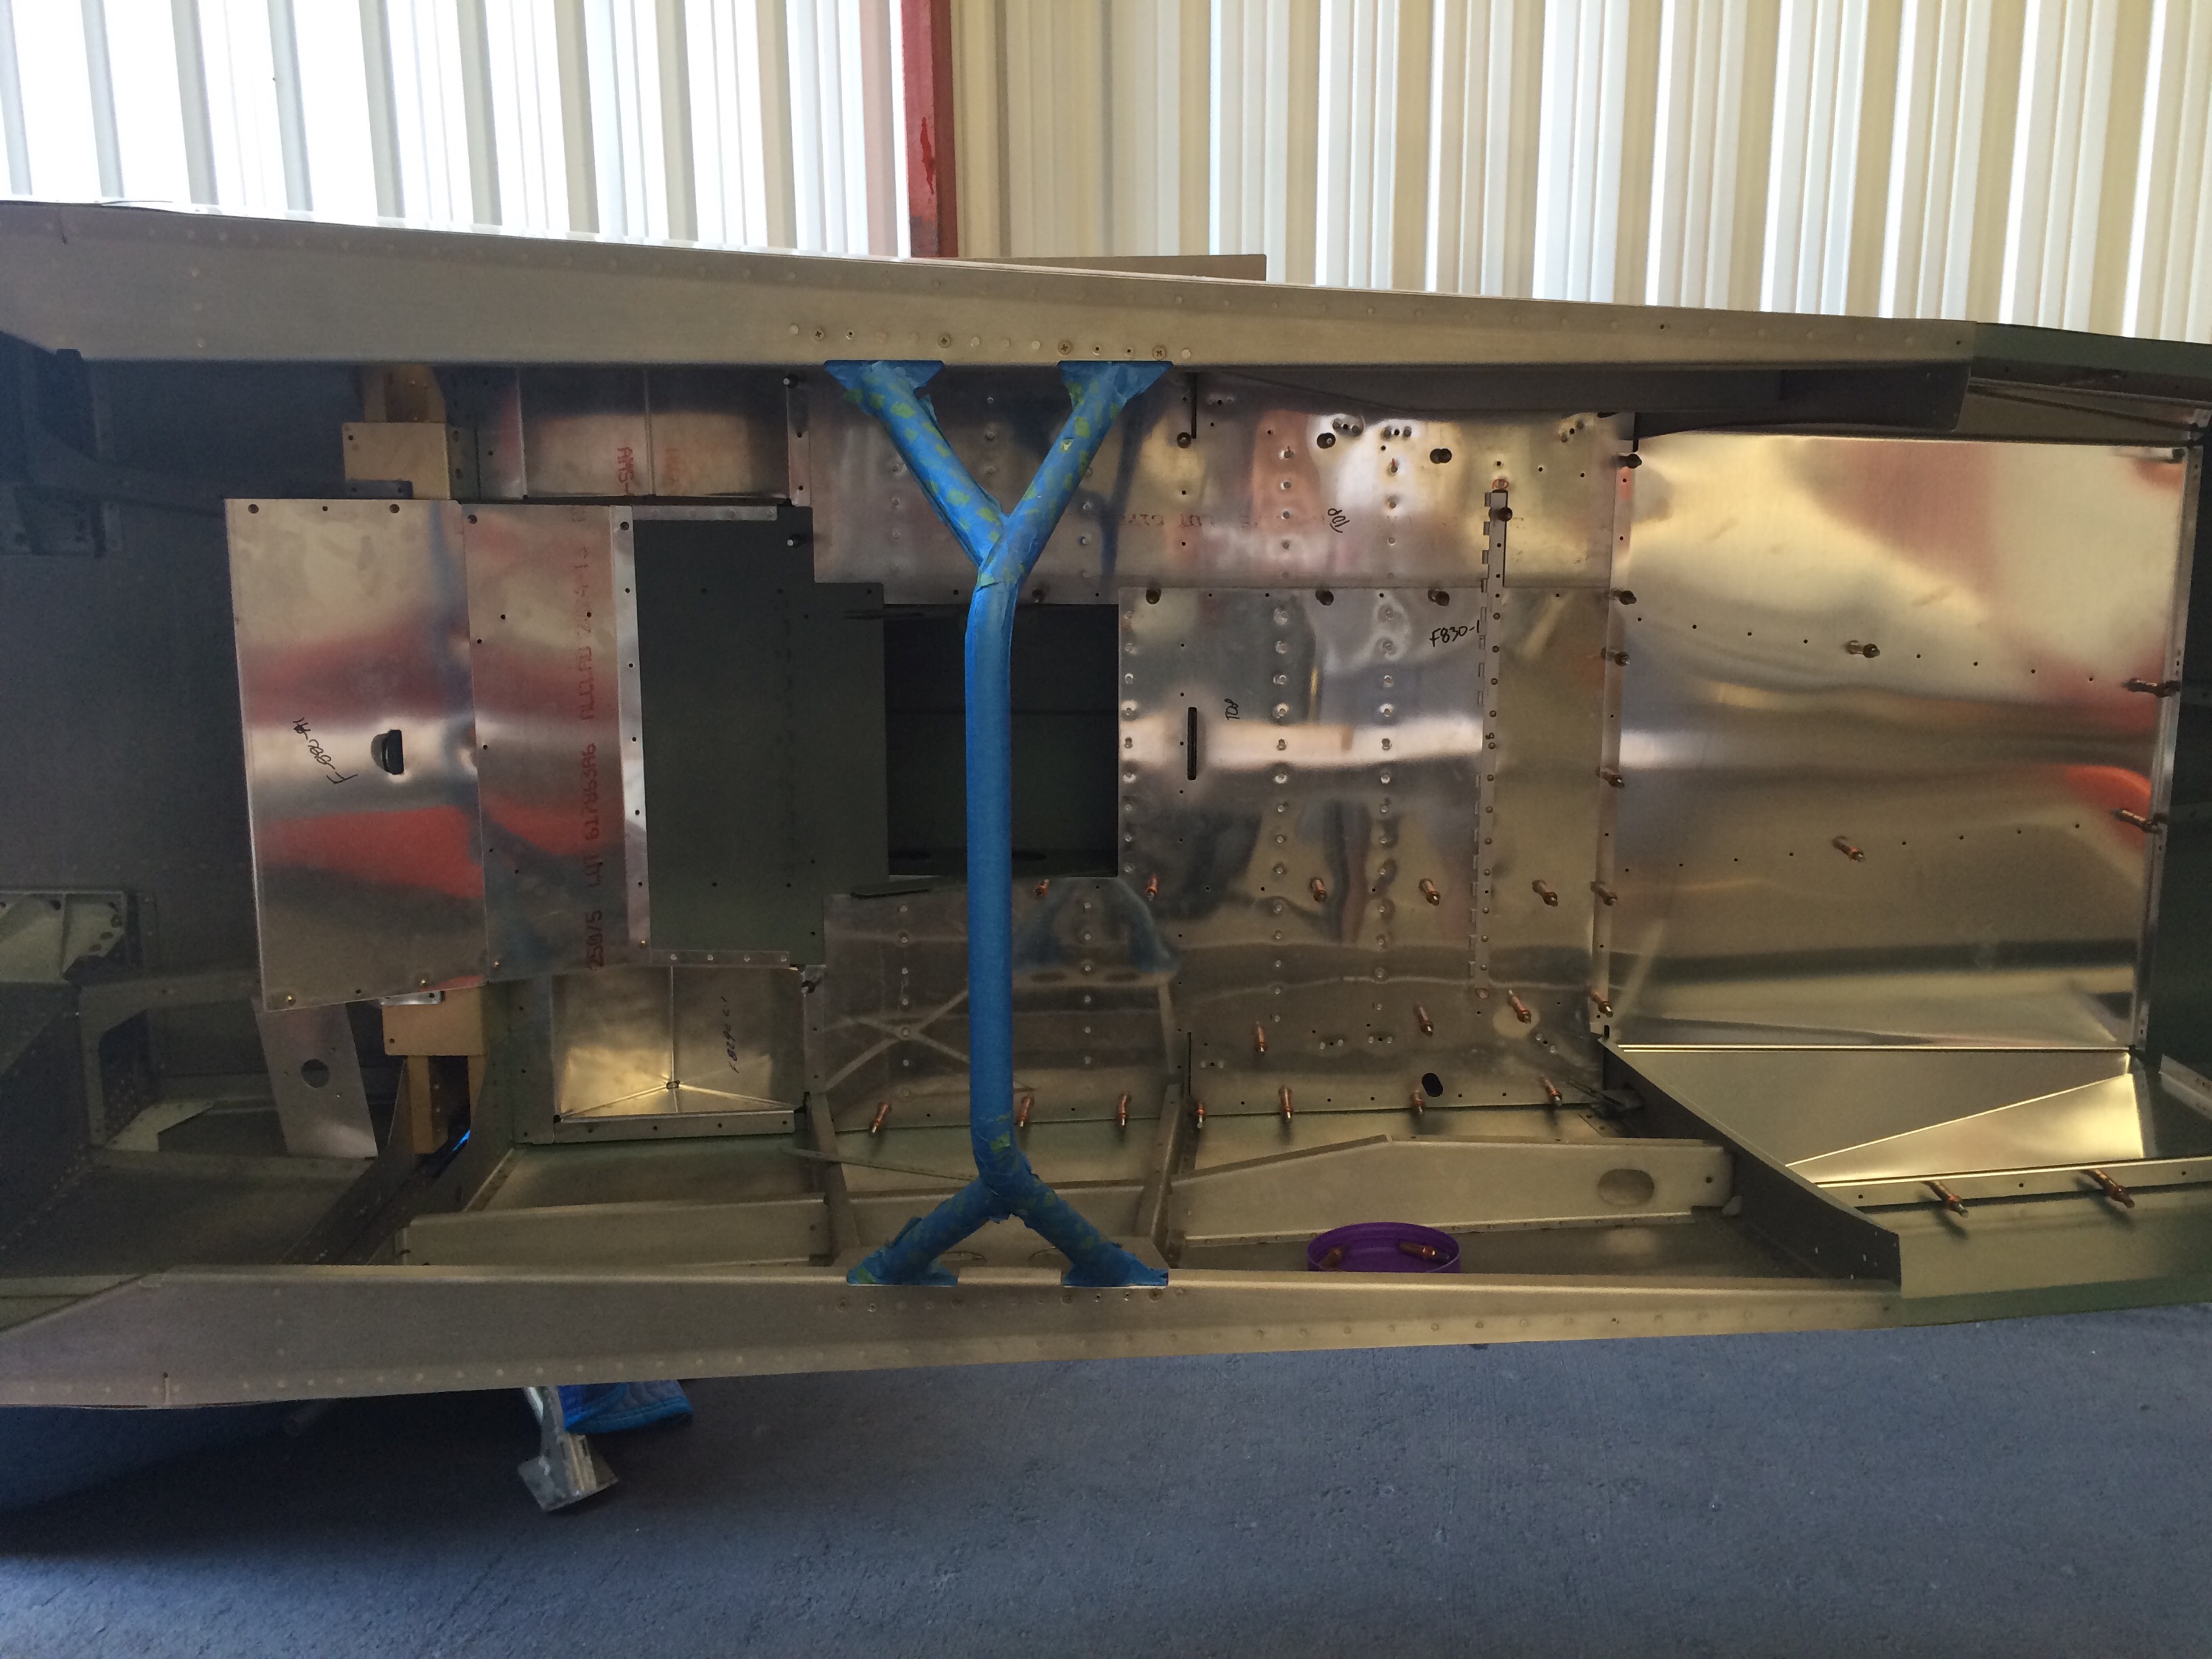
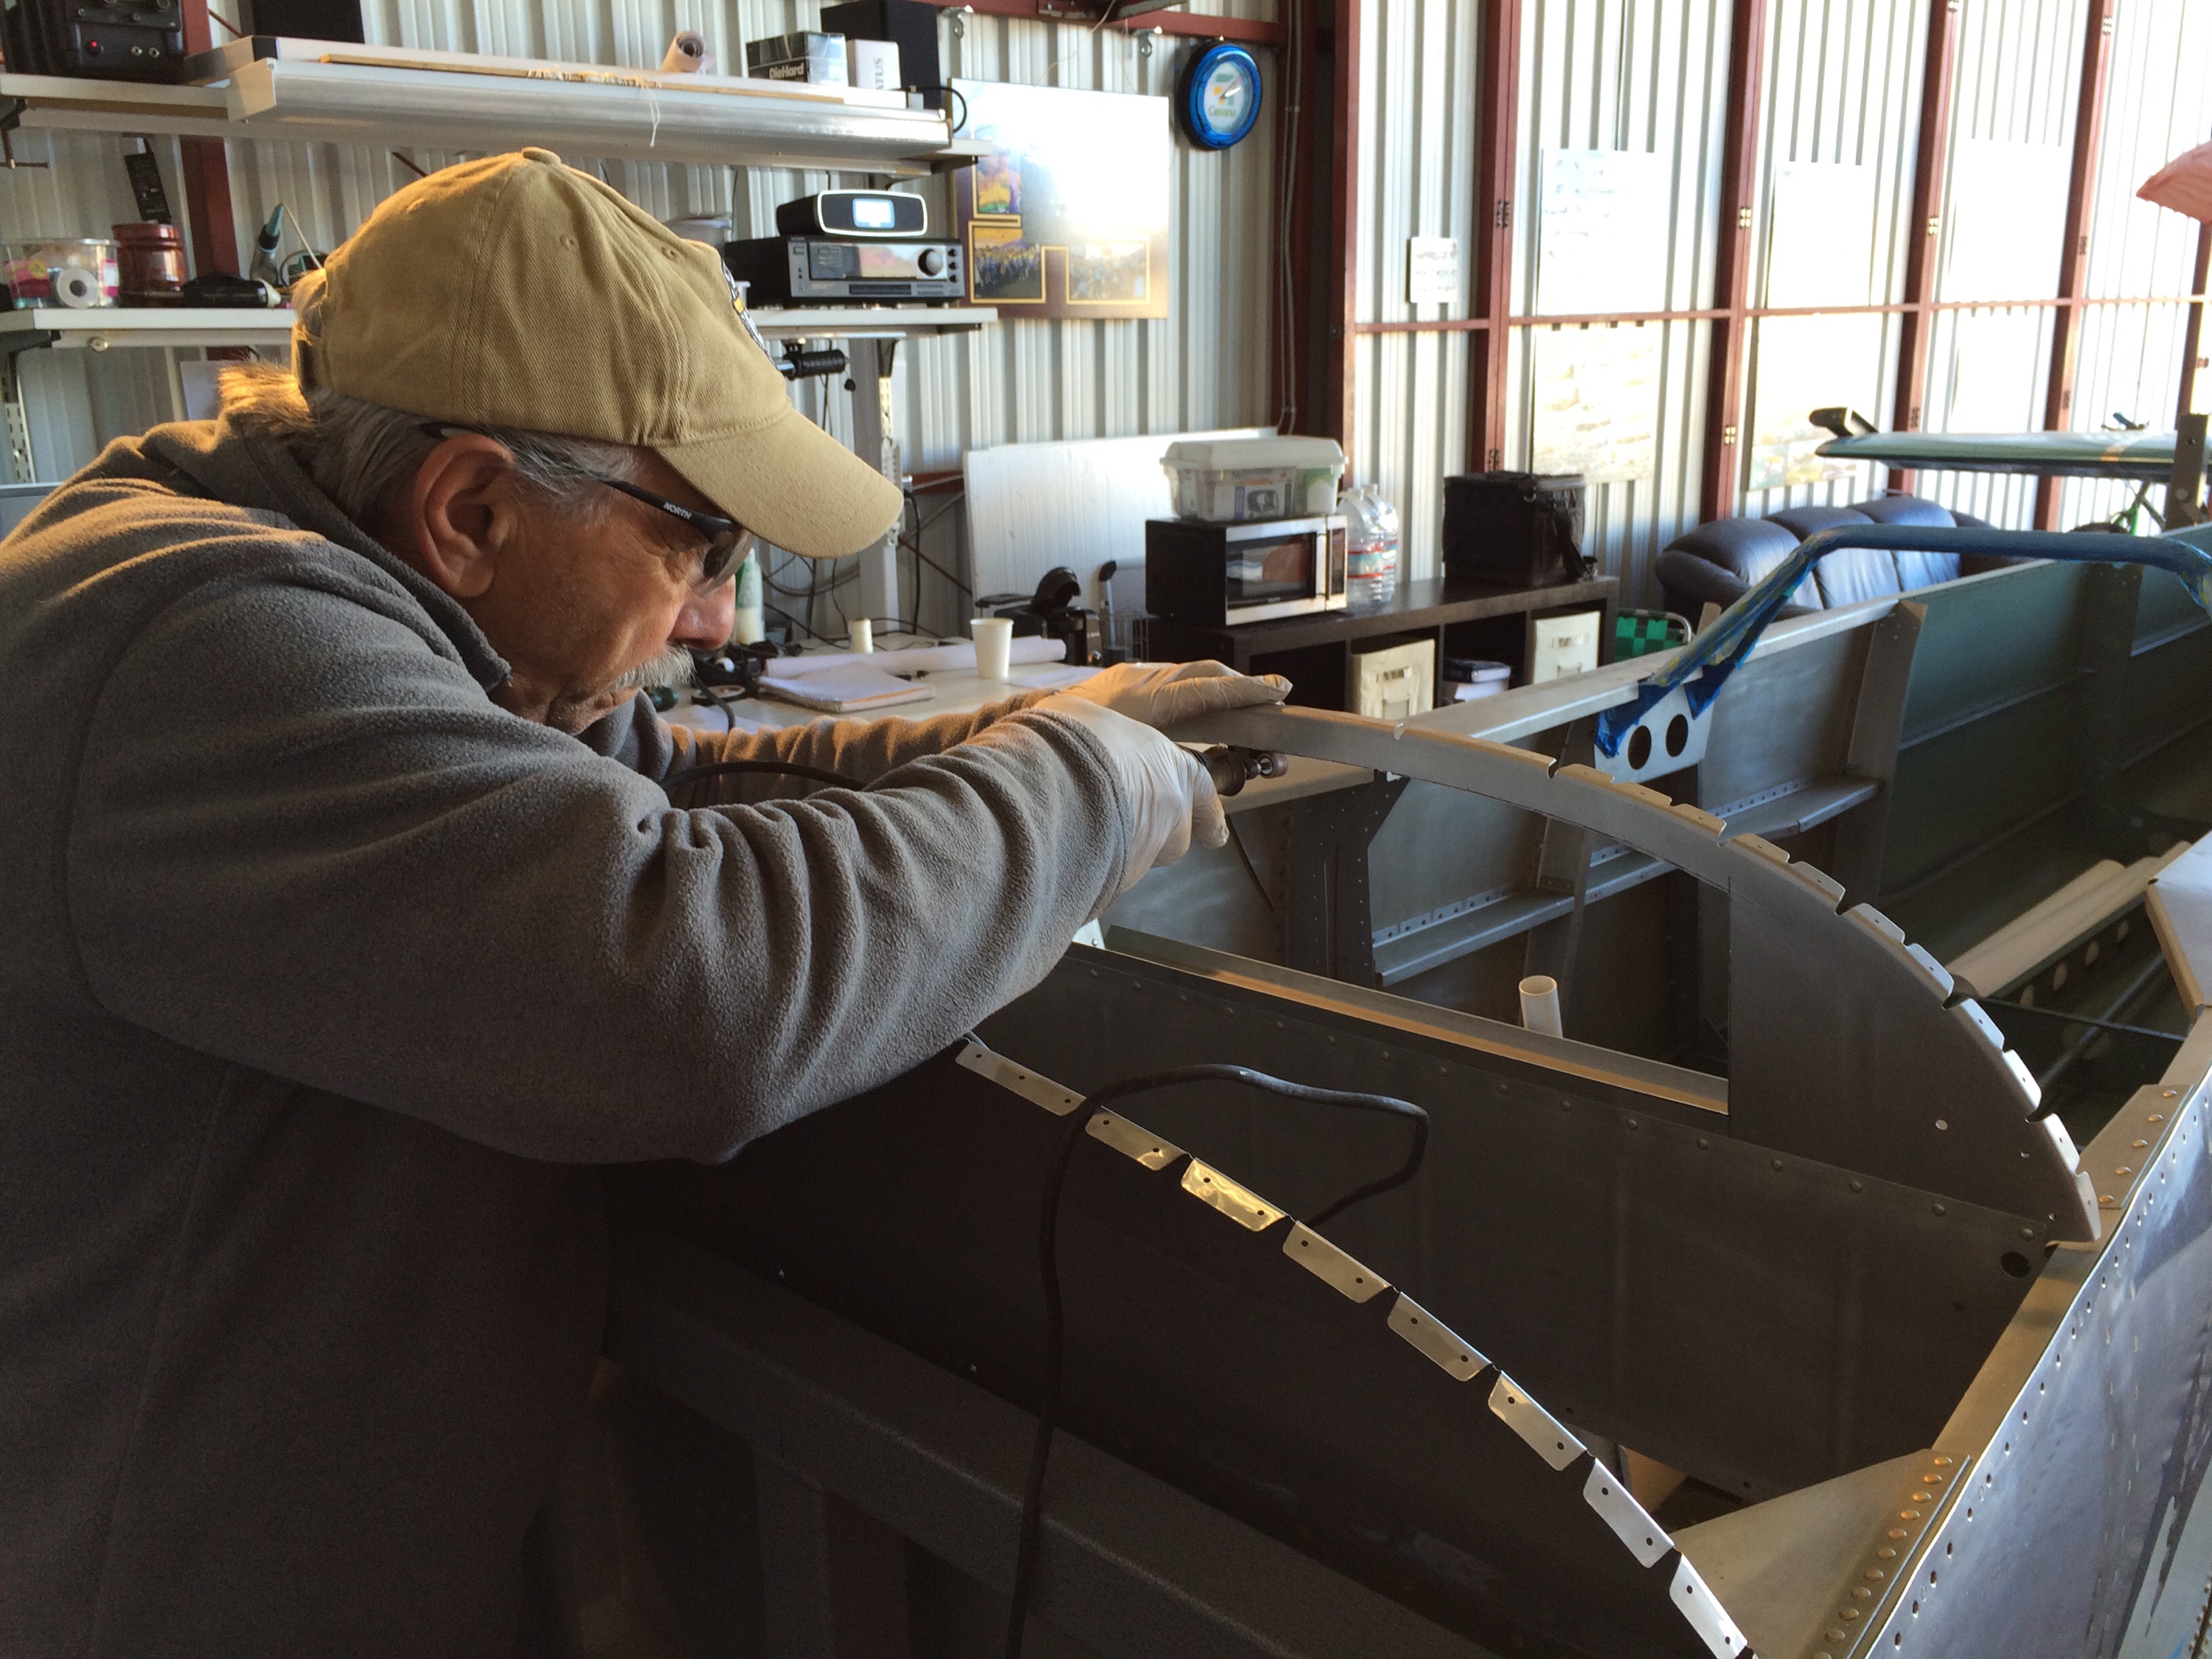
Worked on the fuselage and rudder pedals today. One item we’ve been delaying on is cutting the avionics access hatch.
Here’s Dad smoothing out or cut of the hatch. This will help access the instruments from the front cargo hatch.
More work on the rudder pedals. For whatever reason, I have two different color pedal assemblies, as you can see the left assembly is a greyish color, while the rest is white.
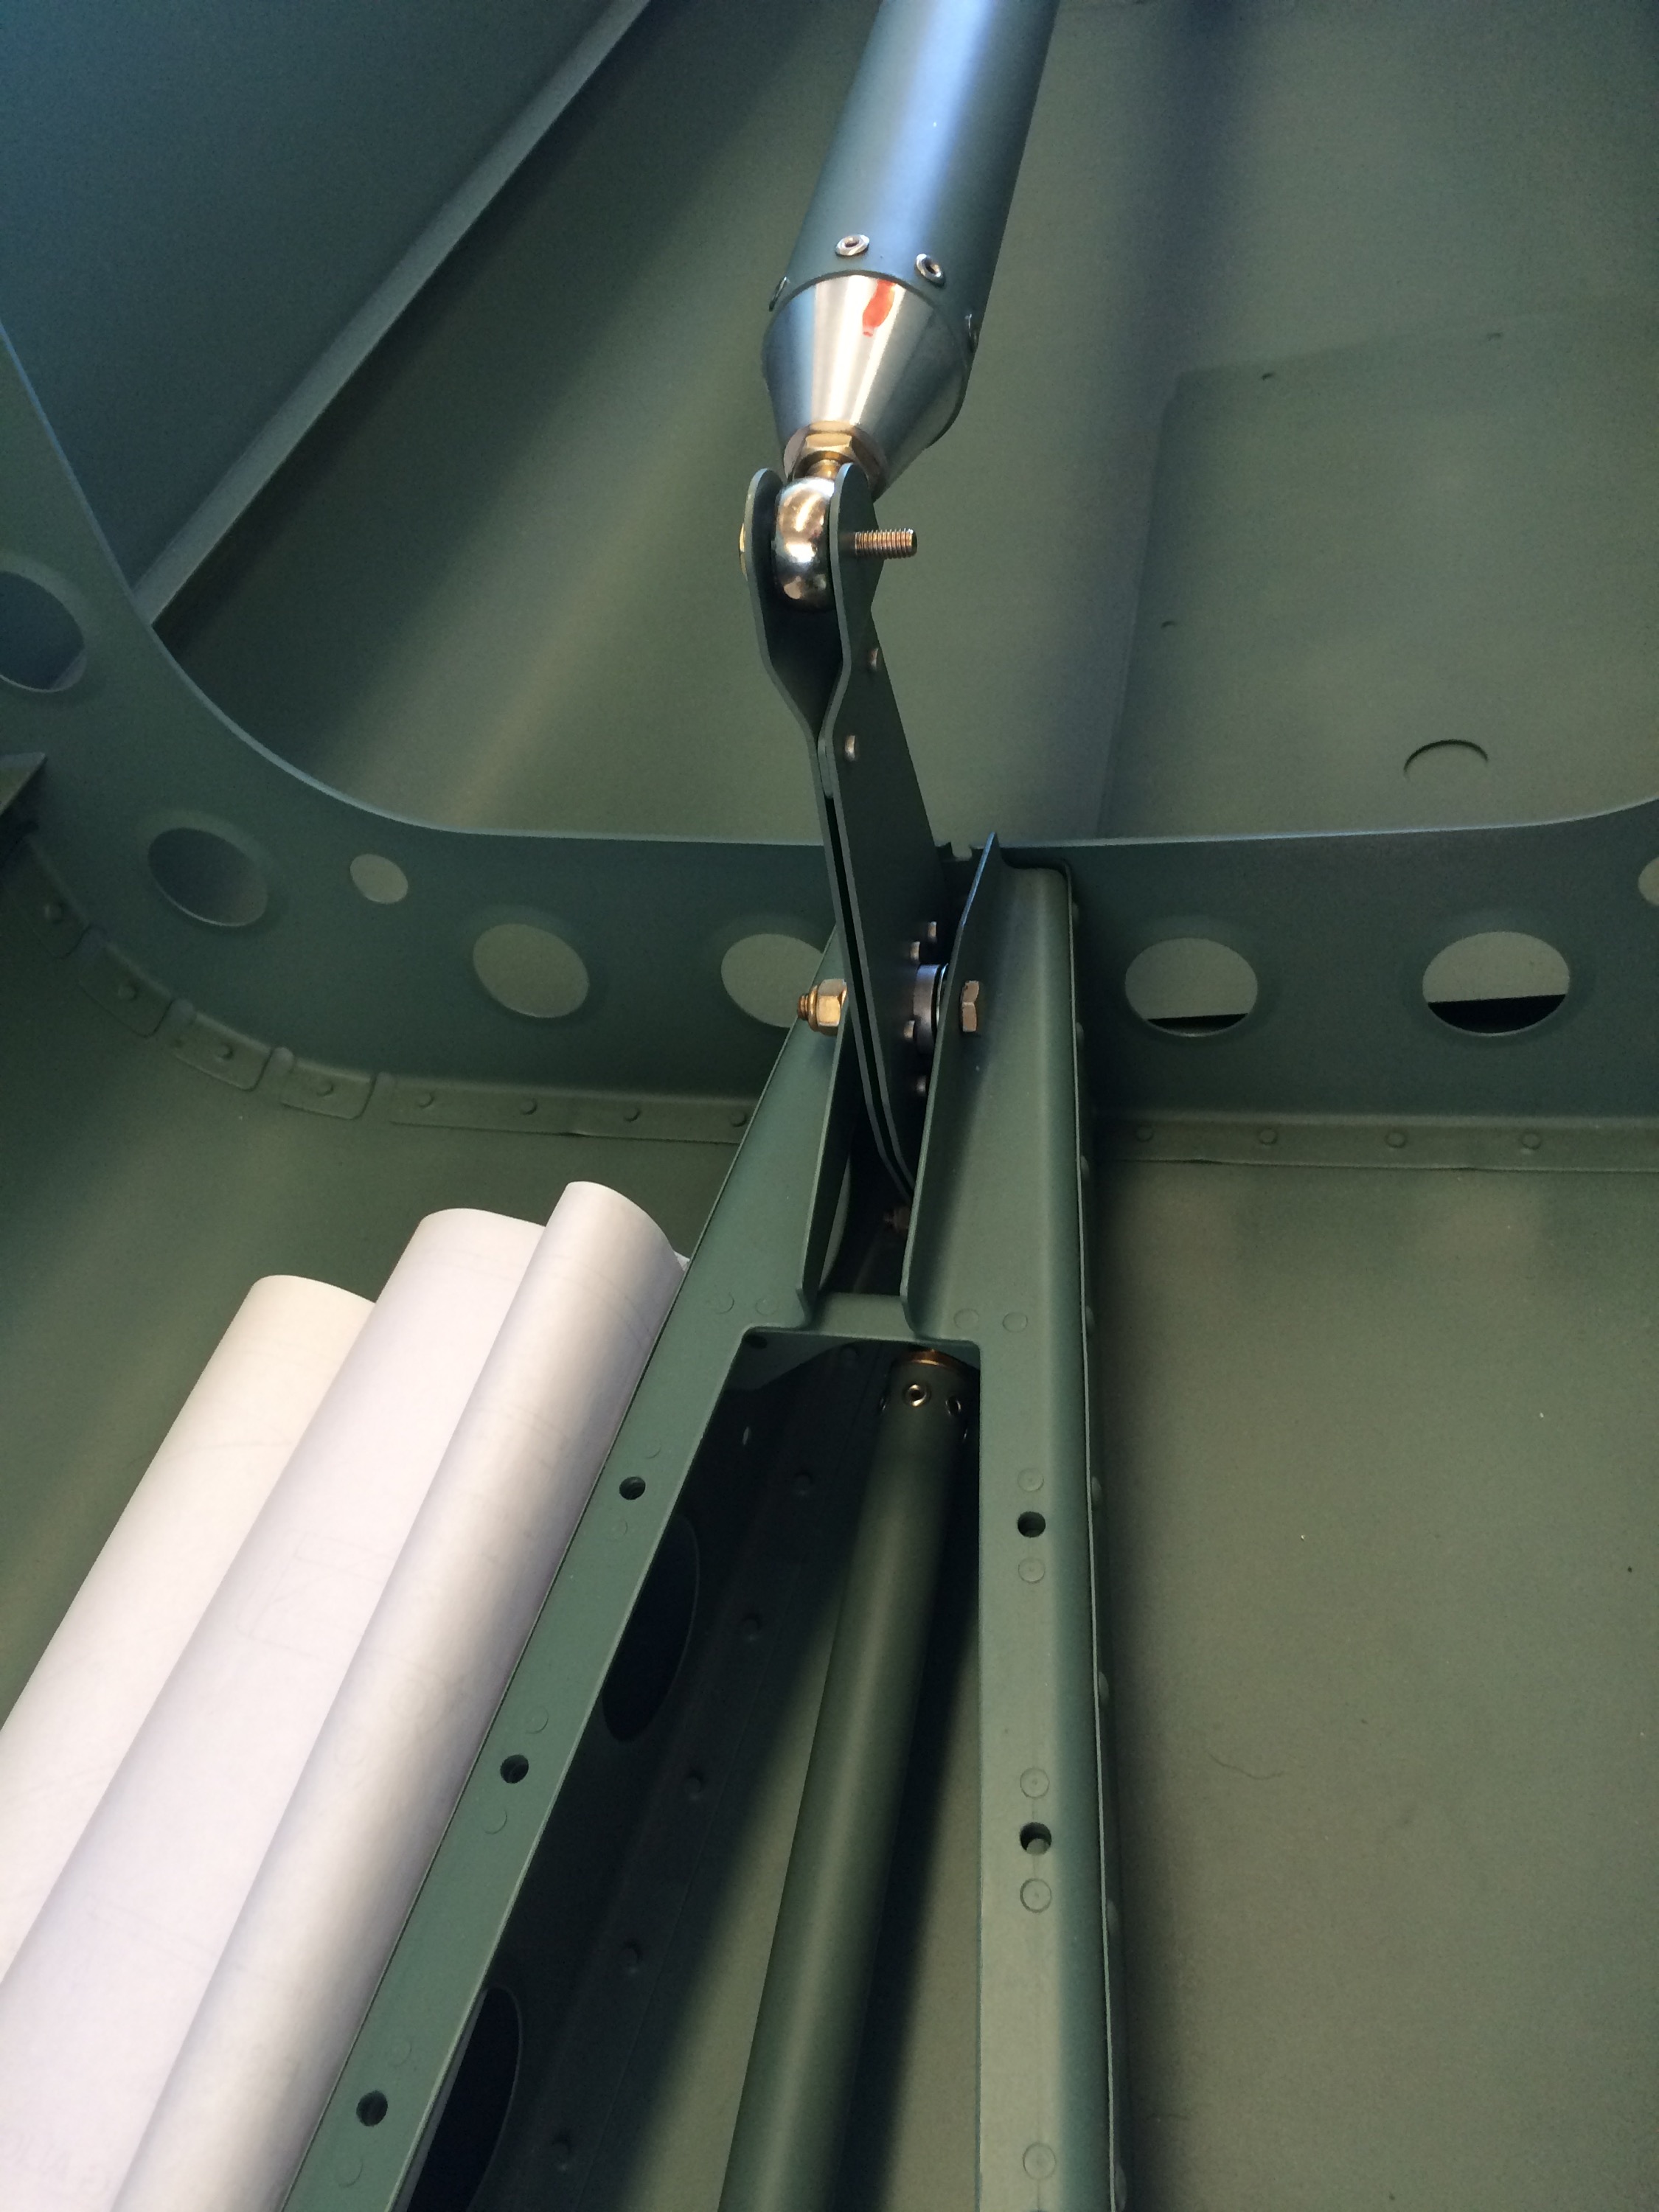
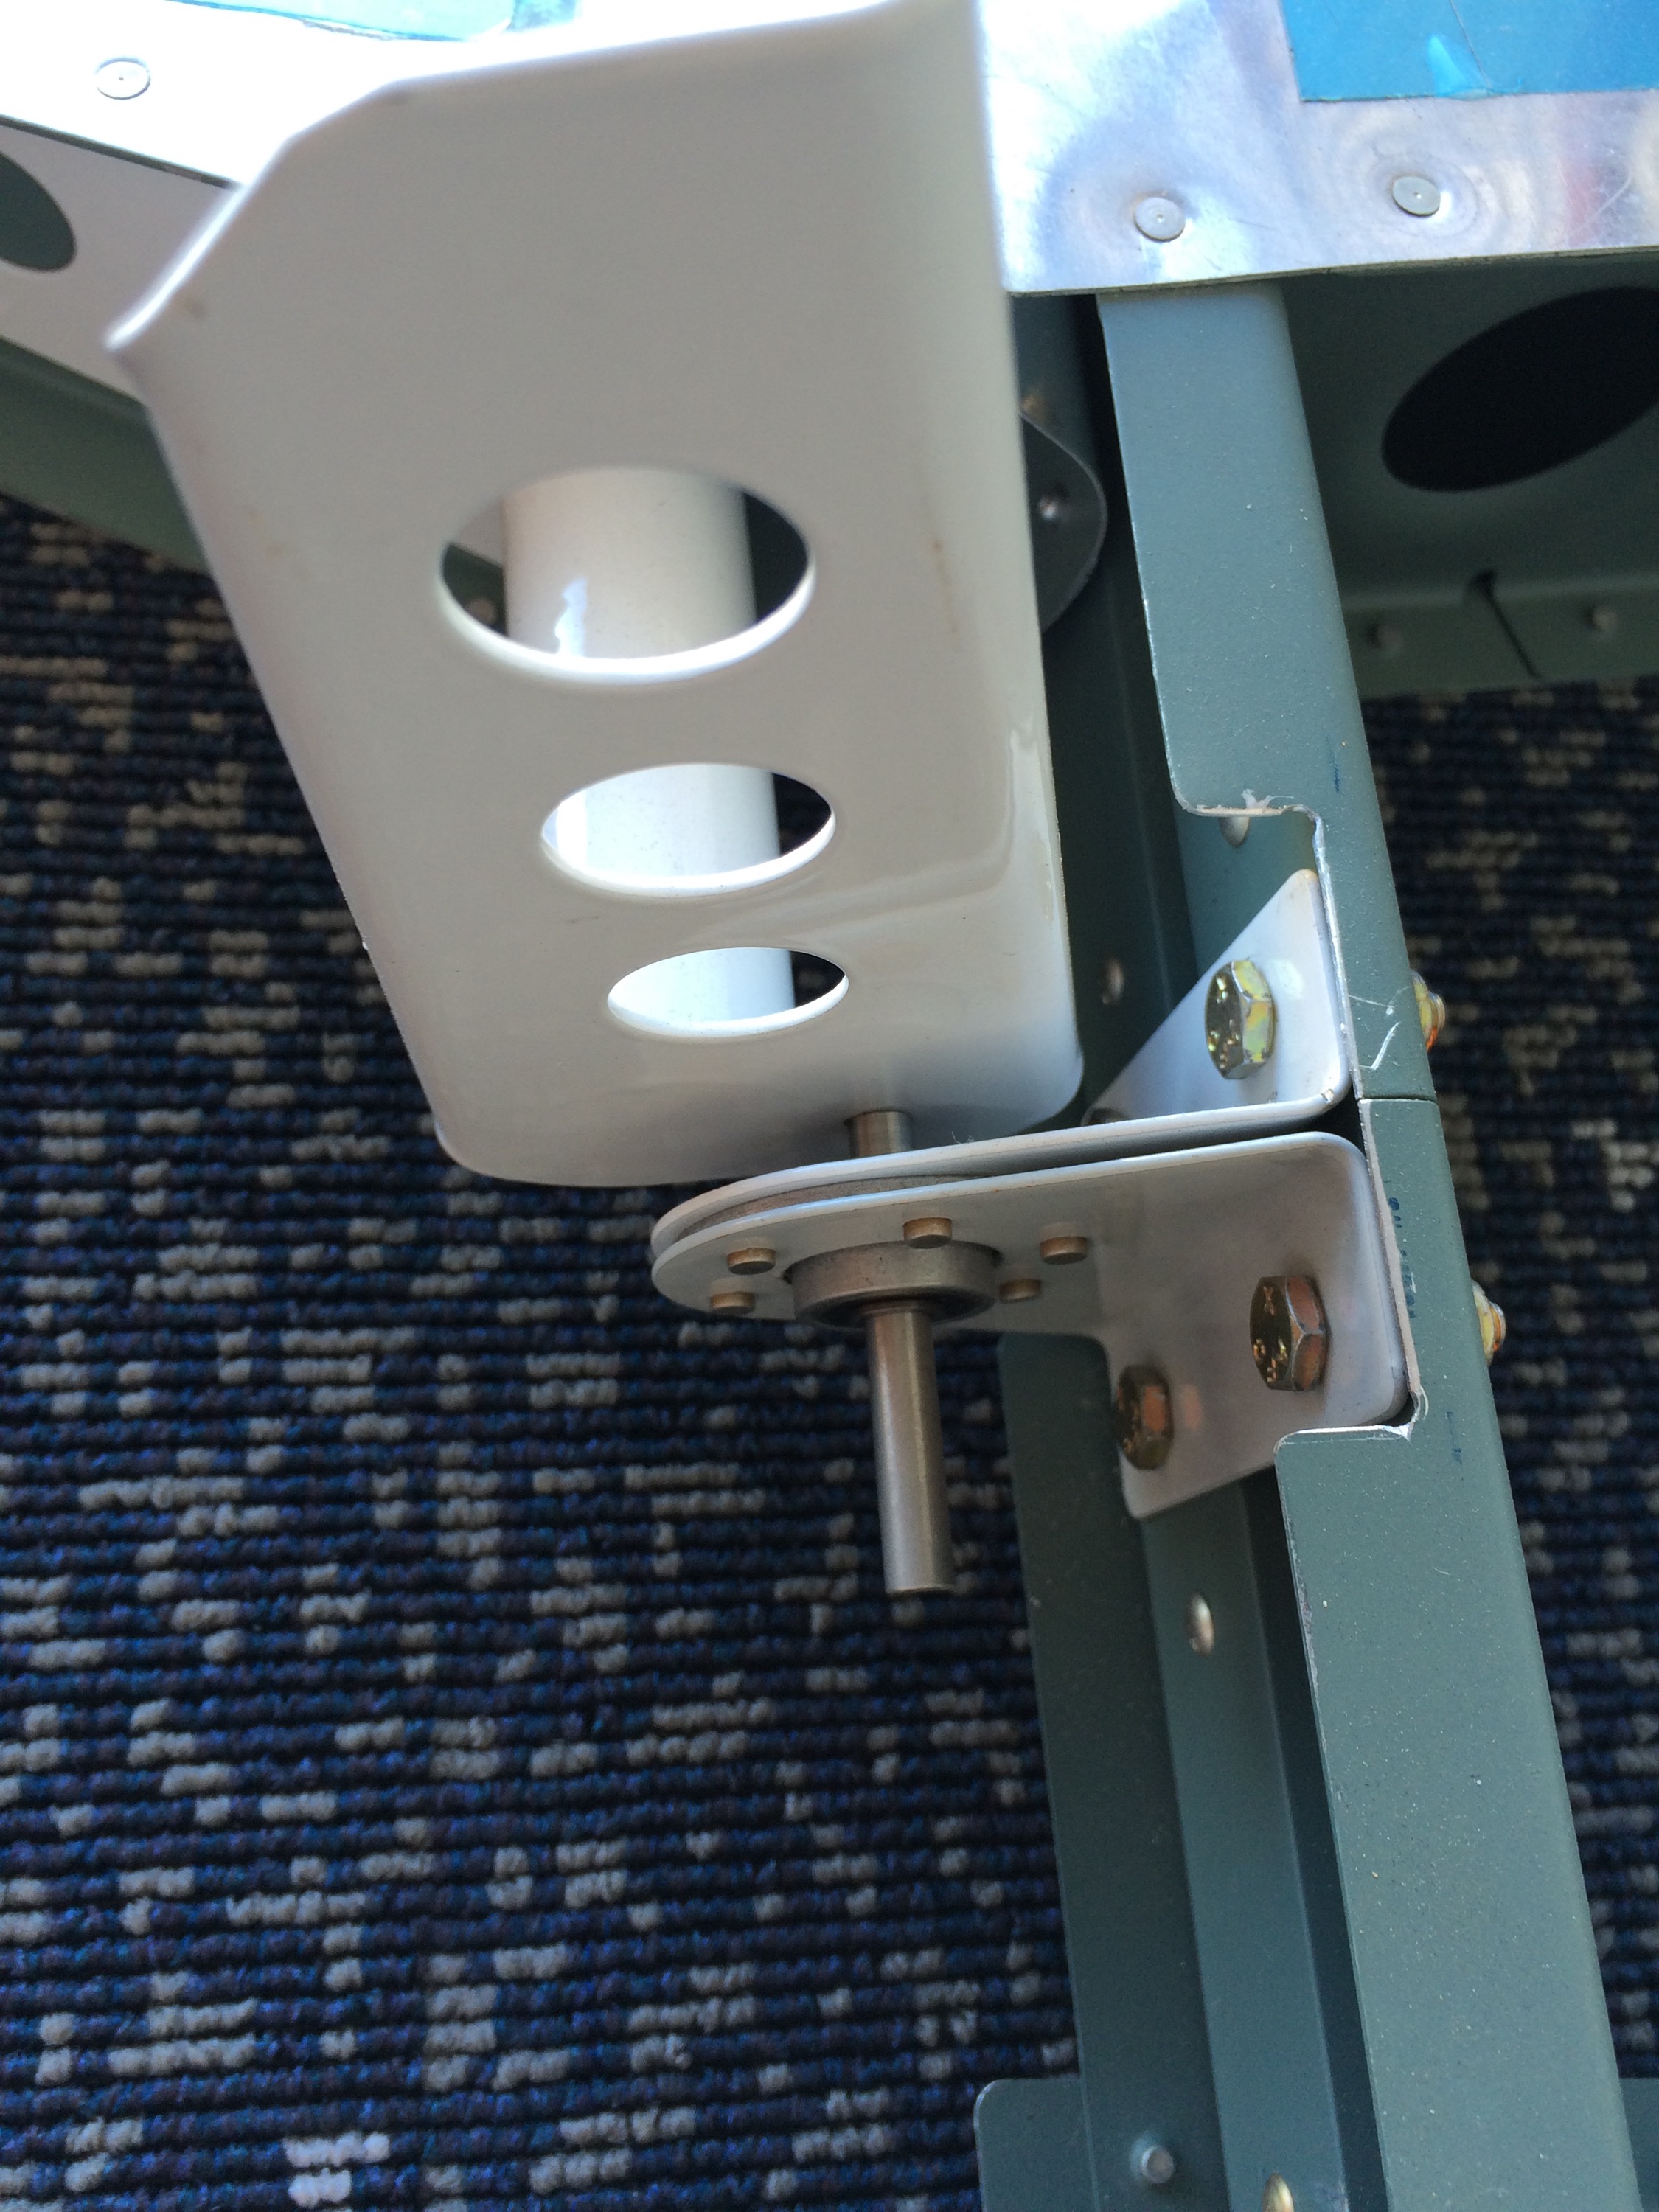
Started working on installing the pushrods and controls. Here is the control column and front control stick installed. This won’t be a final install as I still have to finish priming the fuse and then painting the interior color.
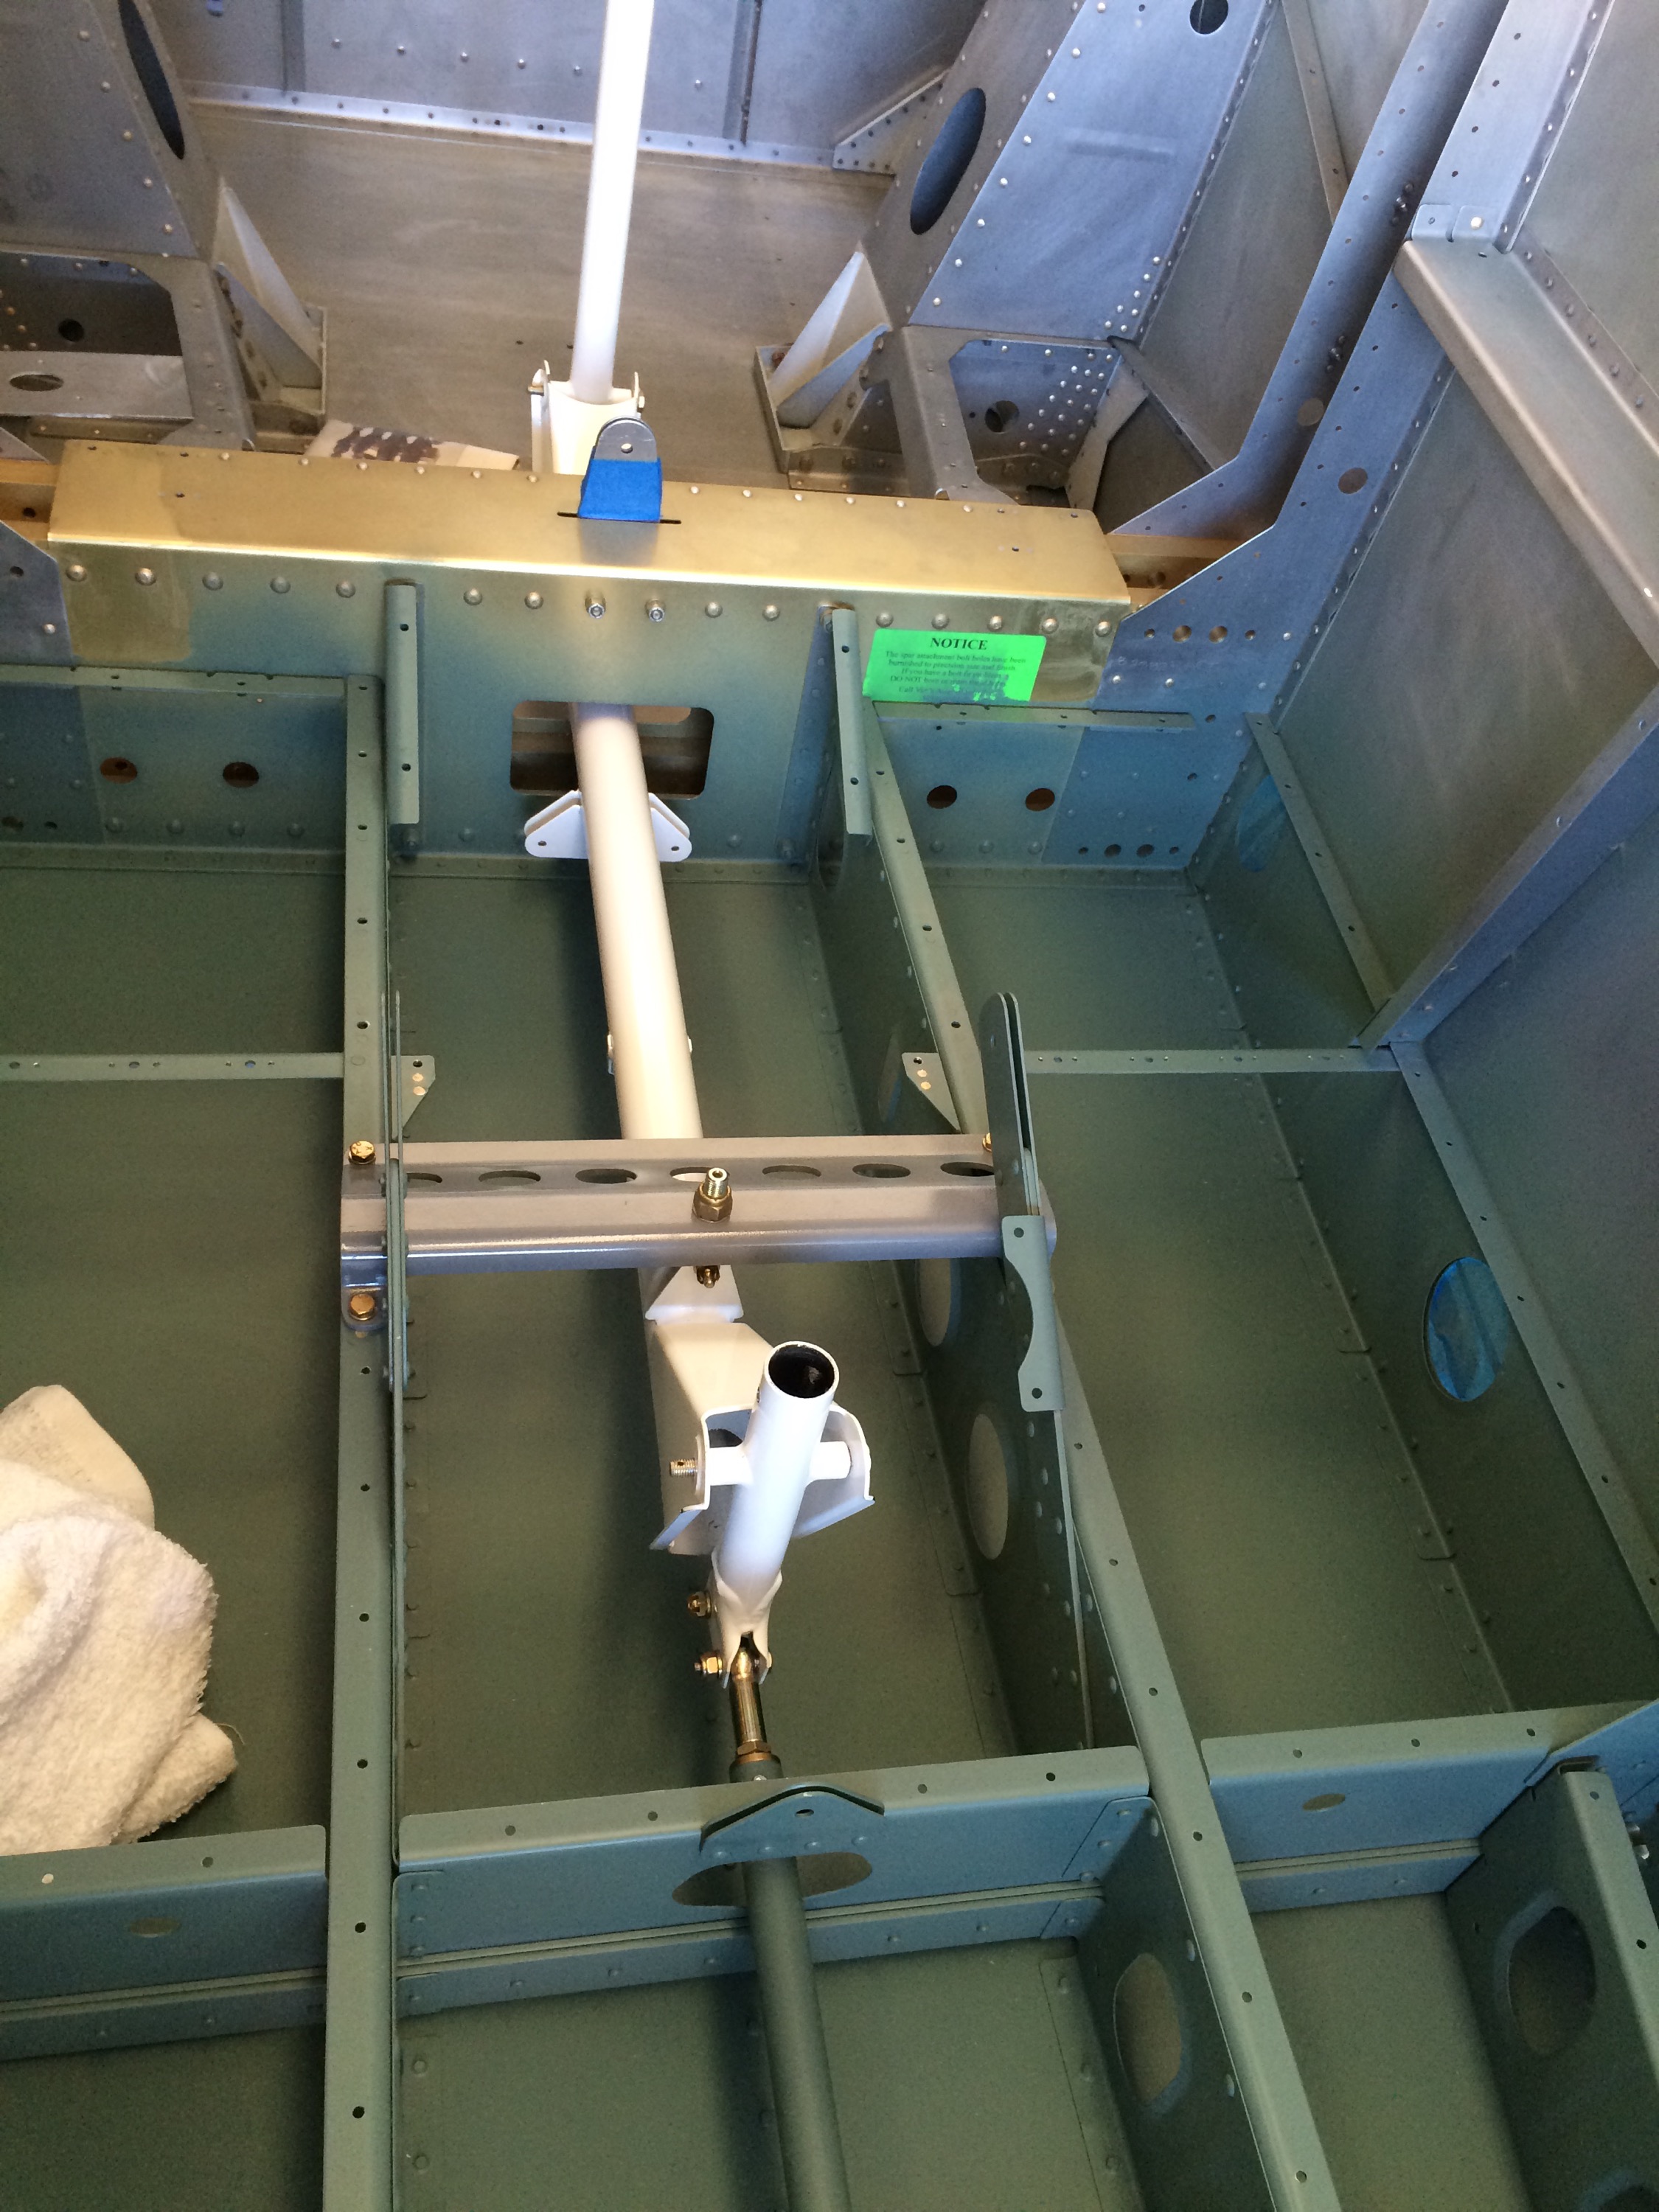
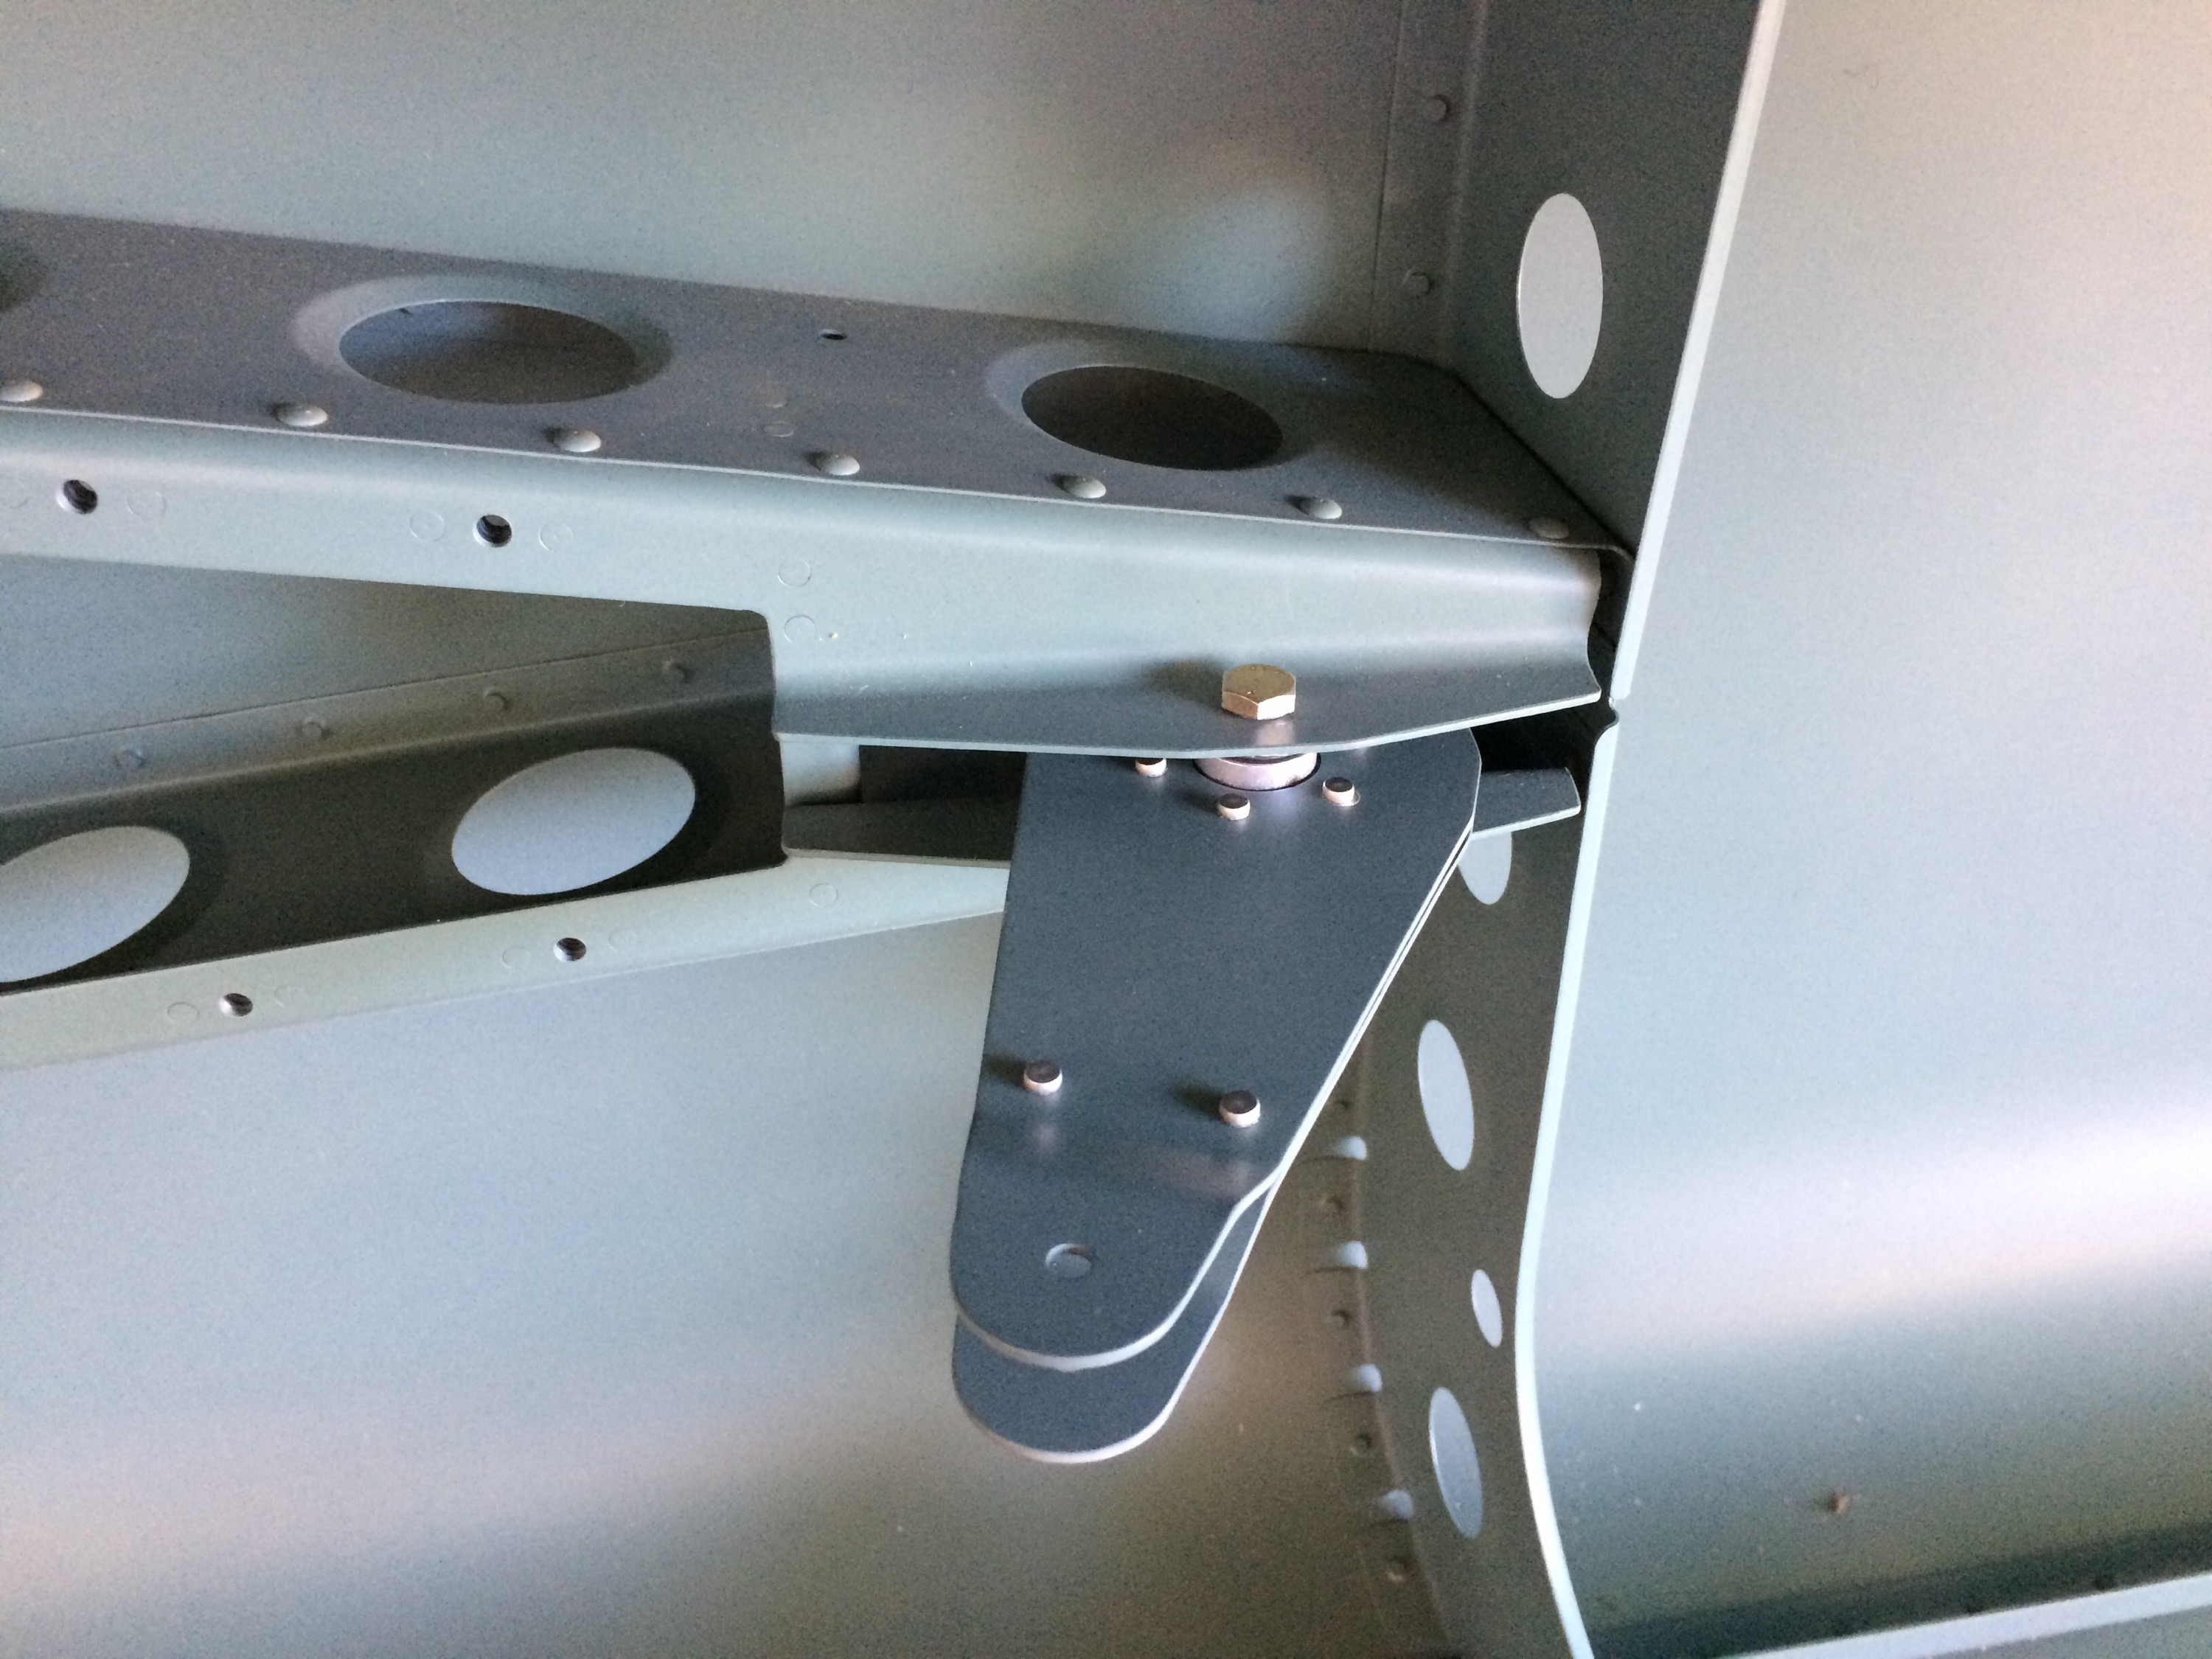
Test fitting the pushrod on the bellcrank
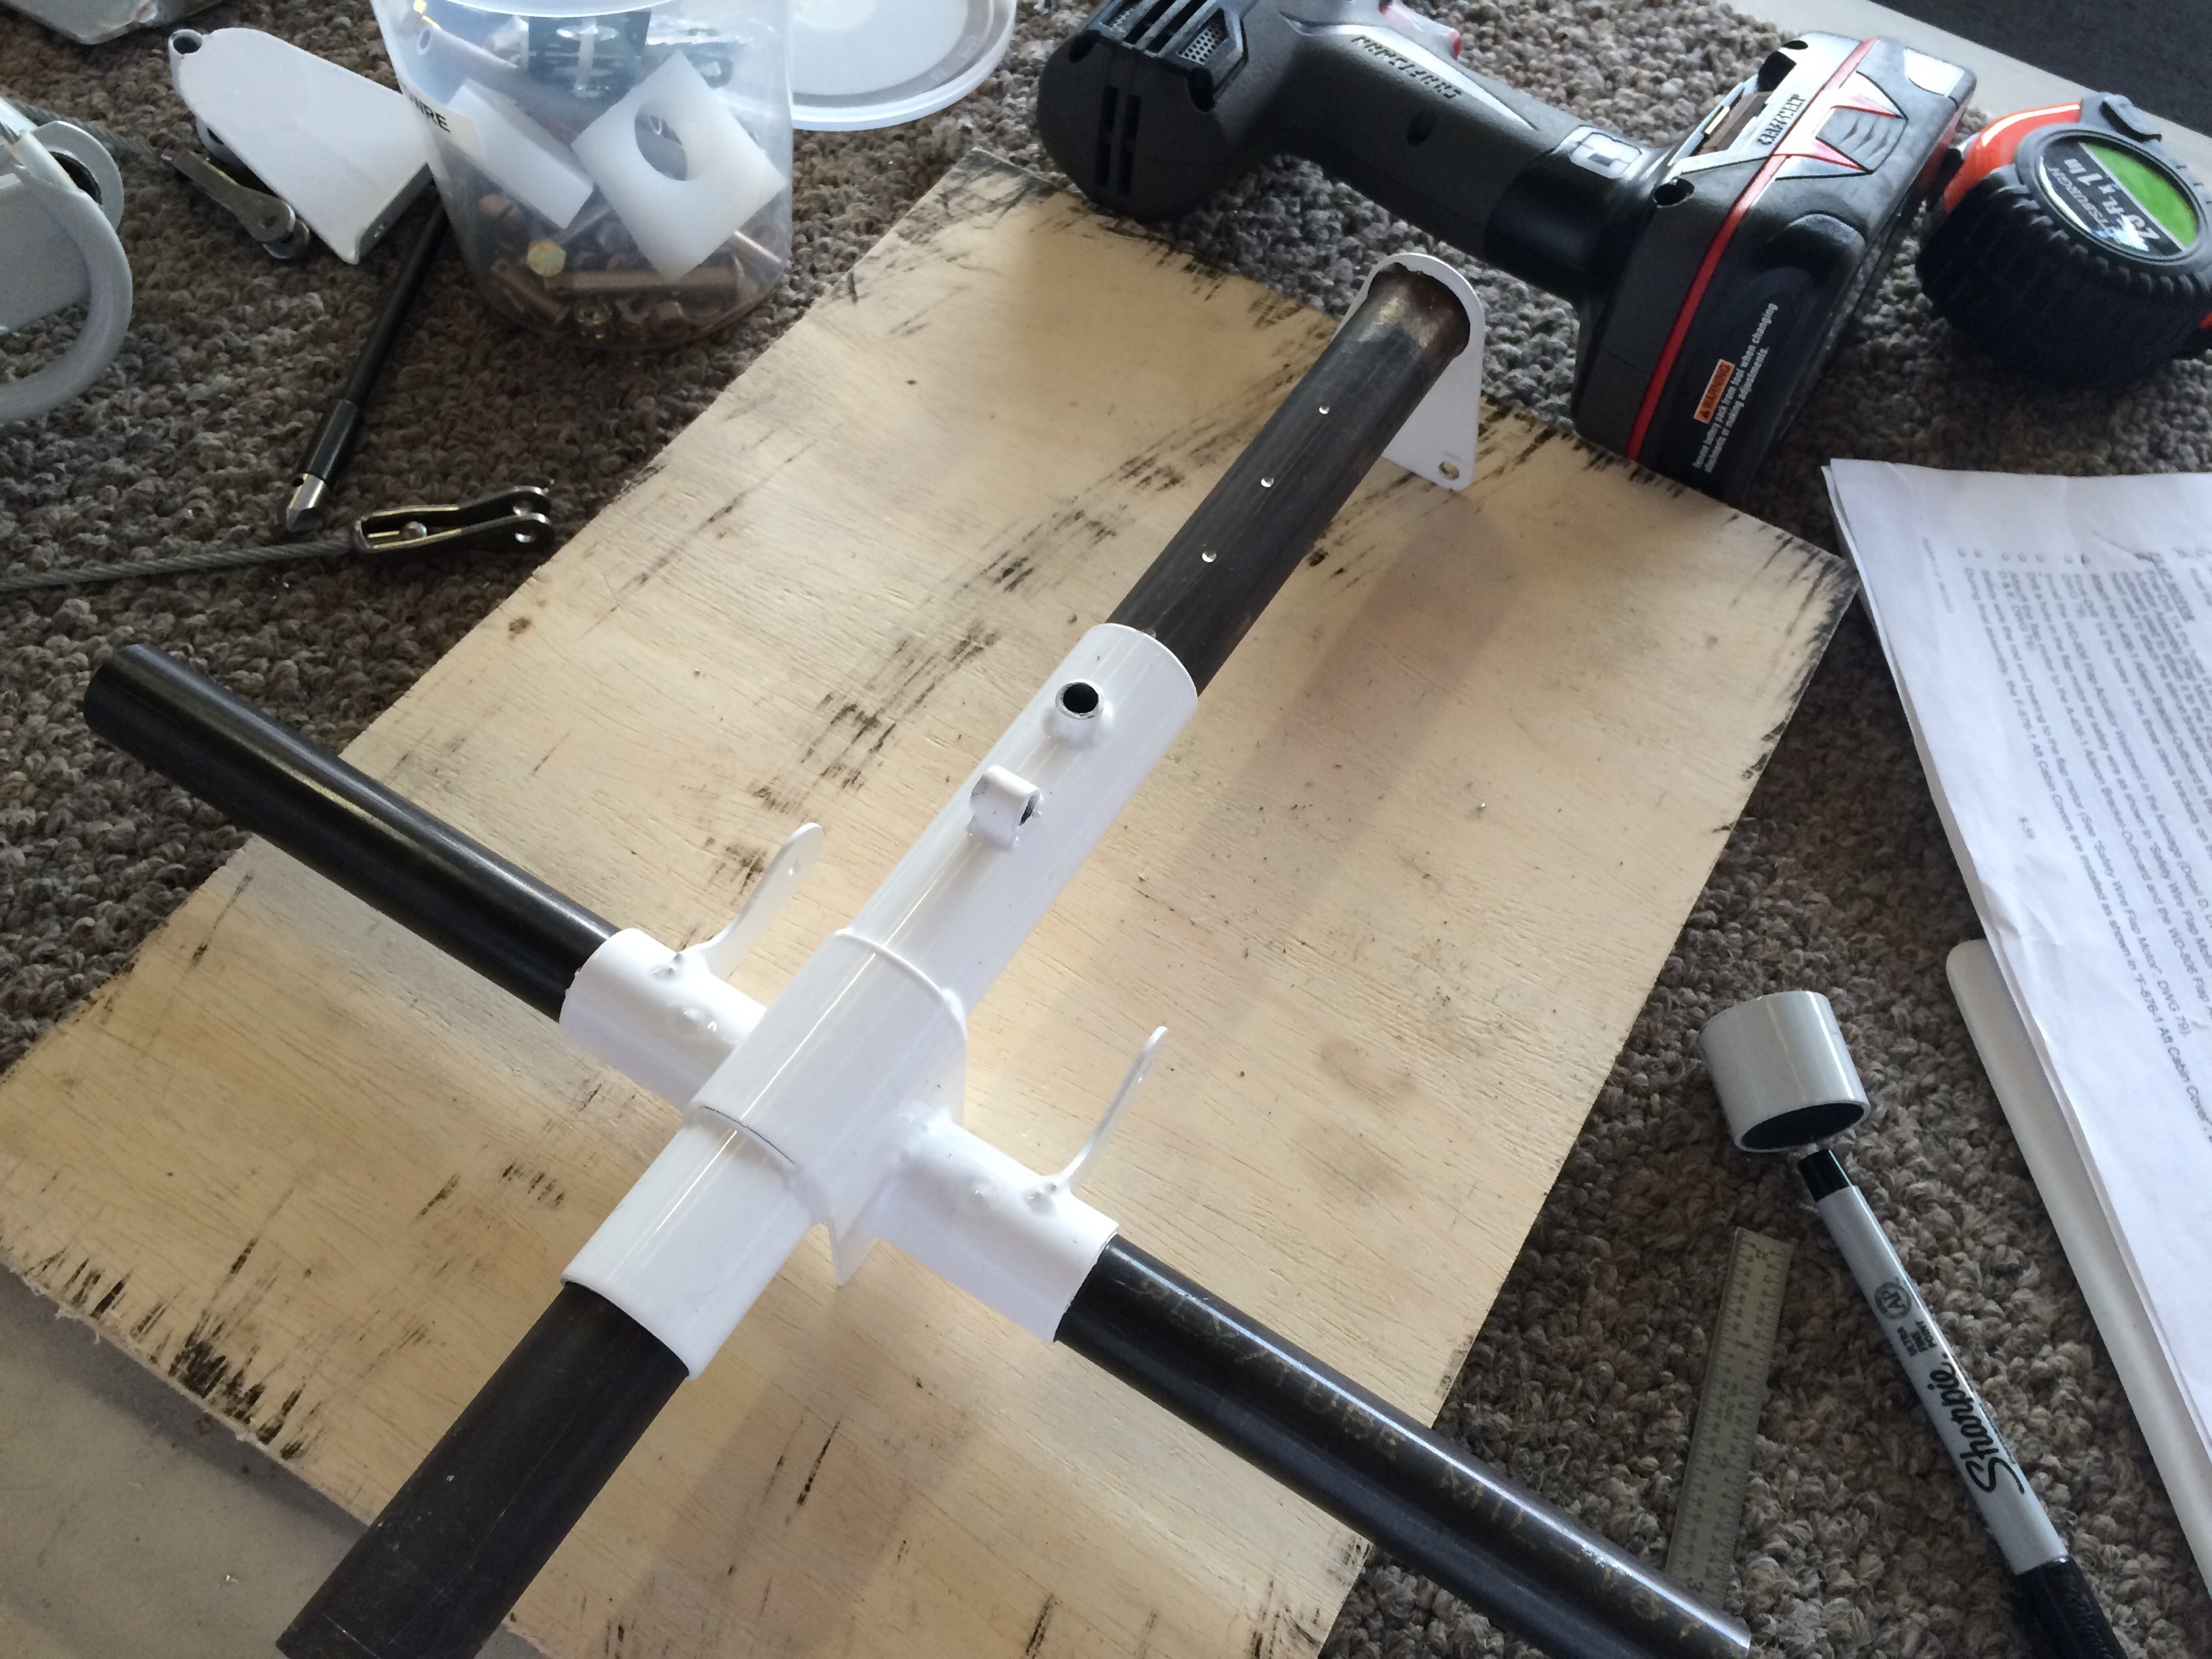
Also started work on the rudder pedals today.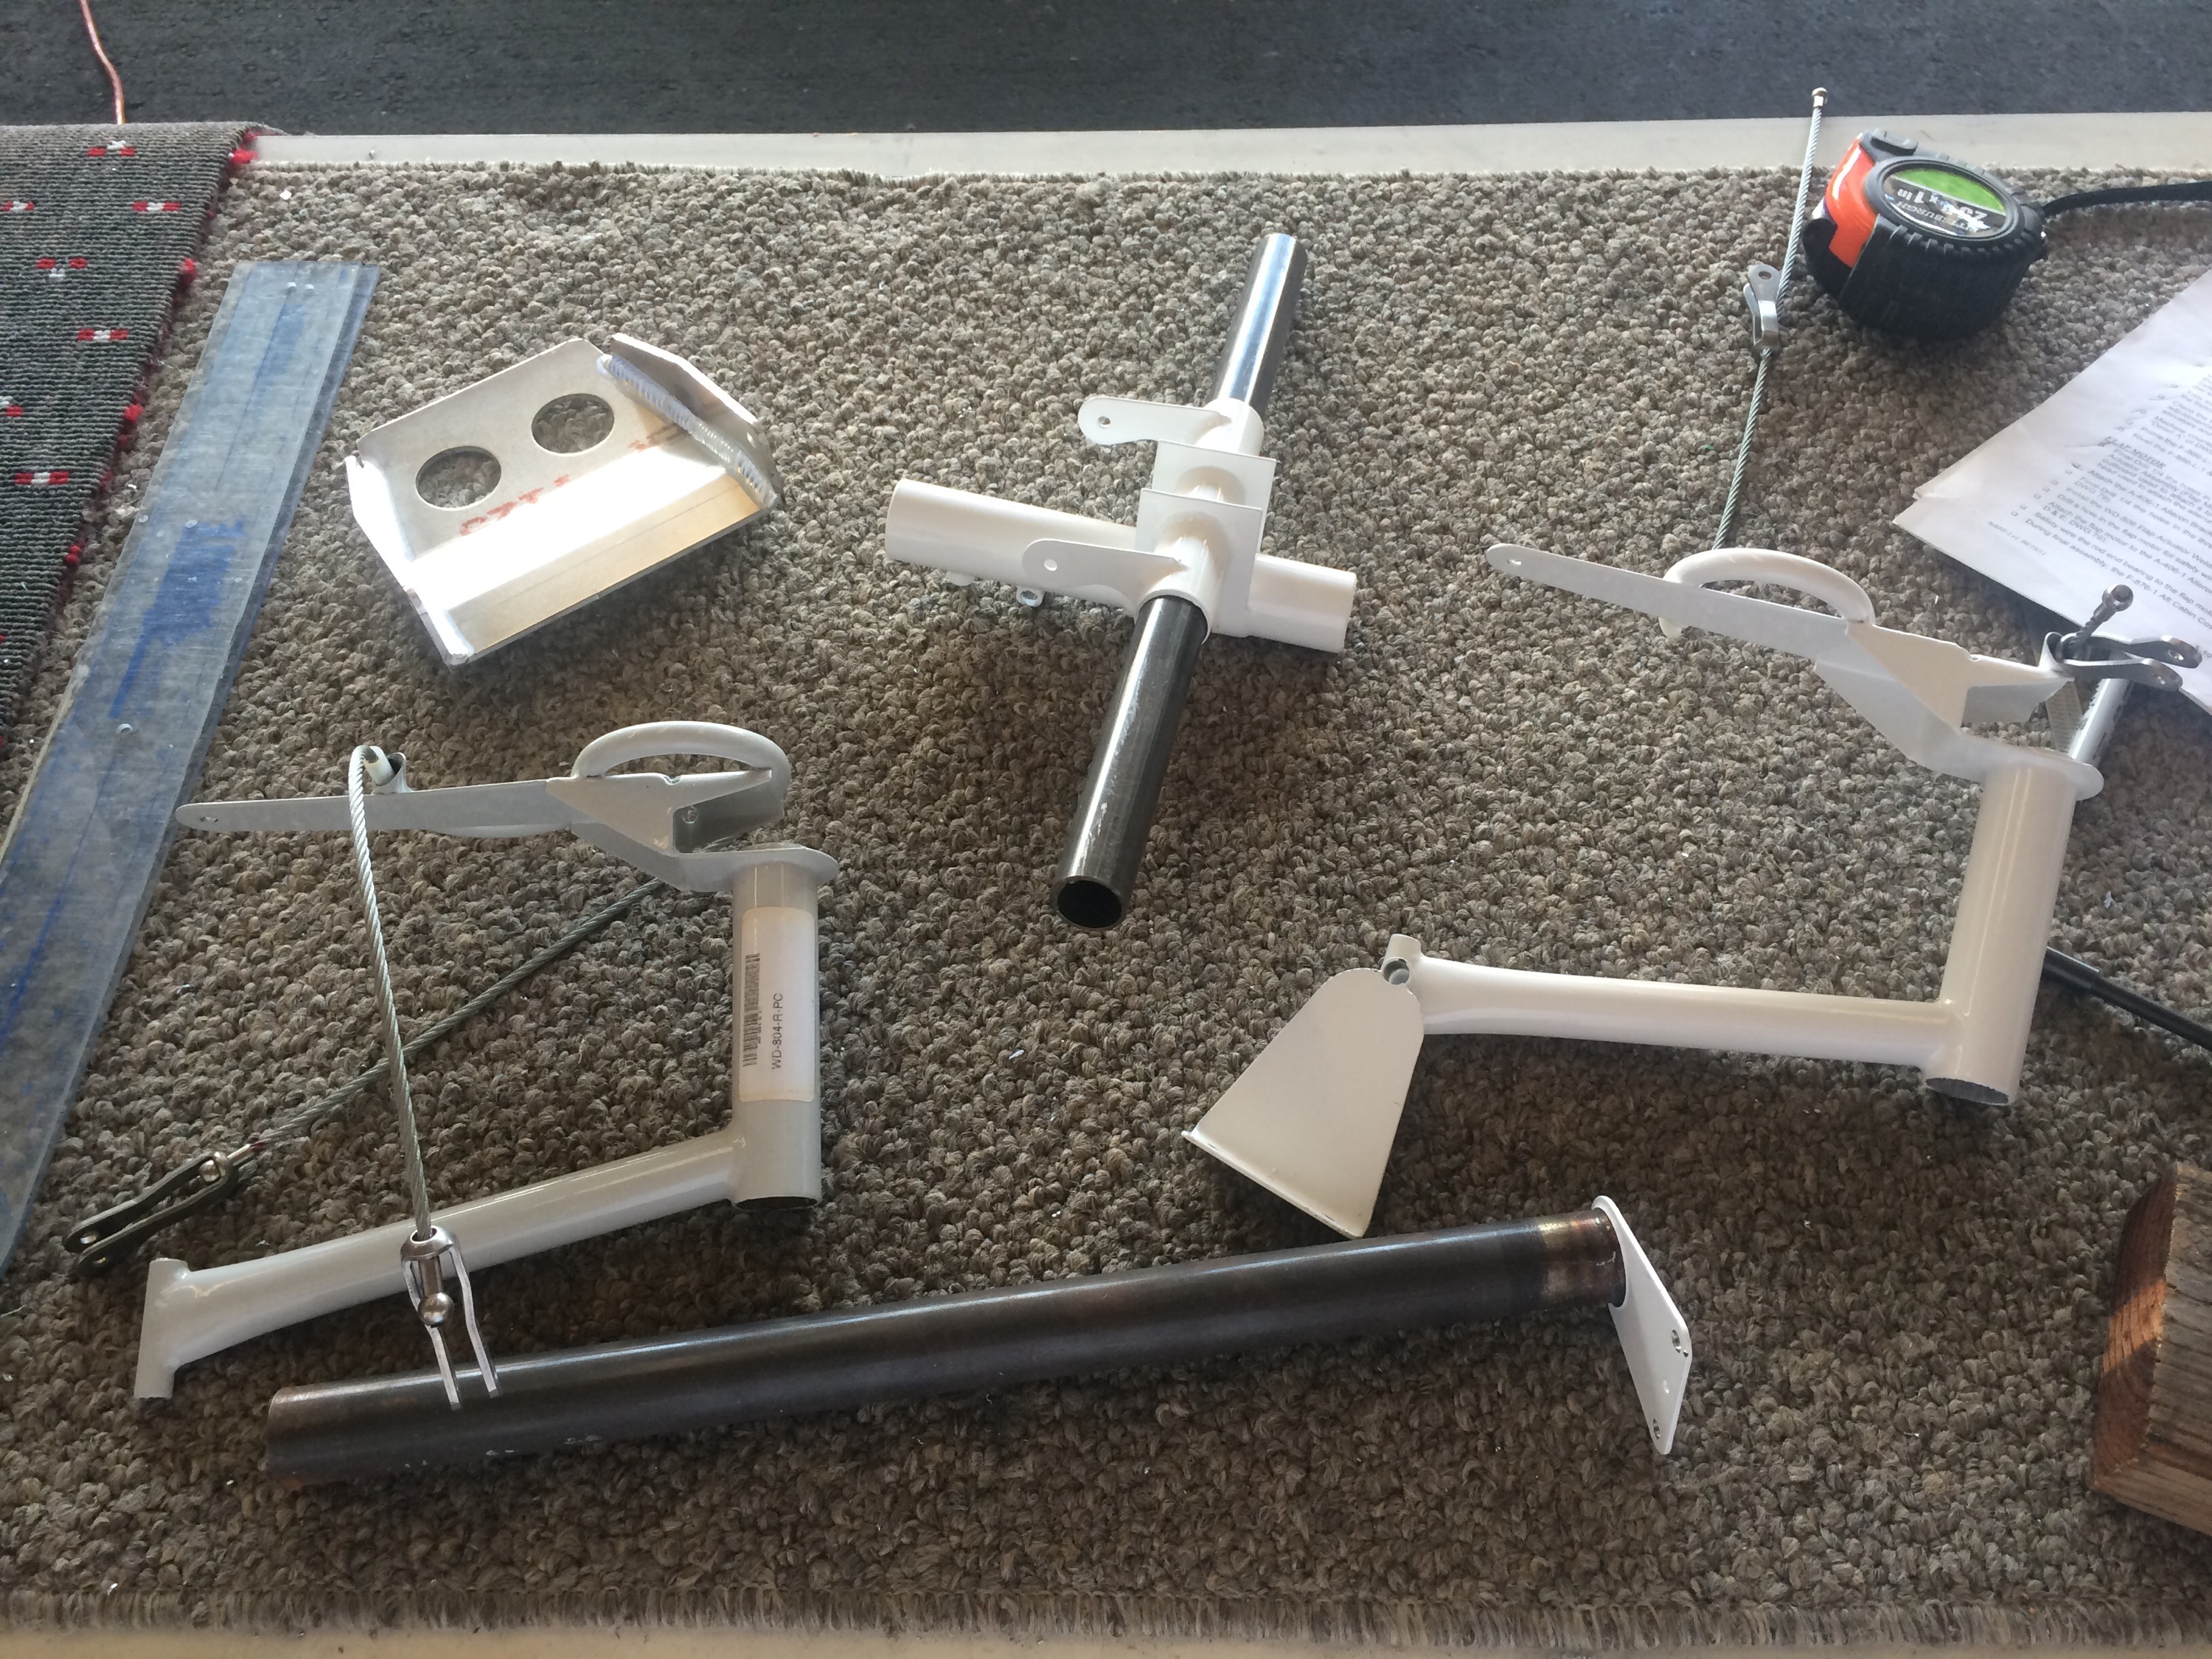
Drilling the holes for the inflight adjustable pedals.
Finished getting the vertical mounted and riveted the front joiner and spacer to the spar. Got the holes into the Horizontal drilled to final size, and bolted down as well.

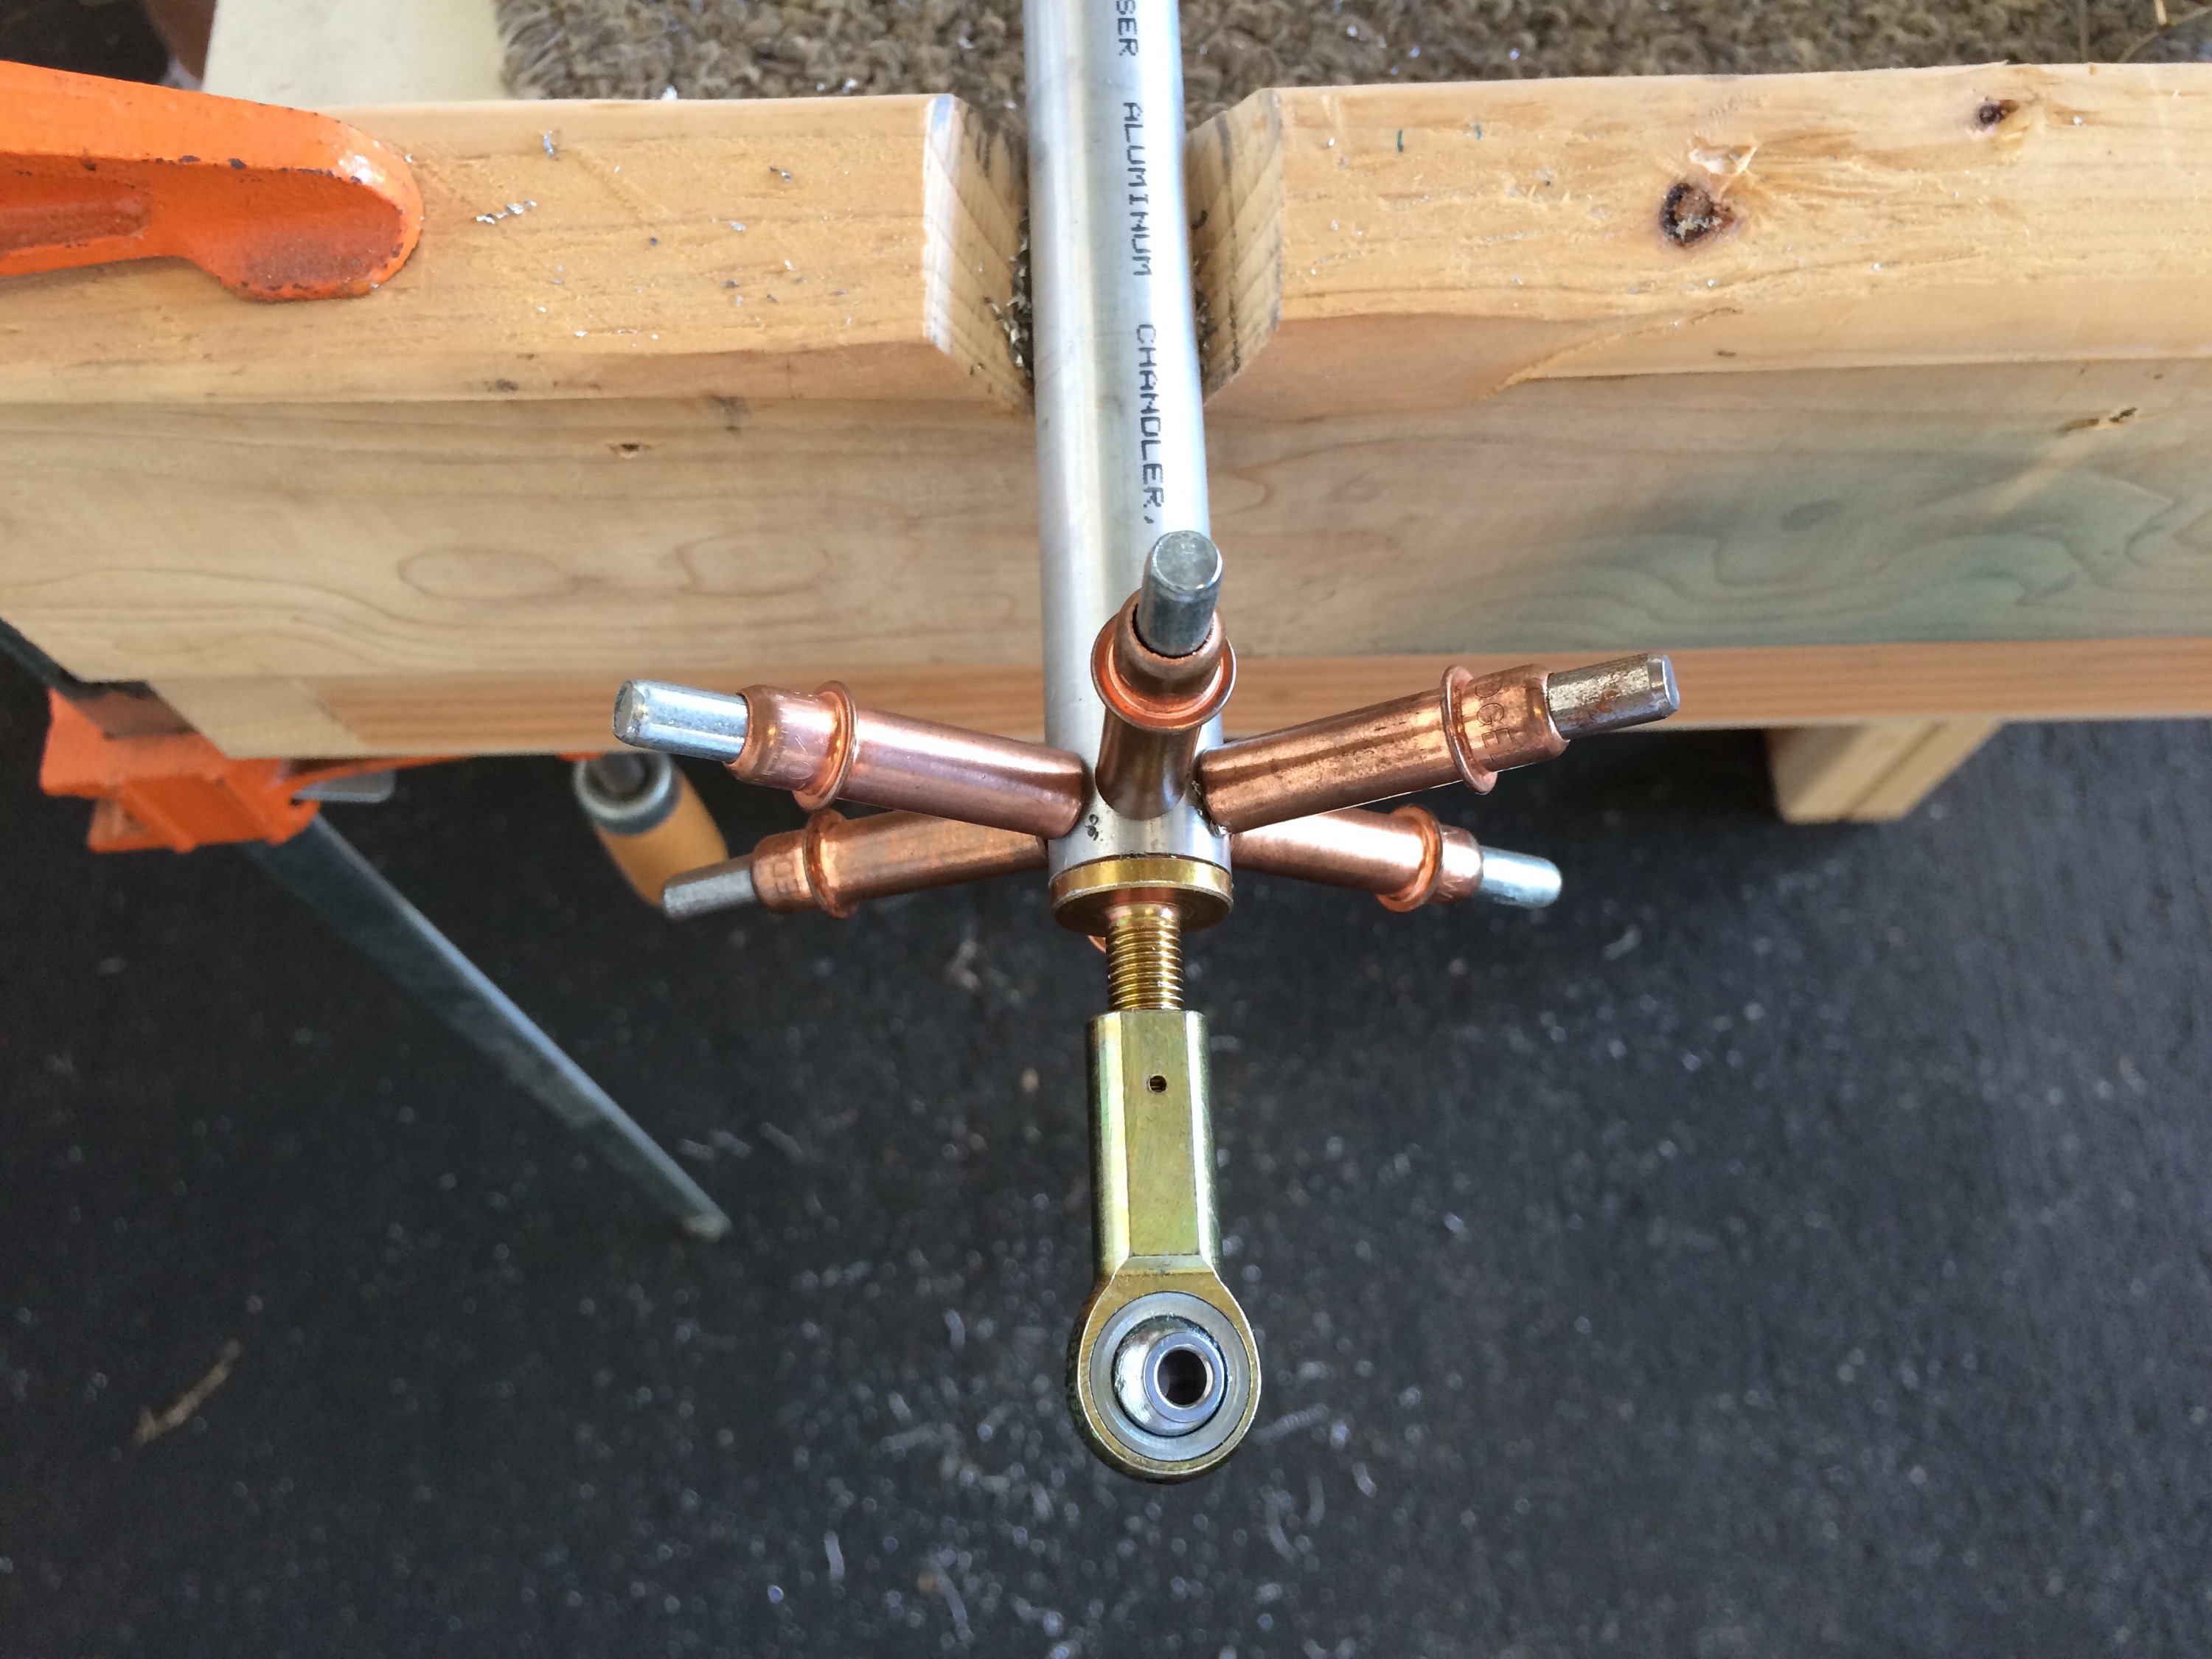
Next it was time to work on the Elevator horns and get them drilled. 
Unlike some other builders, our horns were pretty well in line with each other and the hole for the pushrod end ended up perfect.

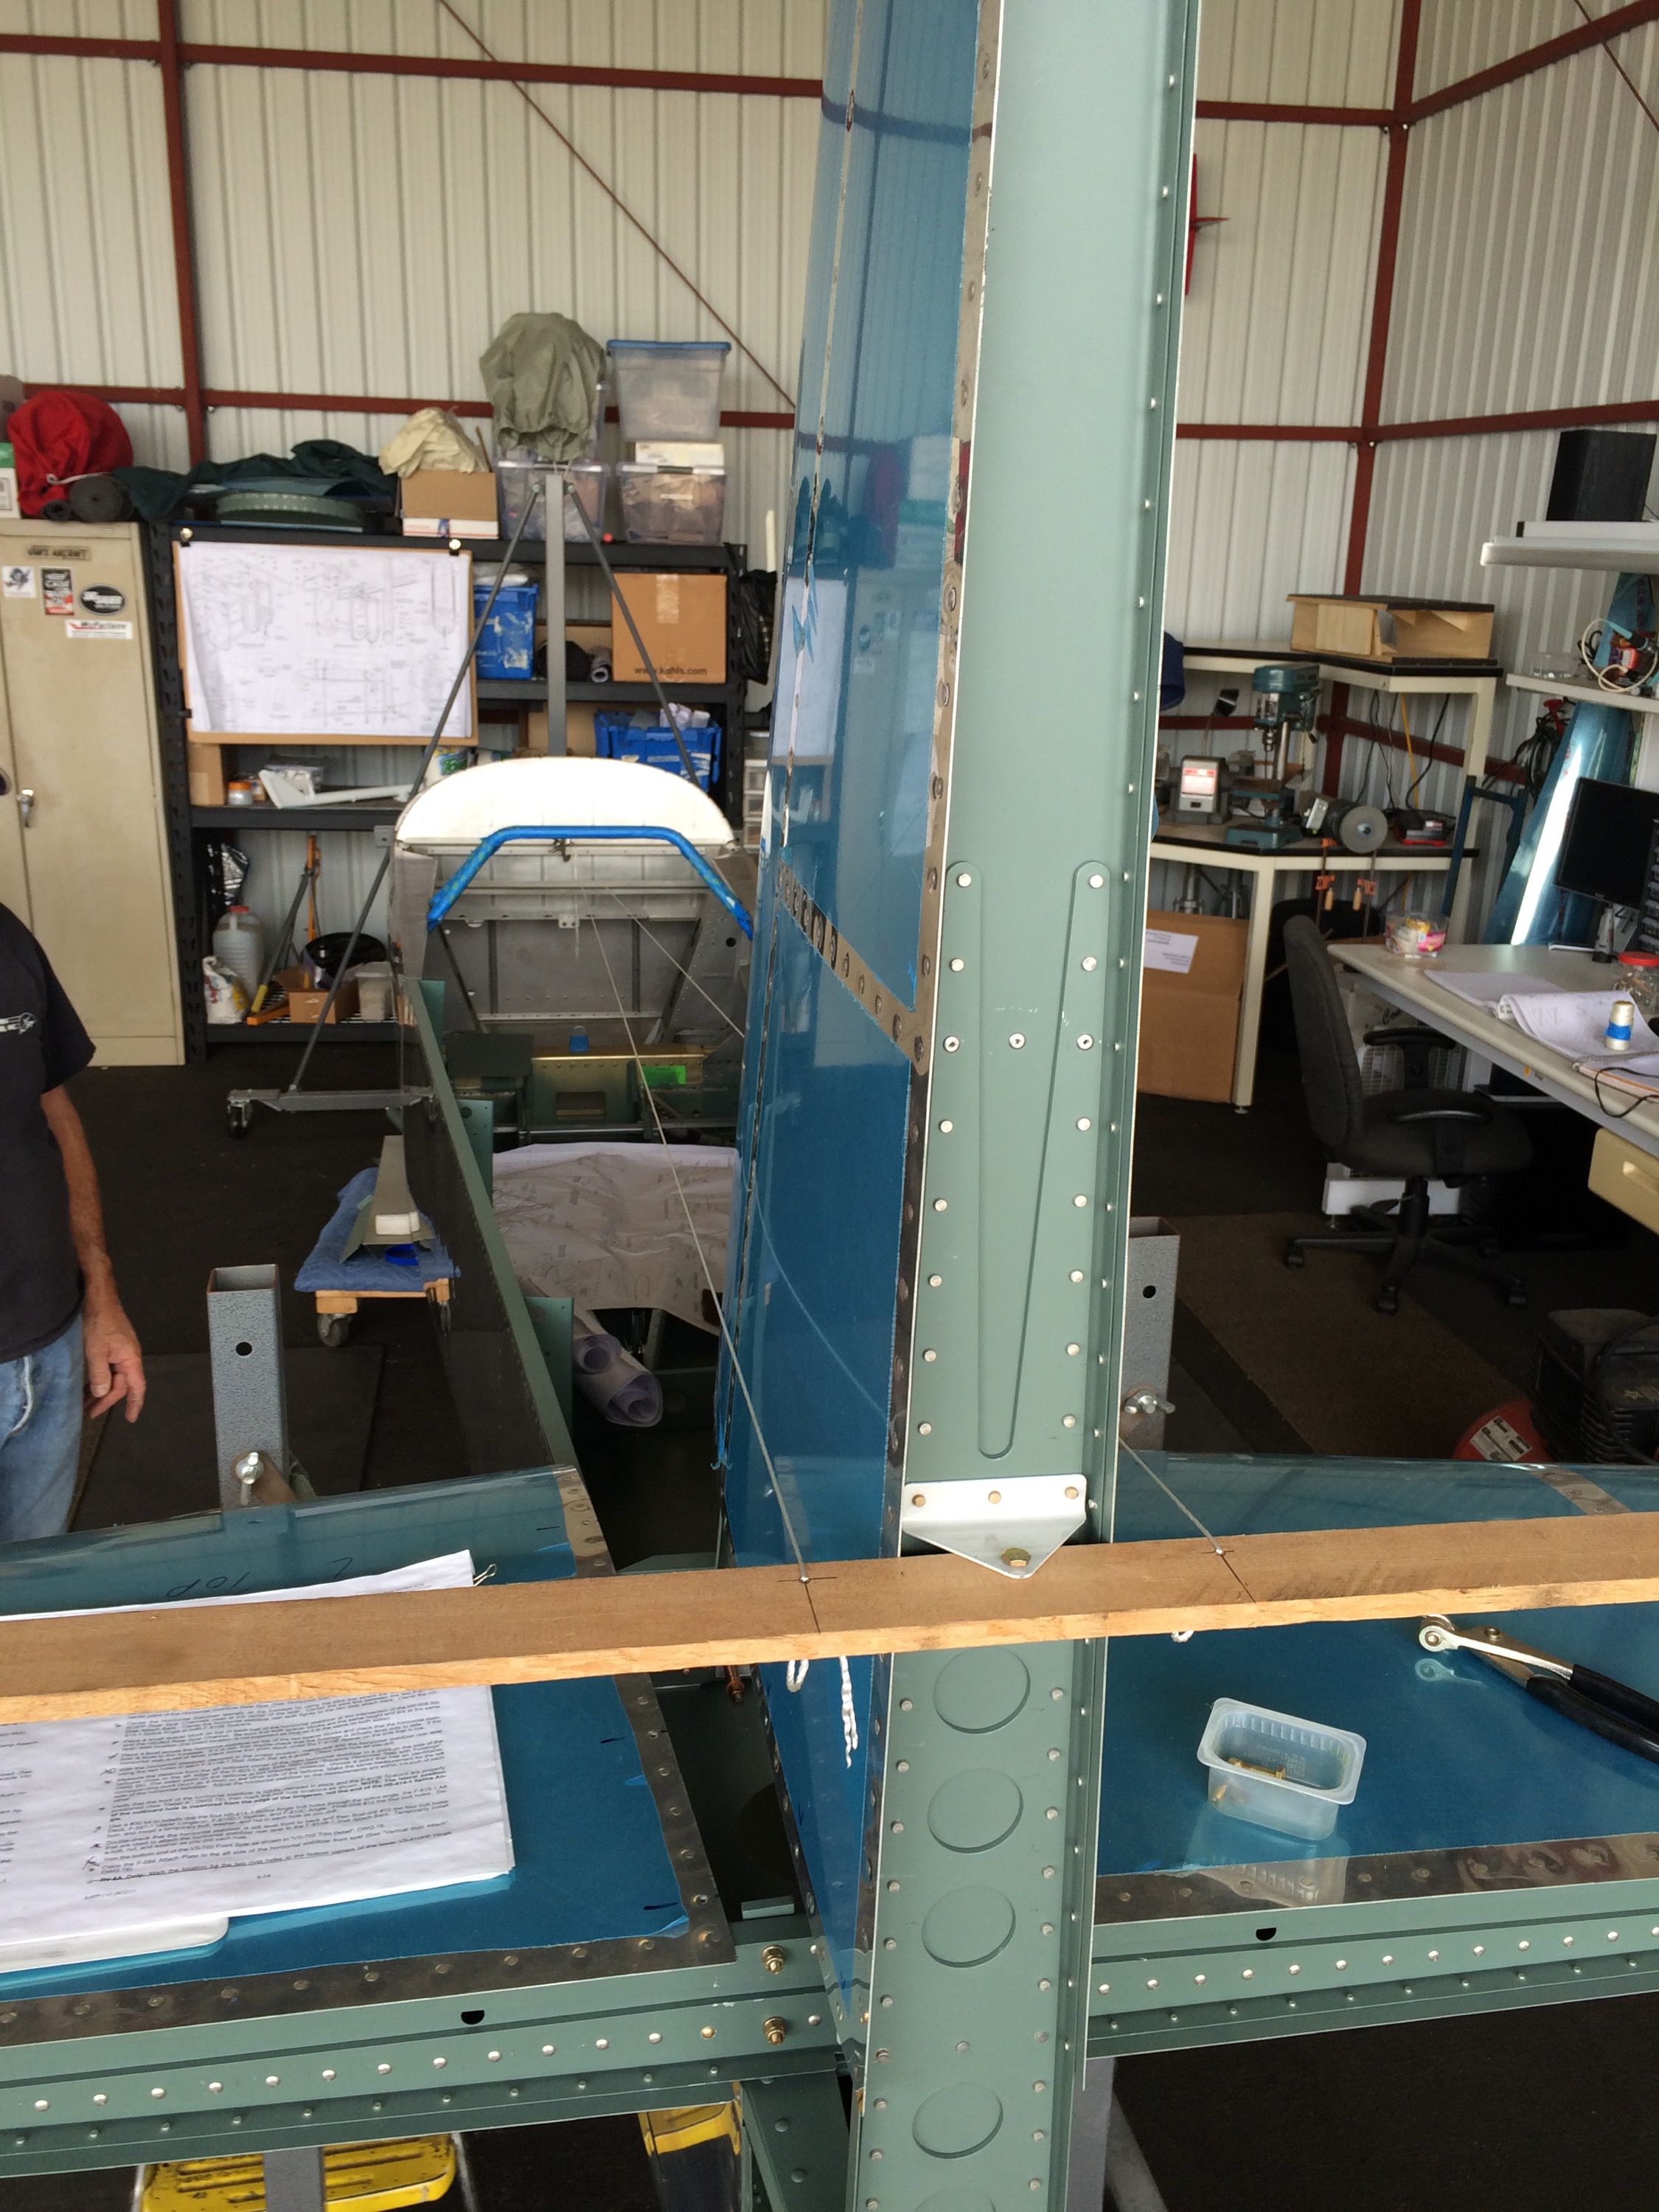
Prepping the Vertical Stab to be mounted. Here it’s in place with just the locating hole and the front spar clamped in place. 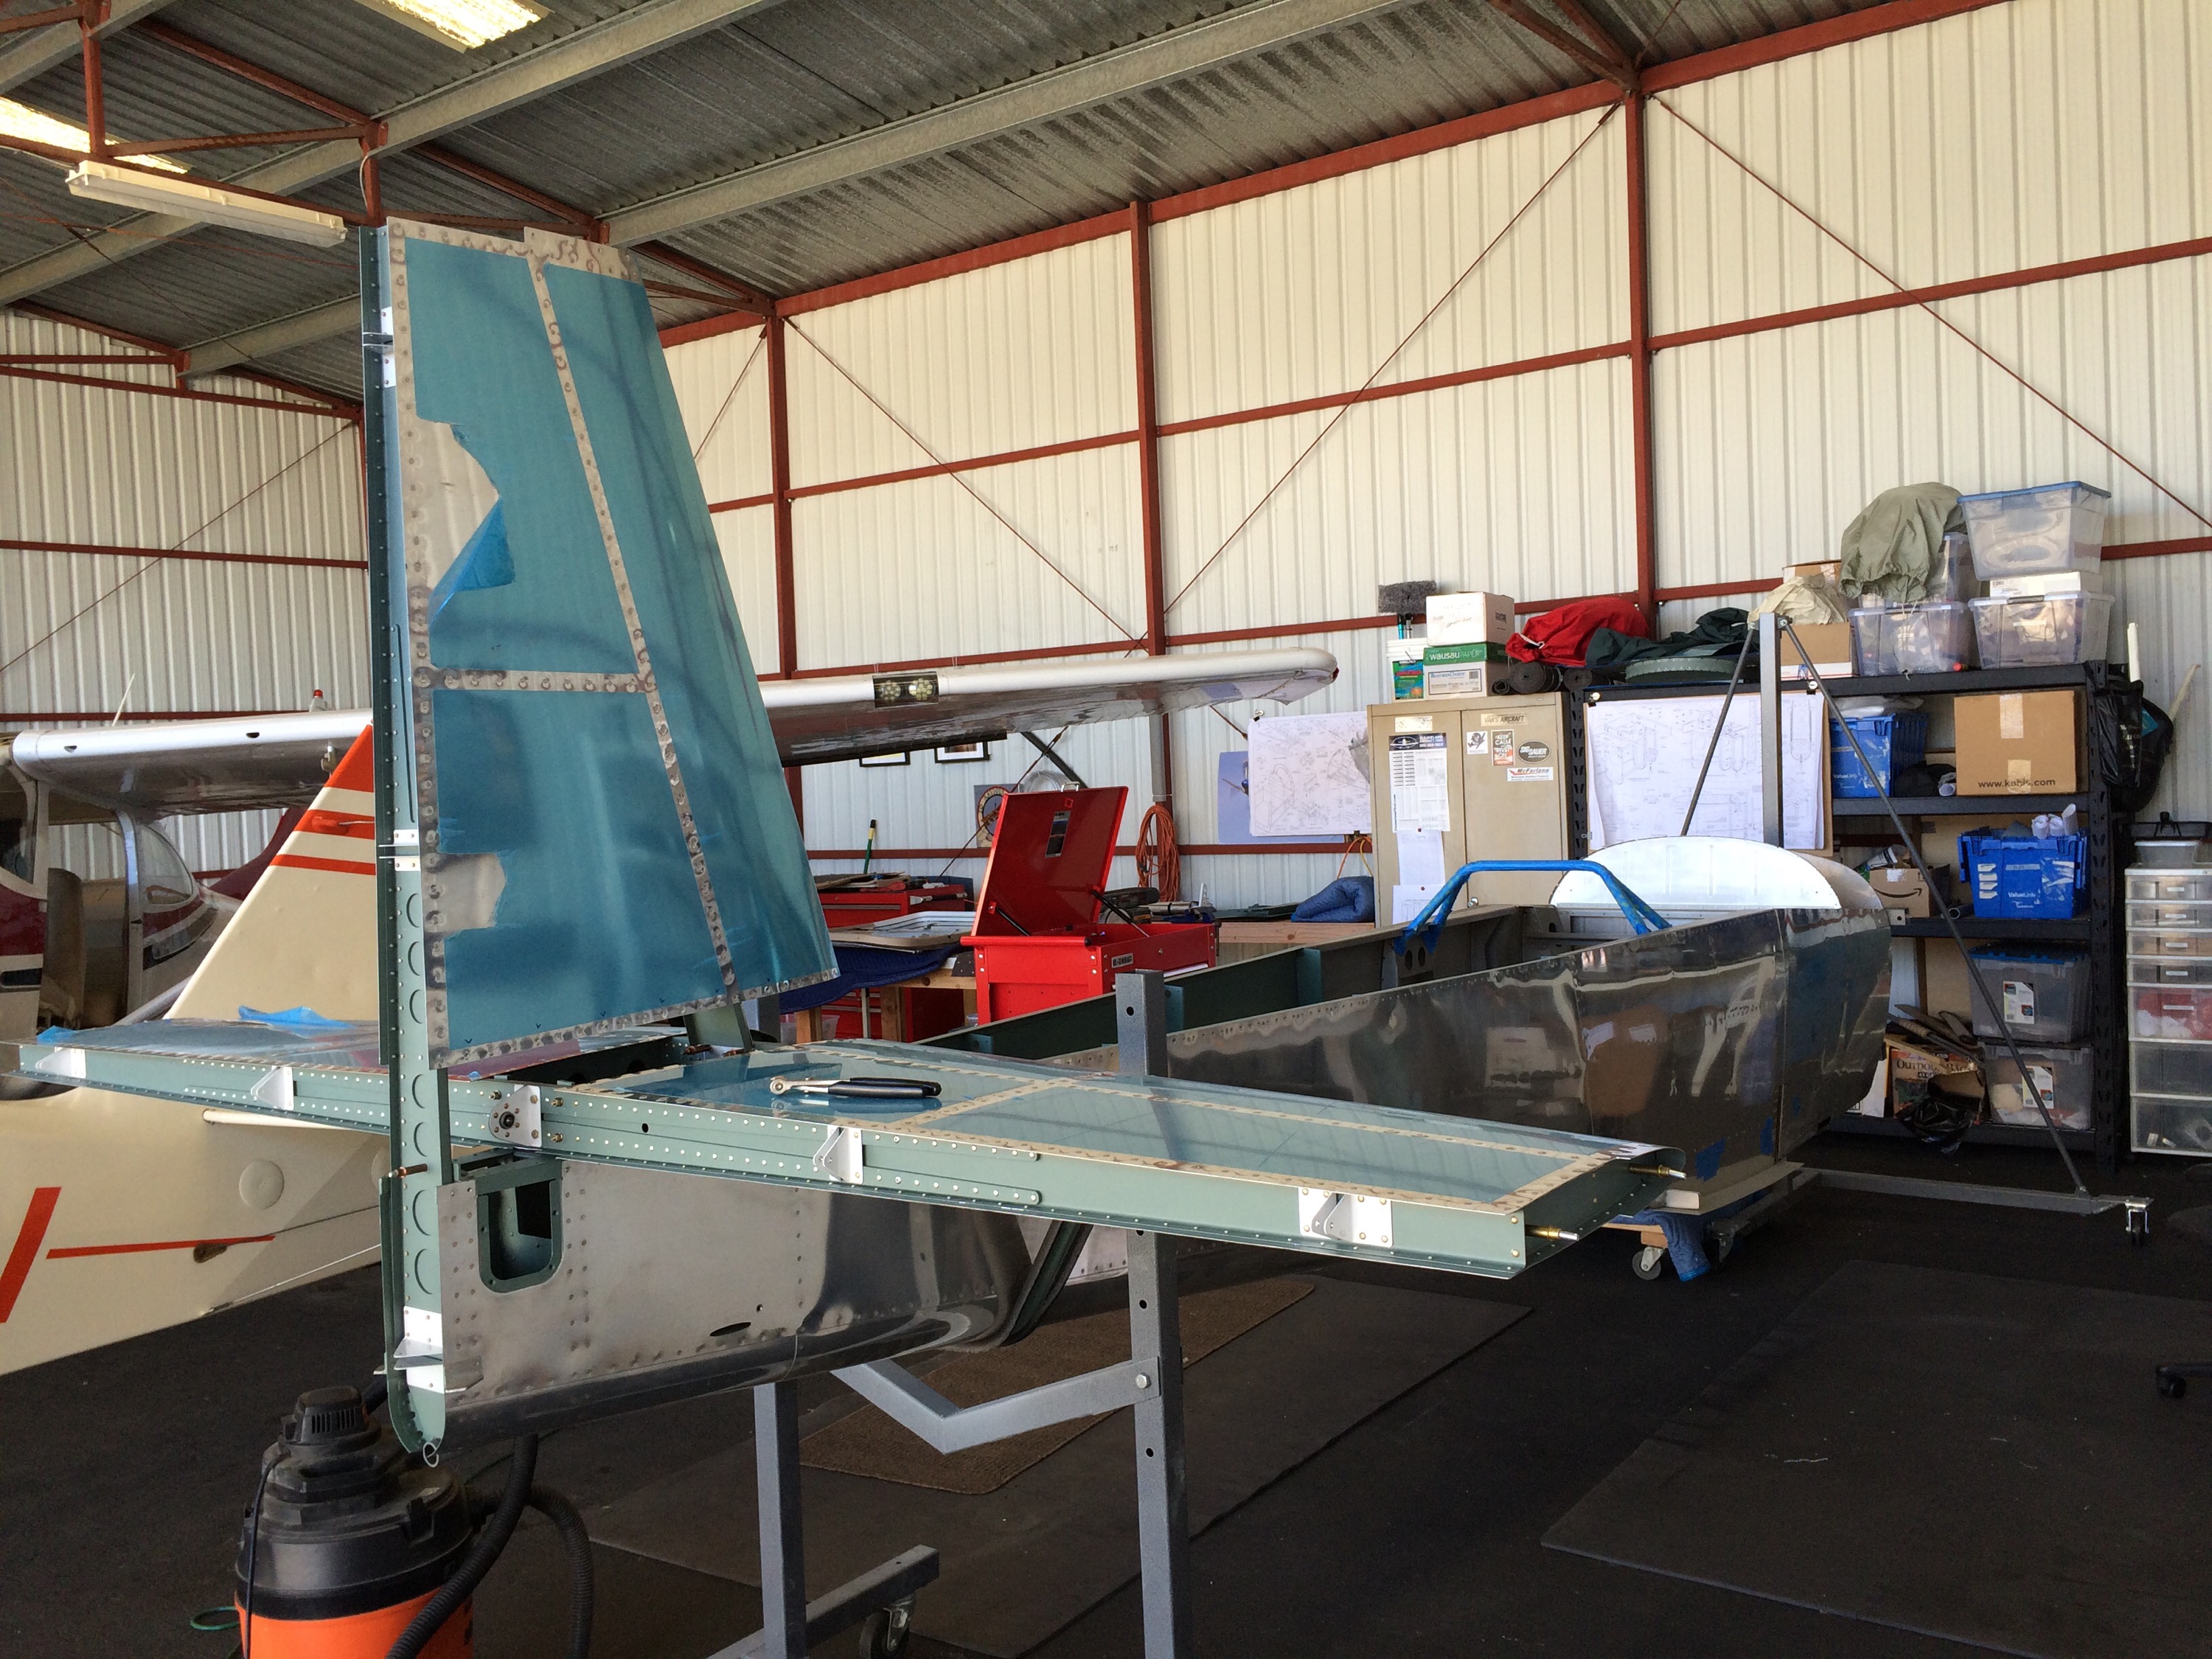
Drilling the final bolt holes. 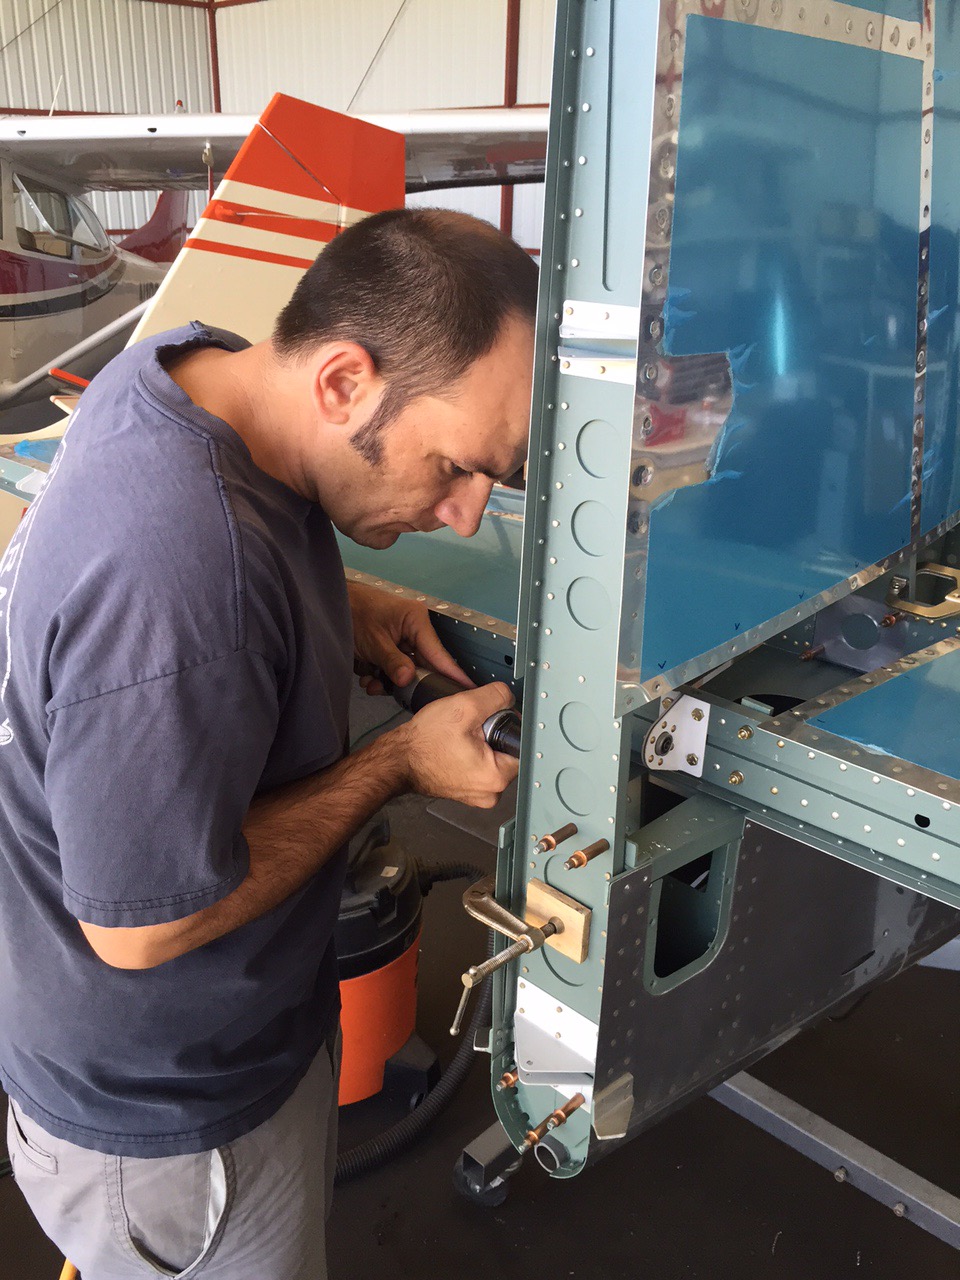
All done for now. Close up shot of it bolted on. Next up is the front attach. 
I trimmed the Front Spar VS-702 as the instructions said, but s you can see in the photo, I had an issue with the edge distance on the bottom rivets….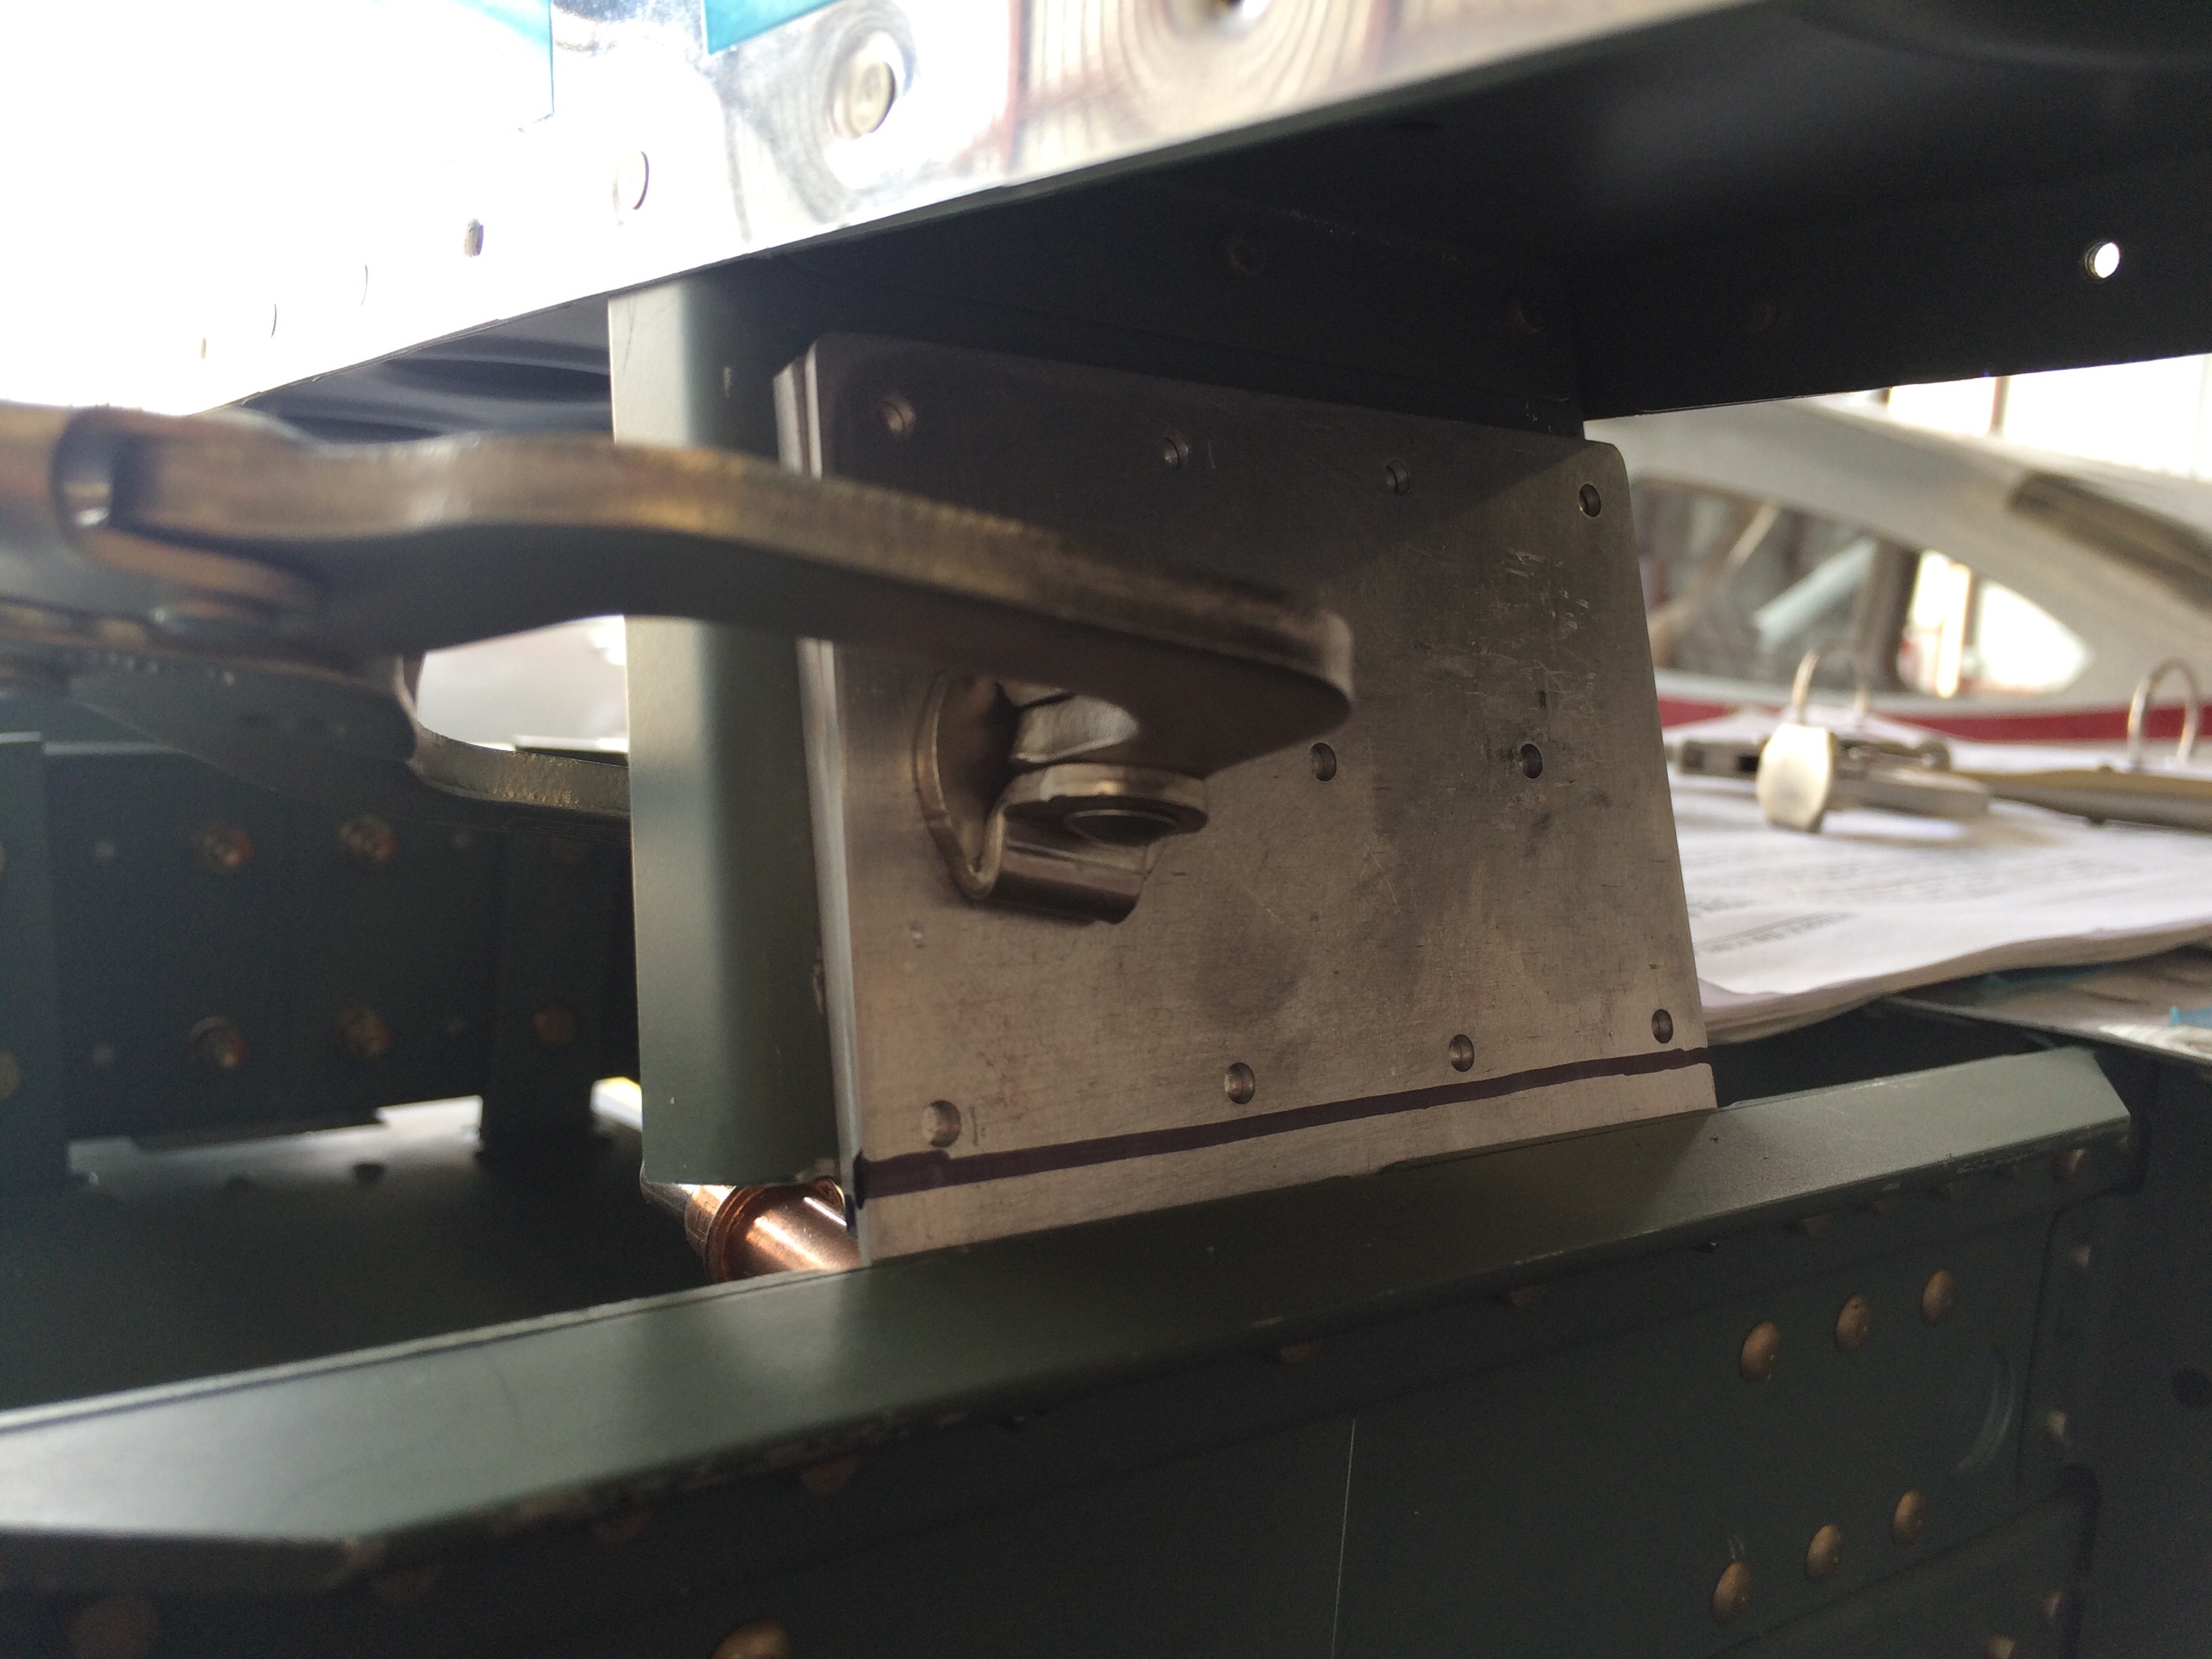
So I decided to fabricate a whole new joiner.
Finished joiner, primed and ready to be installed.
Here we are aligning the vertical, making sure it’s not canted off to one side.
Mounted the Horizontal today, as well as finished riveting the ends of the control tubes. 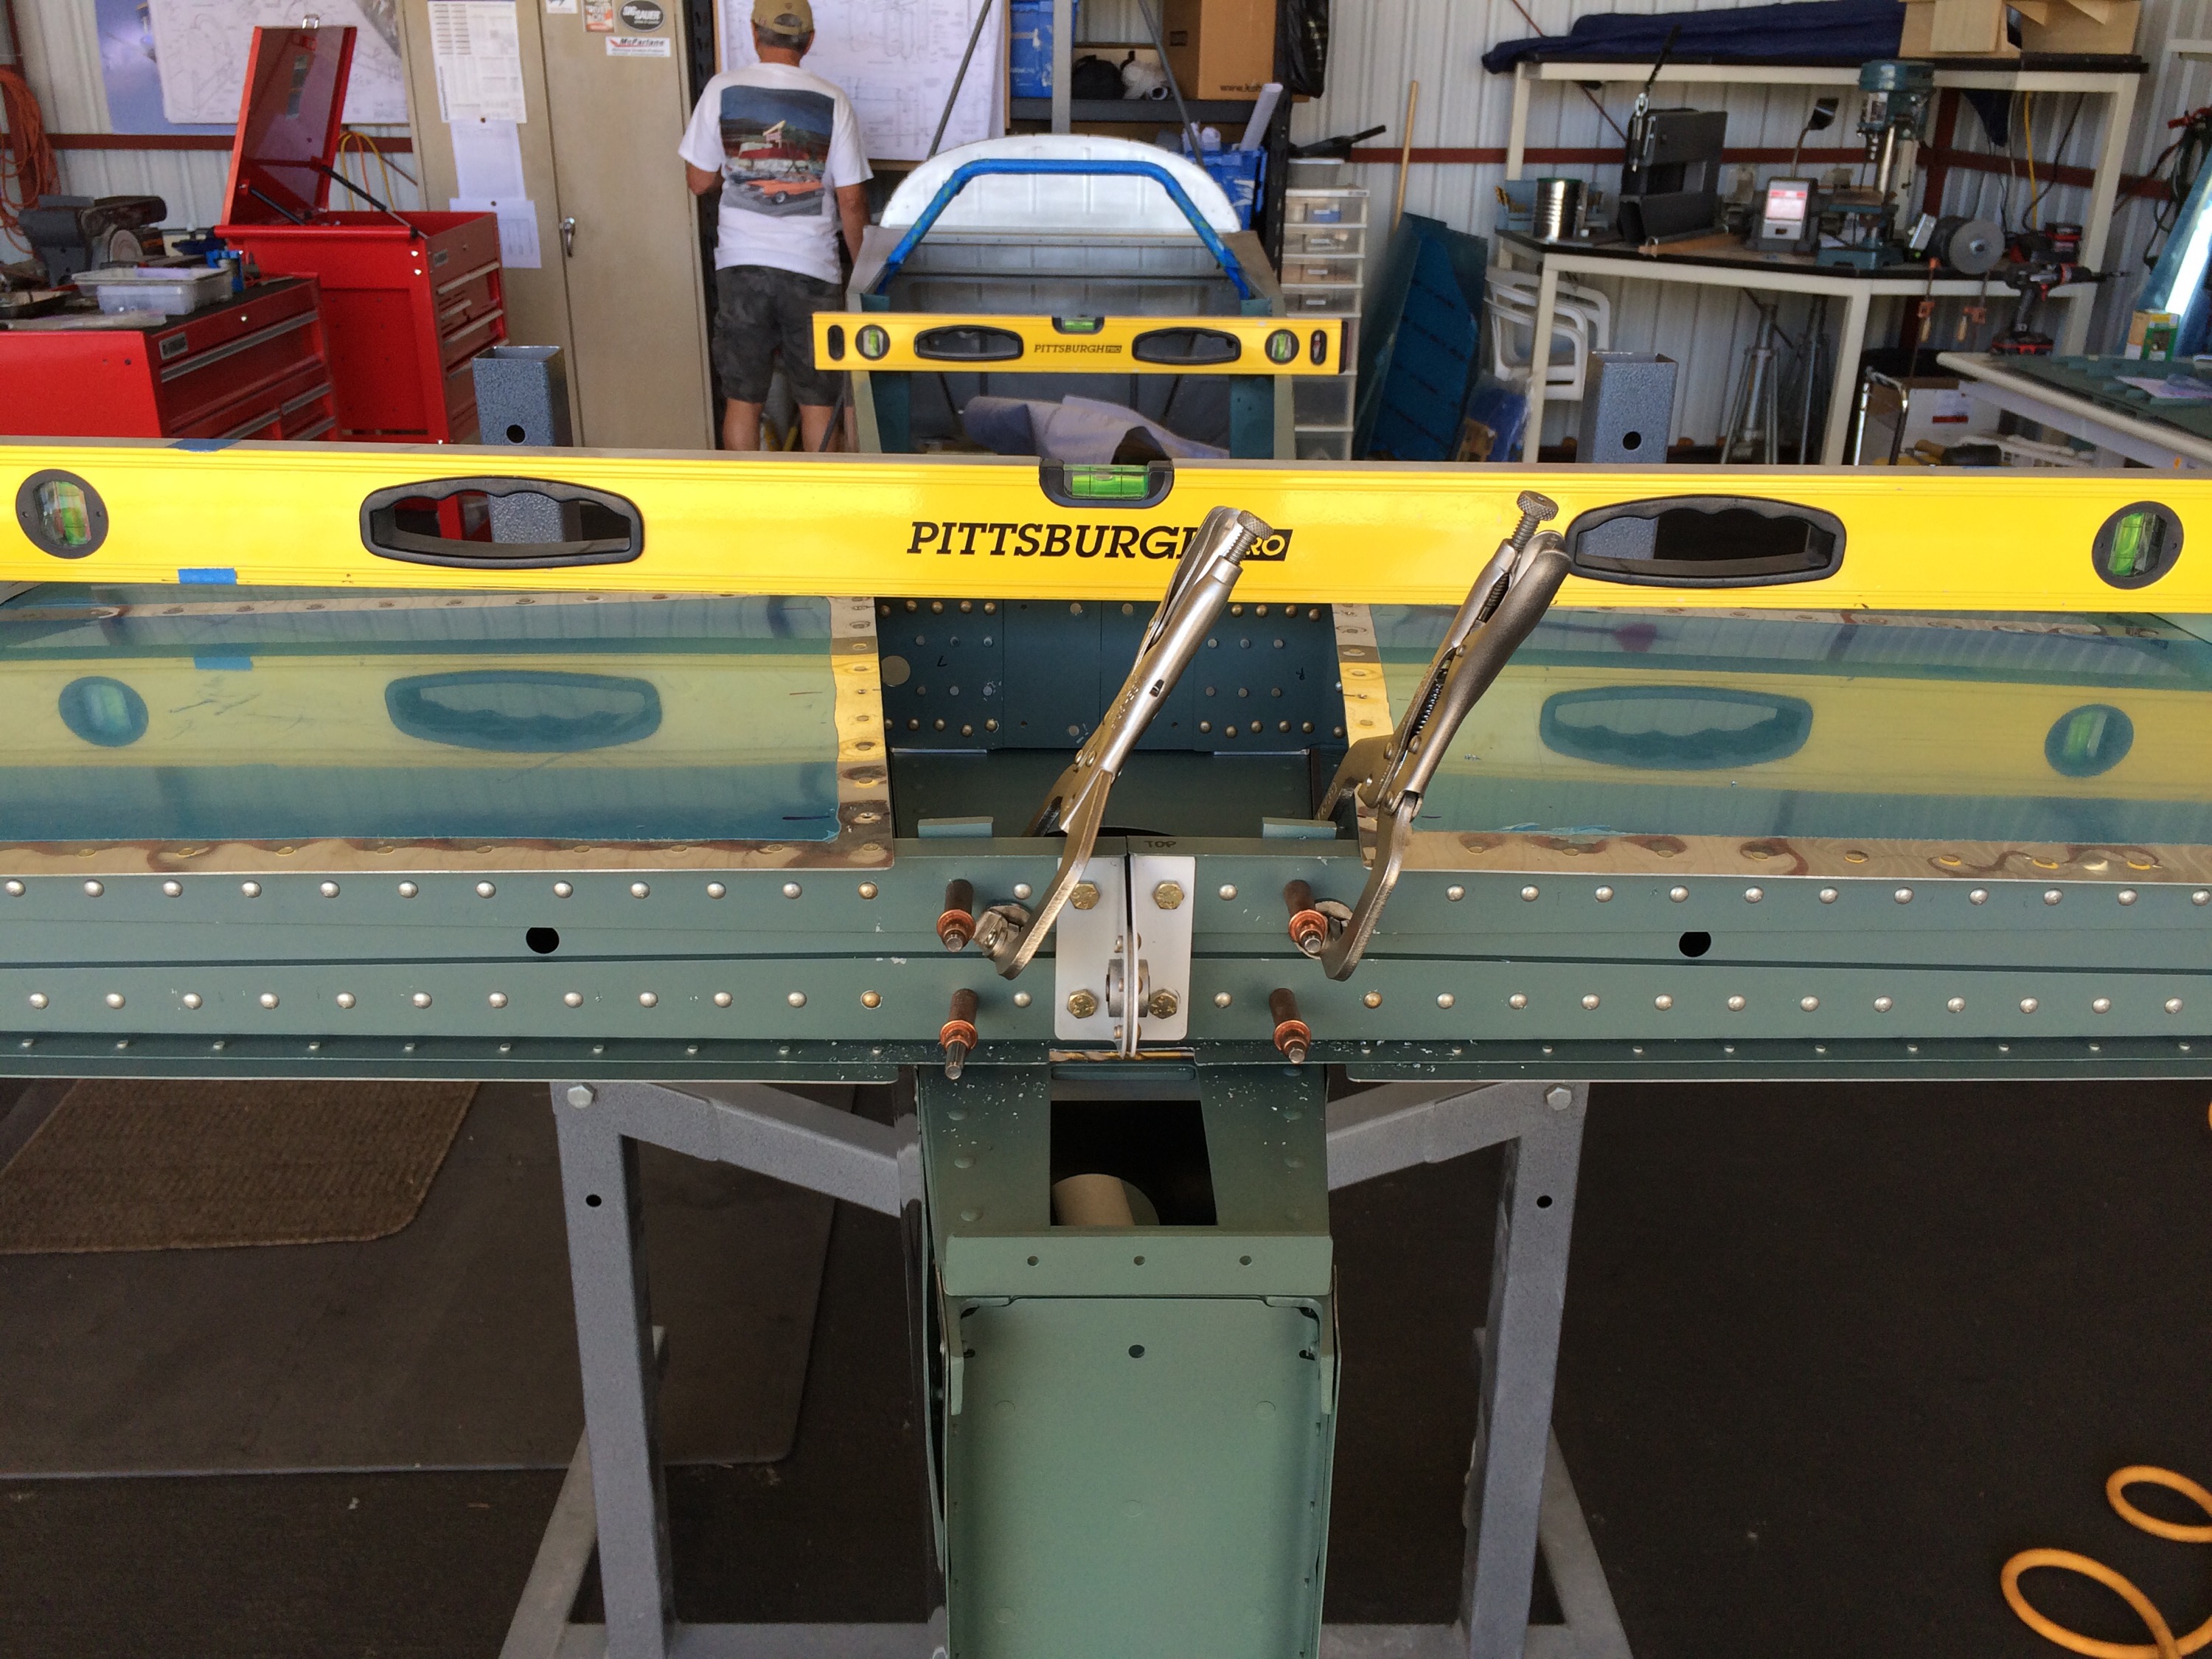
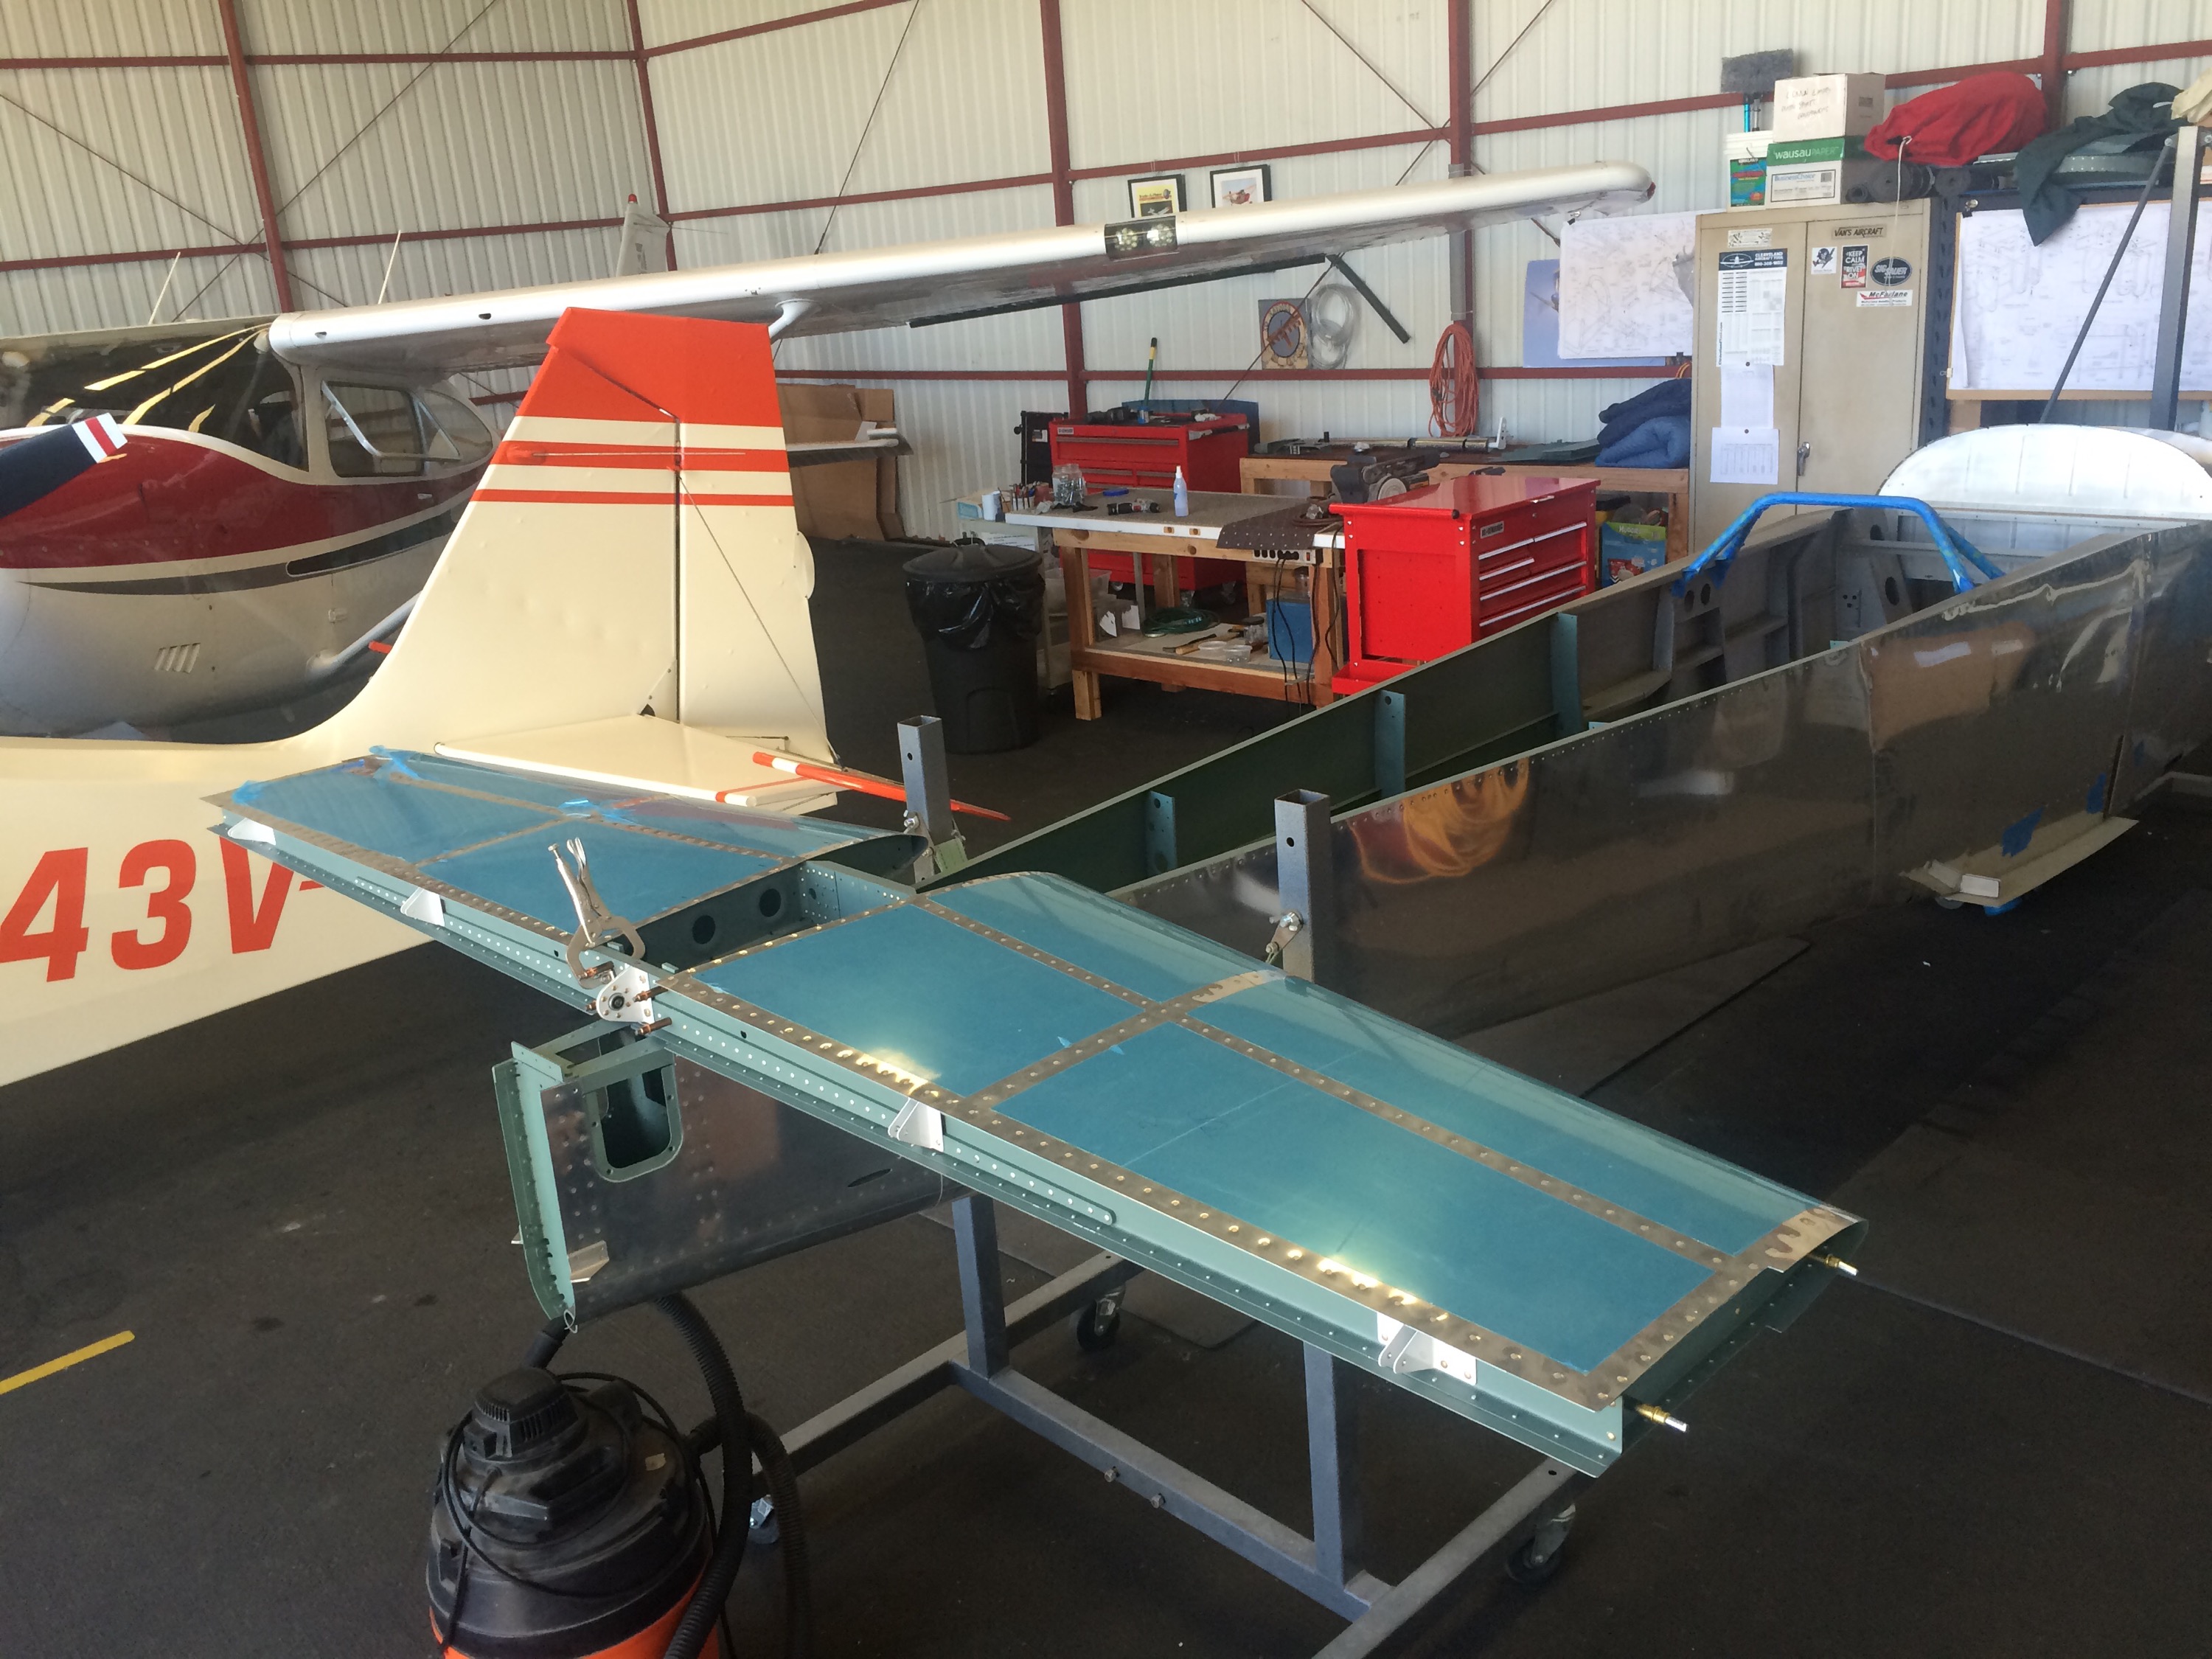
Decided to skip attaching the Horizontal to the Fuse until I could clear the correct amount of space in the hangar, so it was spent working on the control tubes and associated items.
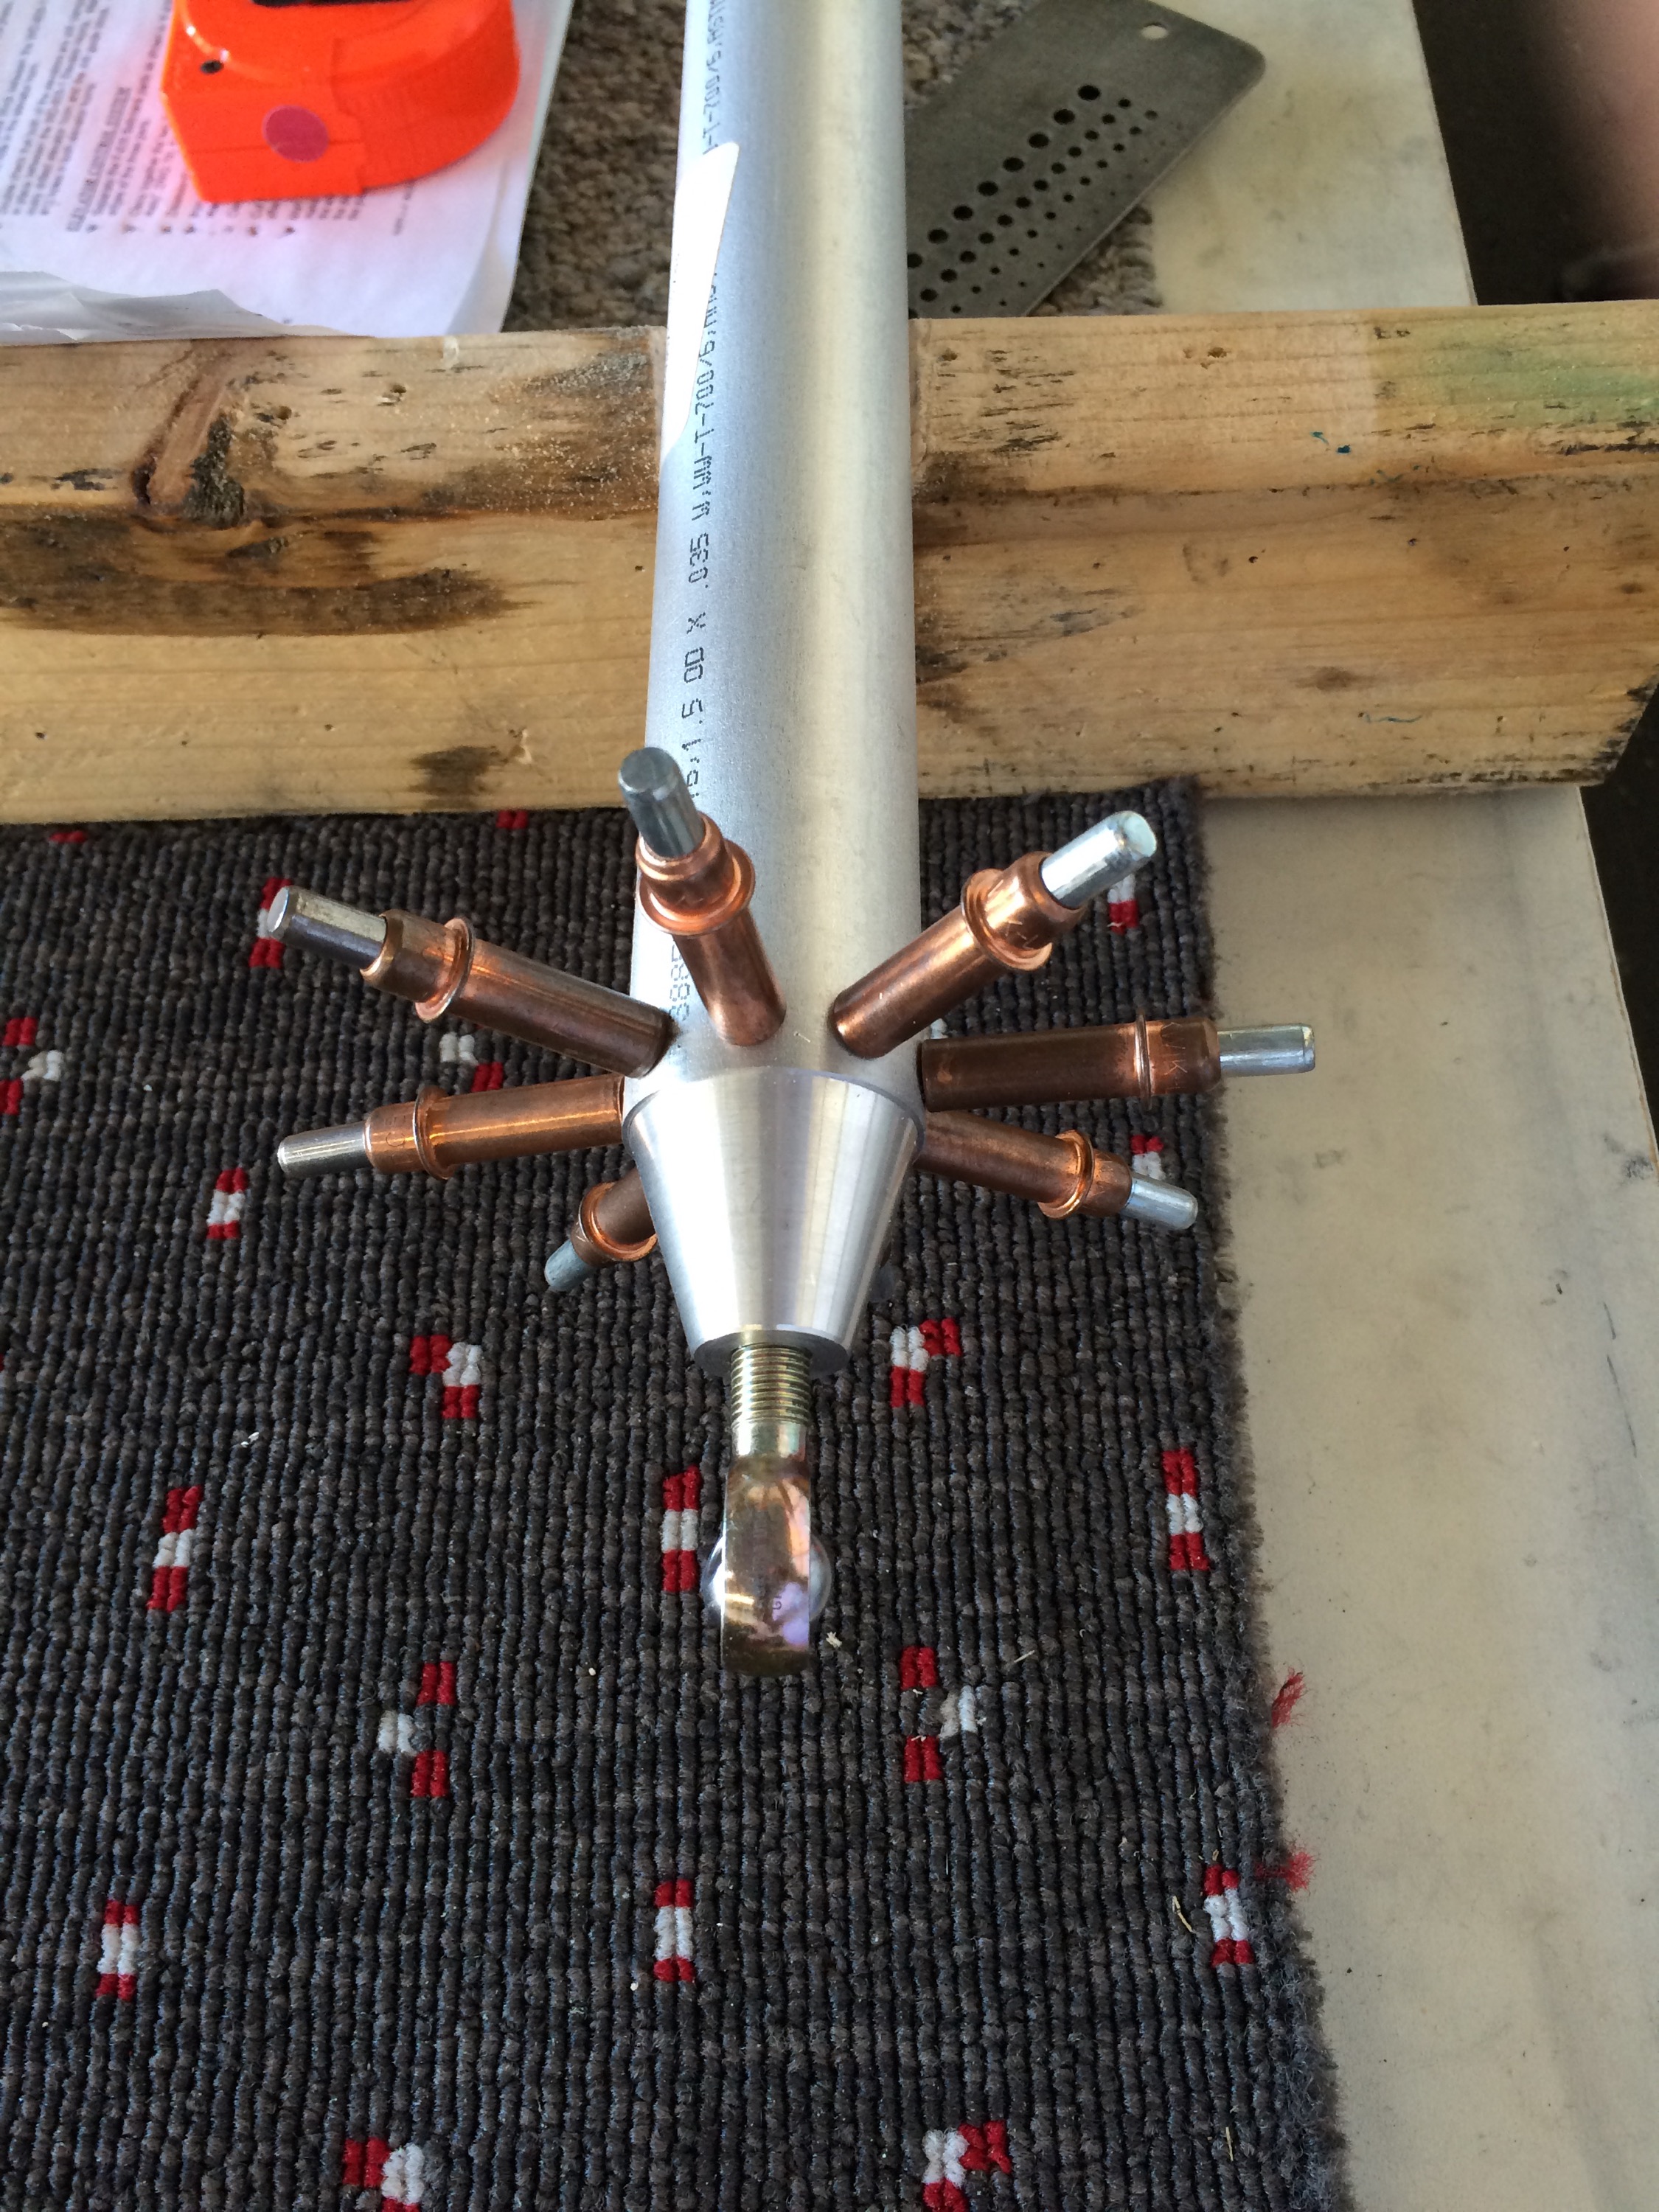
First off was drilling the Elevator Control horns, this was something we had put off as well. Using a .250 piece of tubing and a drill that fit exactly to the ID of the tubing, it went well. As with all of the horns, it seems like they don’t match up exactly, but we had the surfaces matched in trail, since that is the important piece.
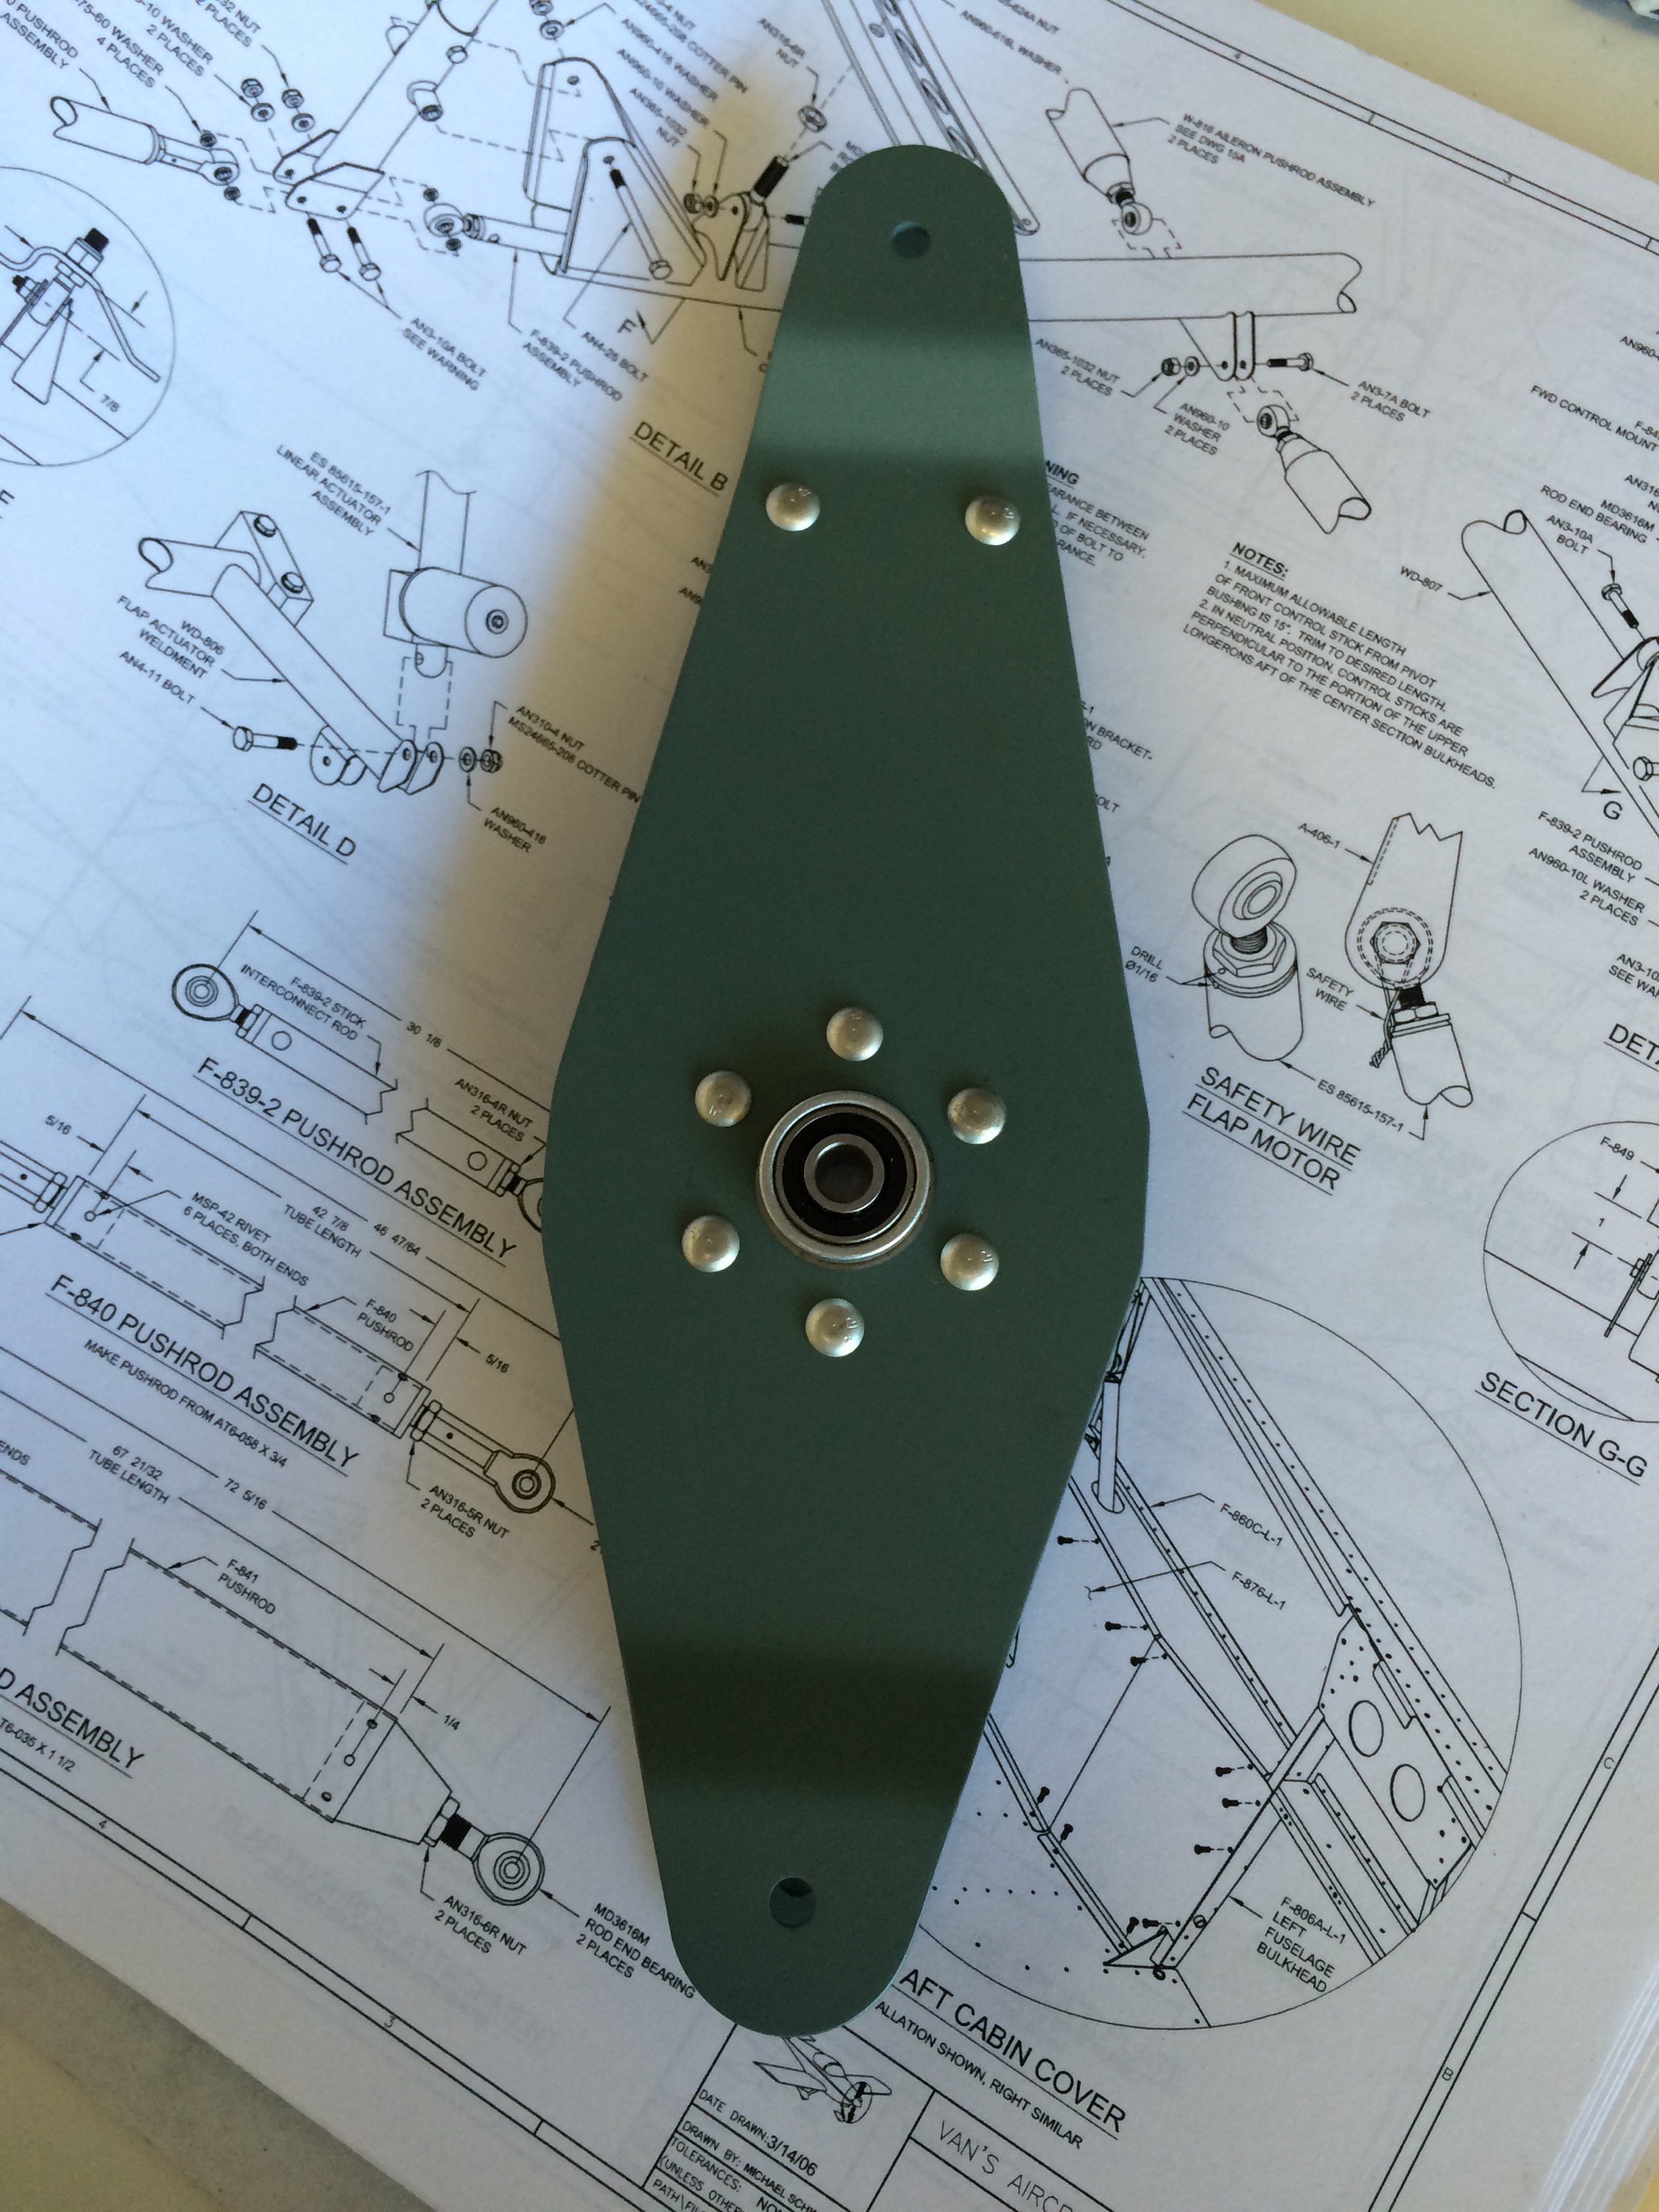
Finished fabricating the elevator bellcrank.
Elevator bellcrank temporarily installed.
The first control tube drilled (F-481) and clecoed. Ready for primer.
The first control tube drilled (F-4800) and clecoed. Ready for primer.
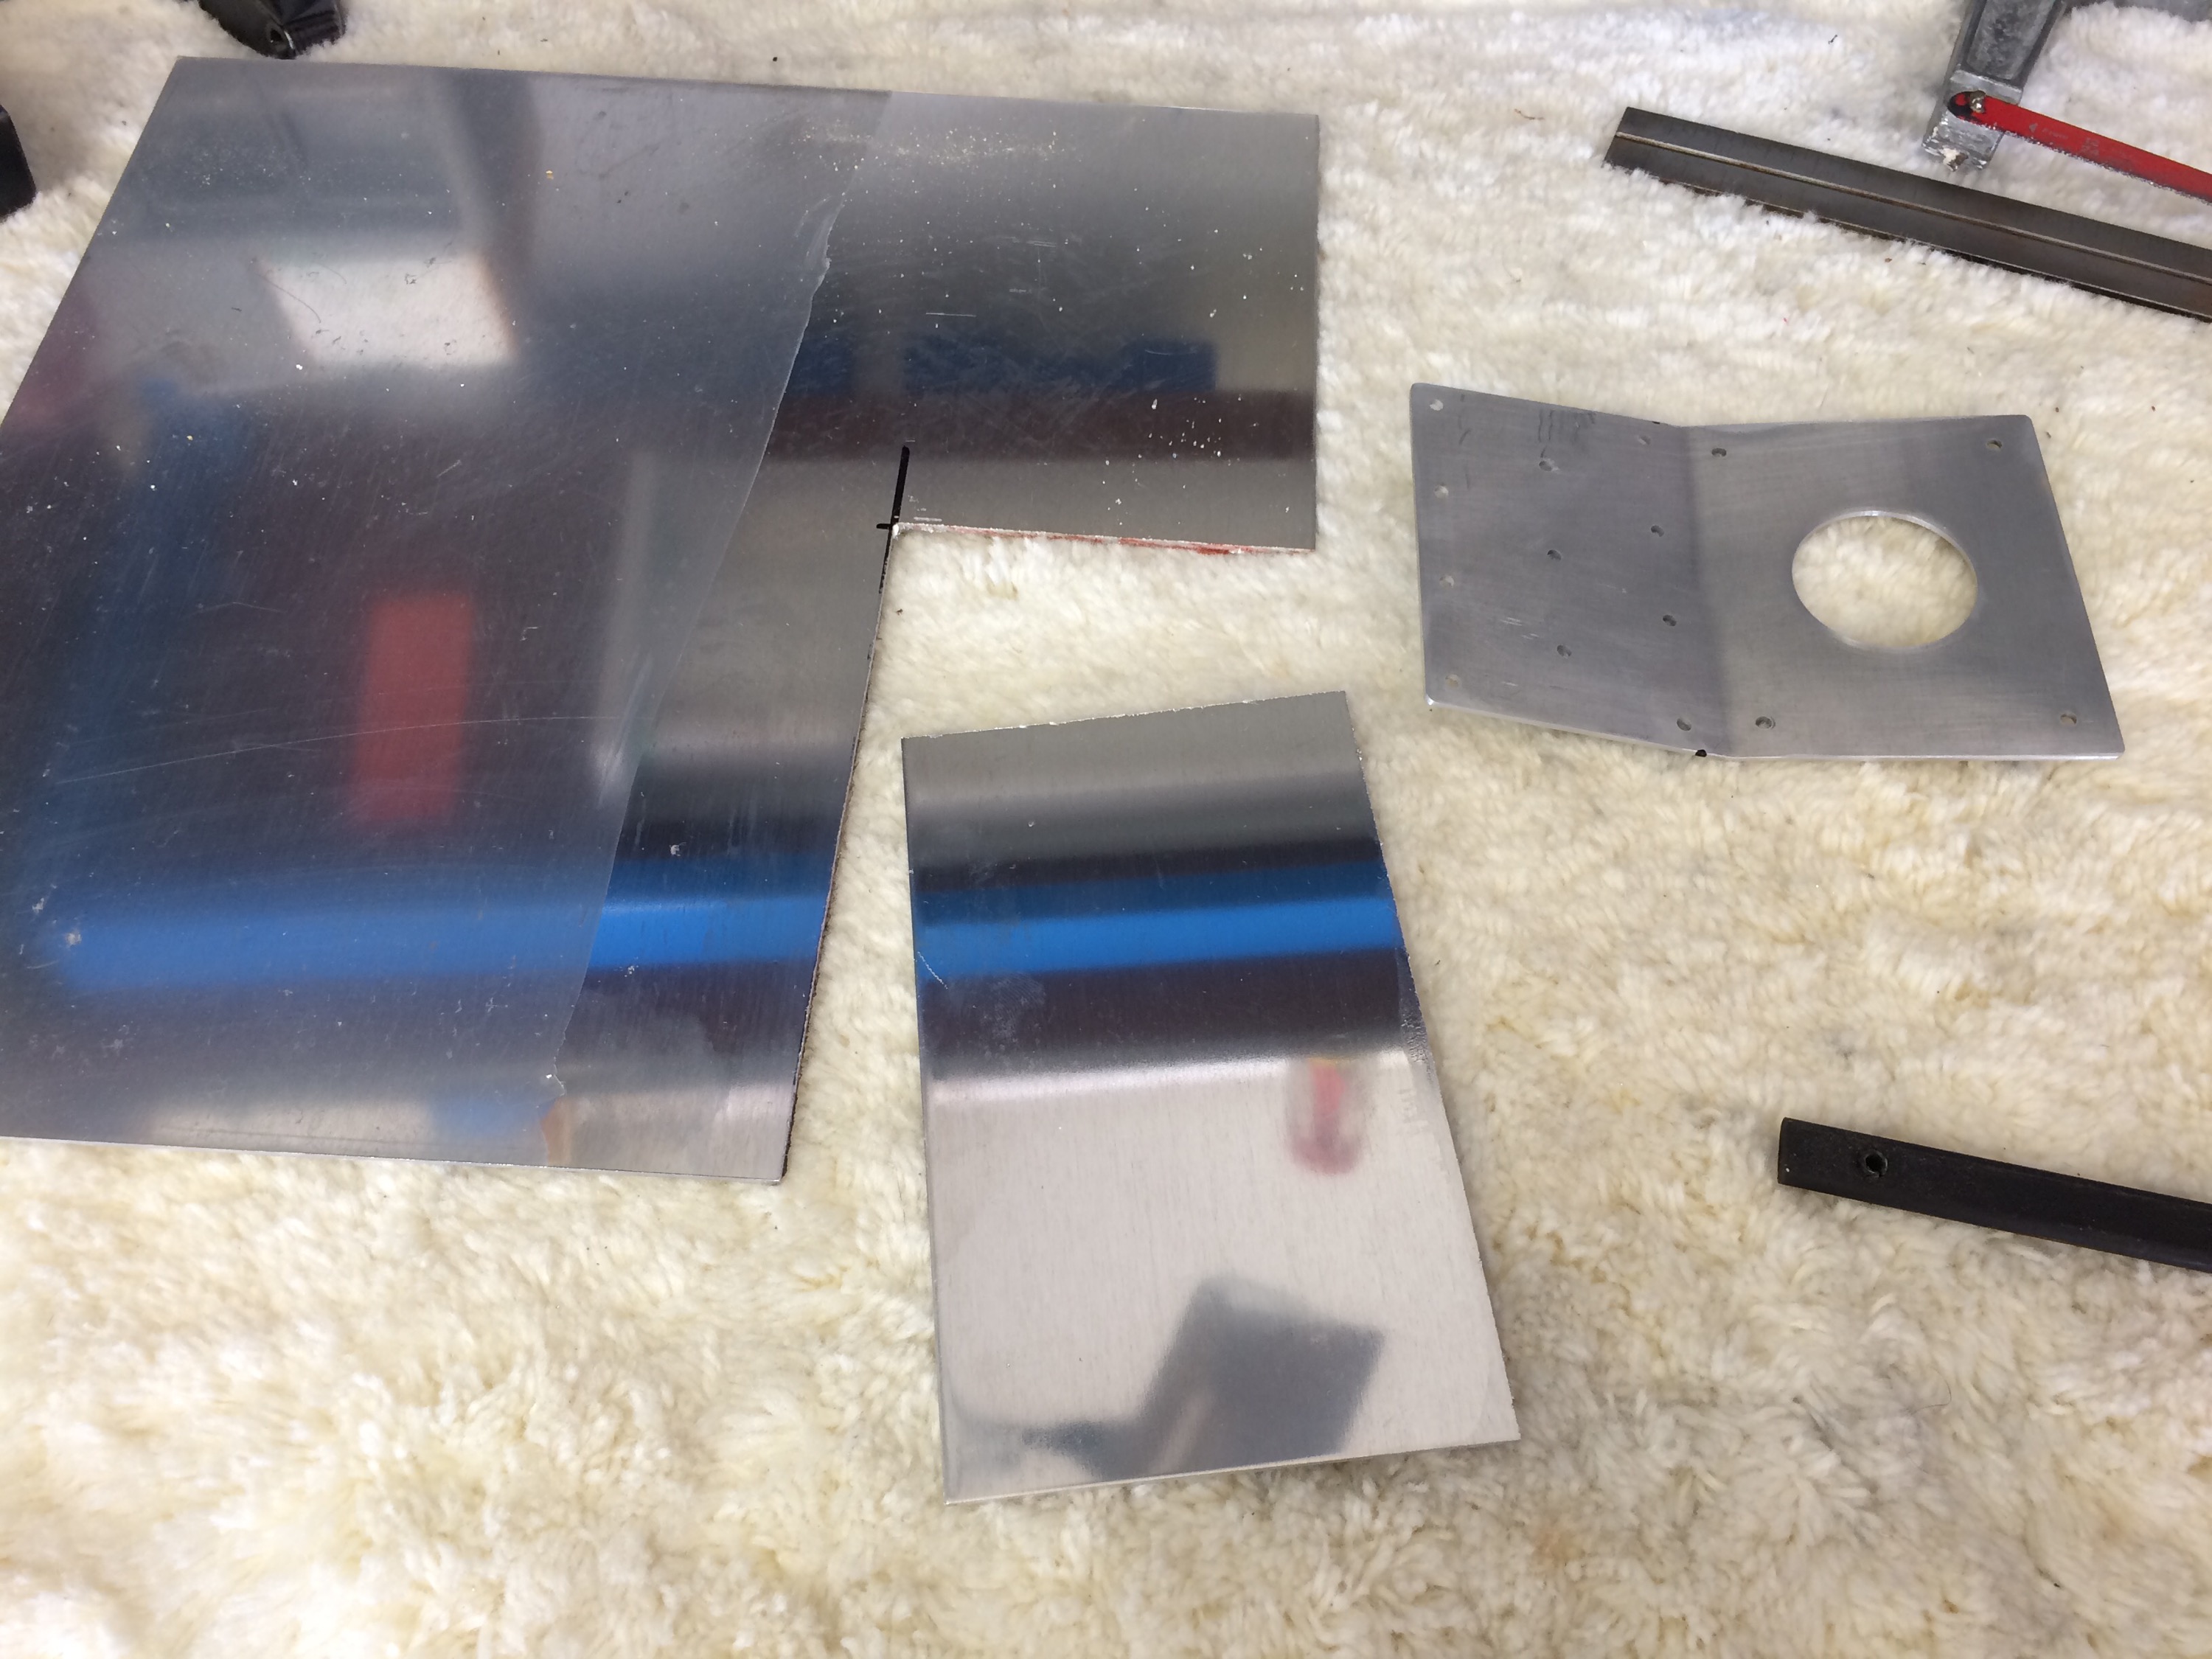
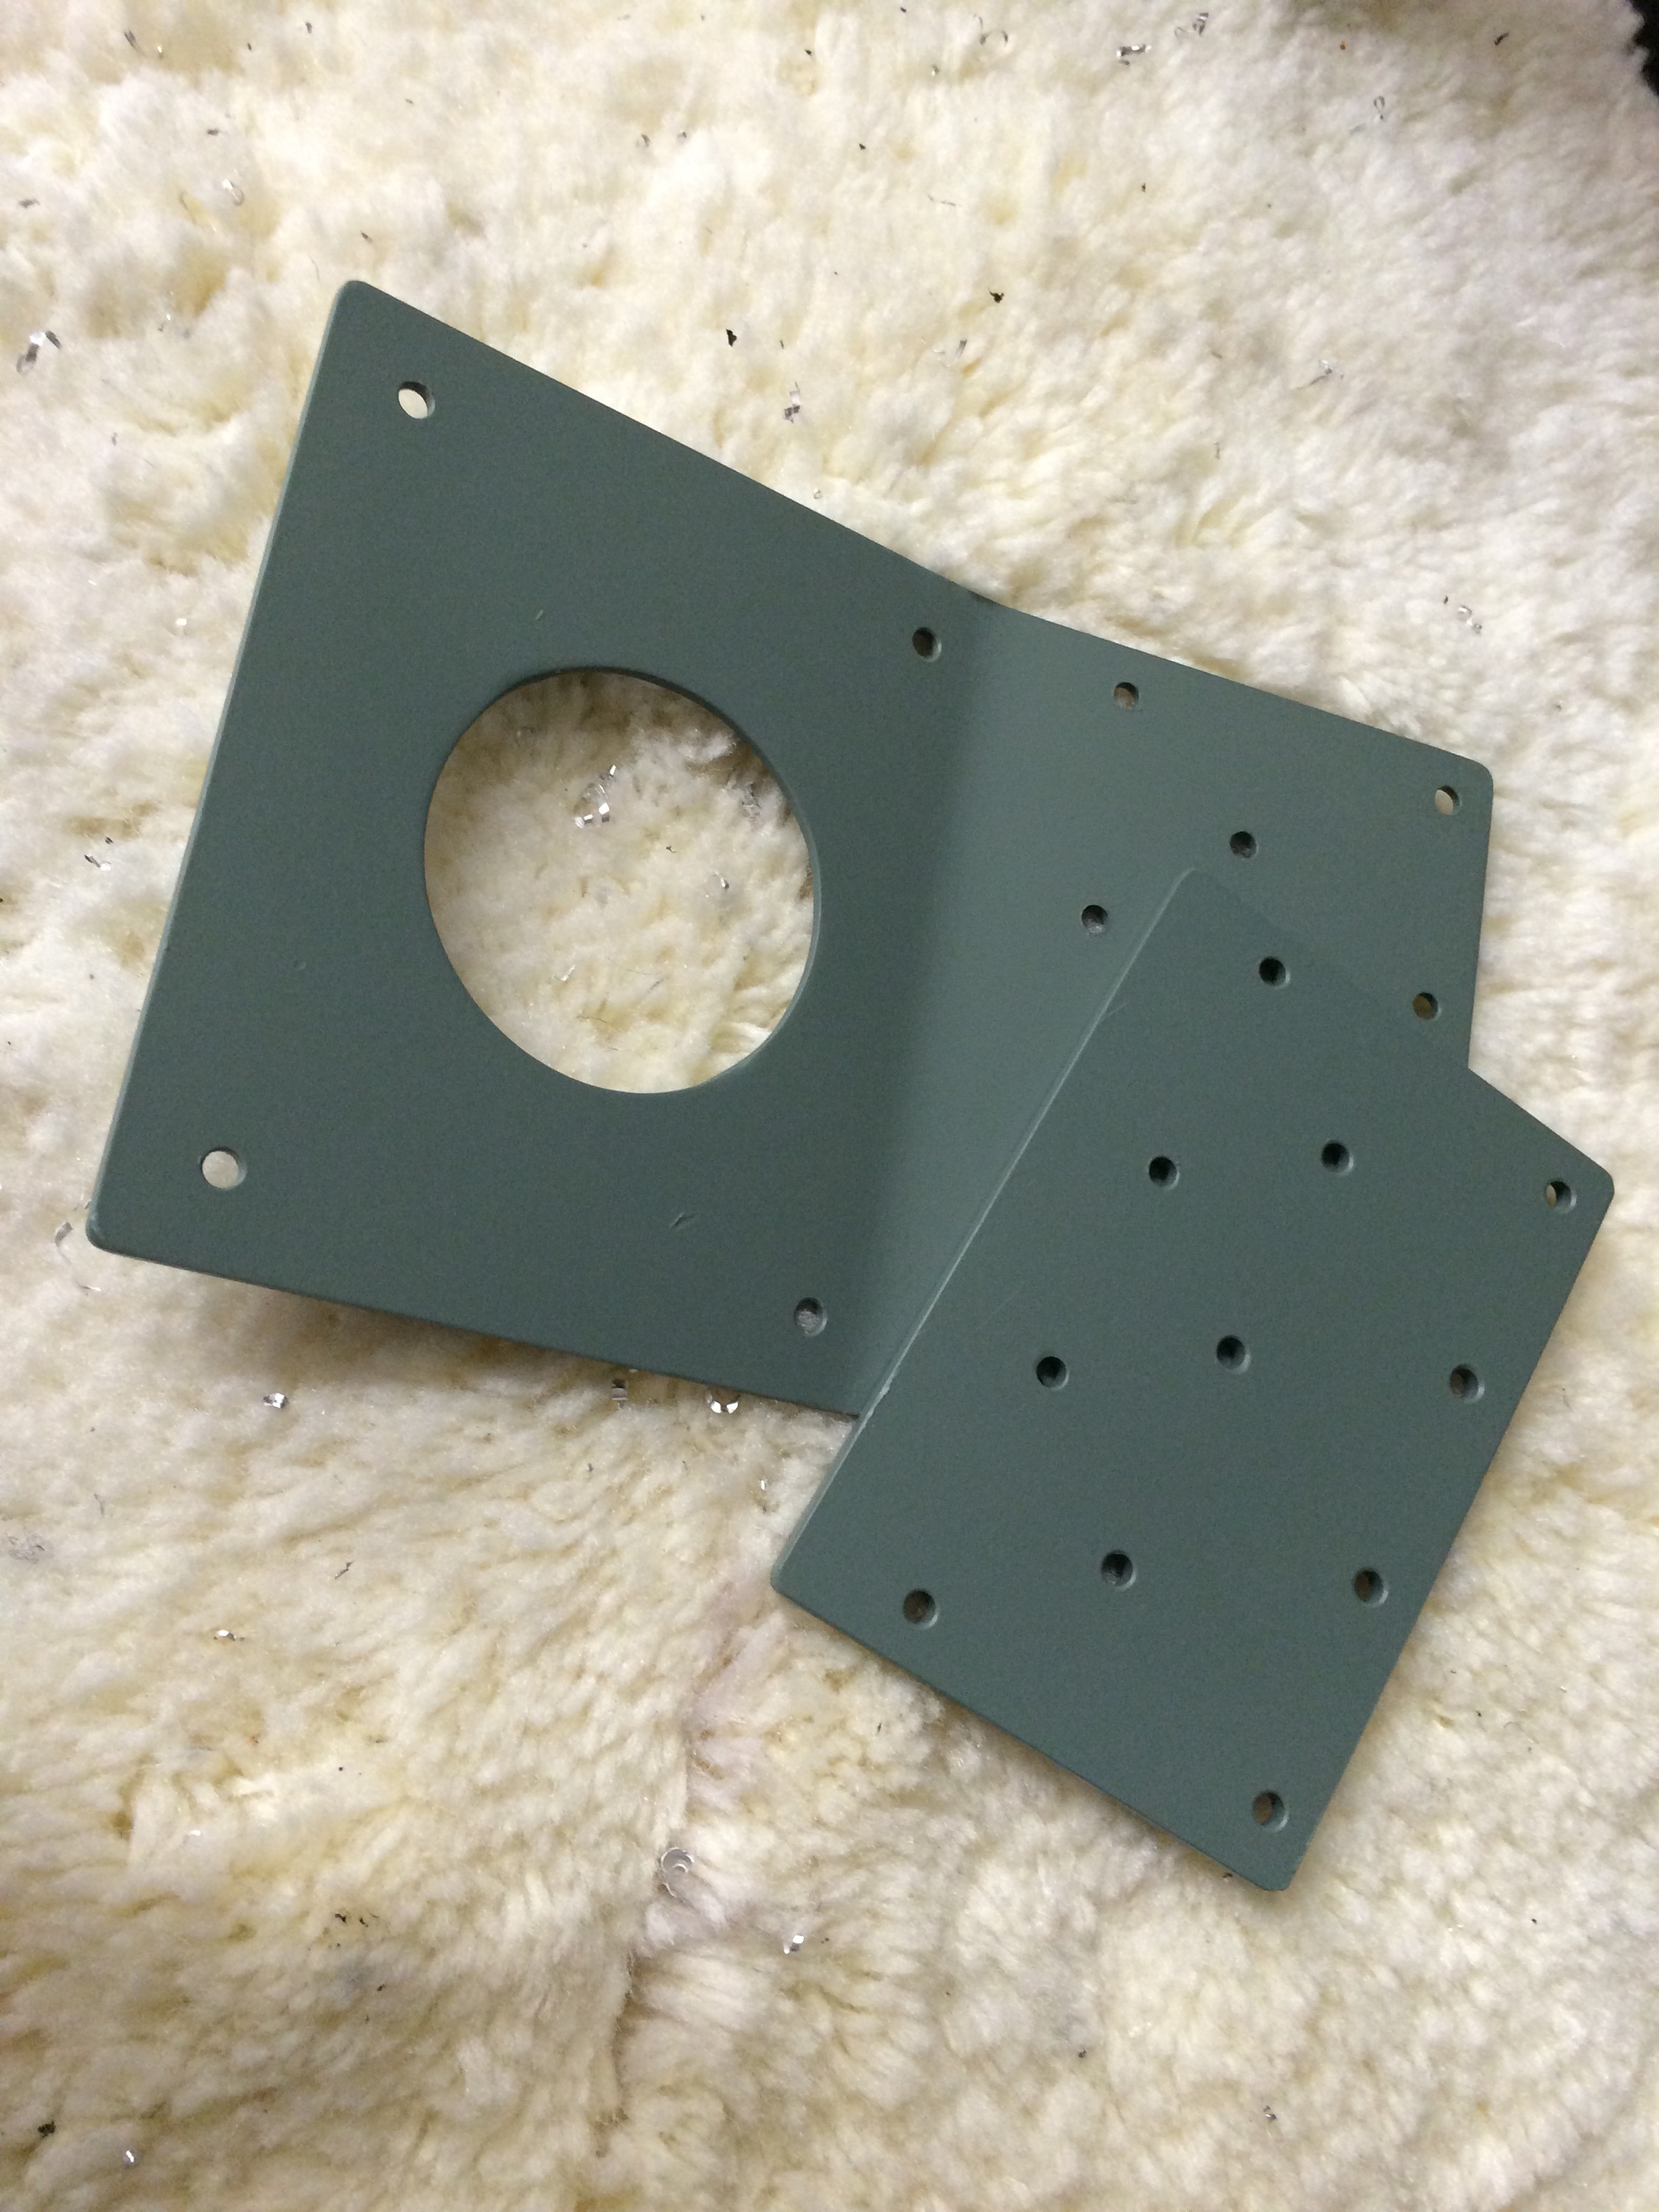
Today I fabricated the F-864E-1 cable anchor from the blank angle stock.
I cut it length first. I made sure I took extra time to measure out all the dimensions a few times.
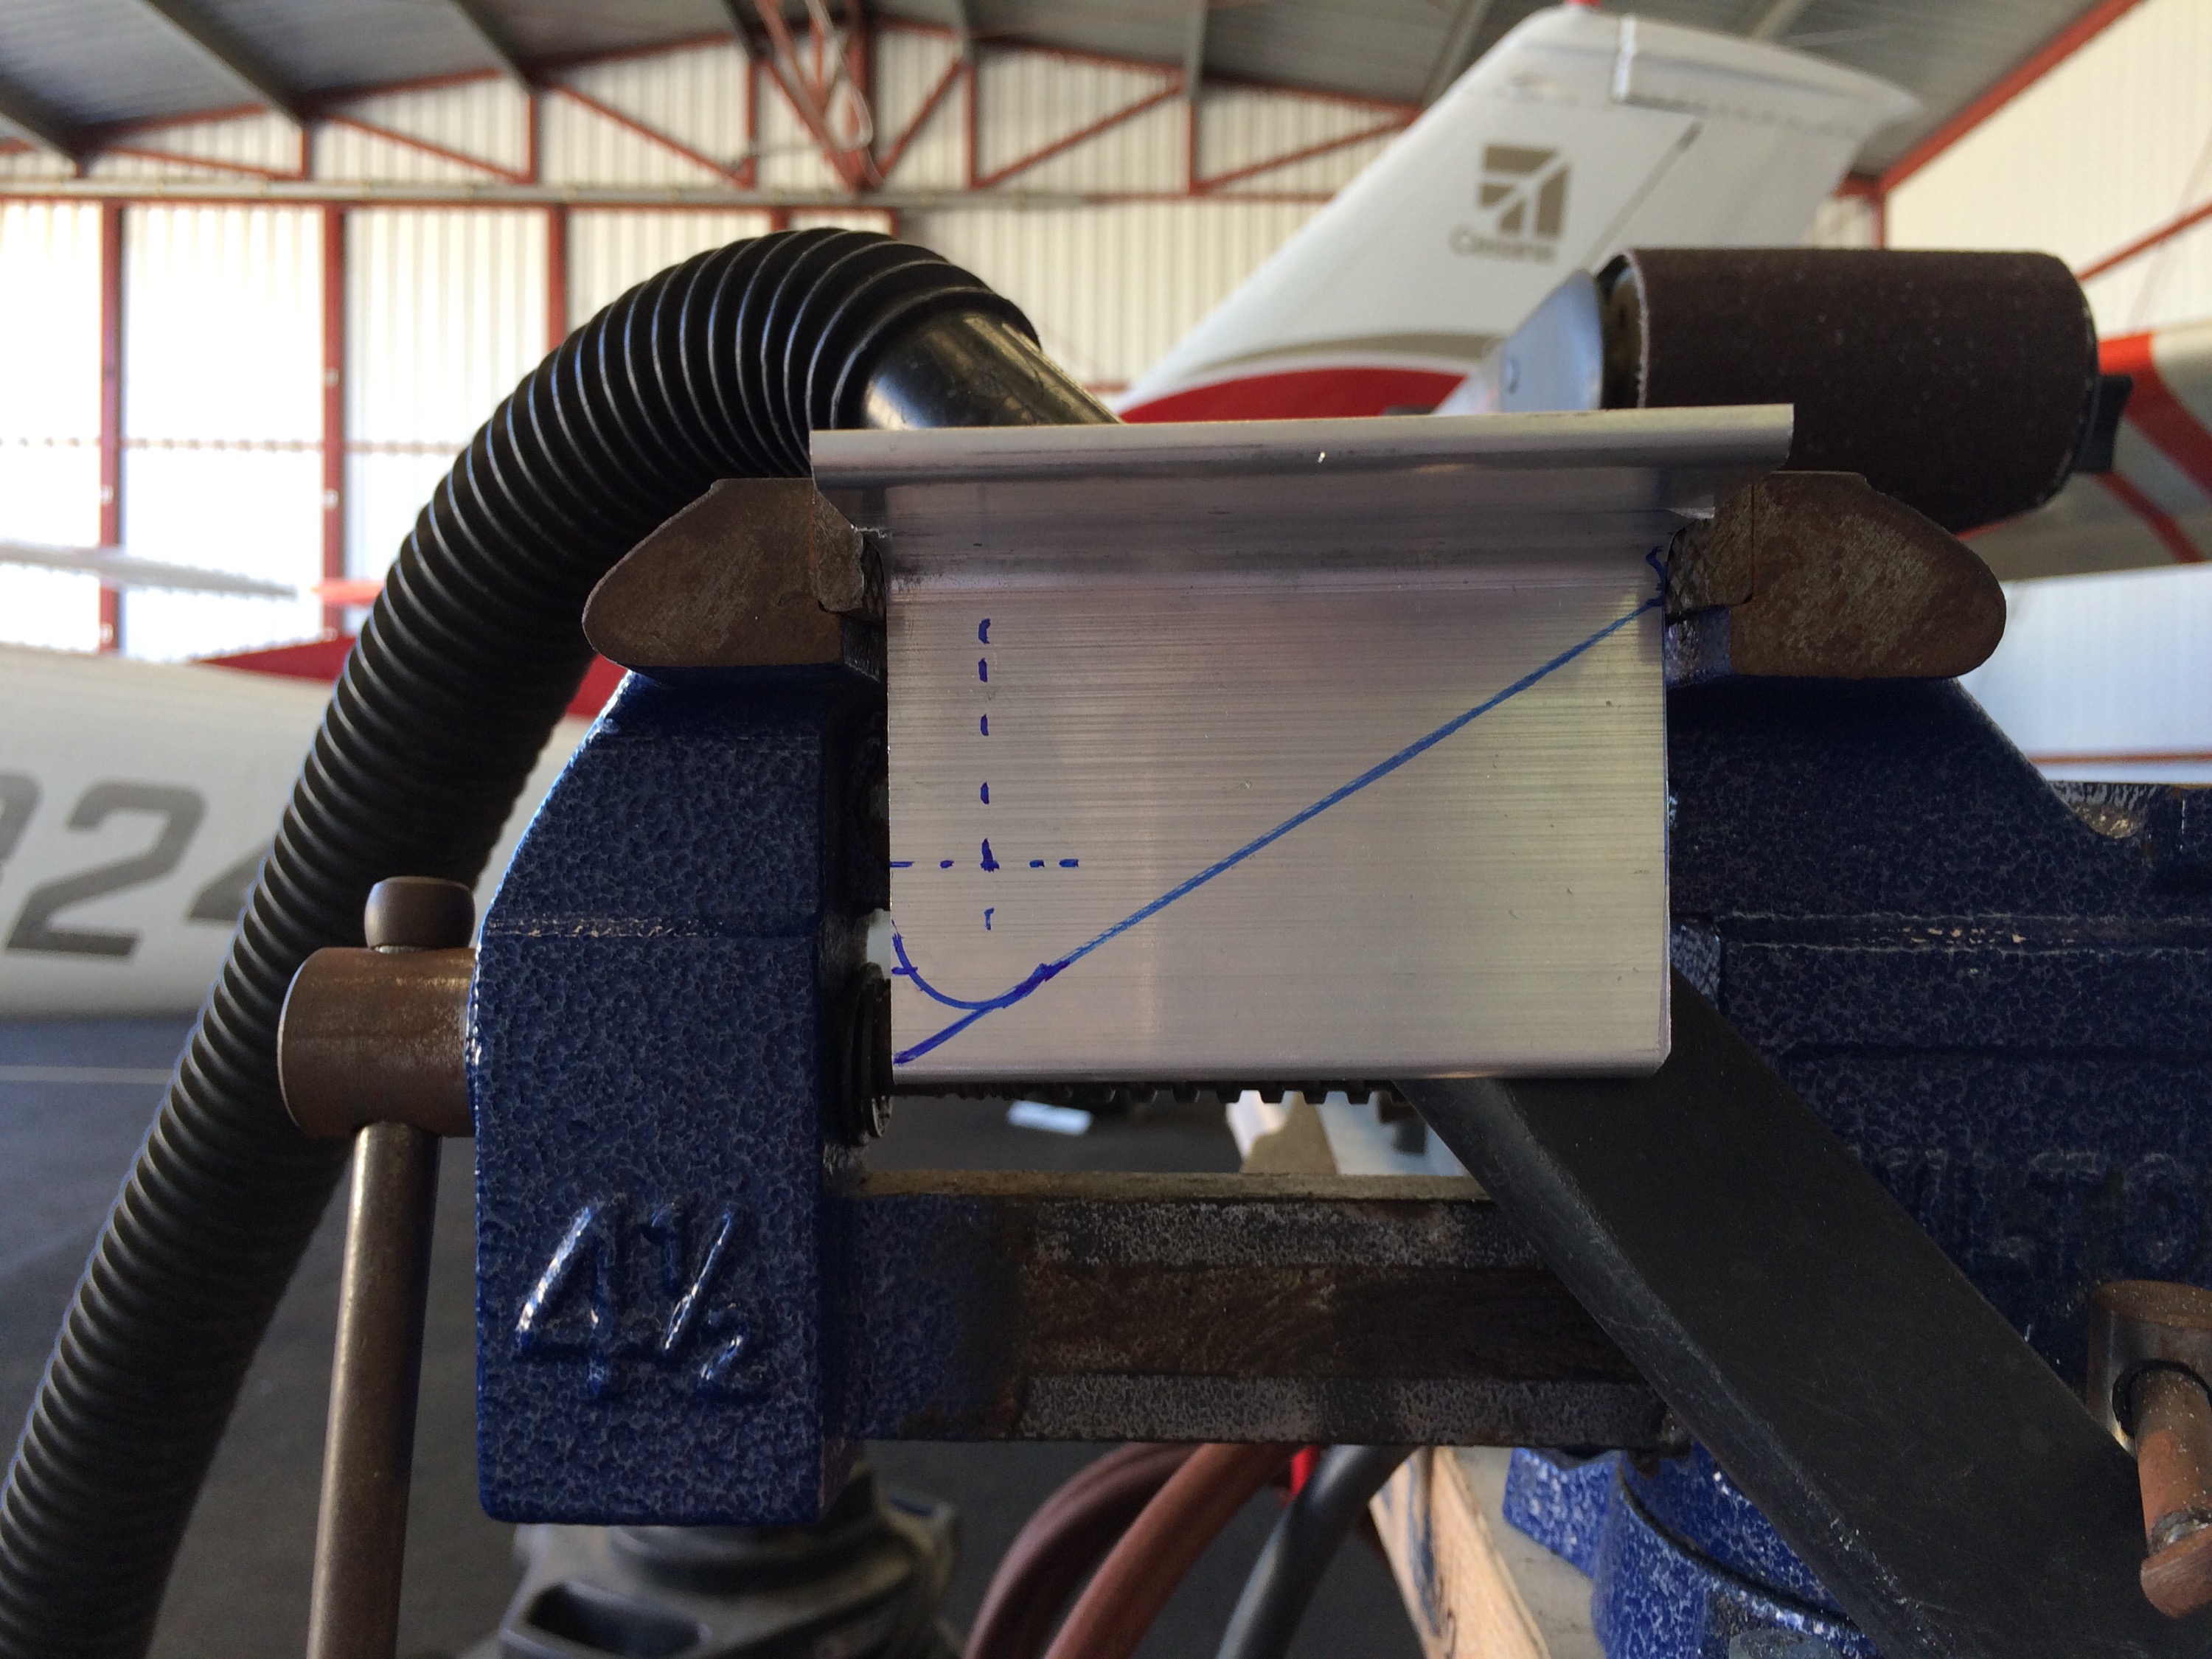
After cutting, drilling and cleaning it up with Scotchbrite.
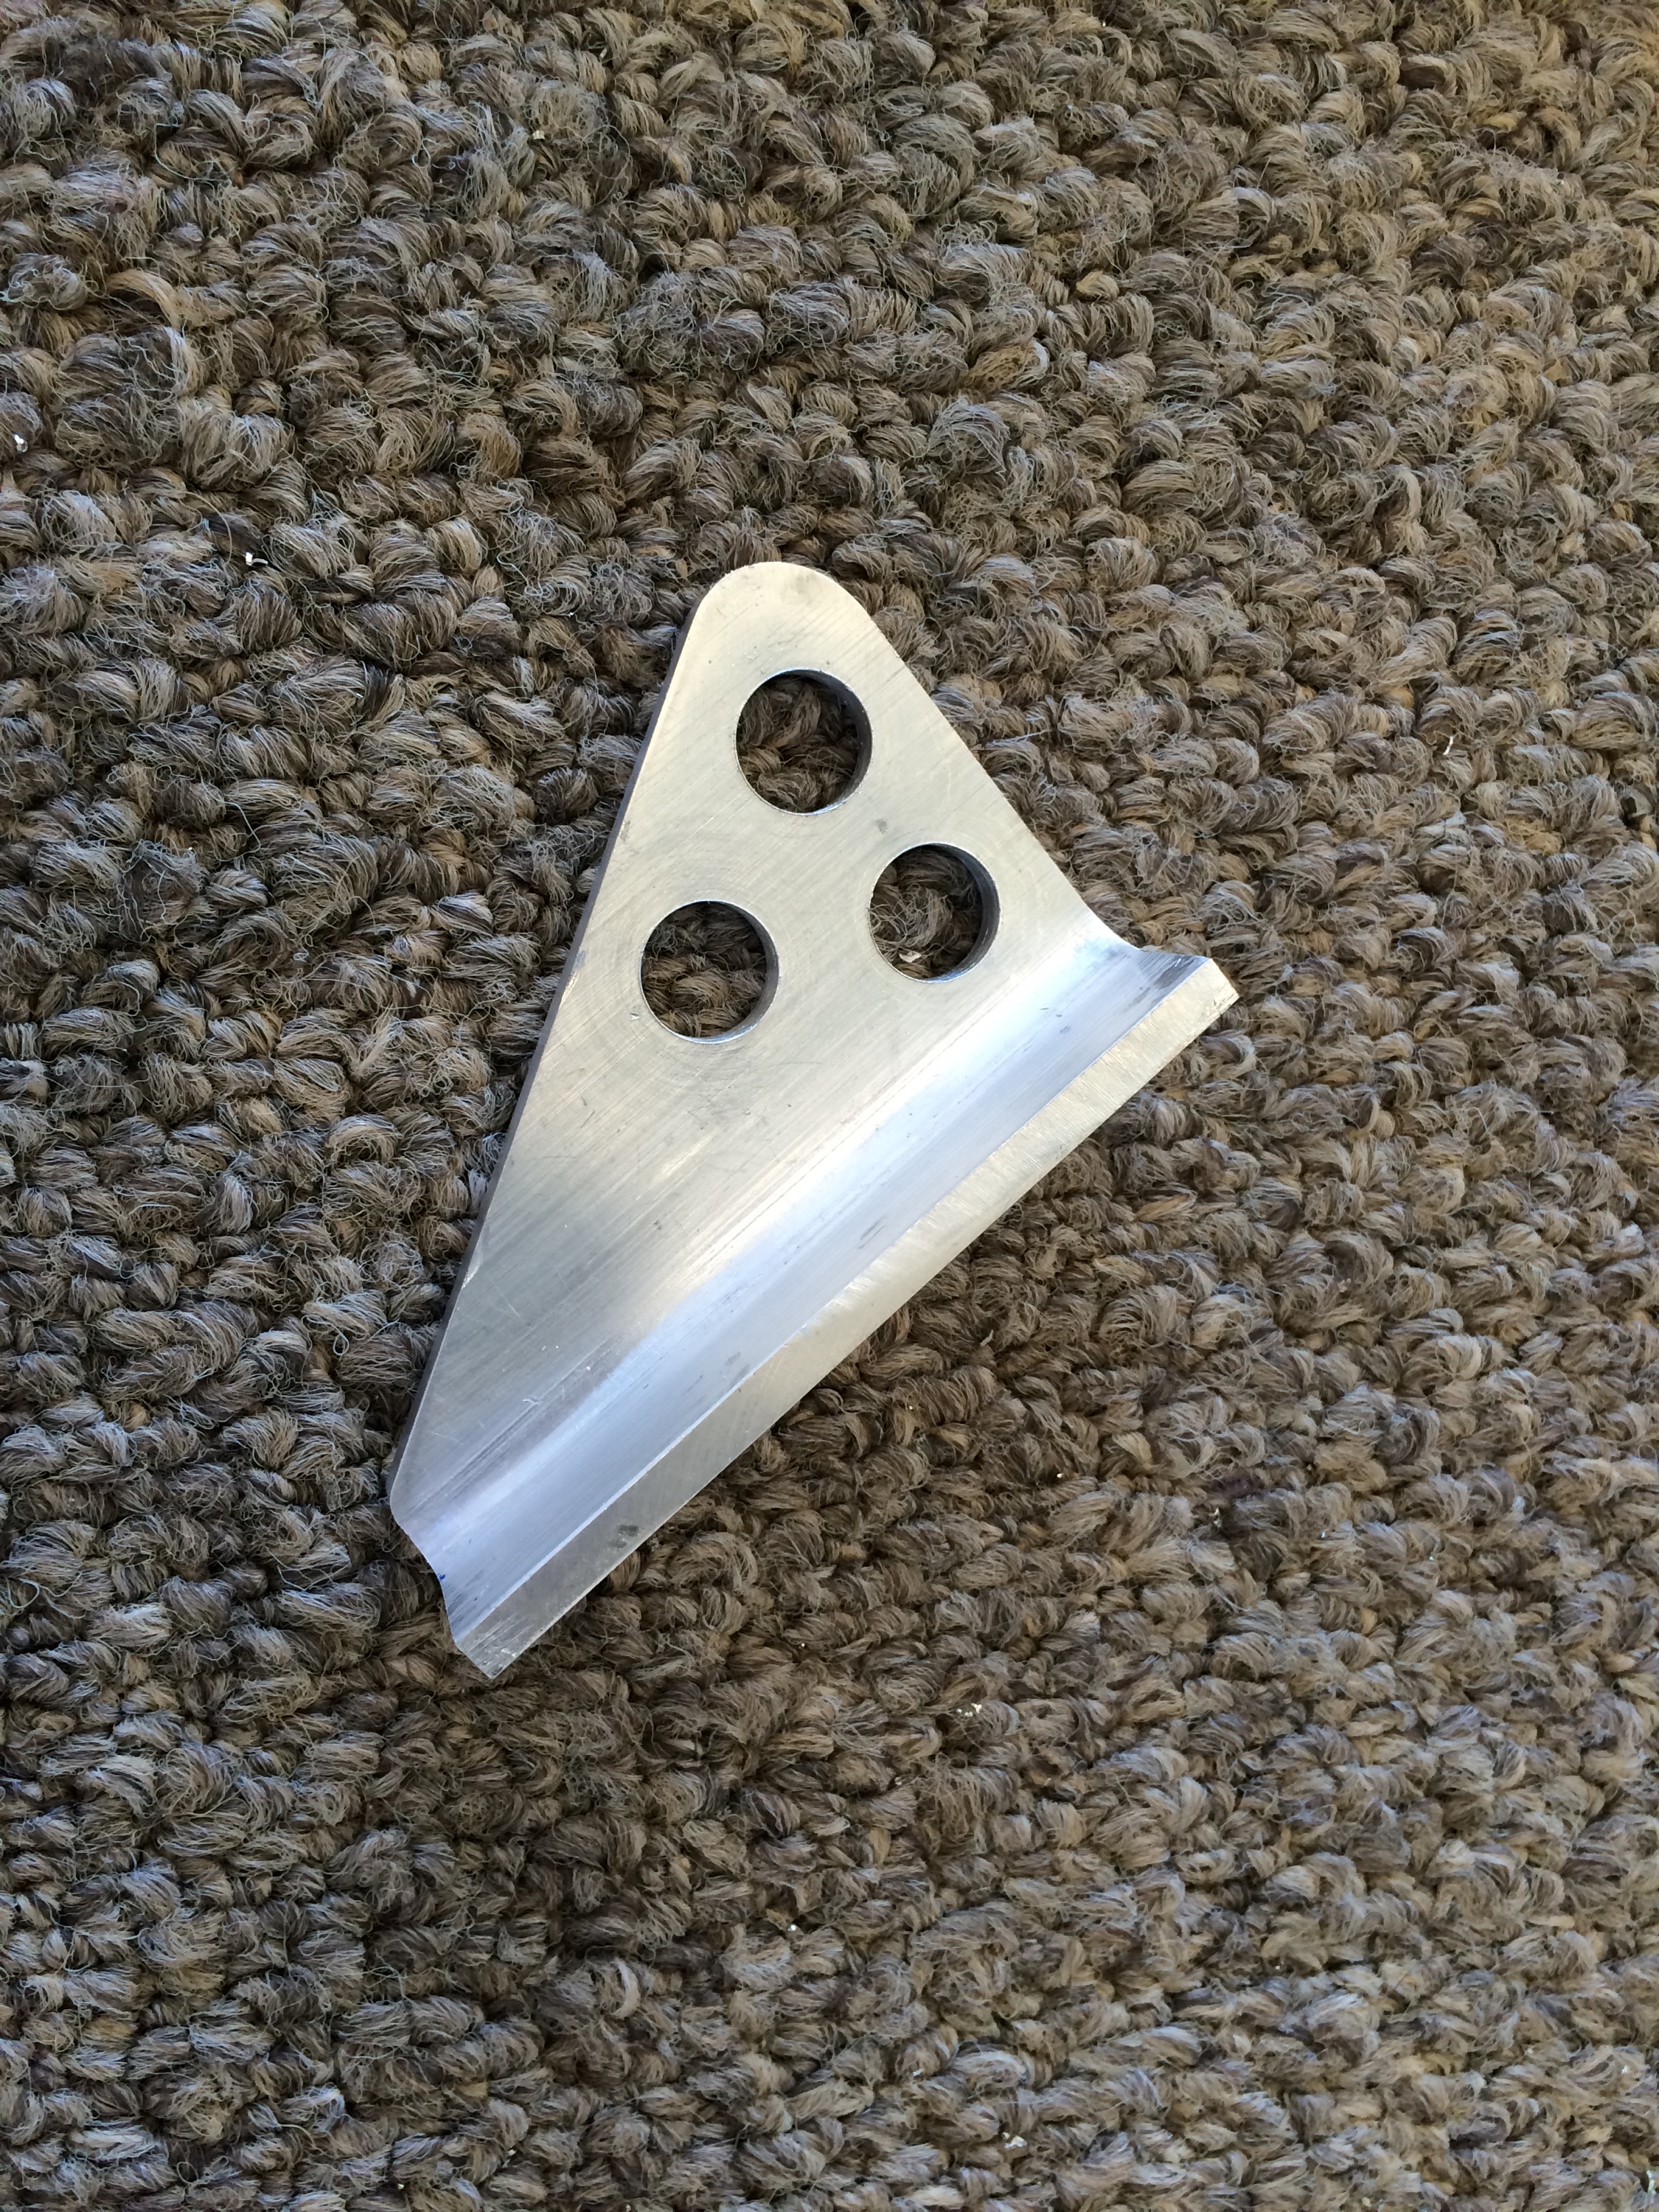
Match drilled to the Throttle assembly.

In addition to the cable anchor, I started work on match drilling the Bulkhead caps and right side console.
Spent more time working on the Cockpit floors along with the center console and aft baggage floor. Everything fits pretty well and thank god for the rotisserie or my back would be killing me…