Finished match drilling the stiffeners to the Elevators, then I deburred and dimpled the stiffeners. The DRDT2 is at the hangar so I couldn’t dimple the skins yet.
Finished match drilling the stiffeners to the Elevators, then I deburred and dimpled the stiffeners. The DRDT2 is at the hangar so I couldn’t dimple the skins yet.
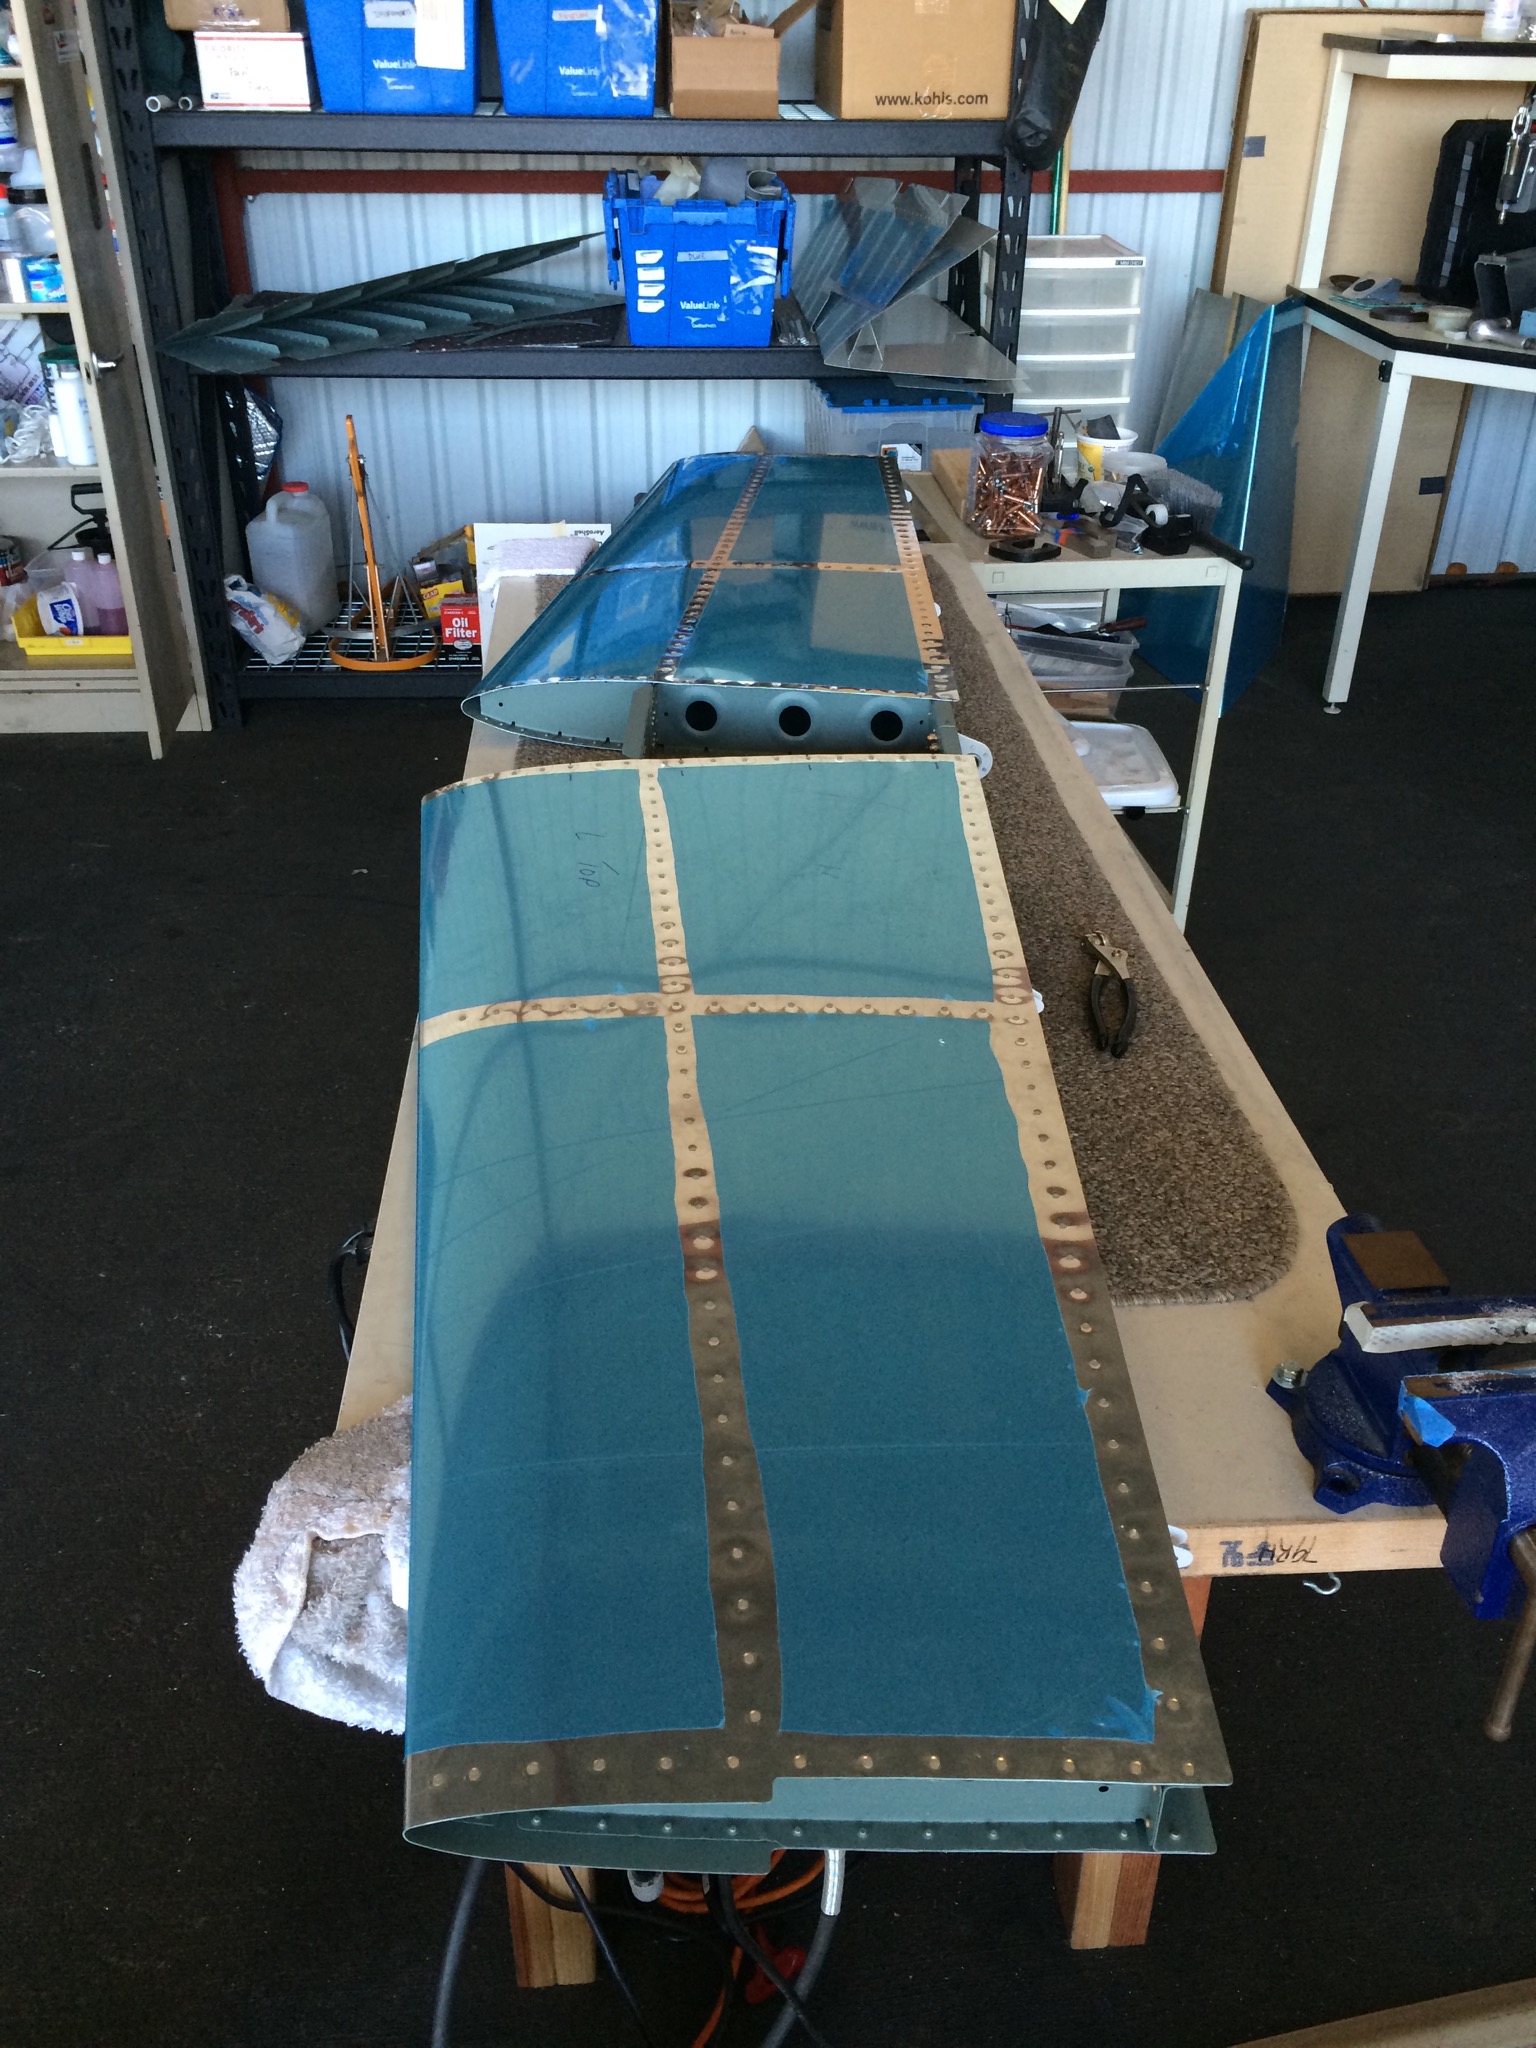
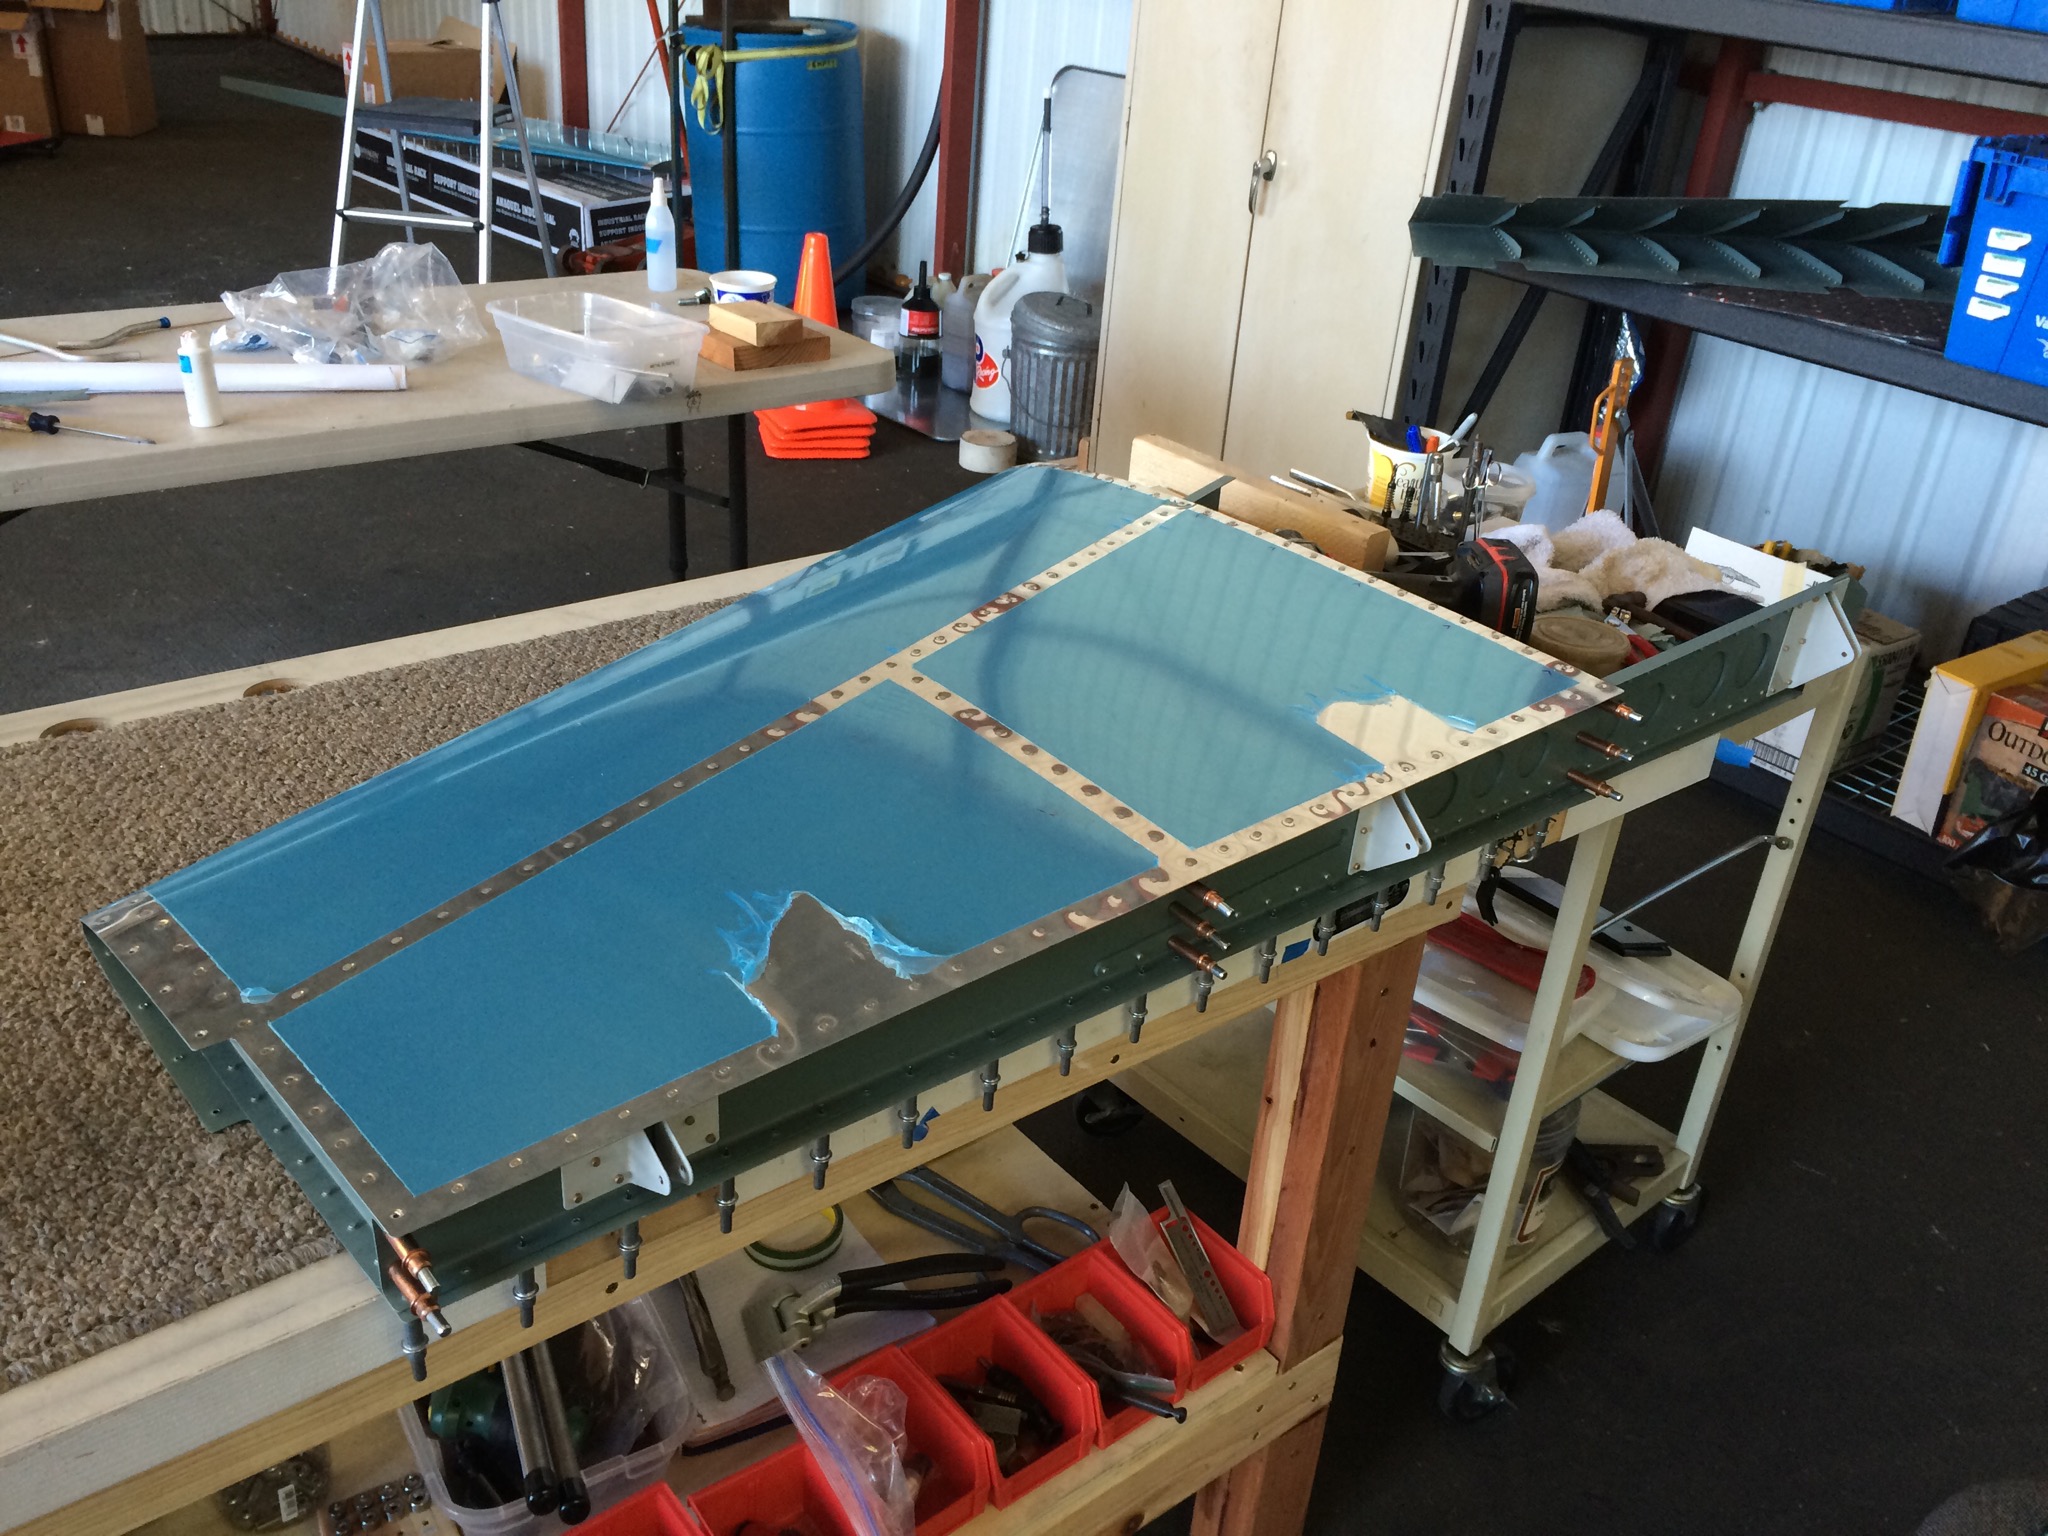
Finished up the Left side skins on the Horizontal and started on the right. Just need to rivet on the rear spar an it’s done!
The Quickbuild fuse arrived today. First attempt to deliver was a bust, as the trucking company didn’t bring a truck with a lift gate as we ordered. Luckily they were able to go back to the shipping depot and swap trucks.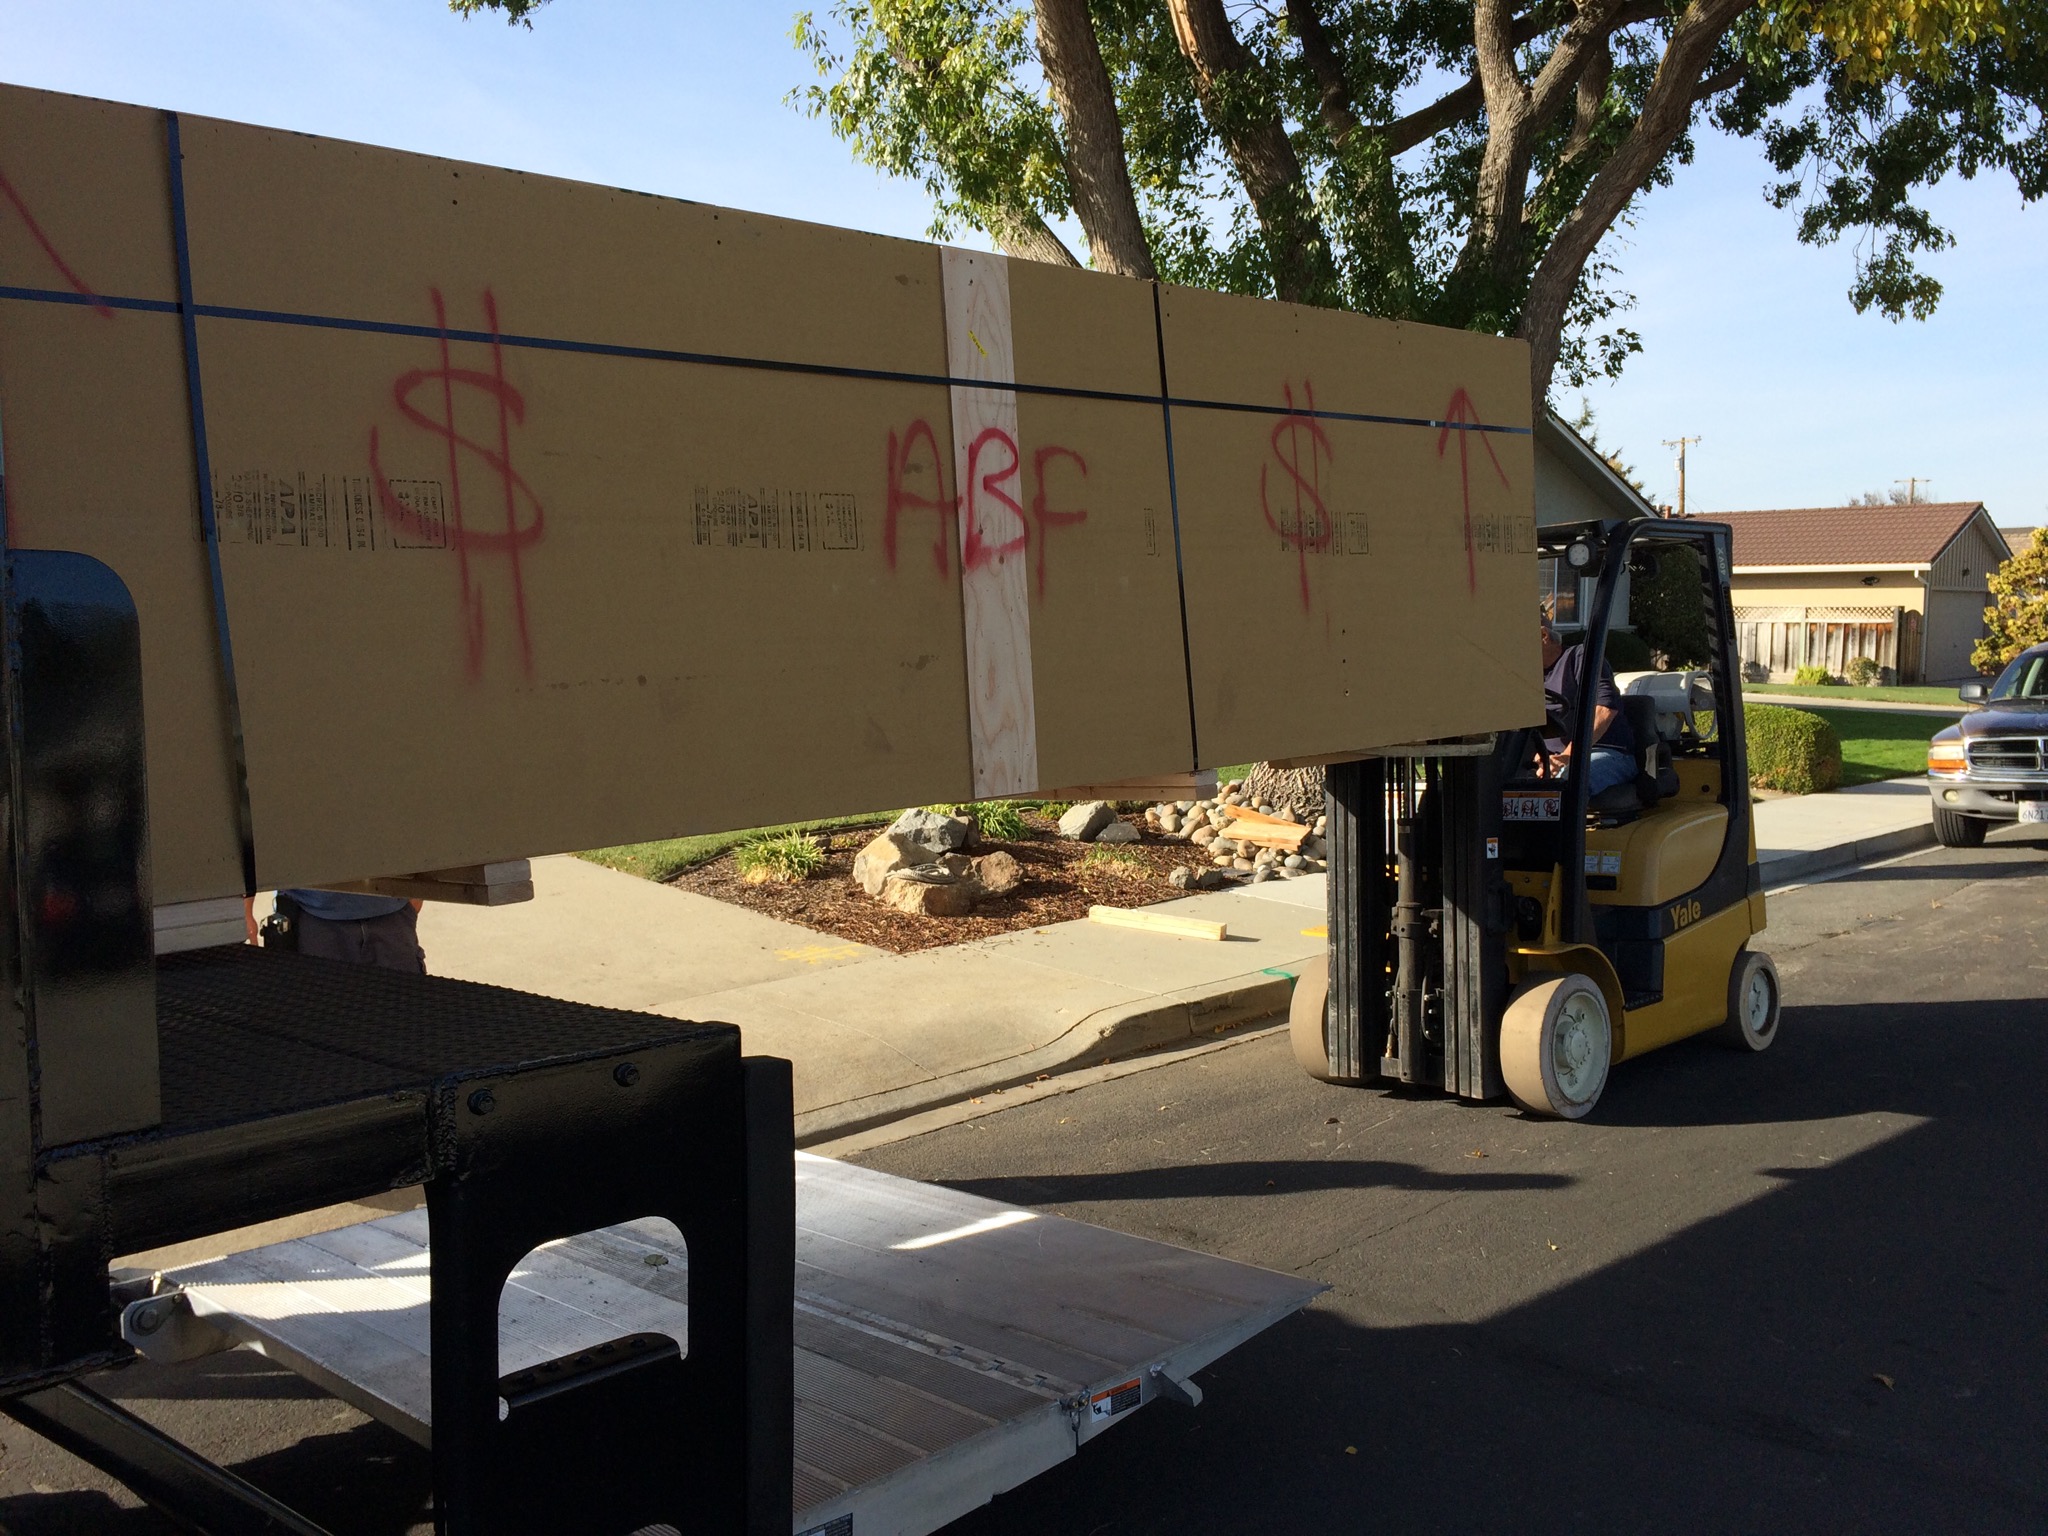
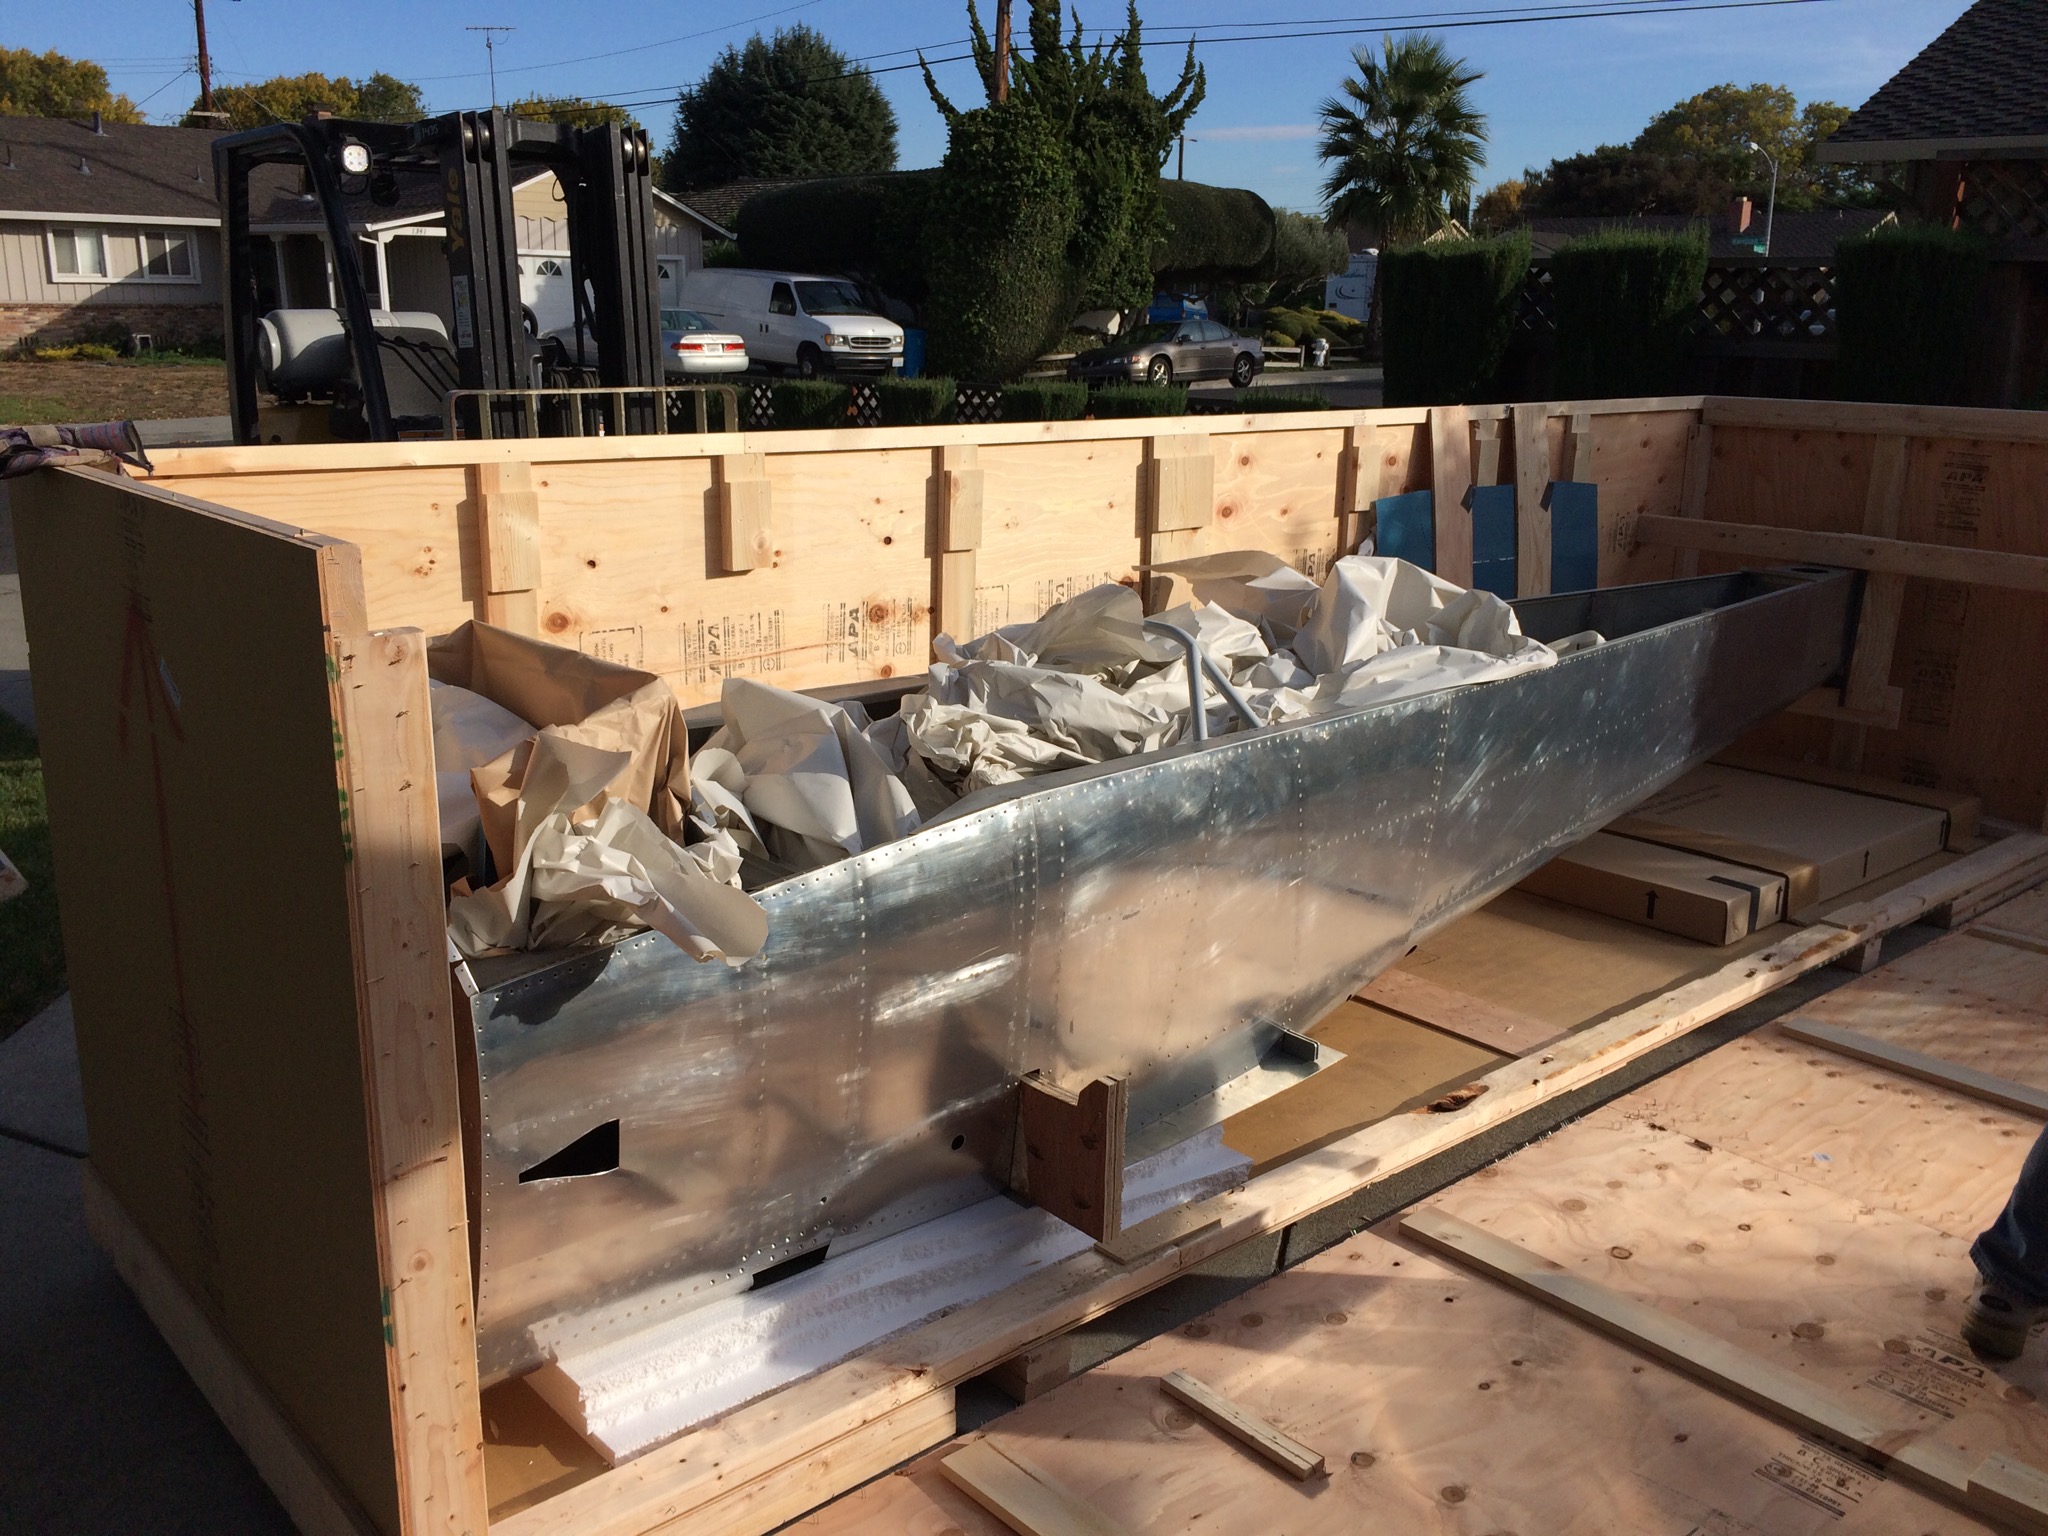
Unpacking took a few hours….
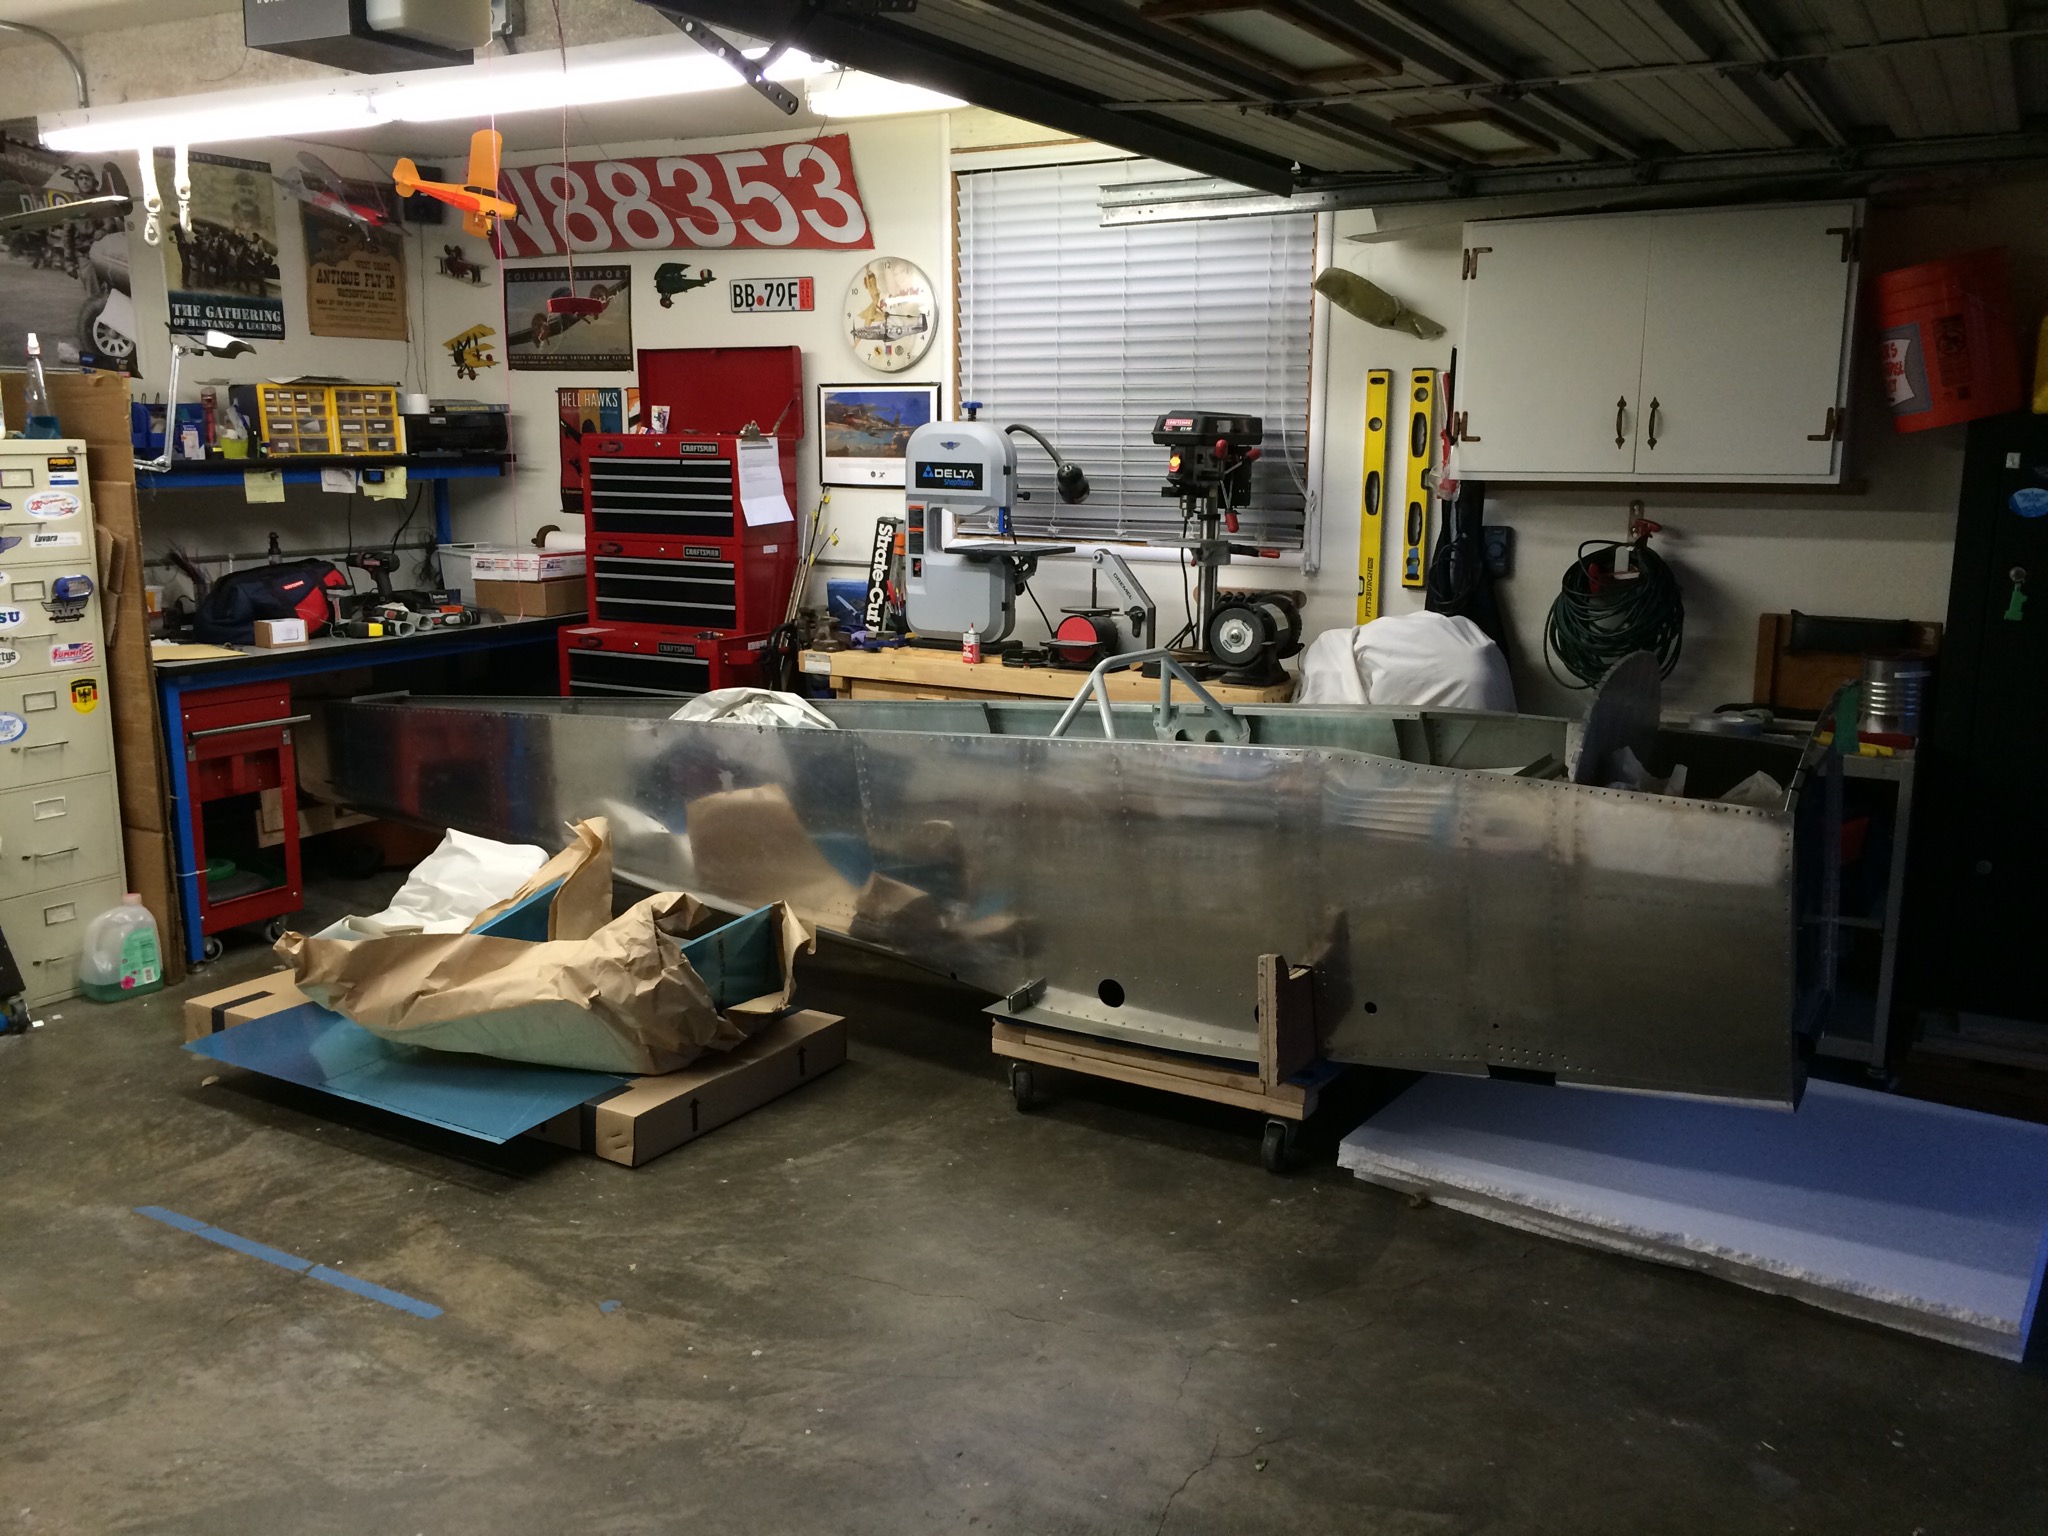
Loaded in the garage. I’ll inventory, clean it at home, and then bring it out to the hangar.
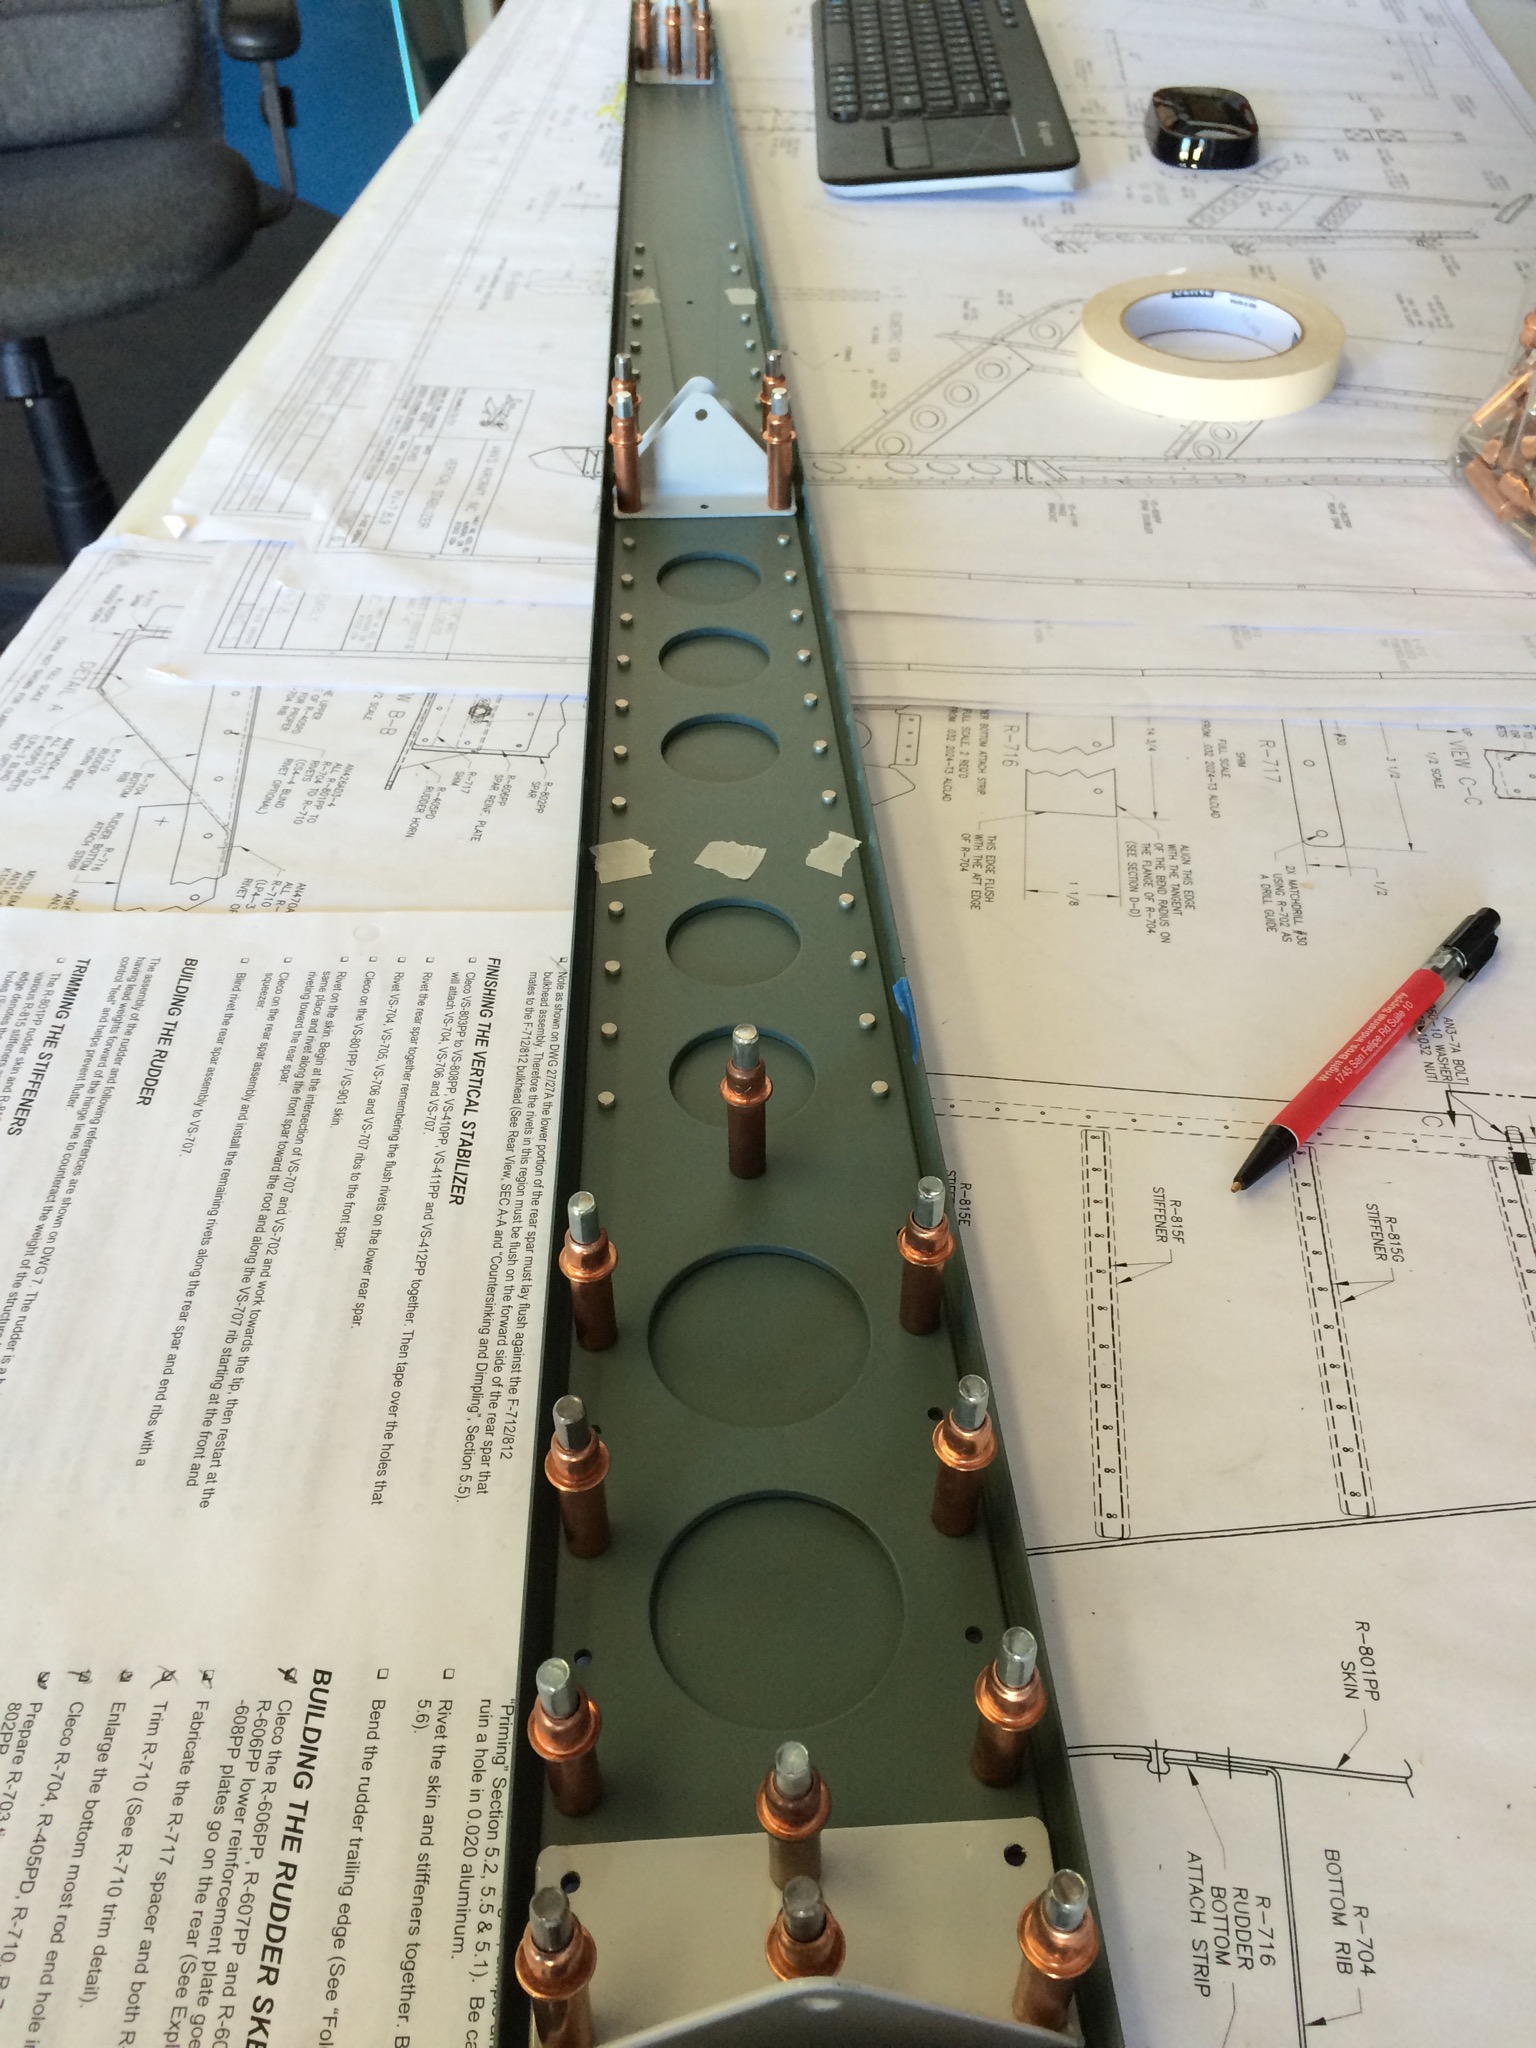
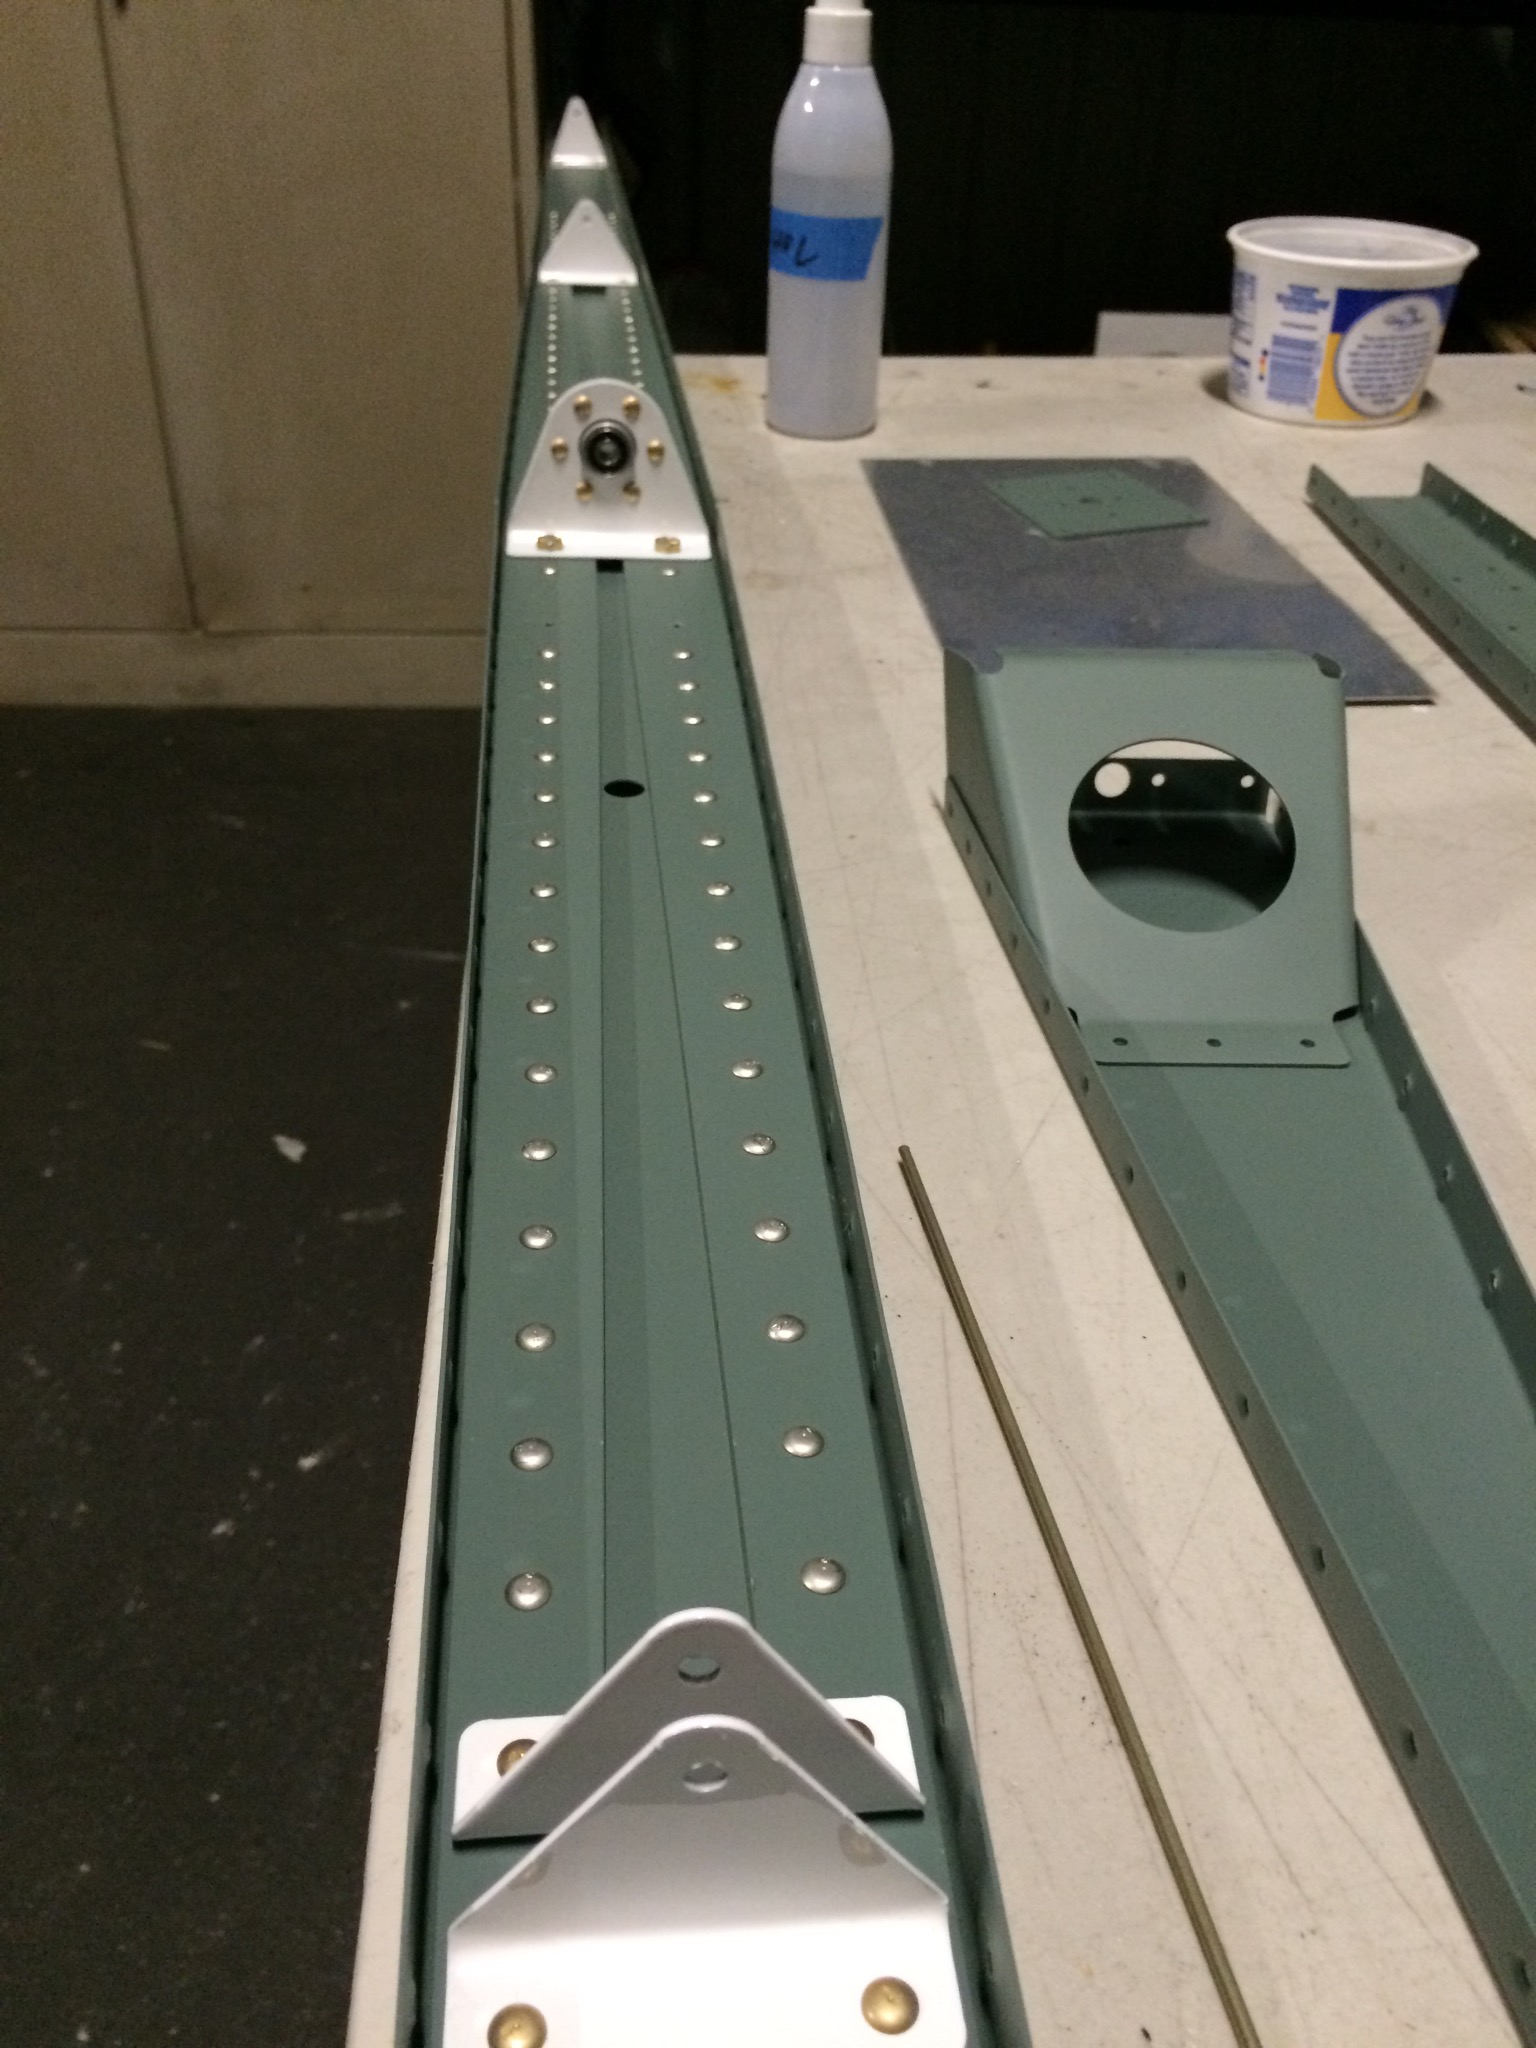
While I was waiting for a second set of hands to help with bucking rivets today, I started on the Vertical Stabilizer. Here is a shot of it while working my way from top to bottom.
Once help arrived and since we were on a roll, we decided to finish the Vertical Stabilizer instead of going back to the Horizontal. Here’s a shot of the Vertical almost before it was completed.
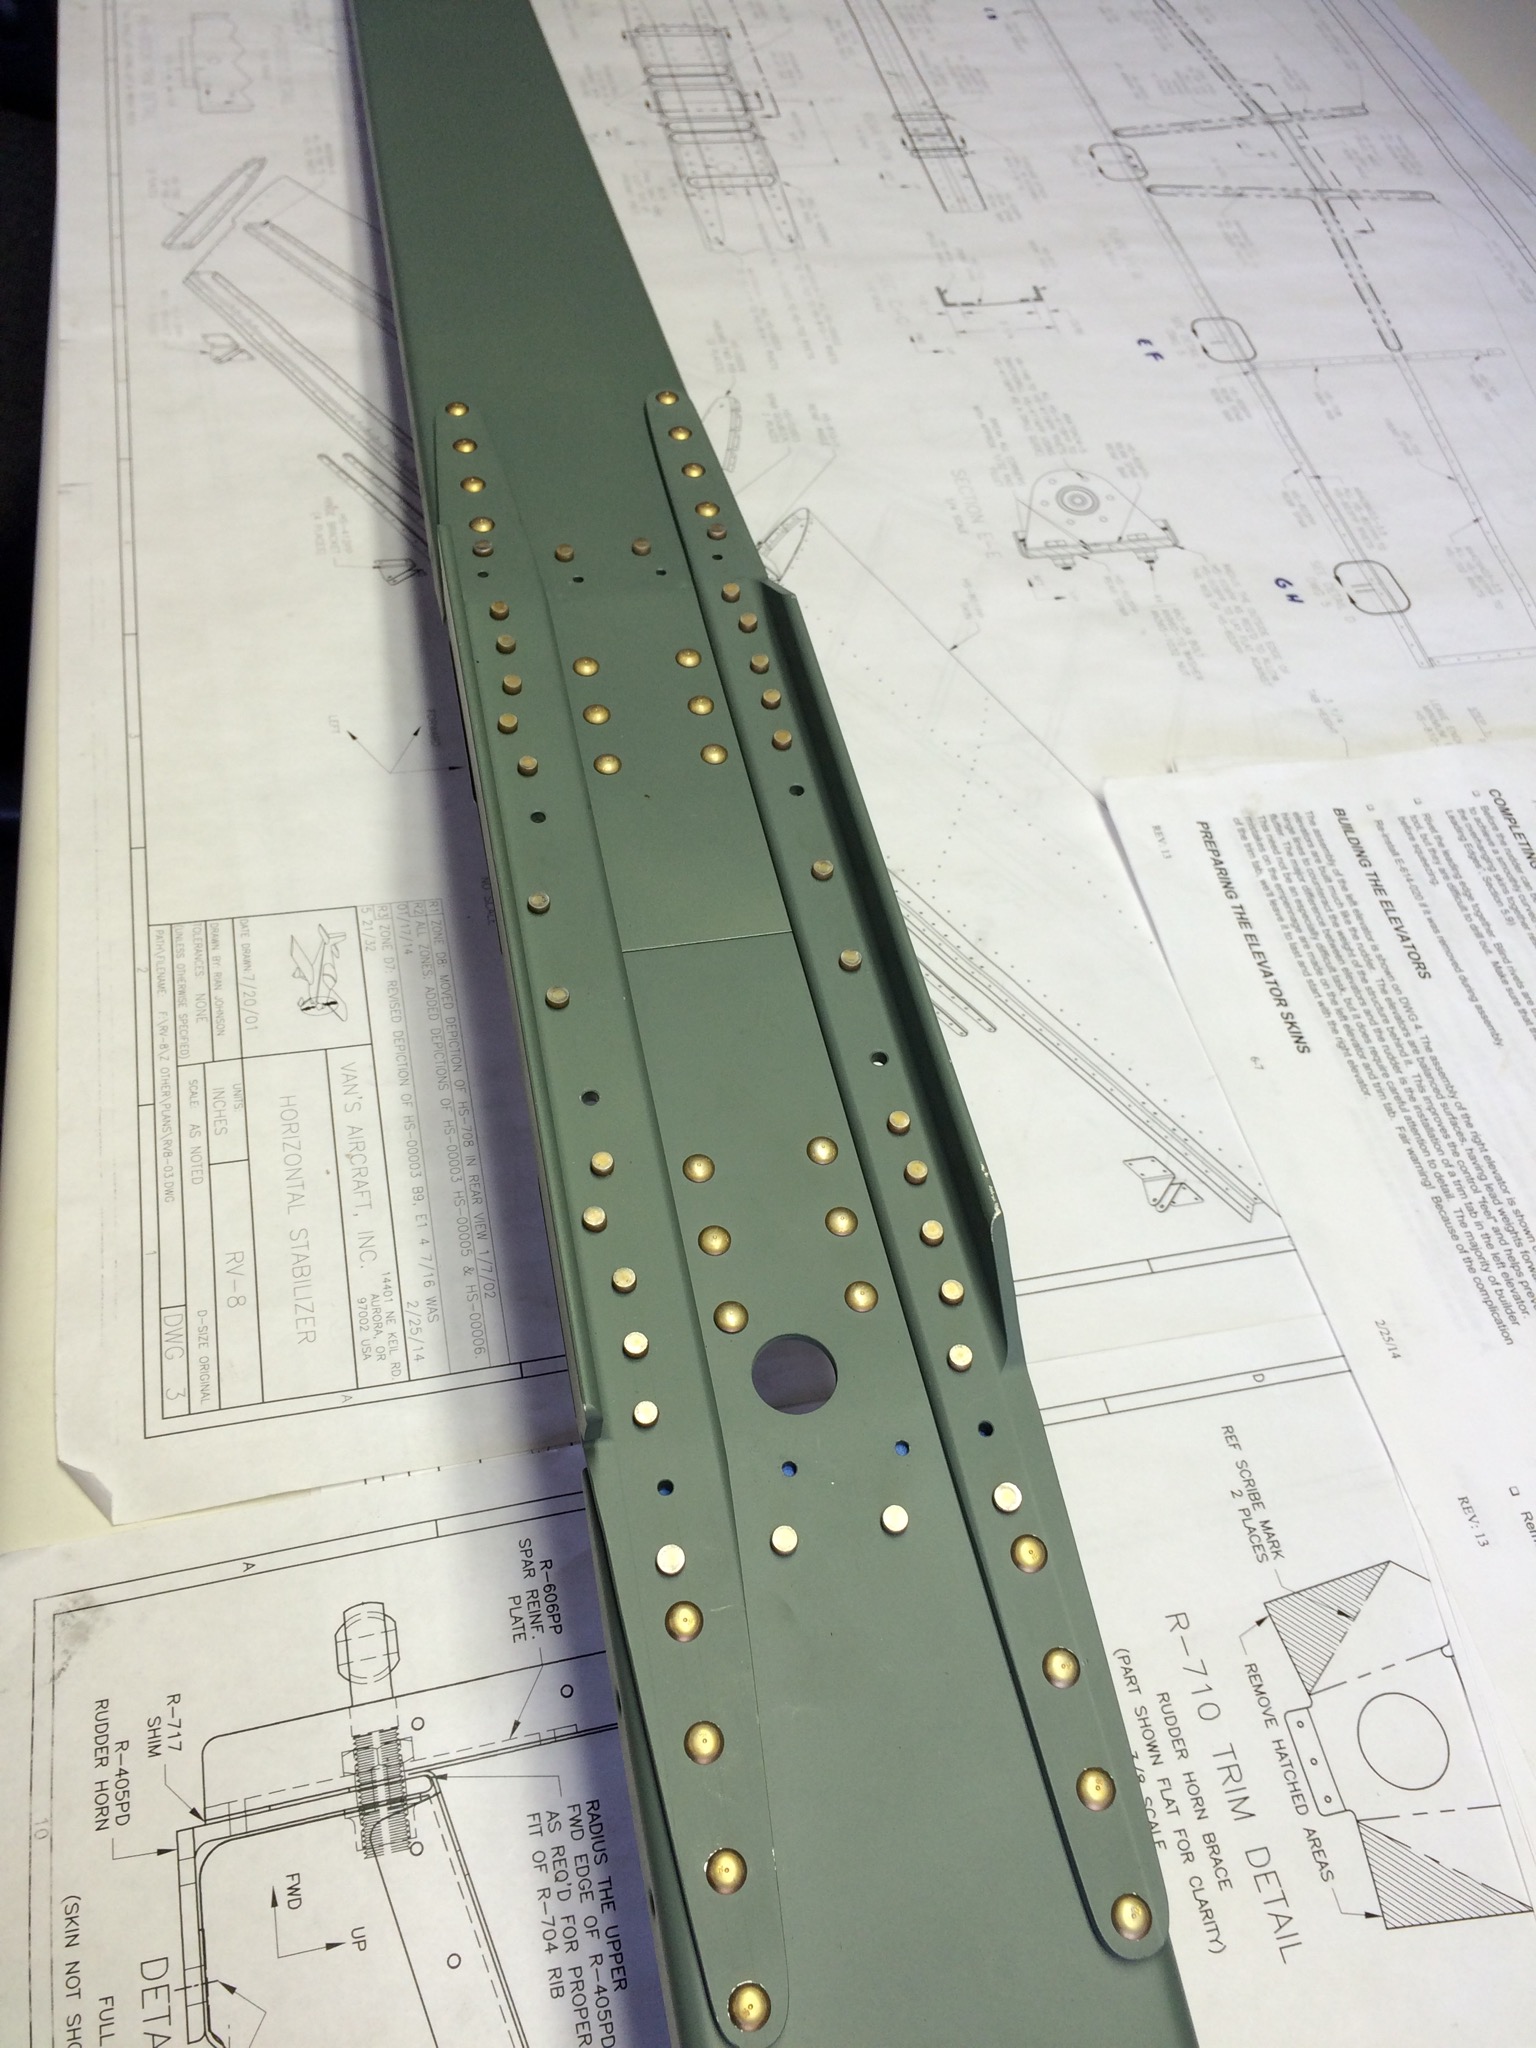
Finished up riveting the Horizontal’s spars, before I moved onto riveting on the Left side skins.
While I was waiting for an extra set of hands, I started to rivet together the Rudder skeleton.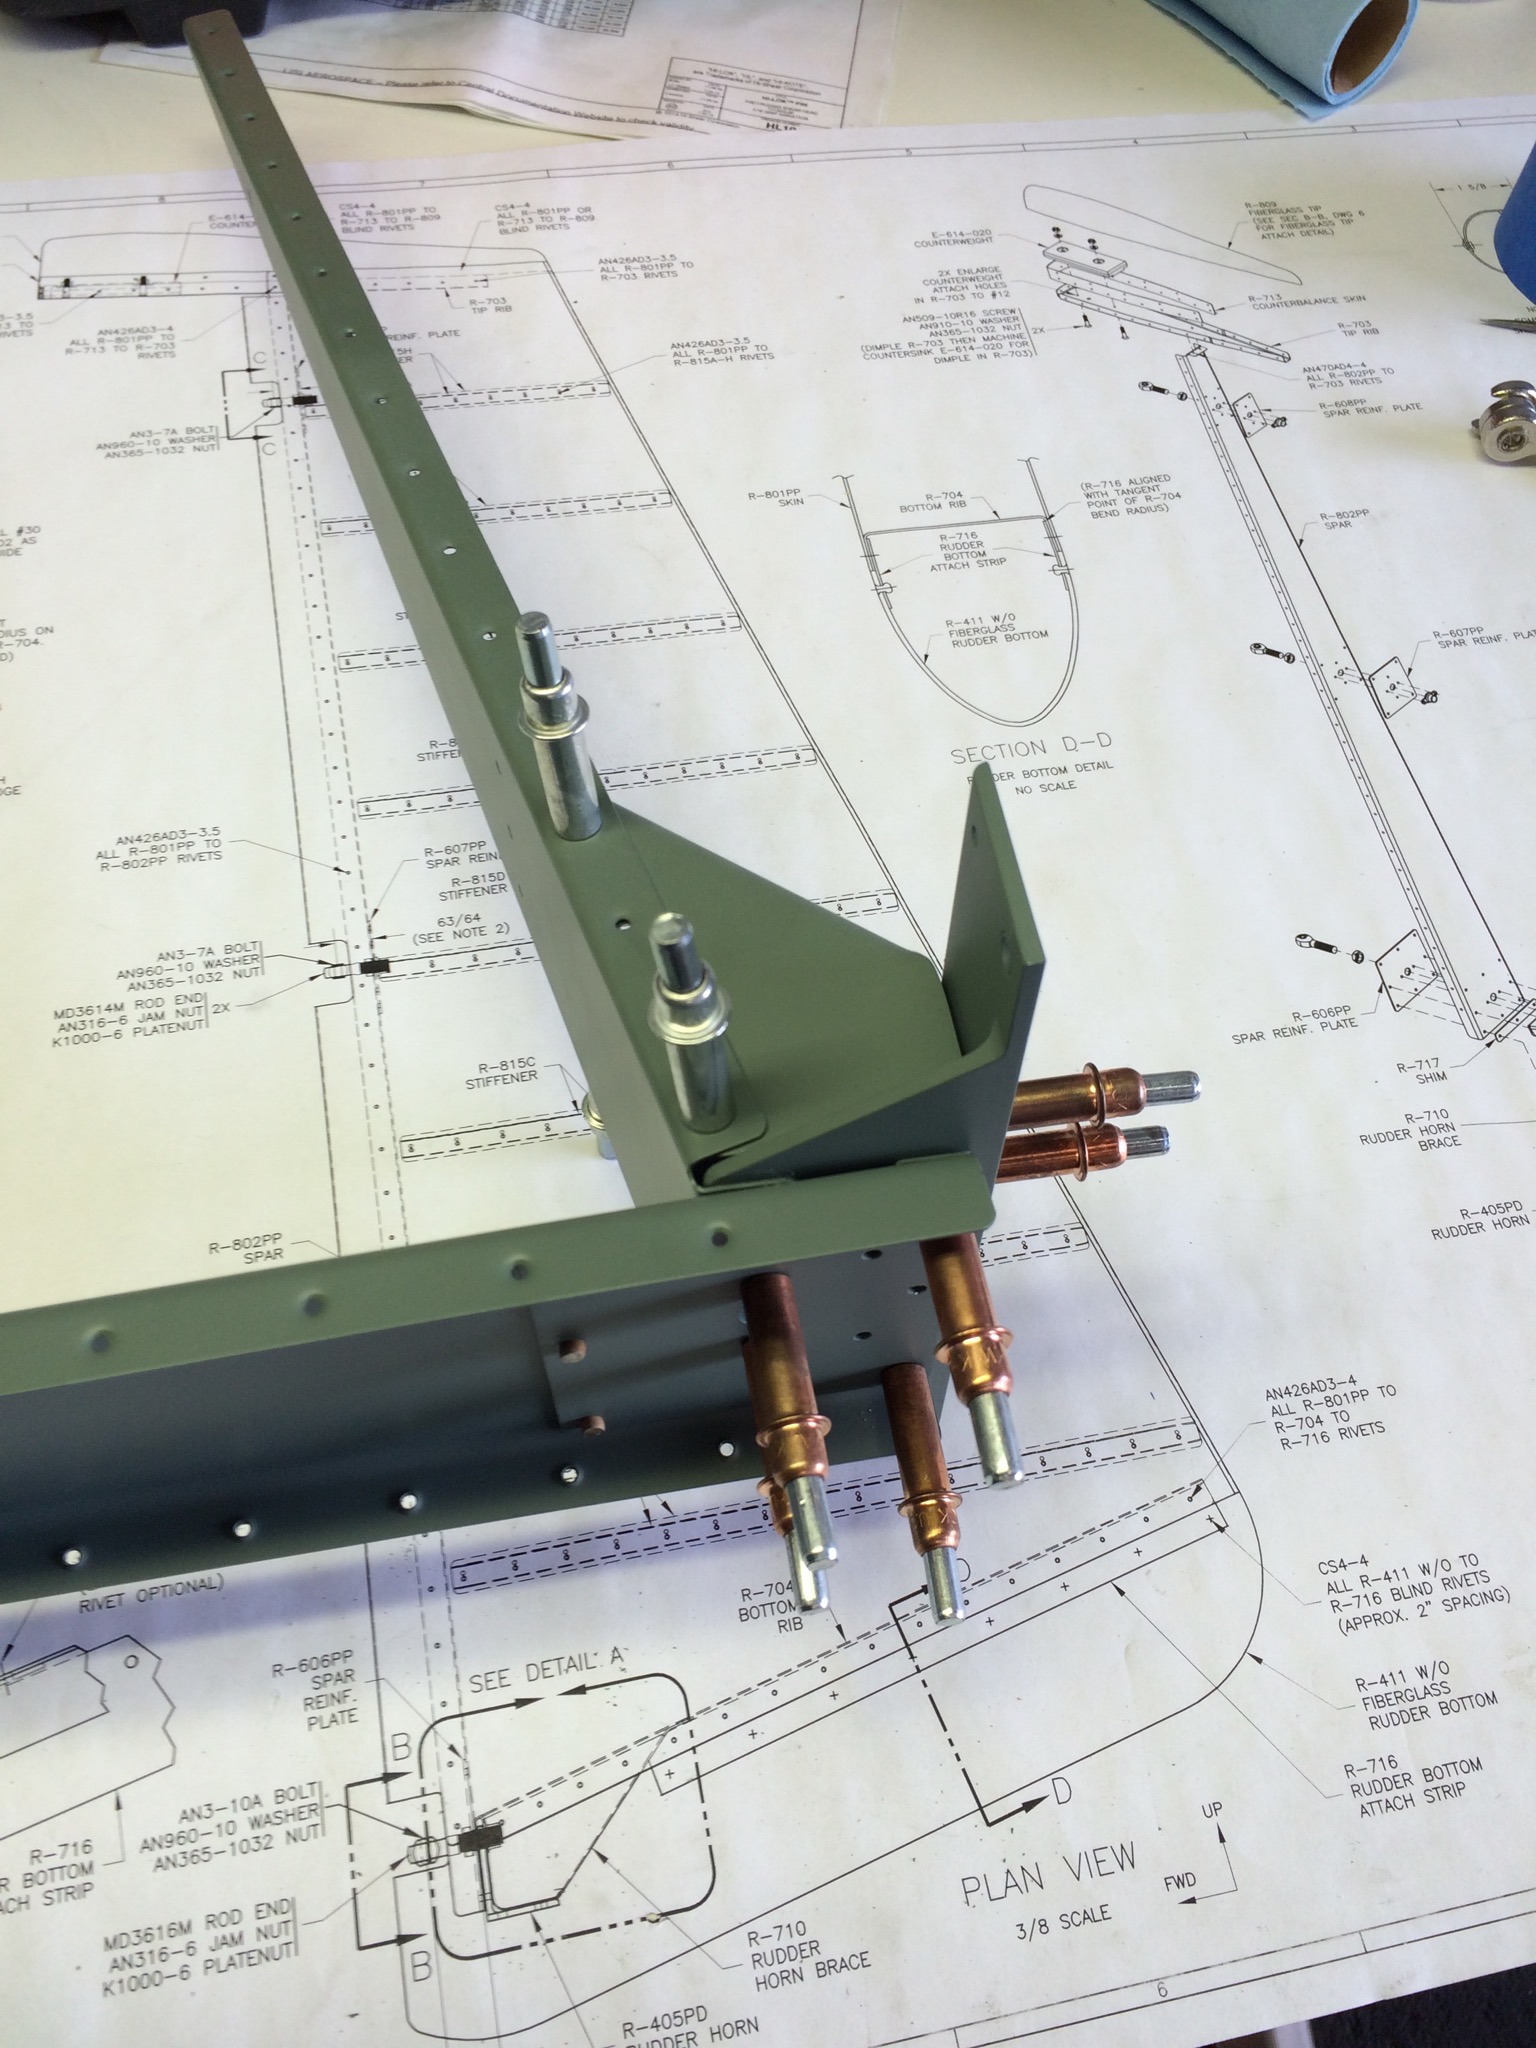
The instructions give you the option to use a blind rivet on the Rudder horn, but I opted to squeeze them. I had to put the shop head on the outside, but they came out pretty good.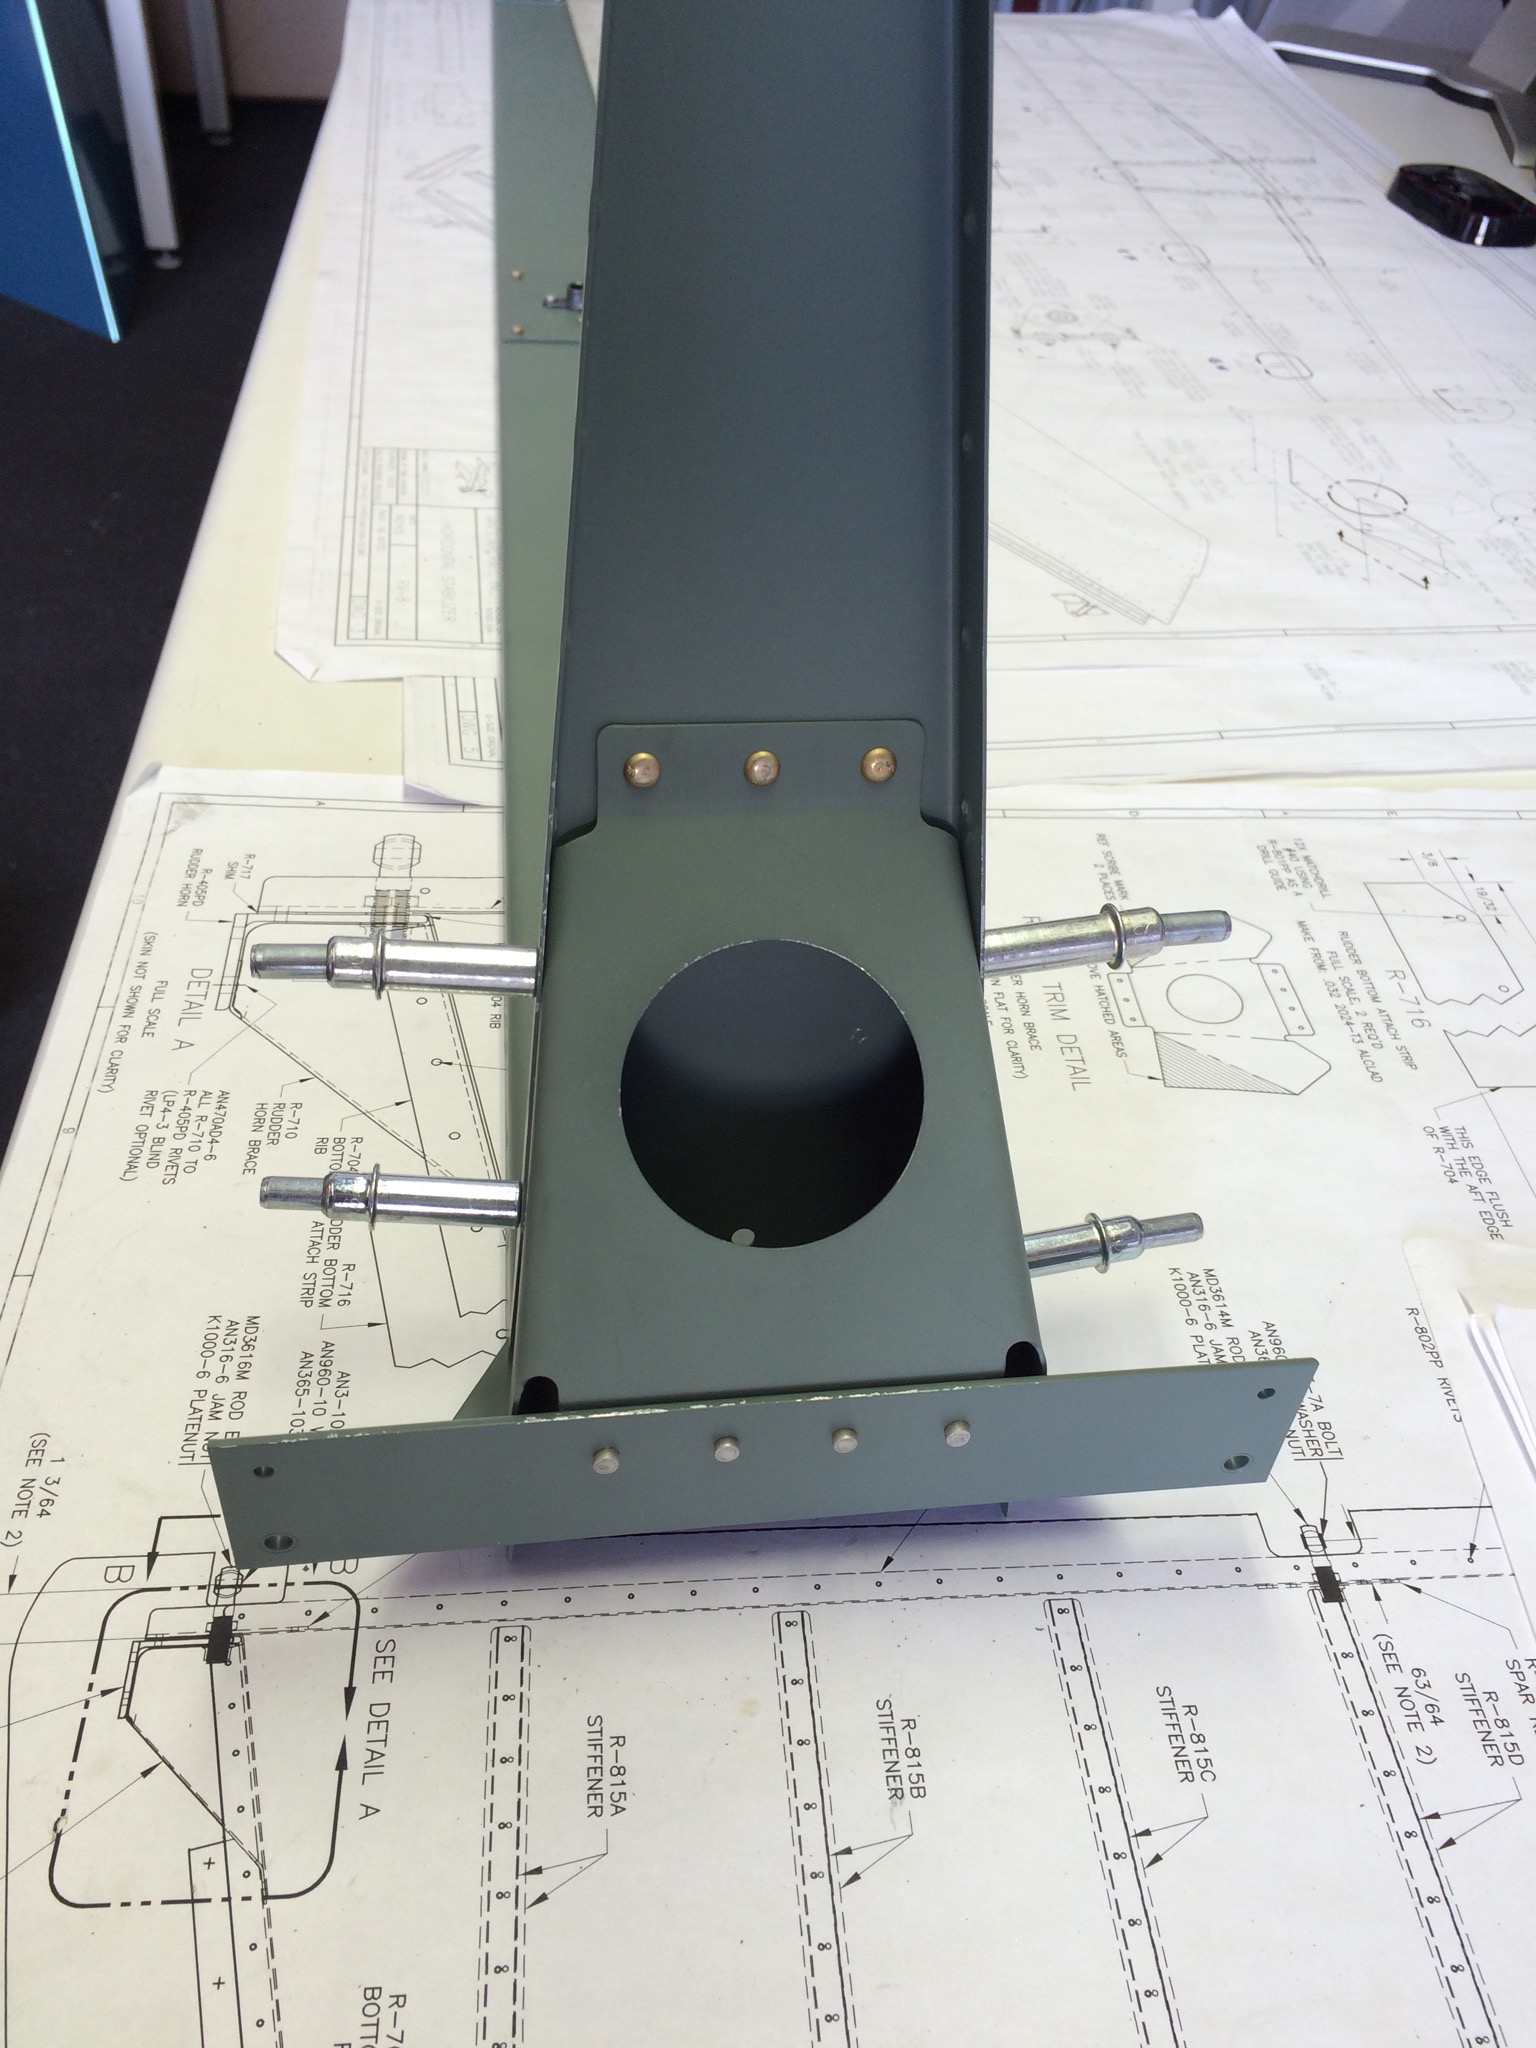
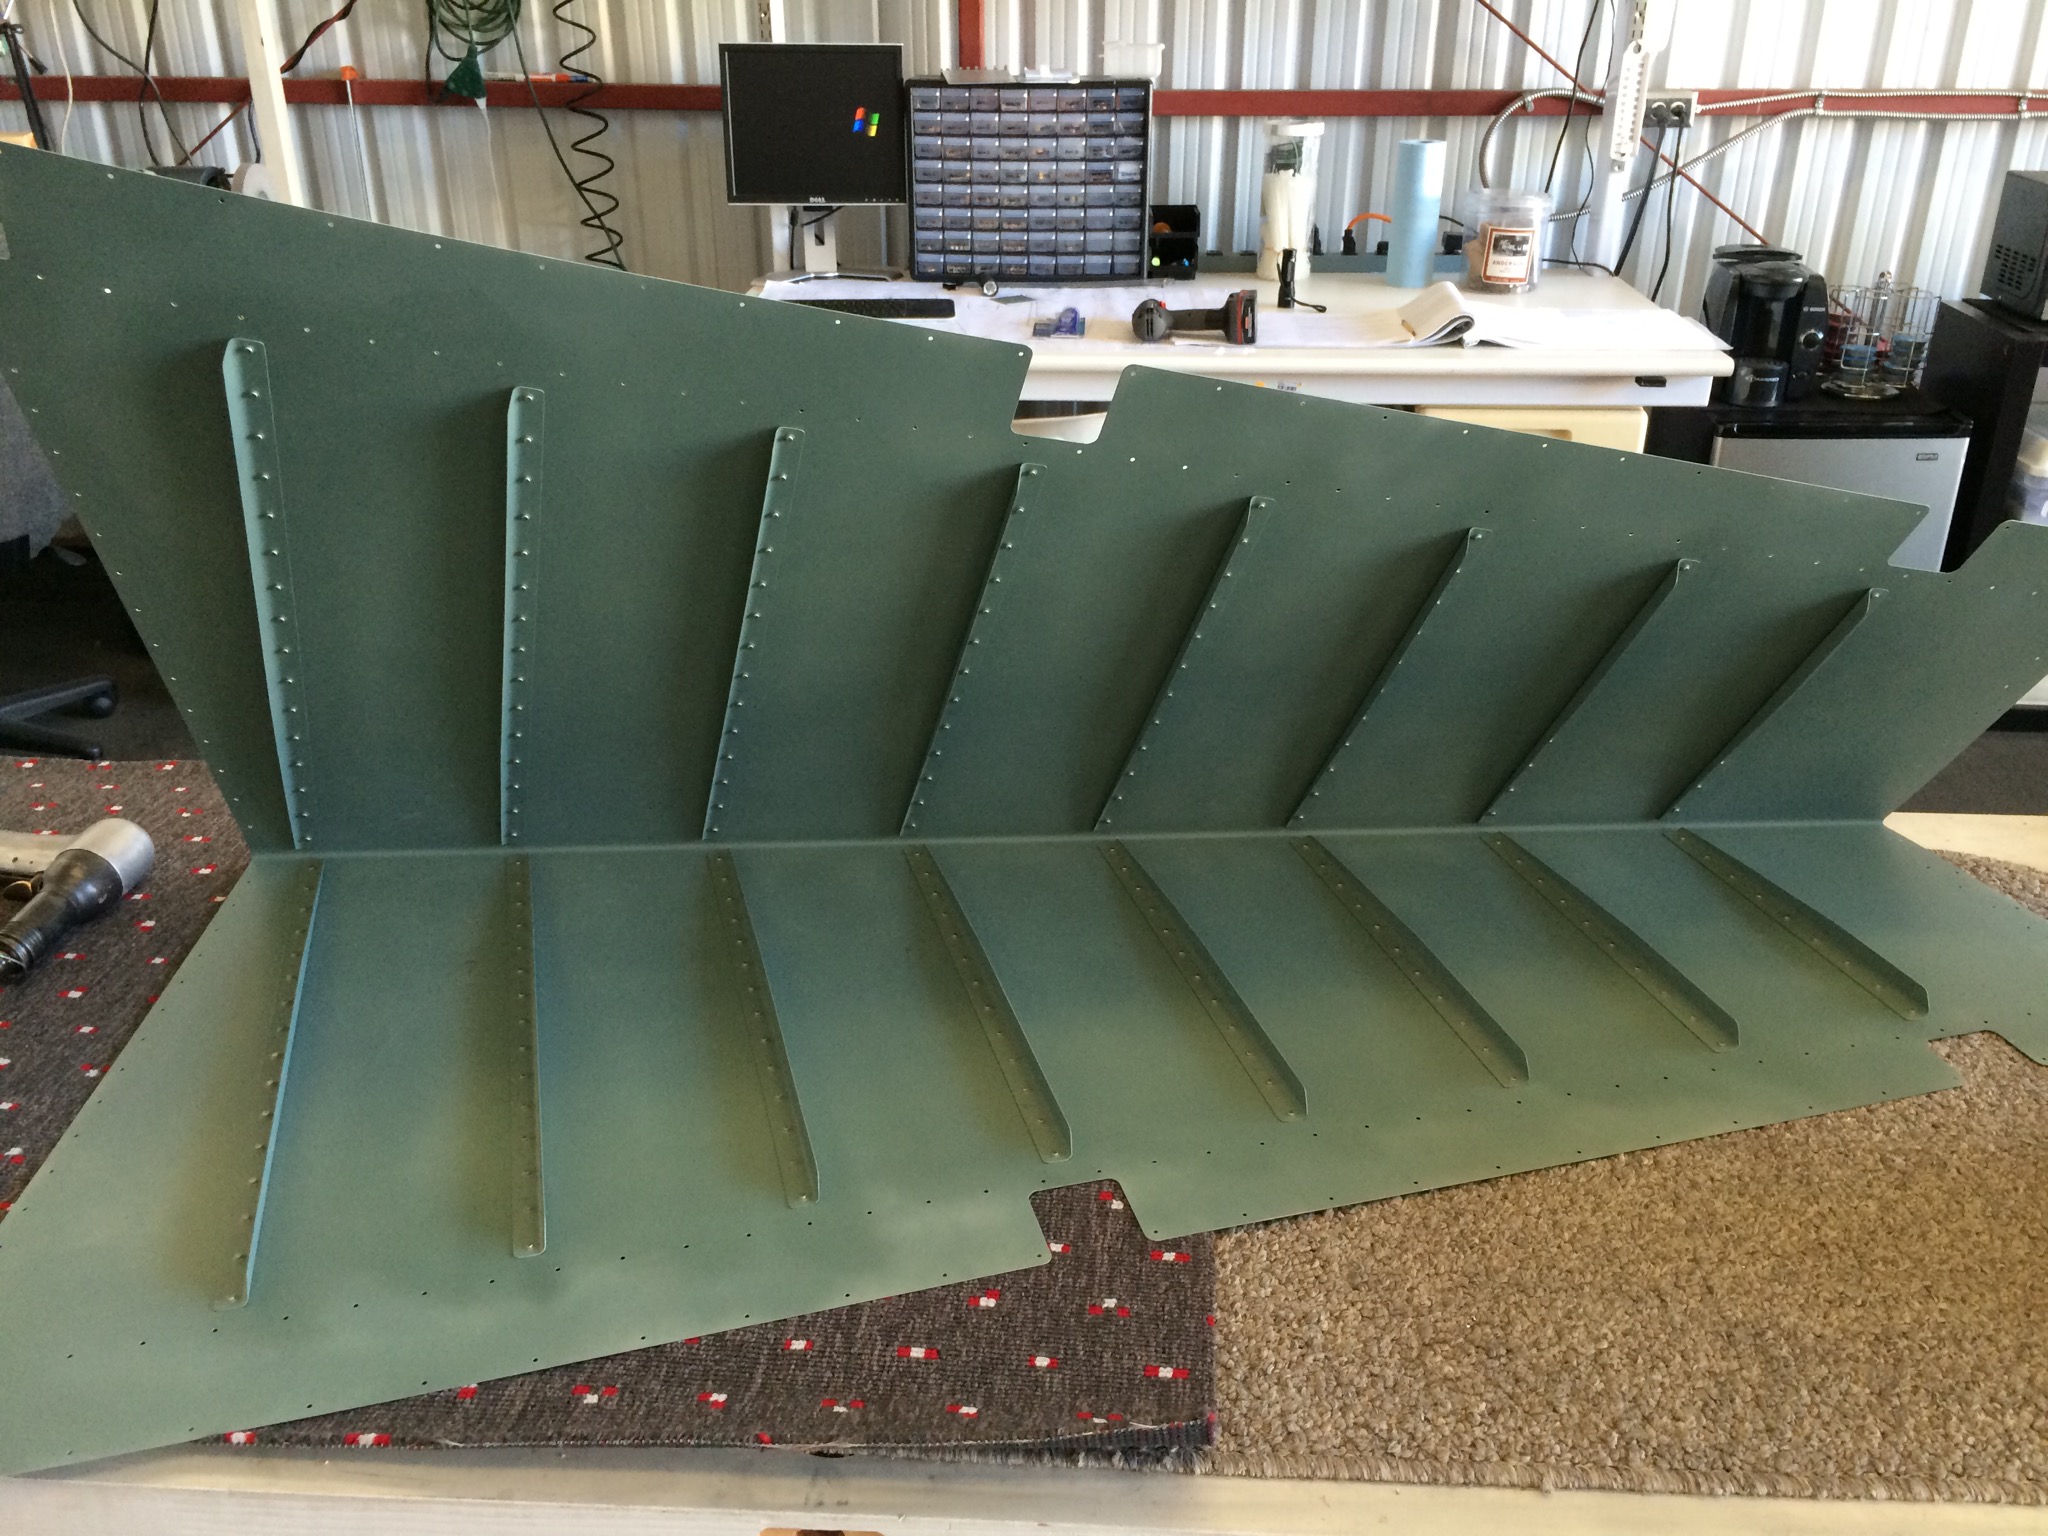
The Horizontal skeleton ready for the first skin: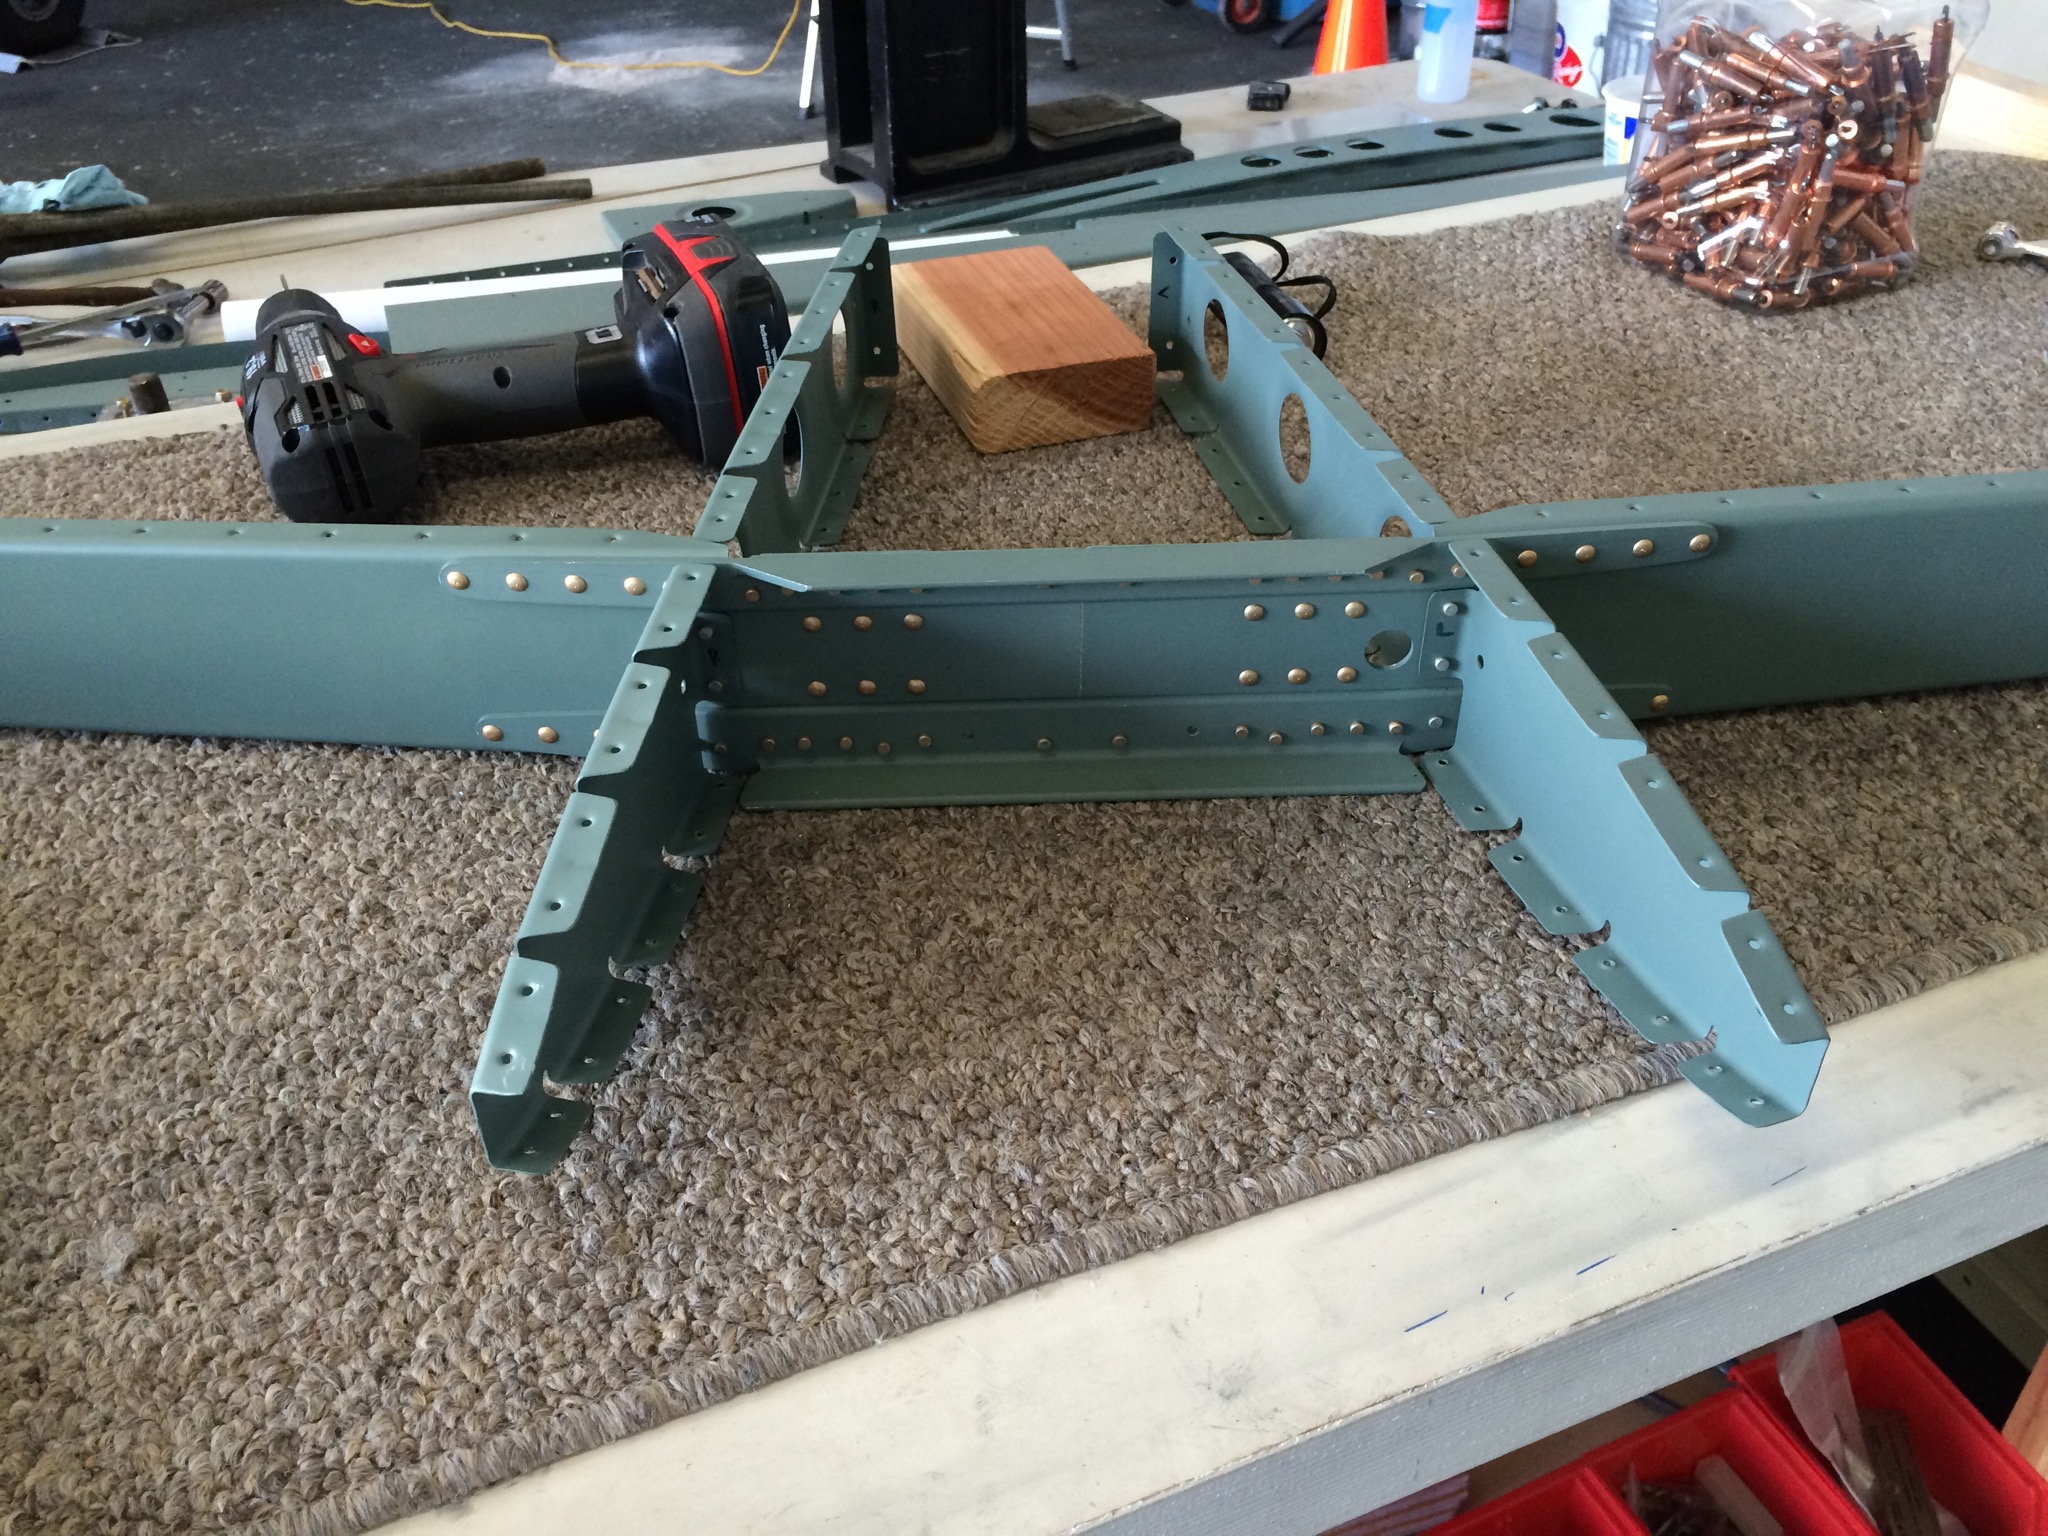
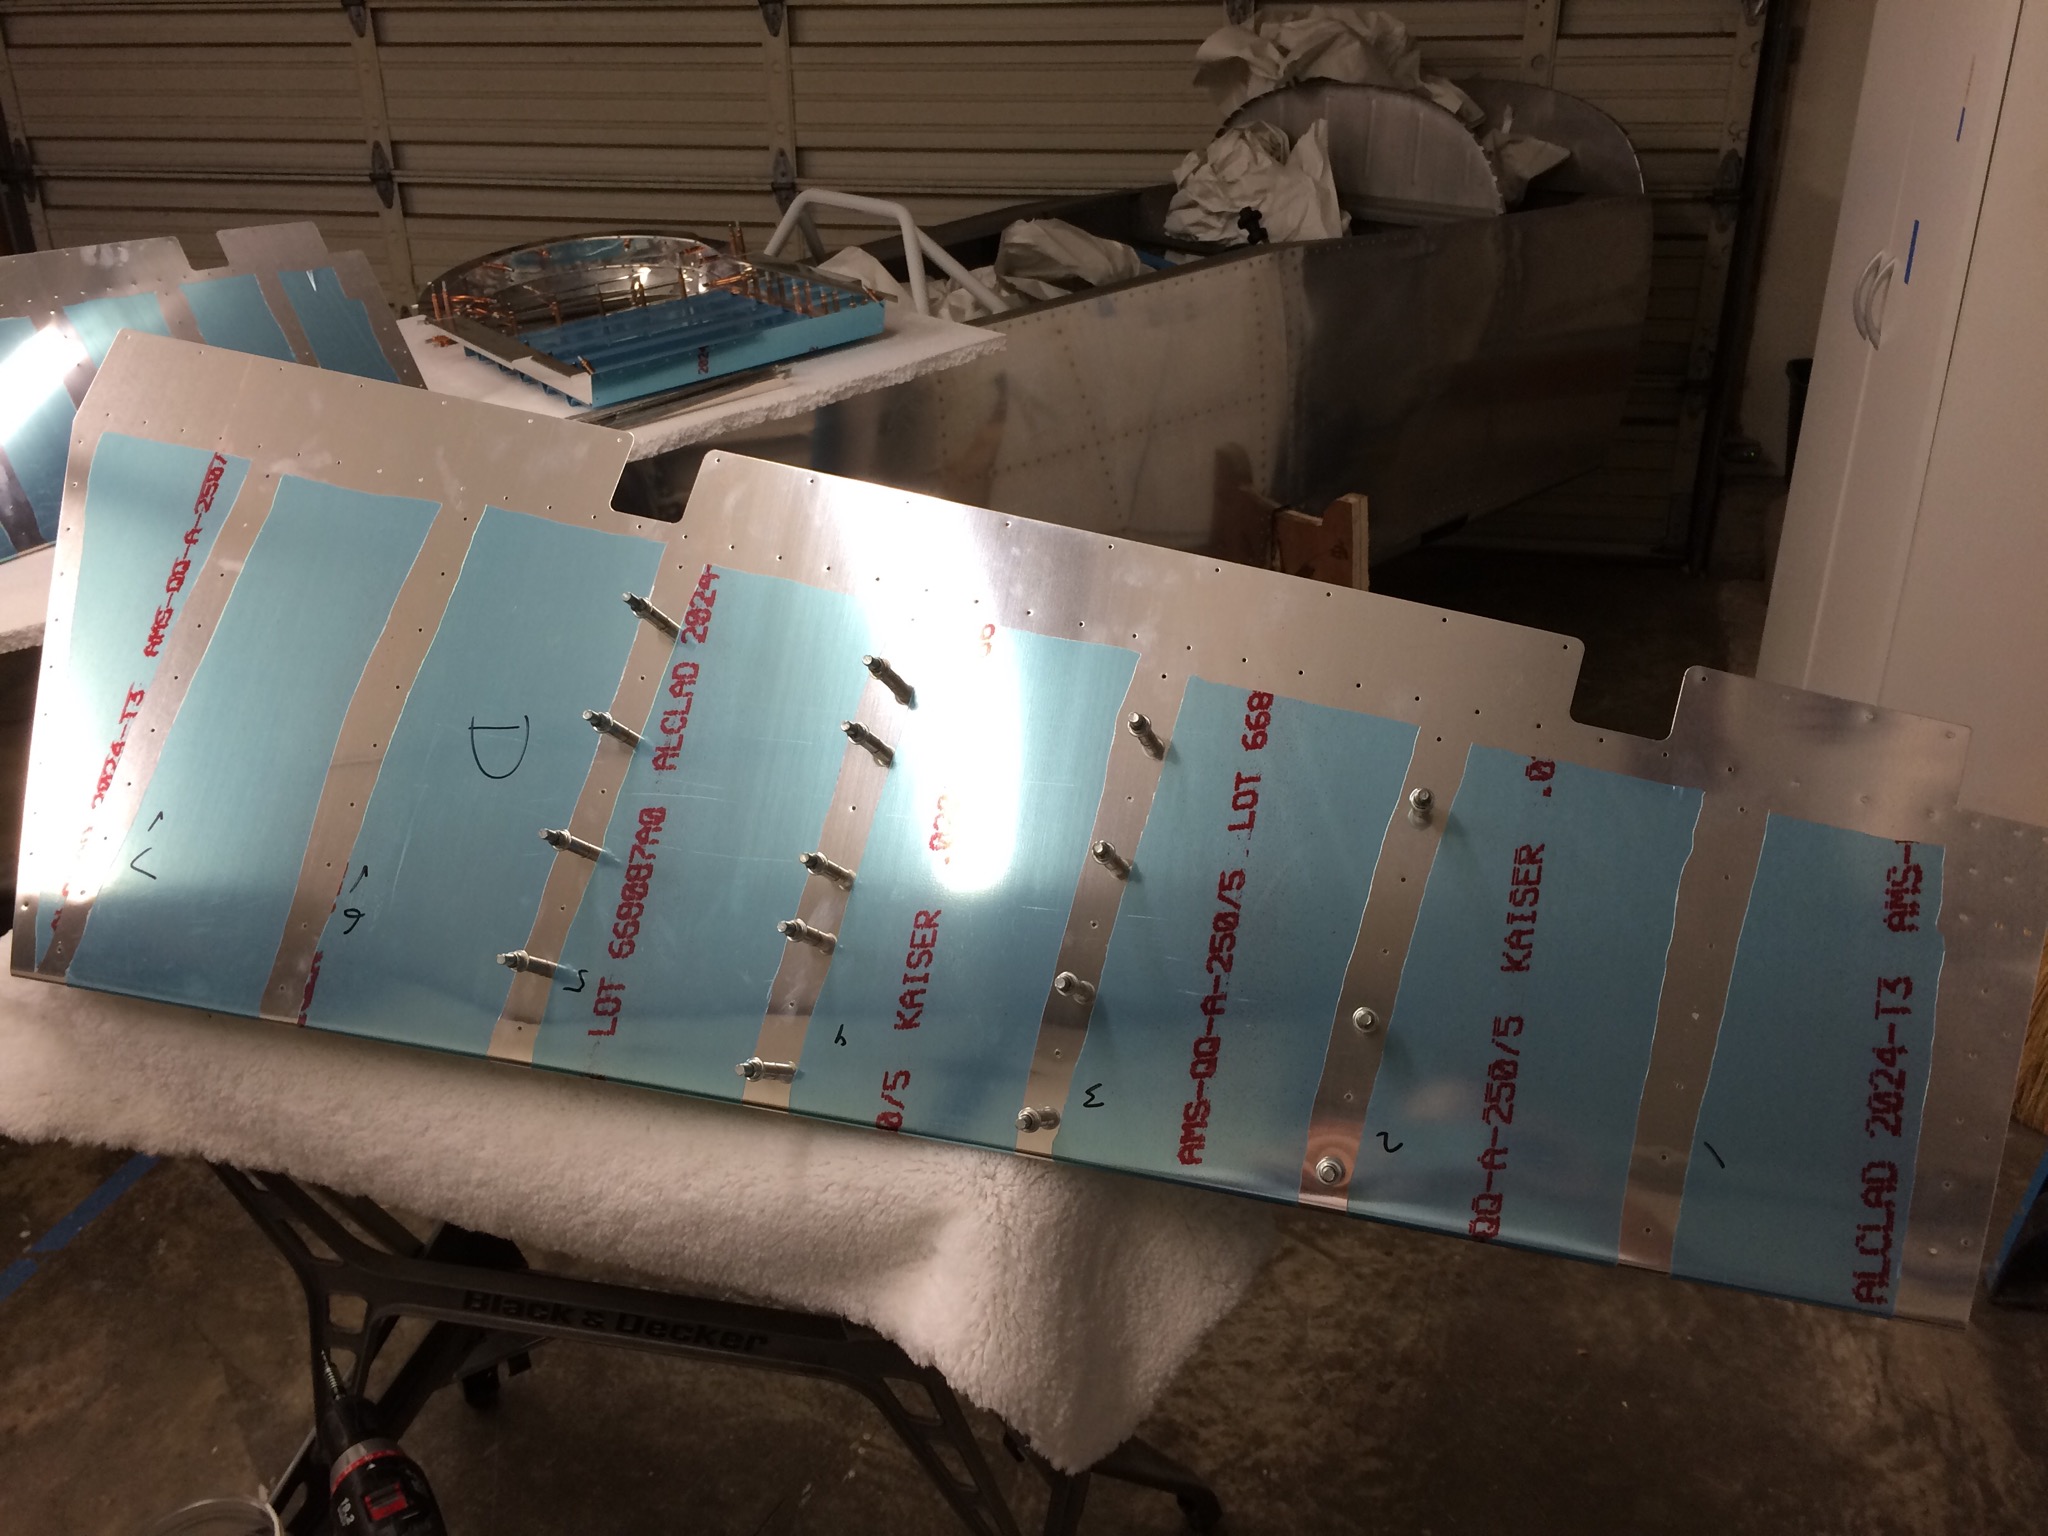
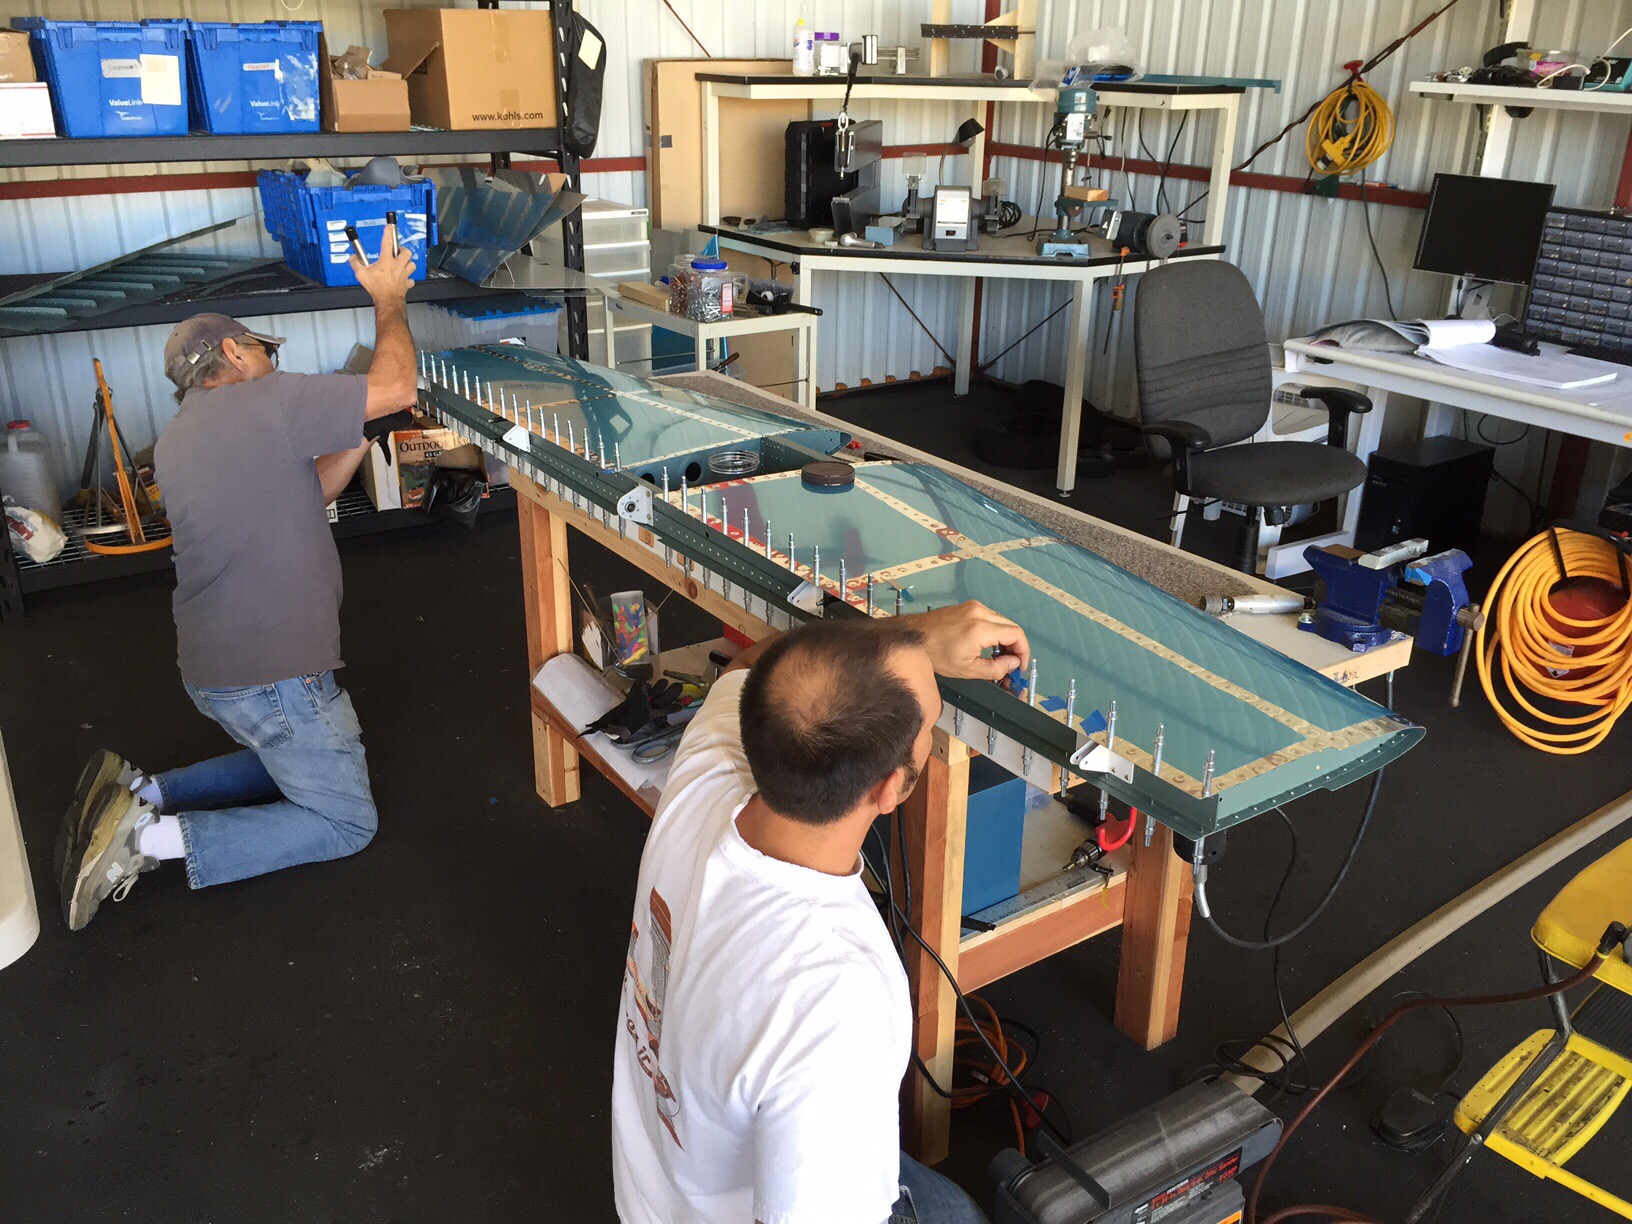
Once my extra set of hands showed up, we started to put the left Horizontal skin on.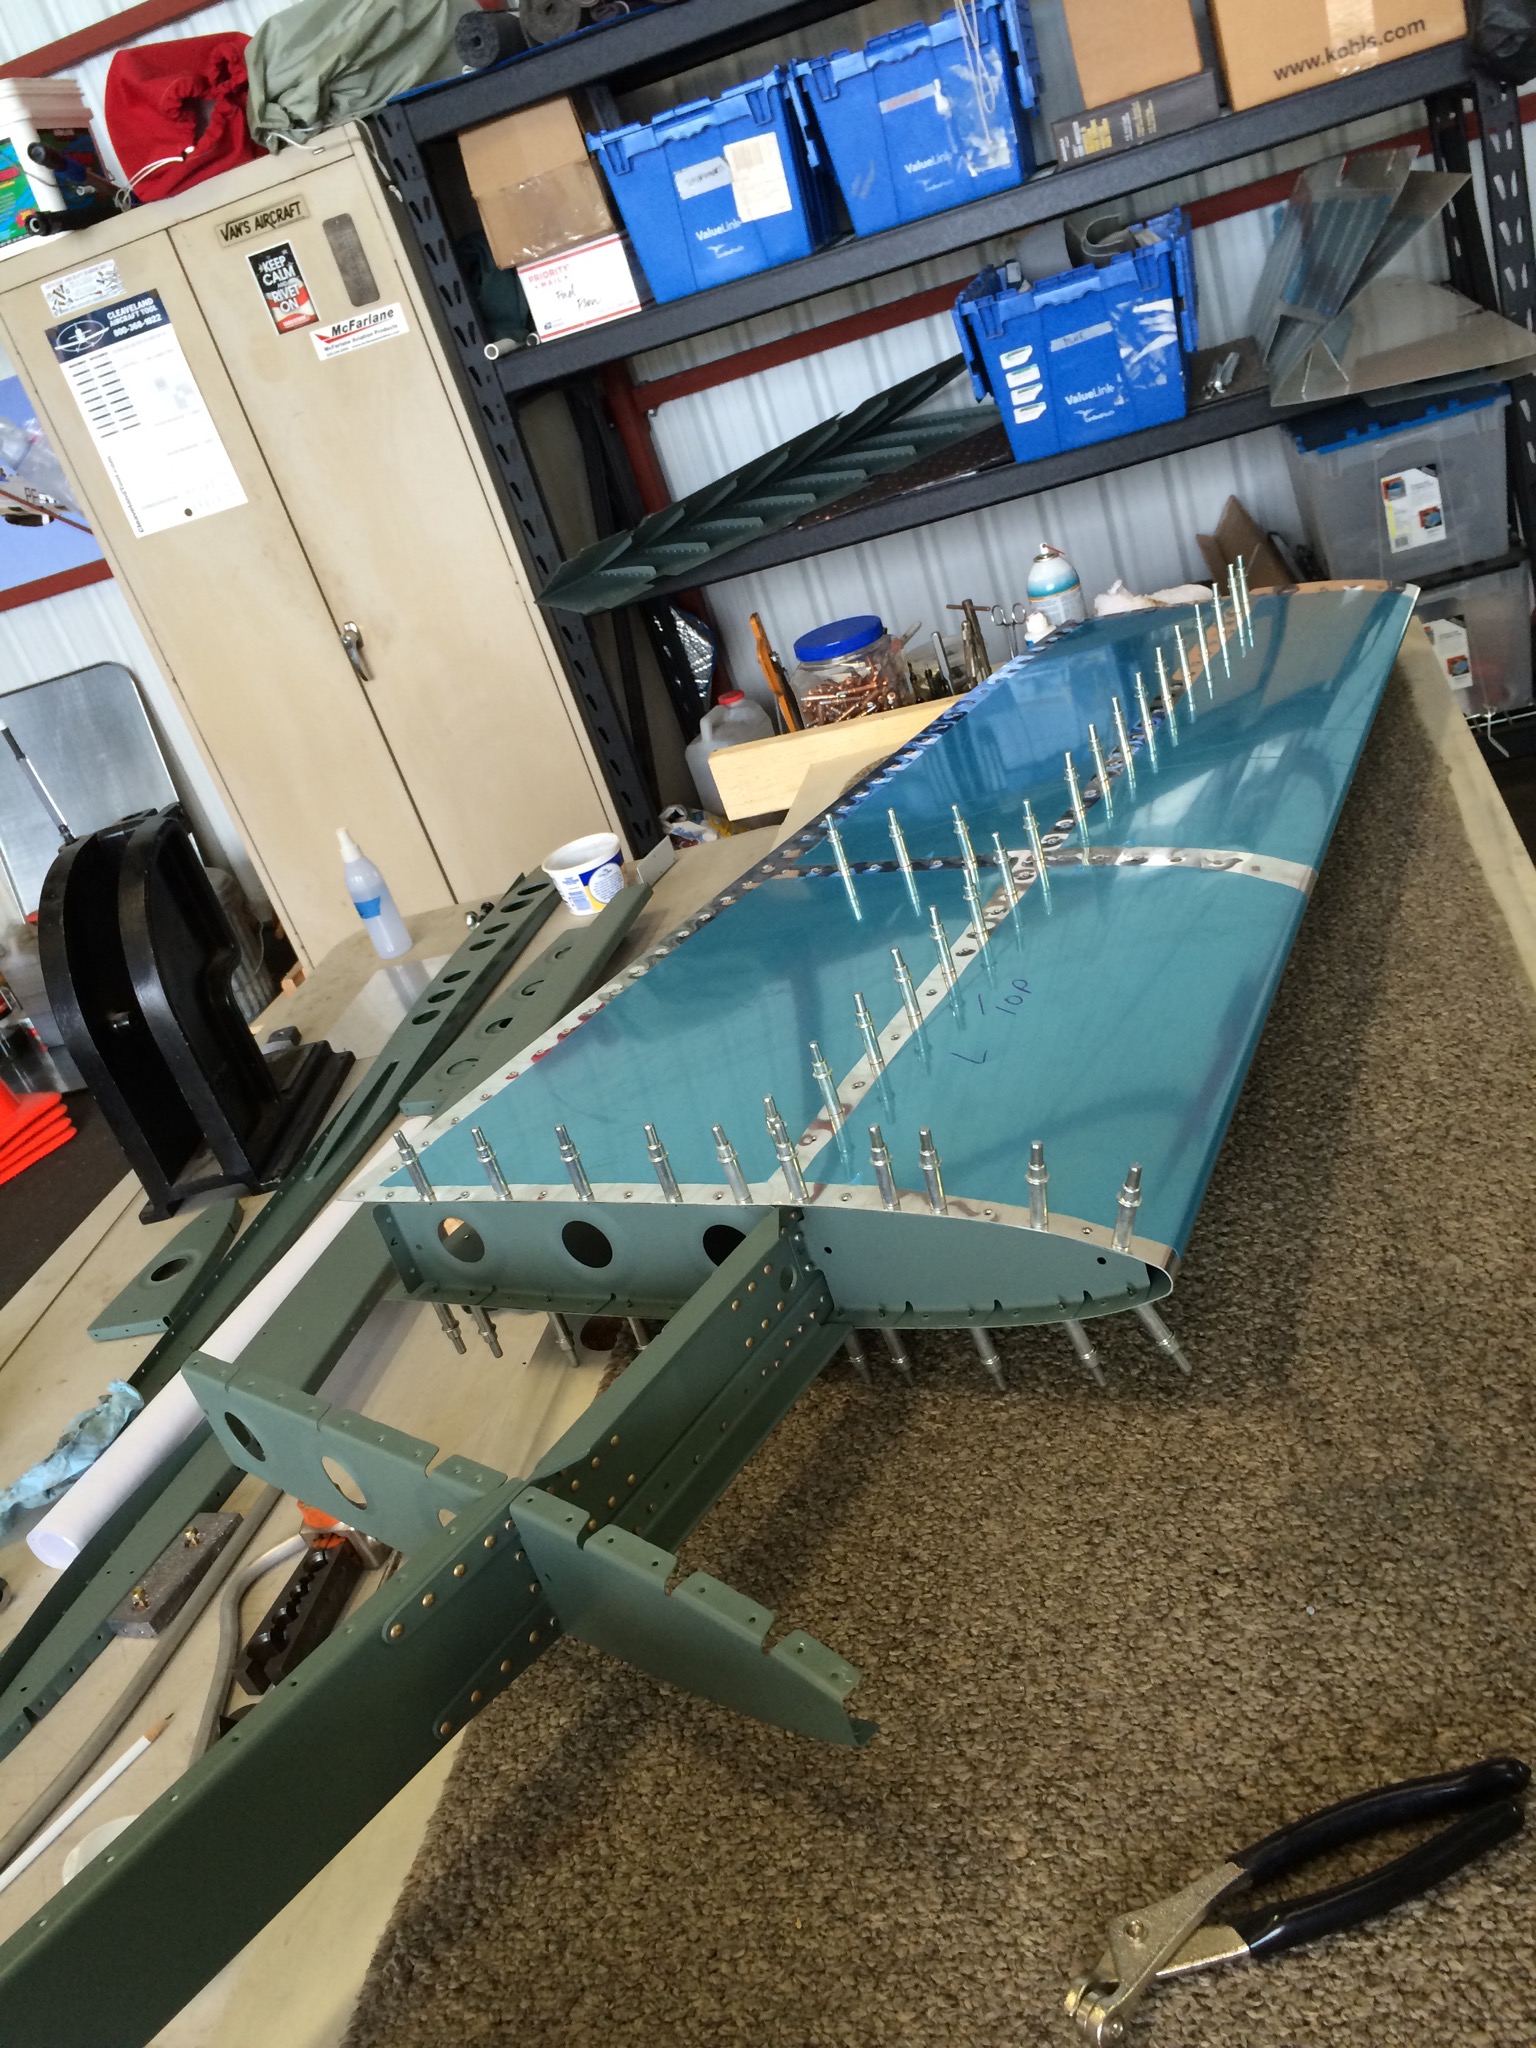
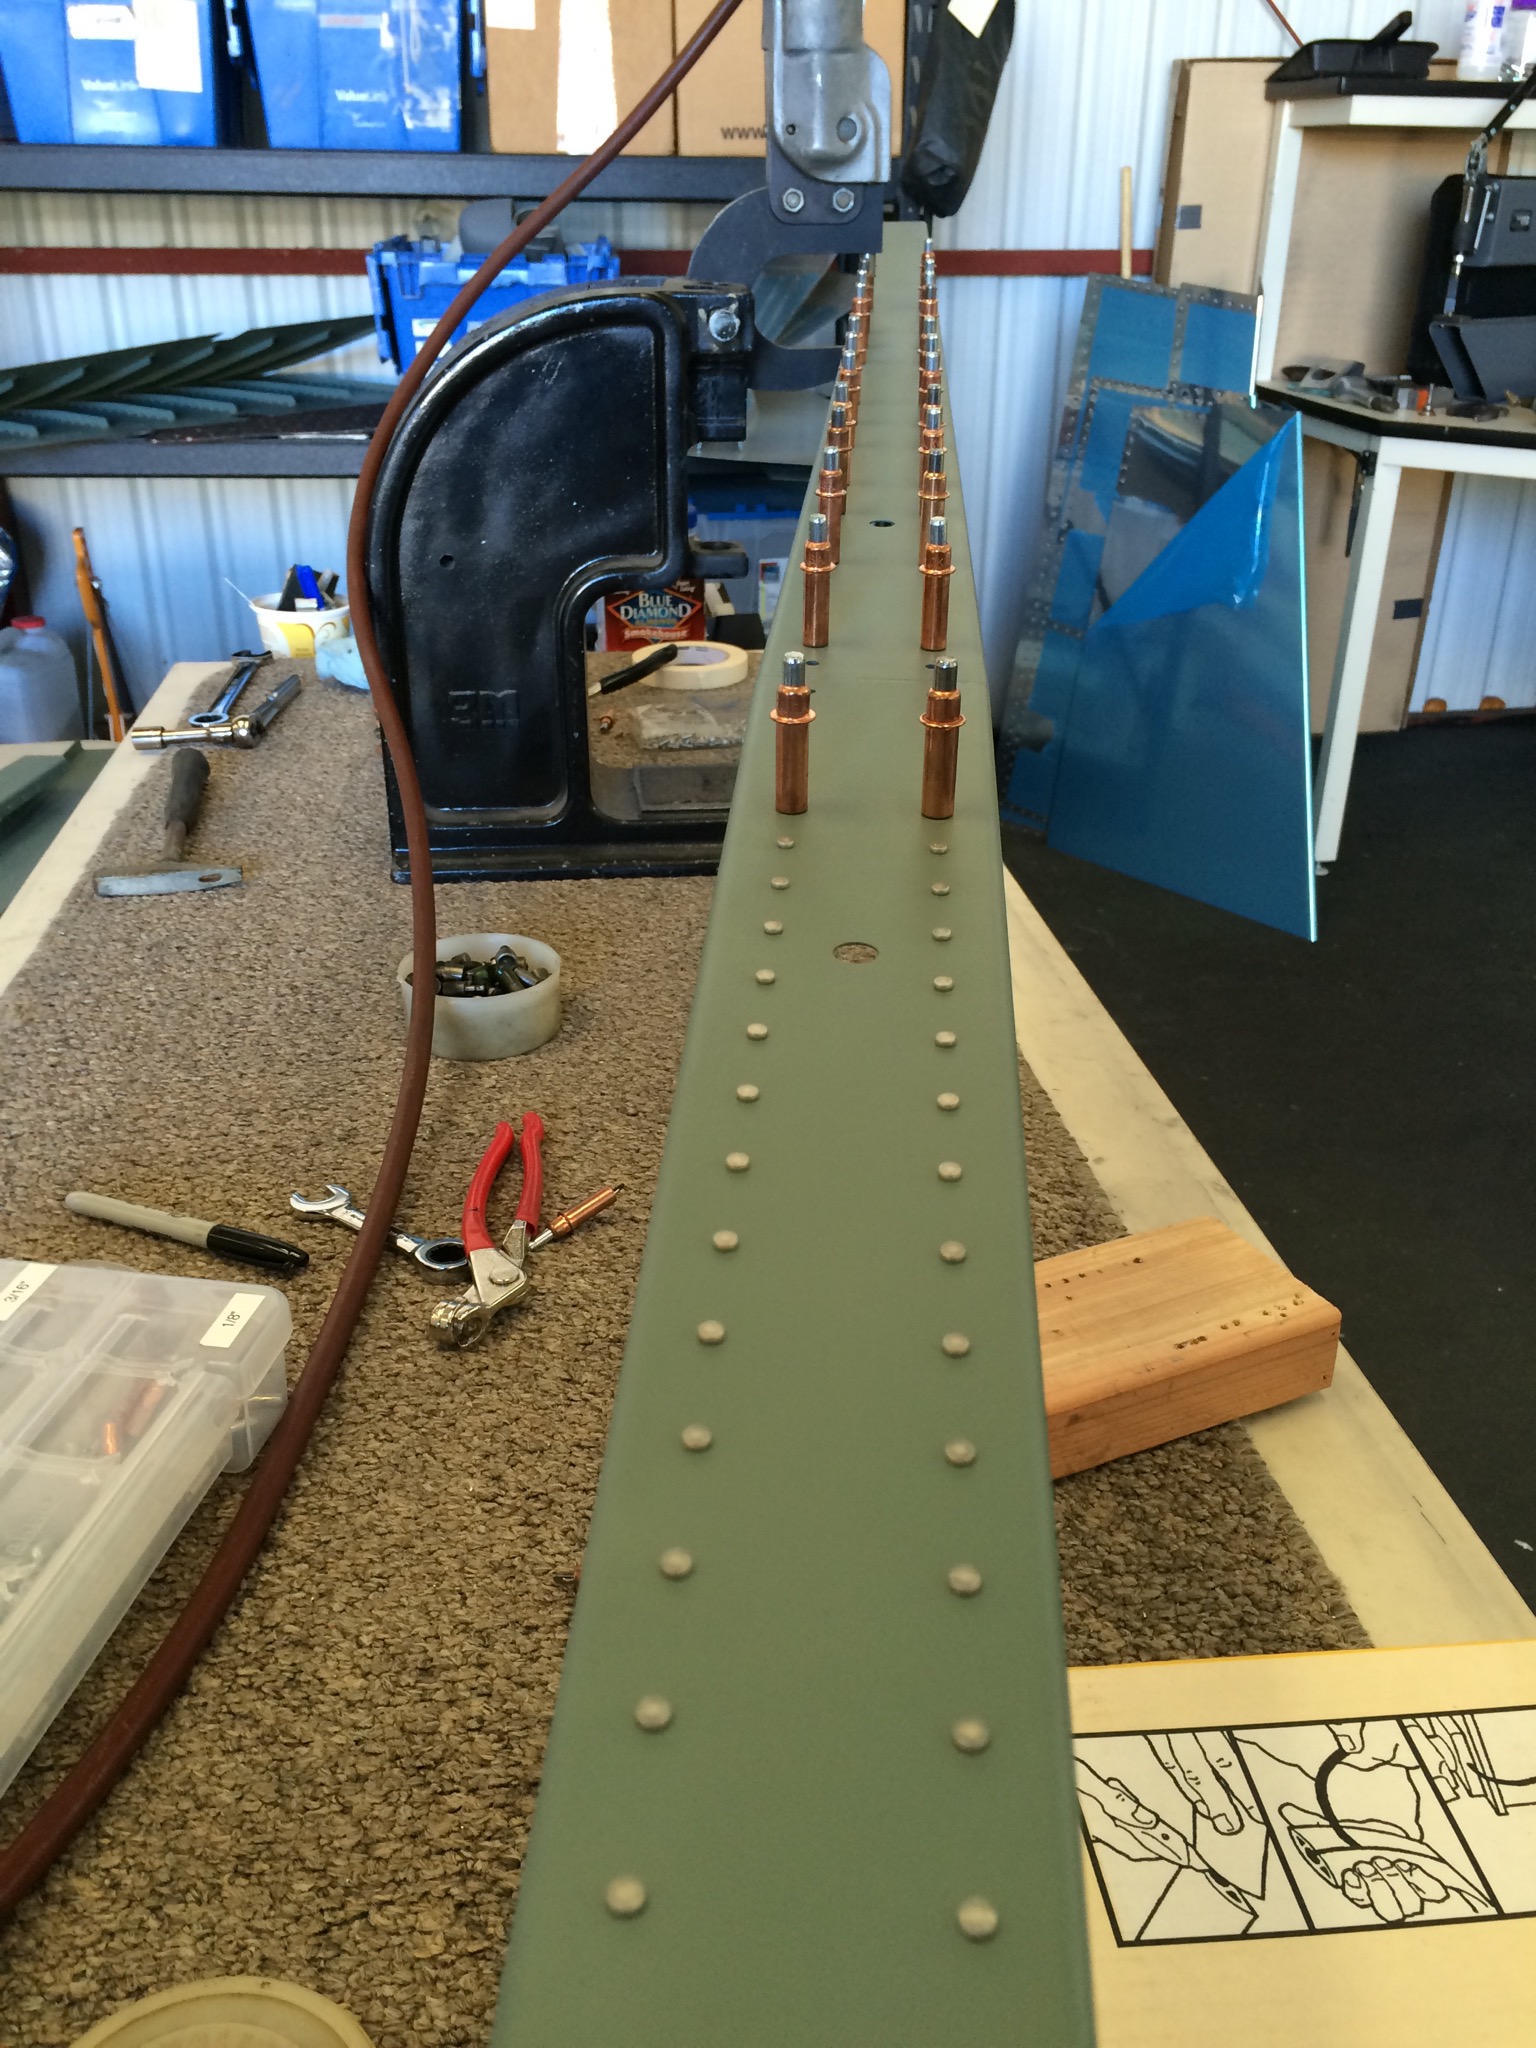
Finally back at it after almost a month away. Spent all of the effort today riveting the Horizontal Stabilizer together.
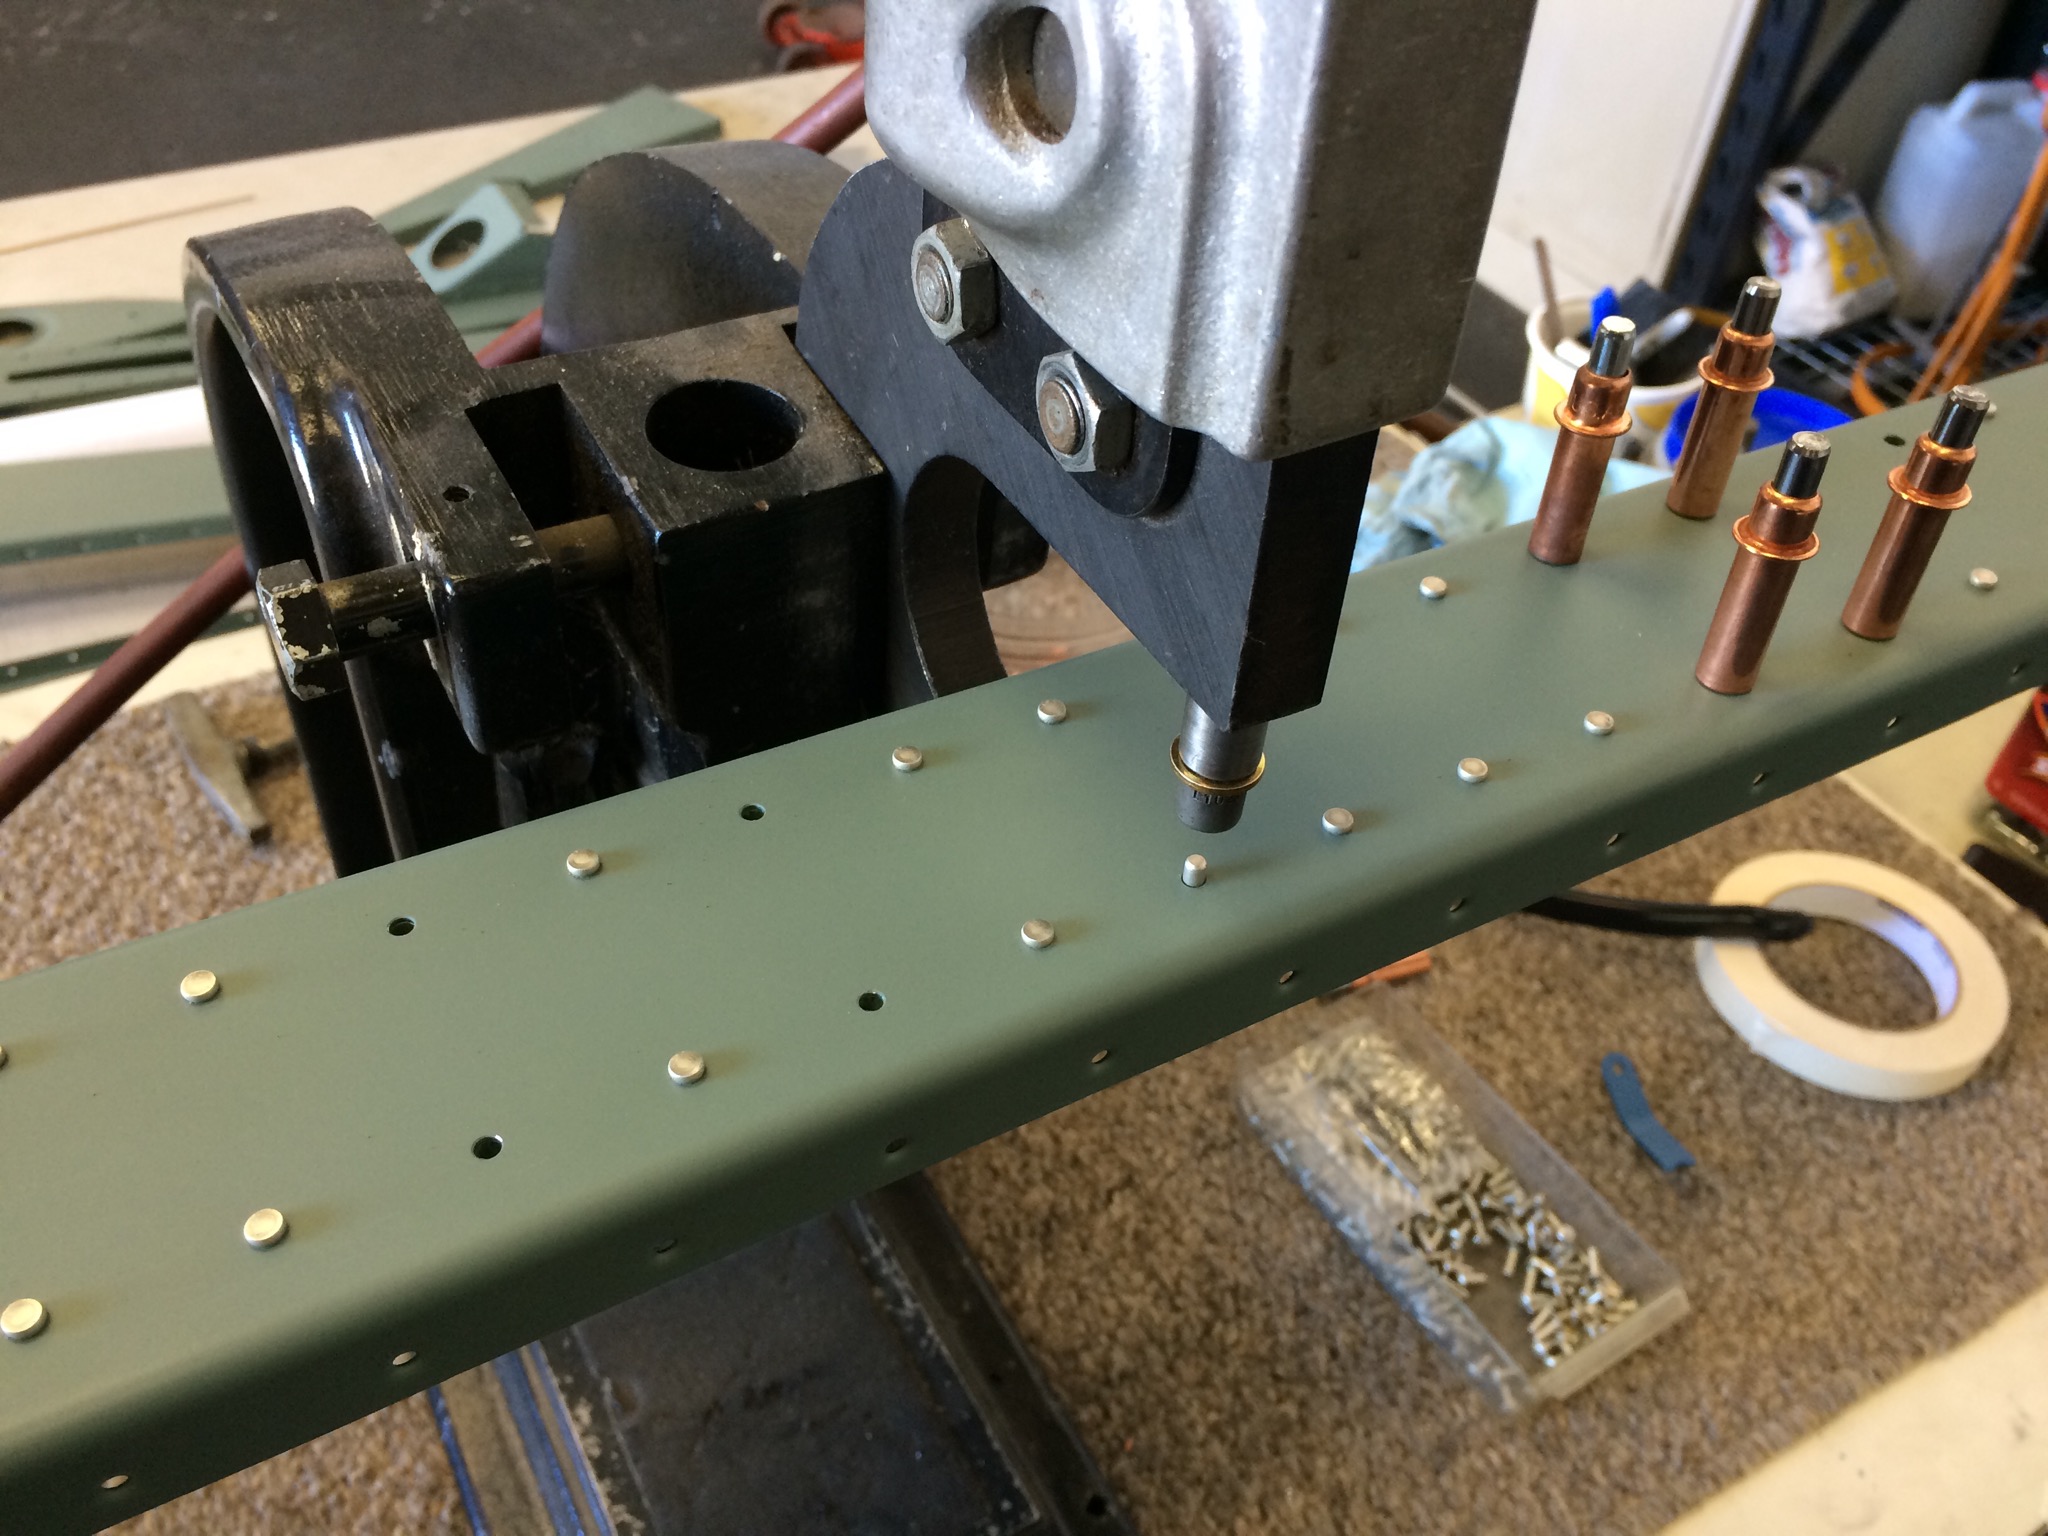
About to set a rivet:
One side done:
Finished back riveting the Rudder skin today. Here are both sides of stiffeners in place:
Took quite a bit of extra time to check every shop head..
Started to bend the rudder today with our home made brake, but we haven’t been able to get it down close to where it should be. Need to do some more research and get back at it.
Spent most of the day riveting the rudder together.
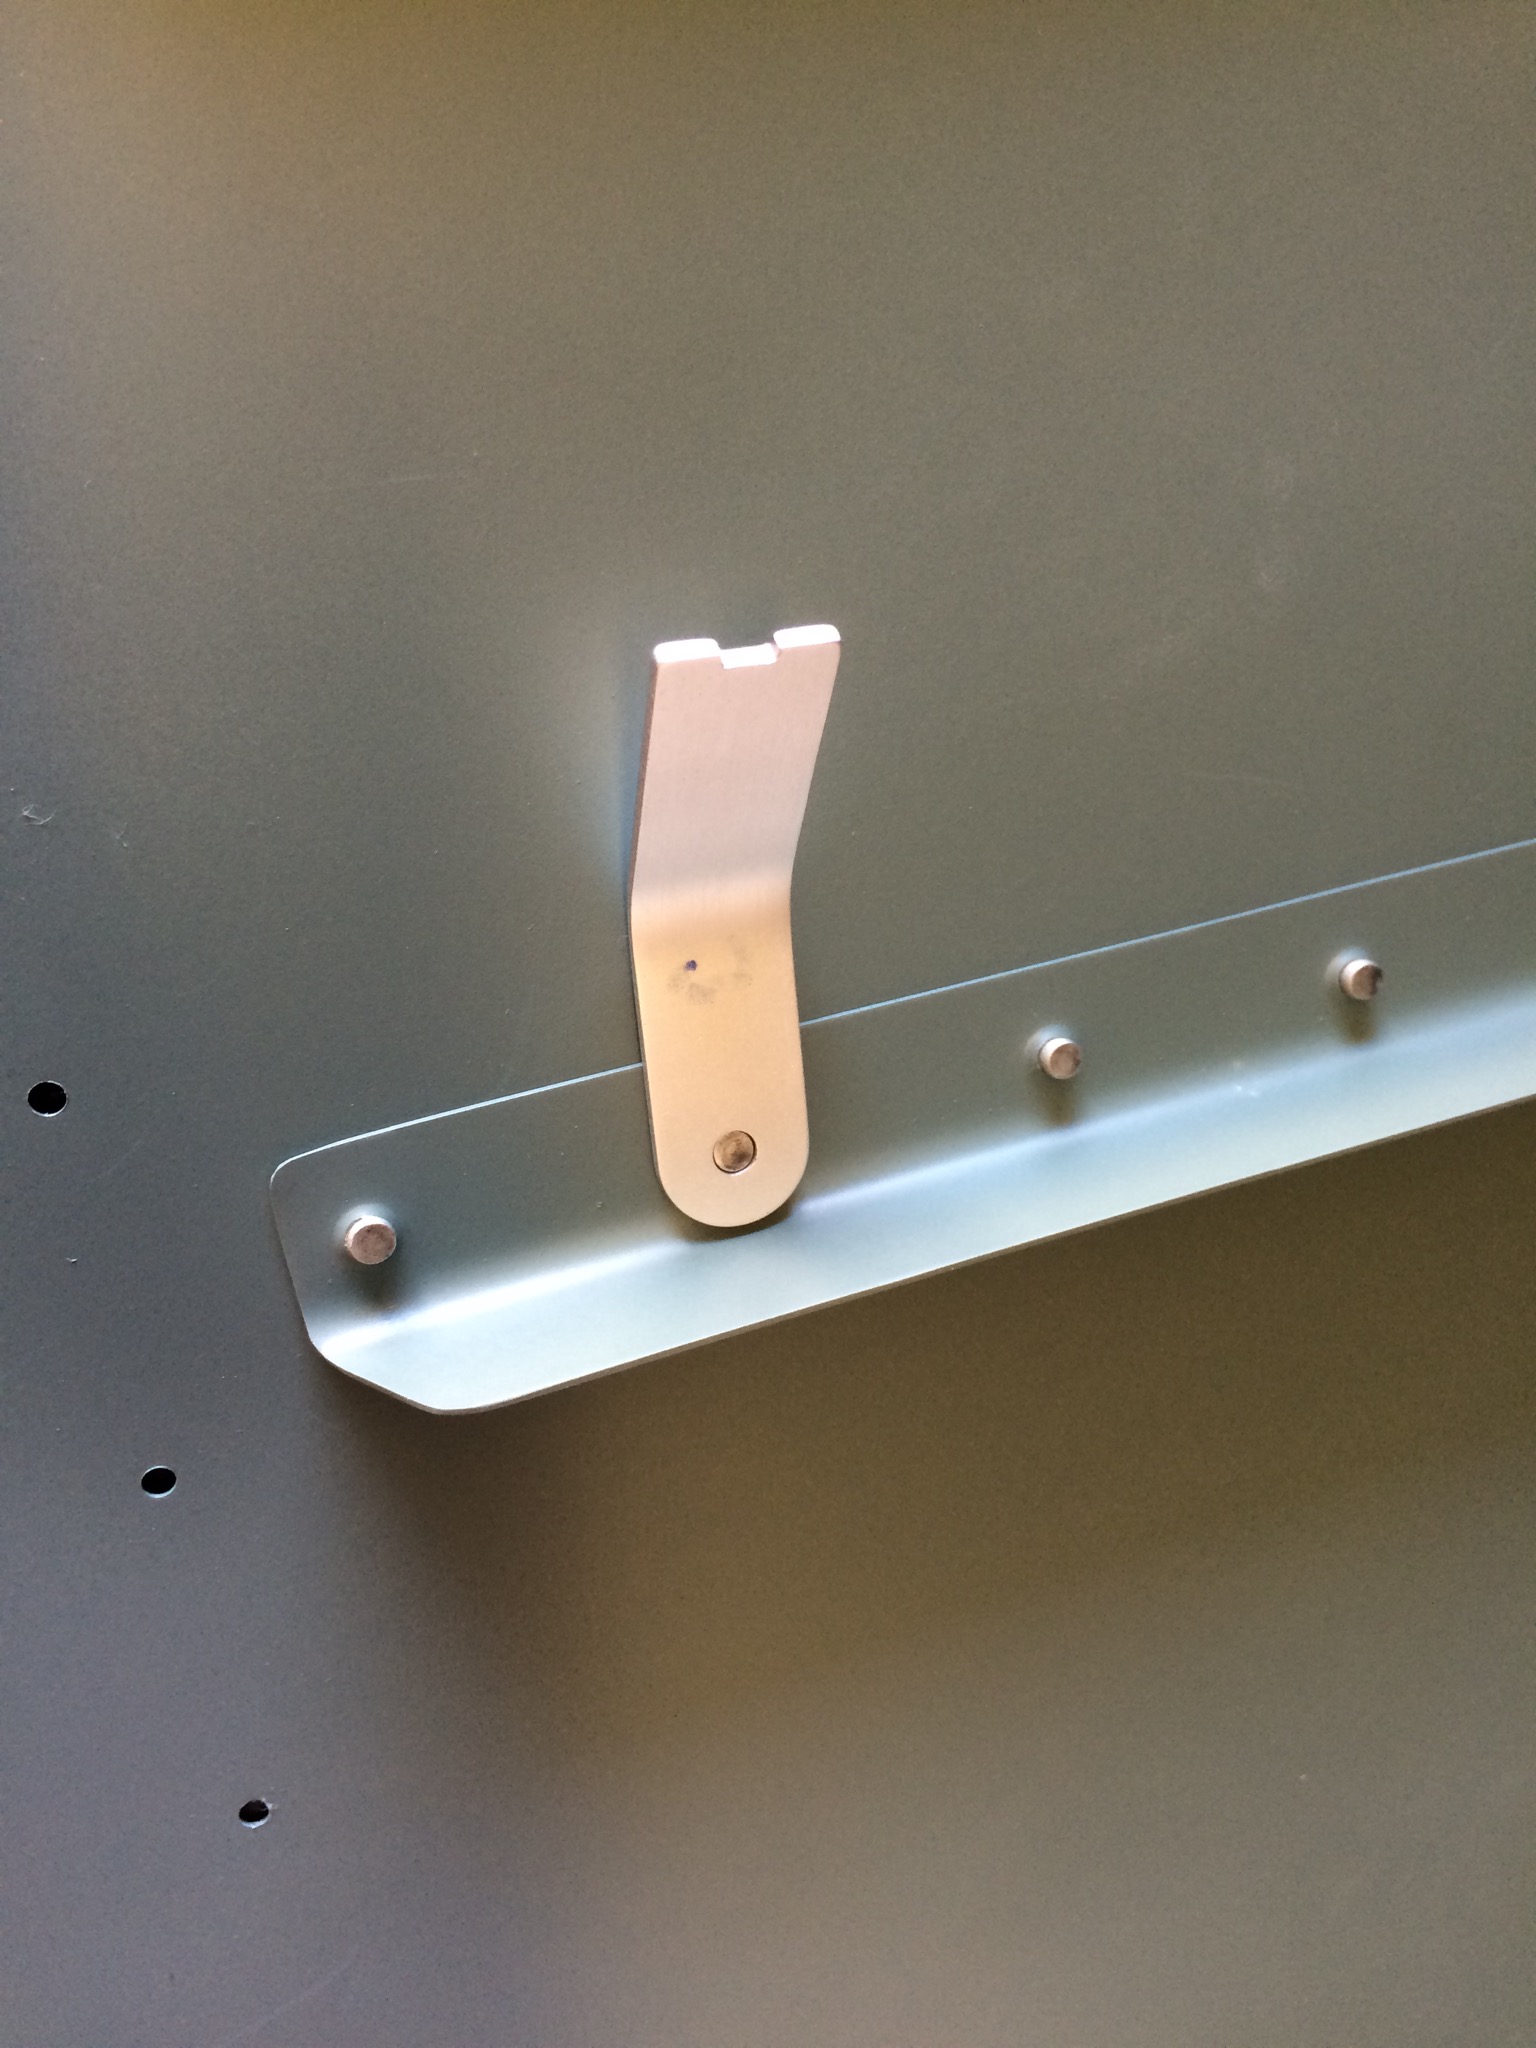
The first stiffener riveted on:
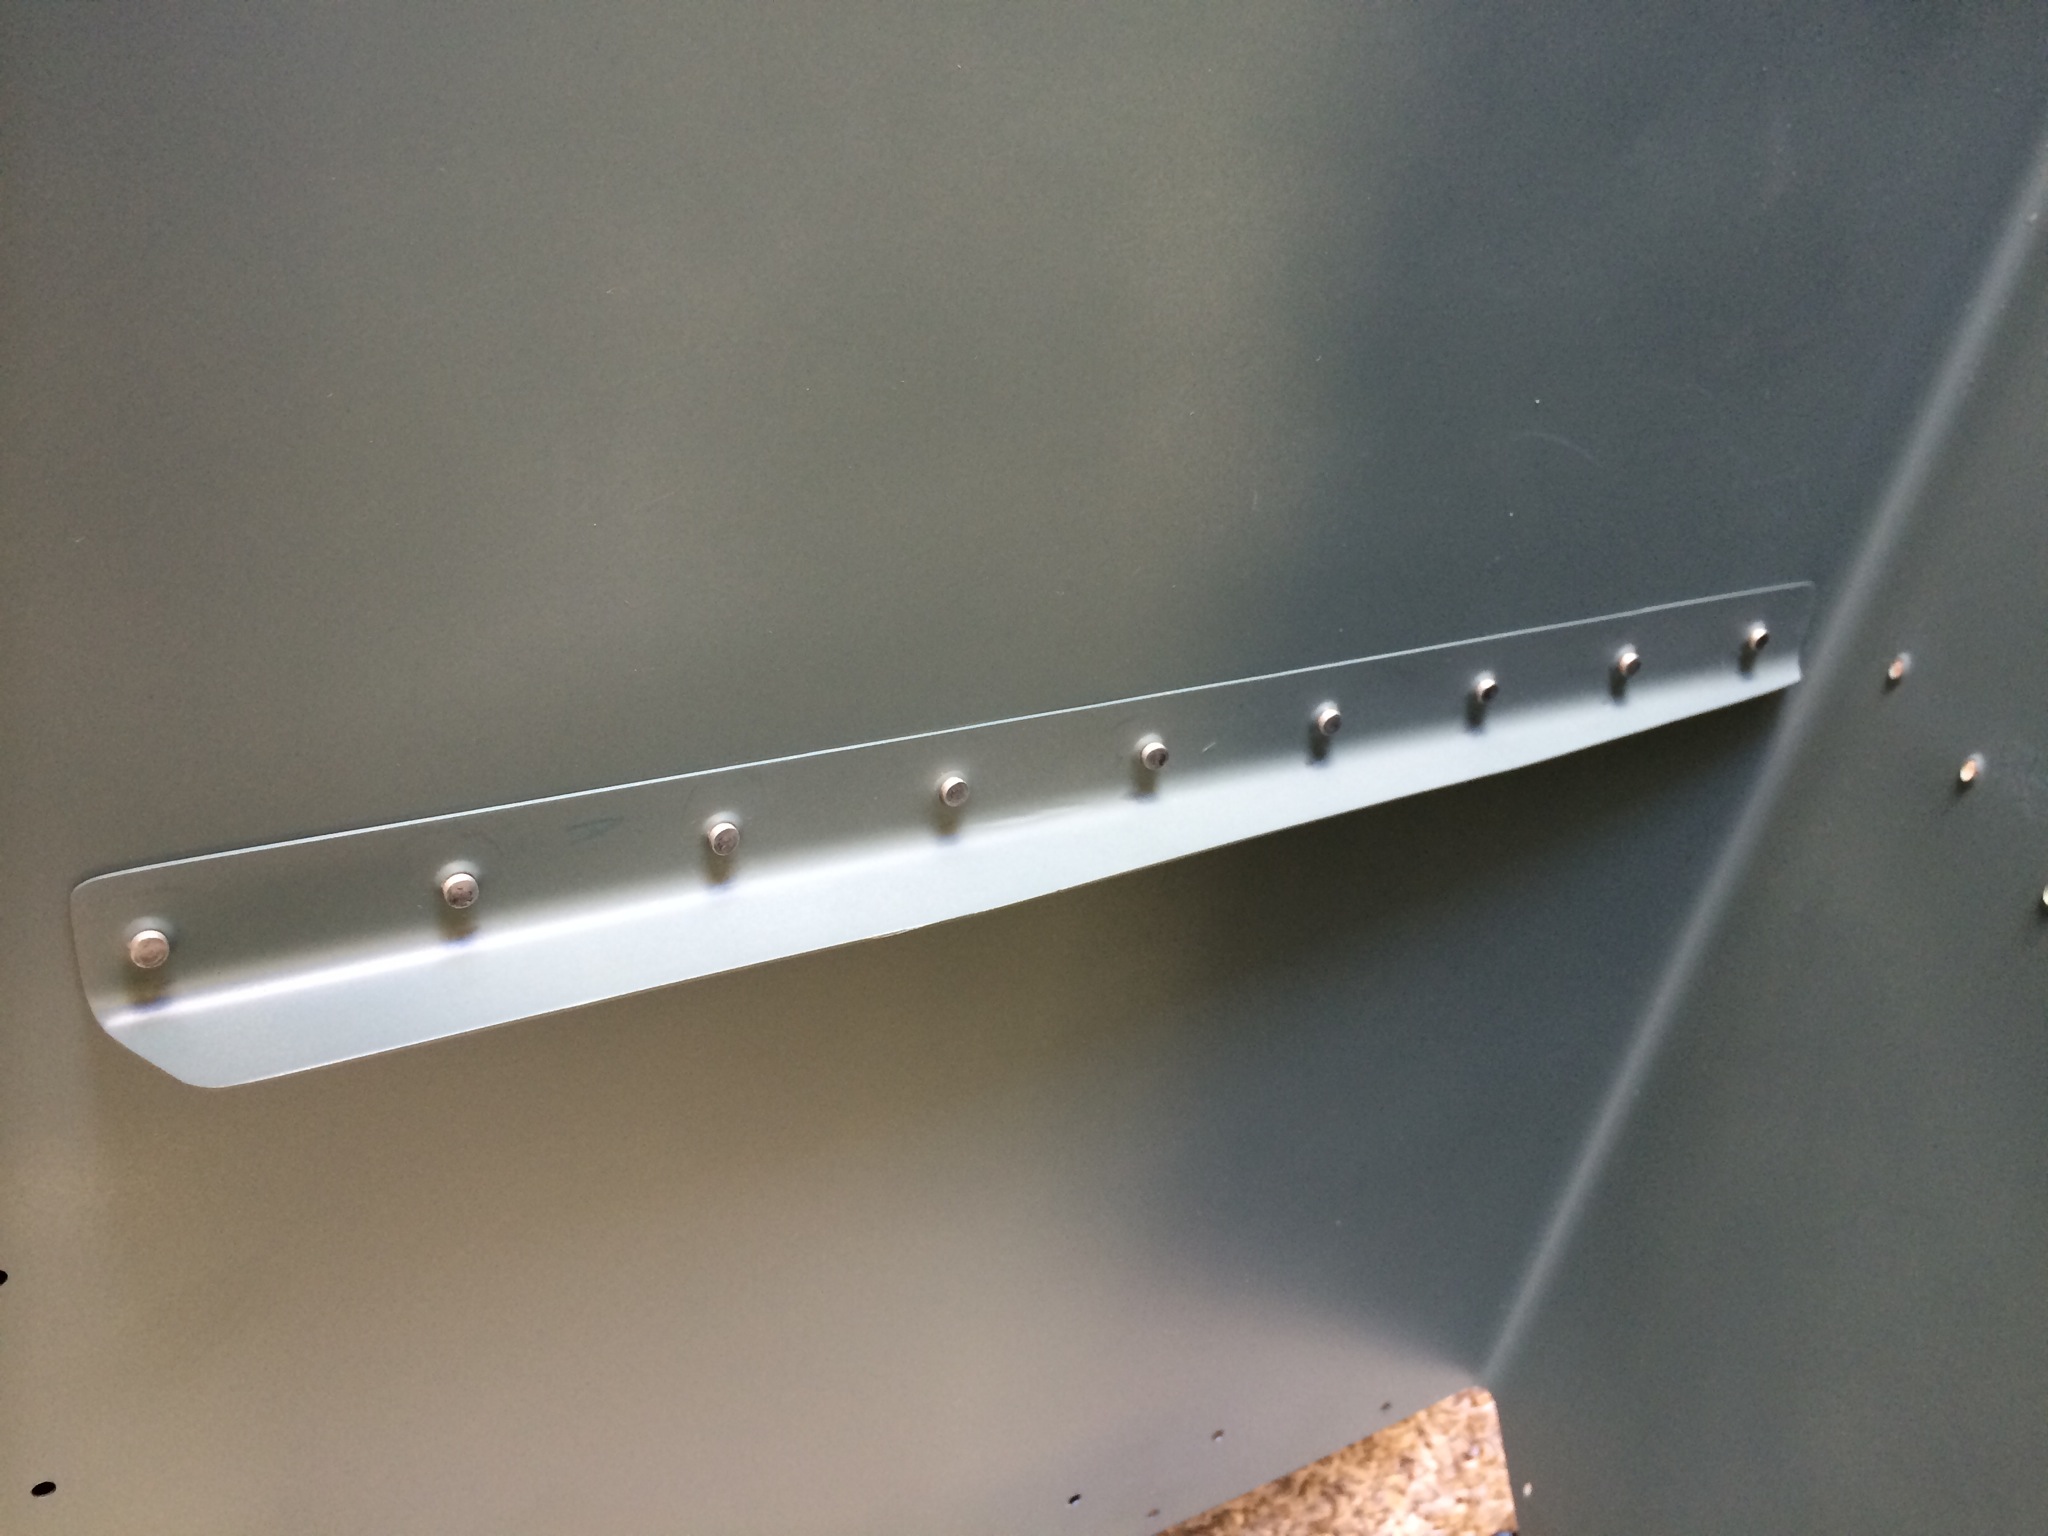
View of the factory heads on the first stiffener.
First half of the riveters on. When I primered the rudder skin, I fogged it on in the whole skin, but made sure the contact area where the stiffeners attached were completely covered. I plan on going back and touching up the rest of the fogged on areas.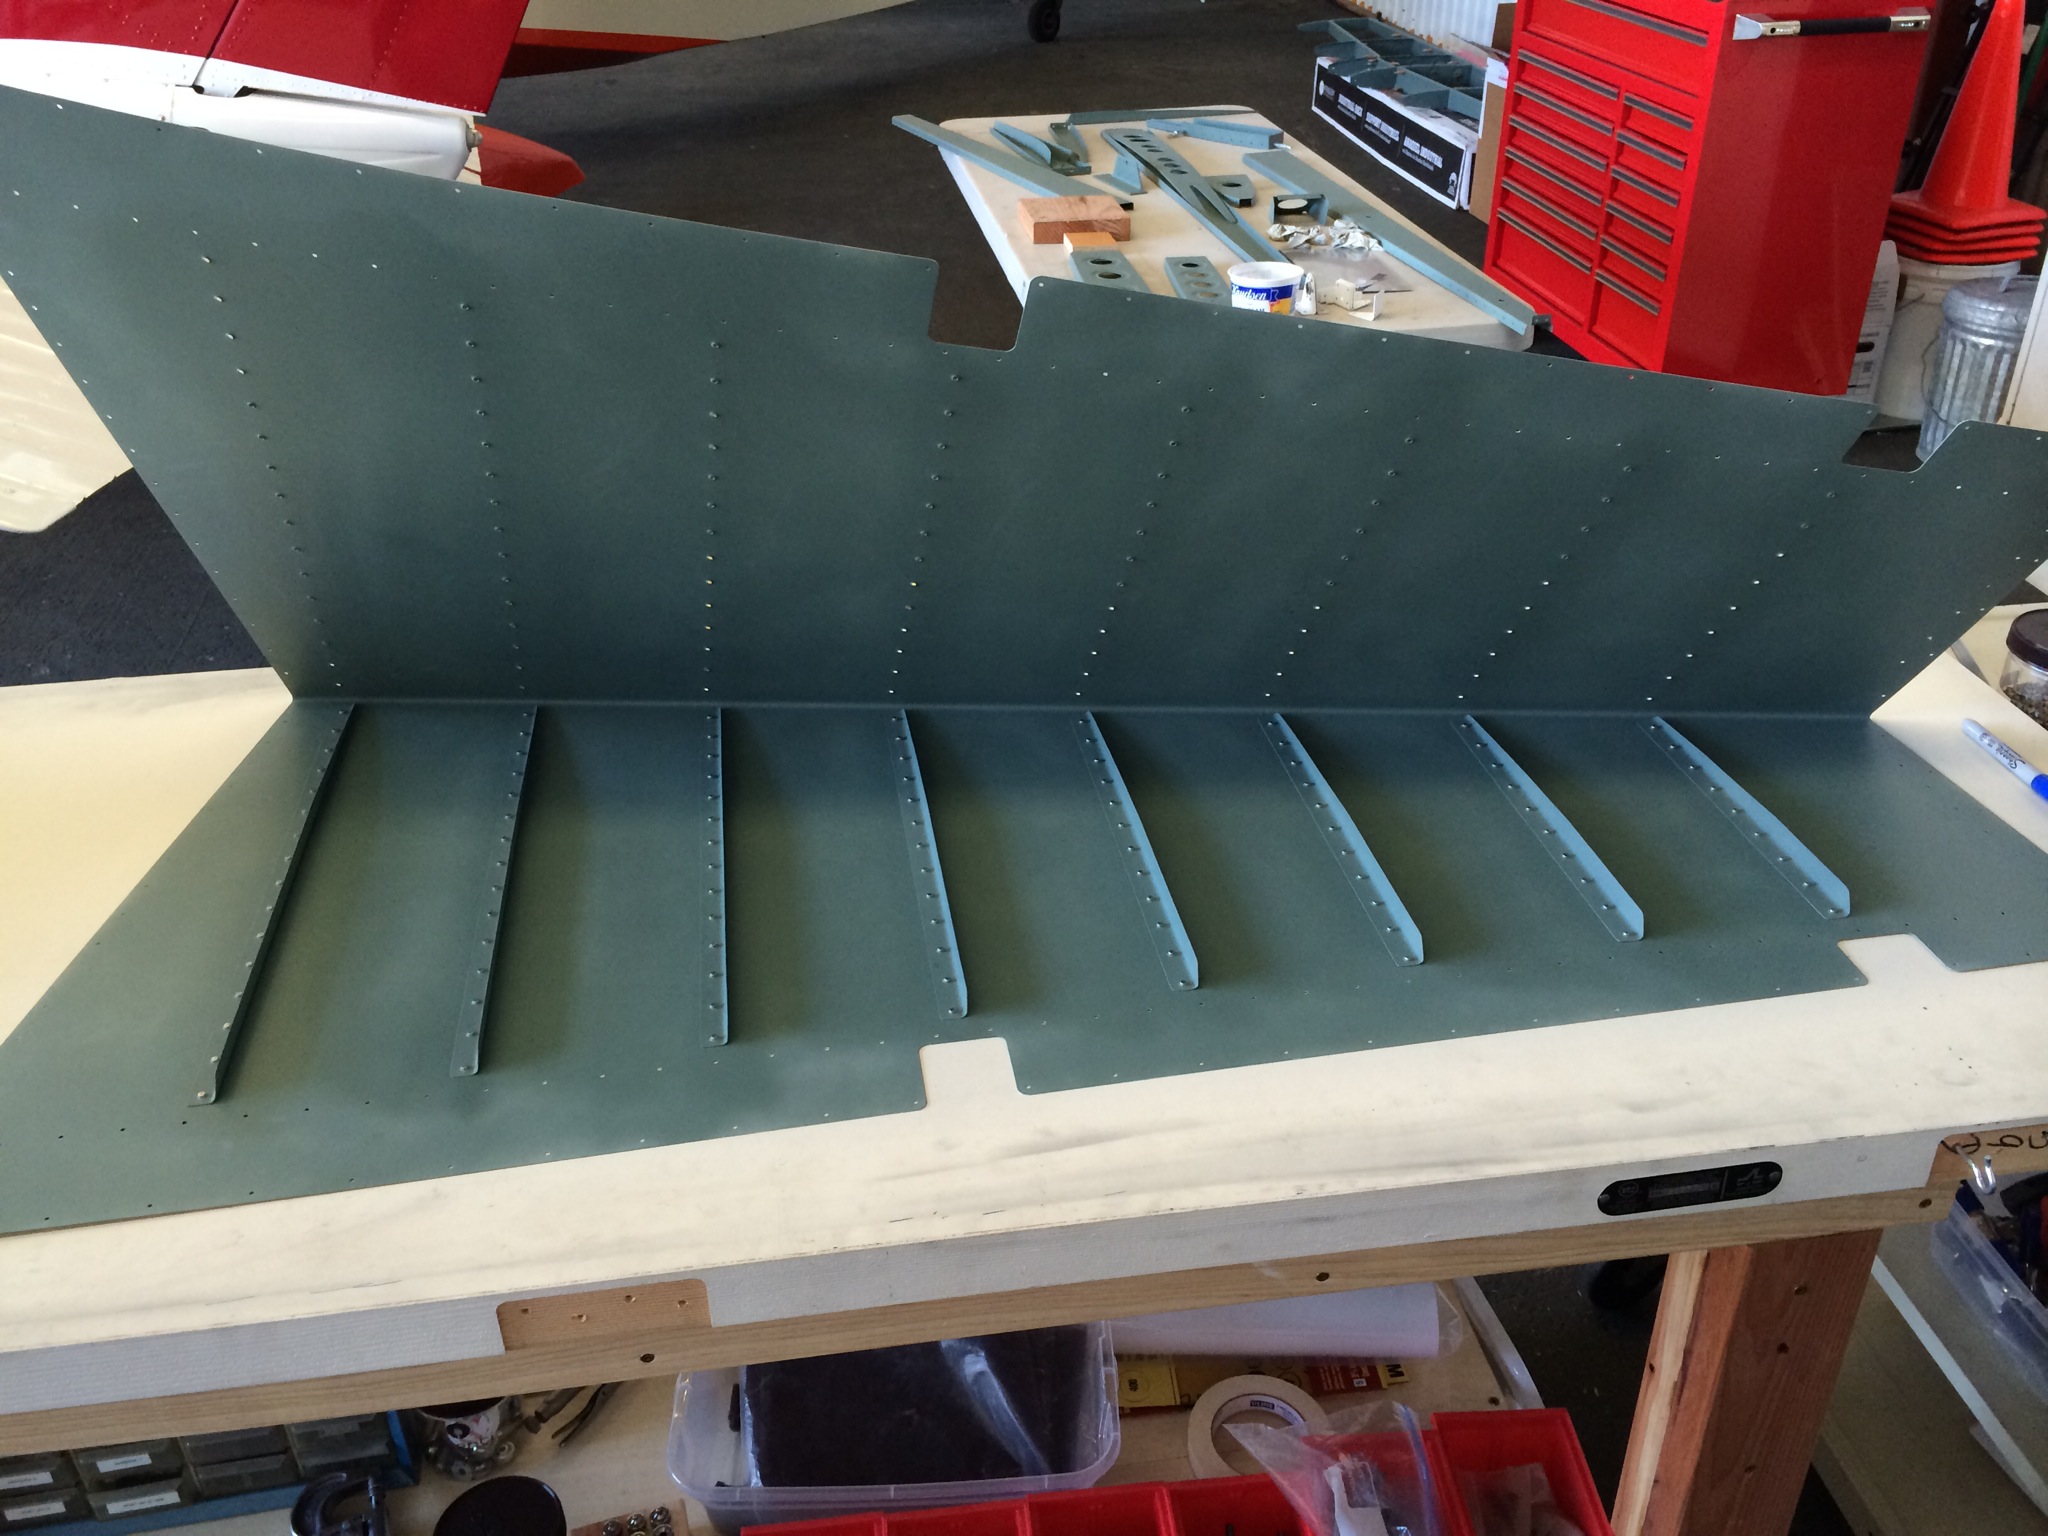
R-713 riveted to R-703. The last three rivets that attach R-713 to R-703 are left out, since the rudder skin will also need to attach here.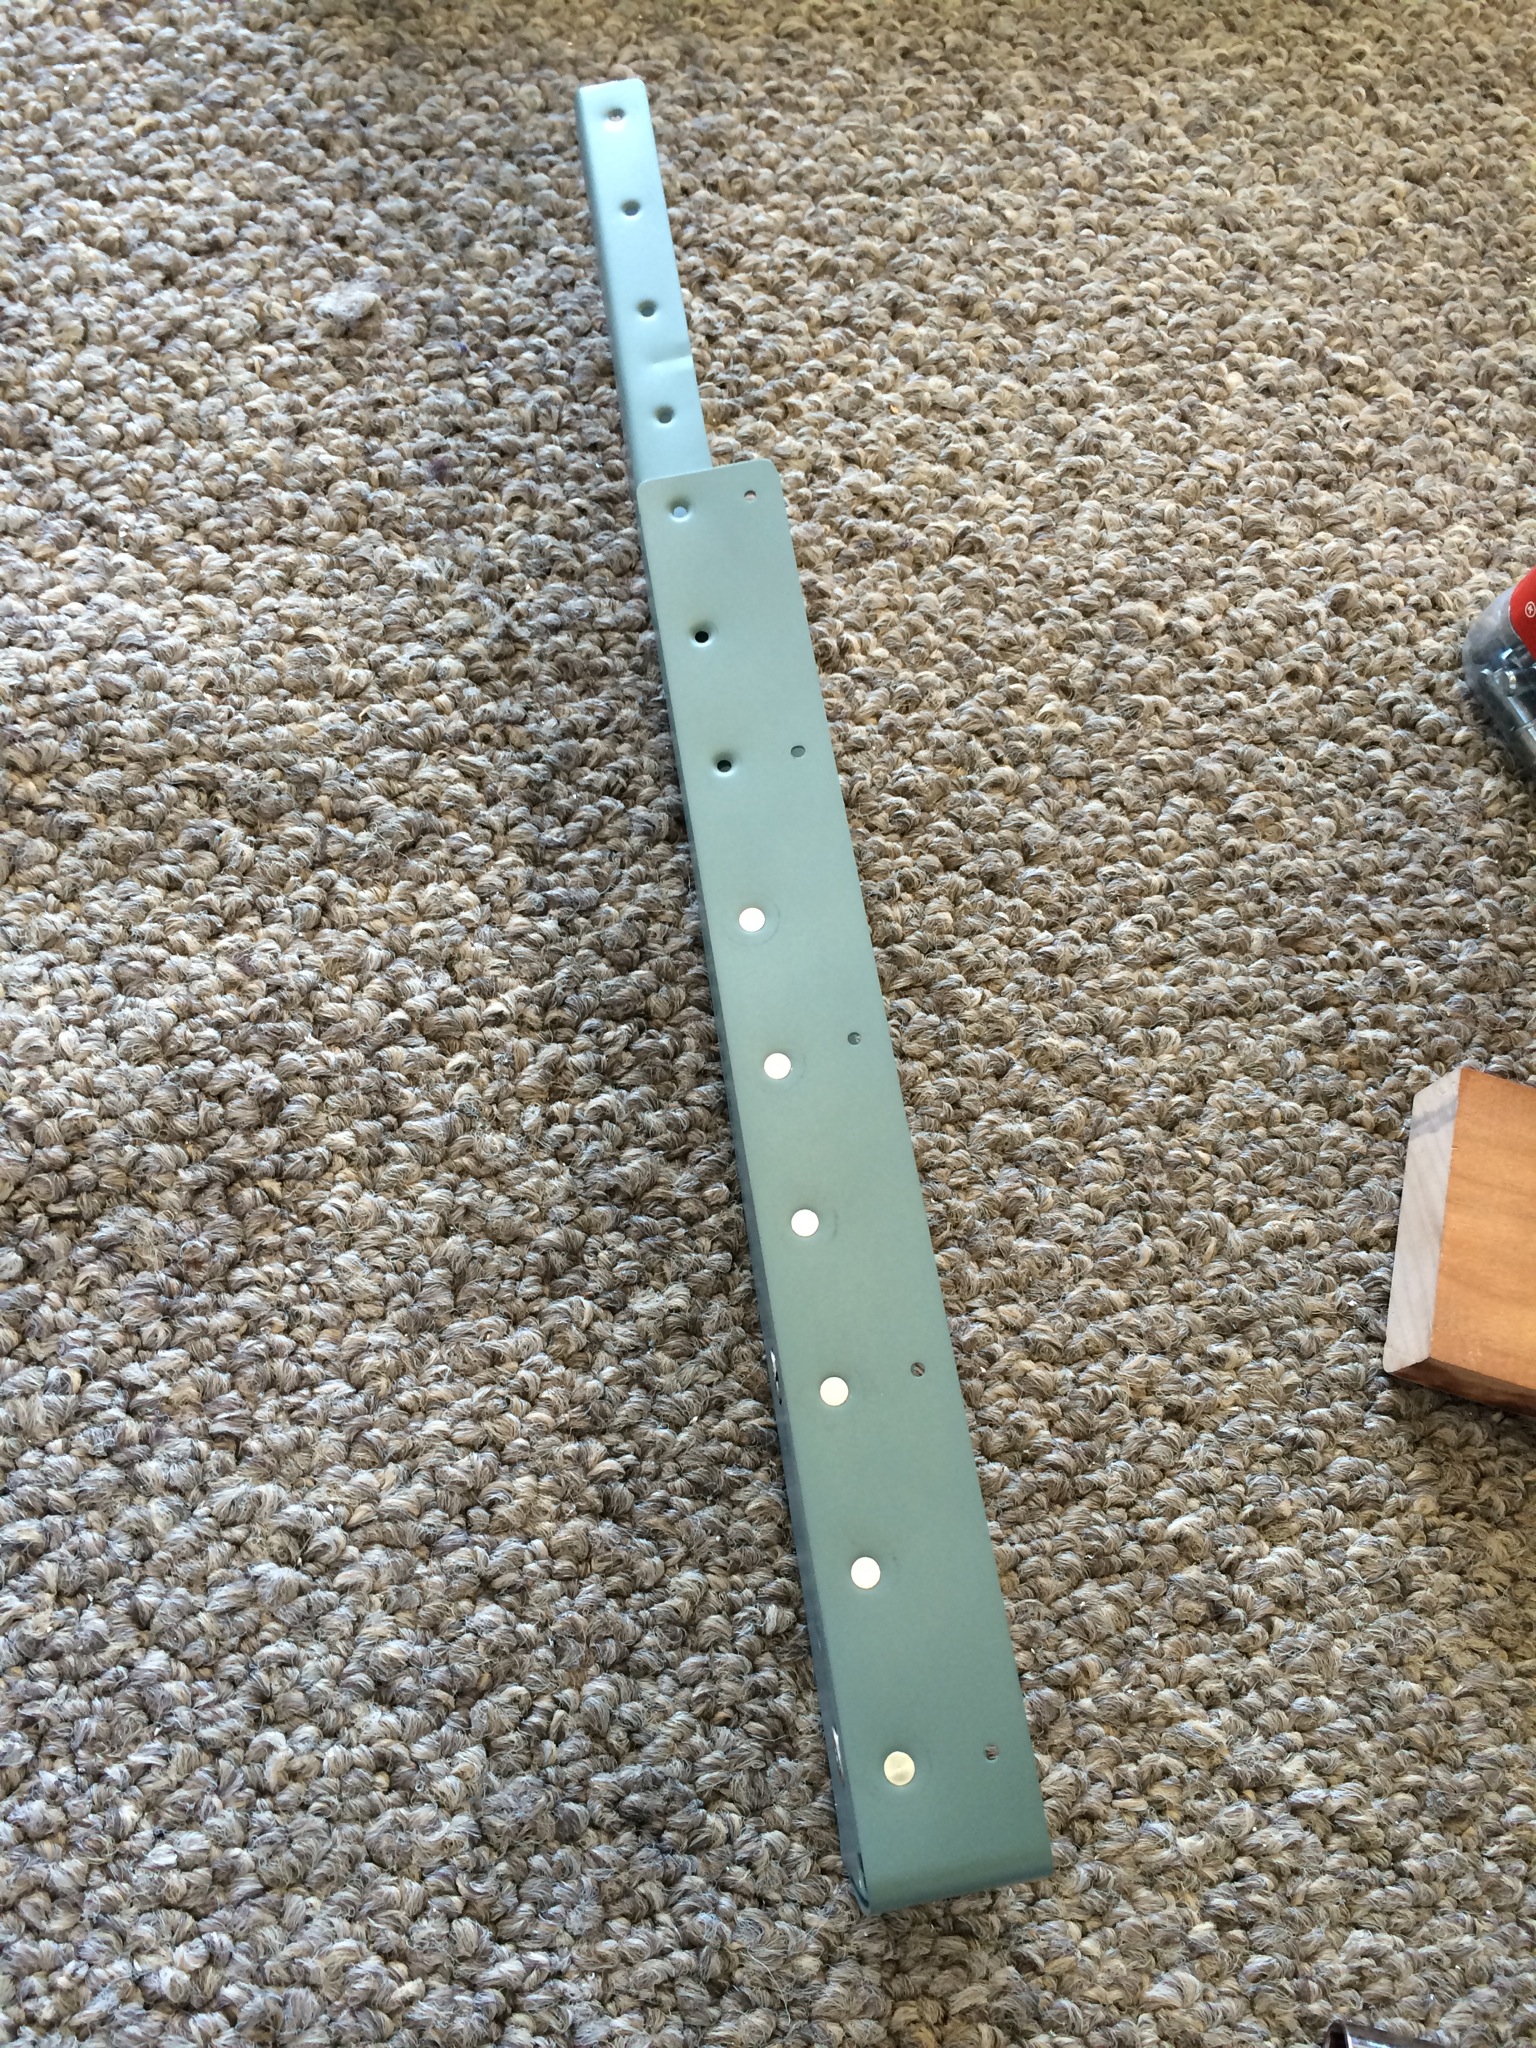
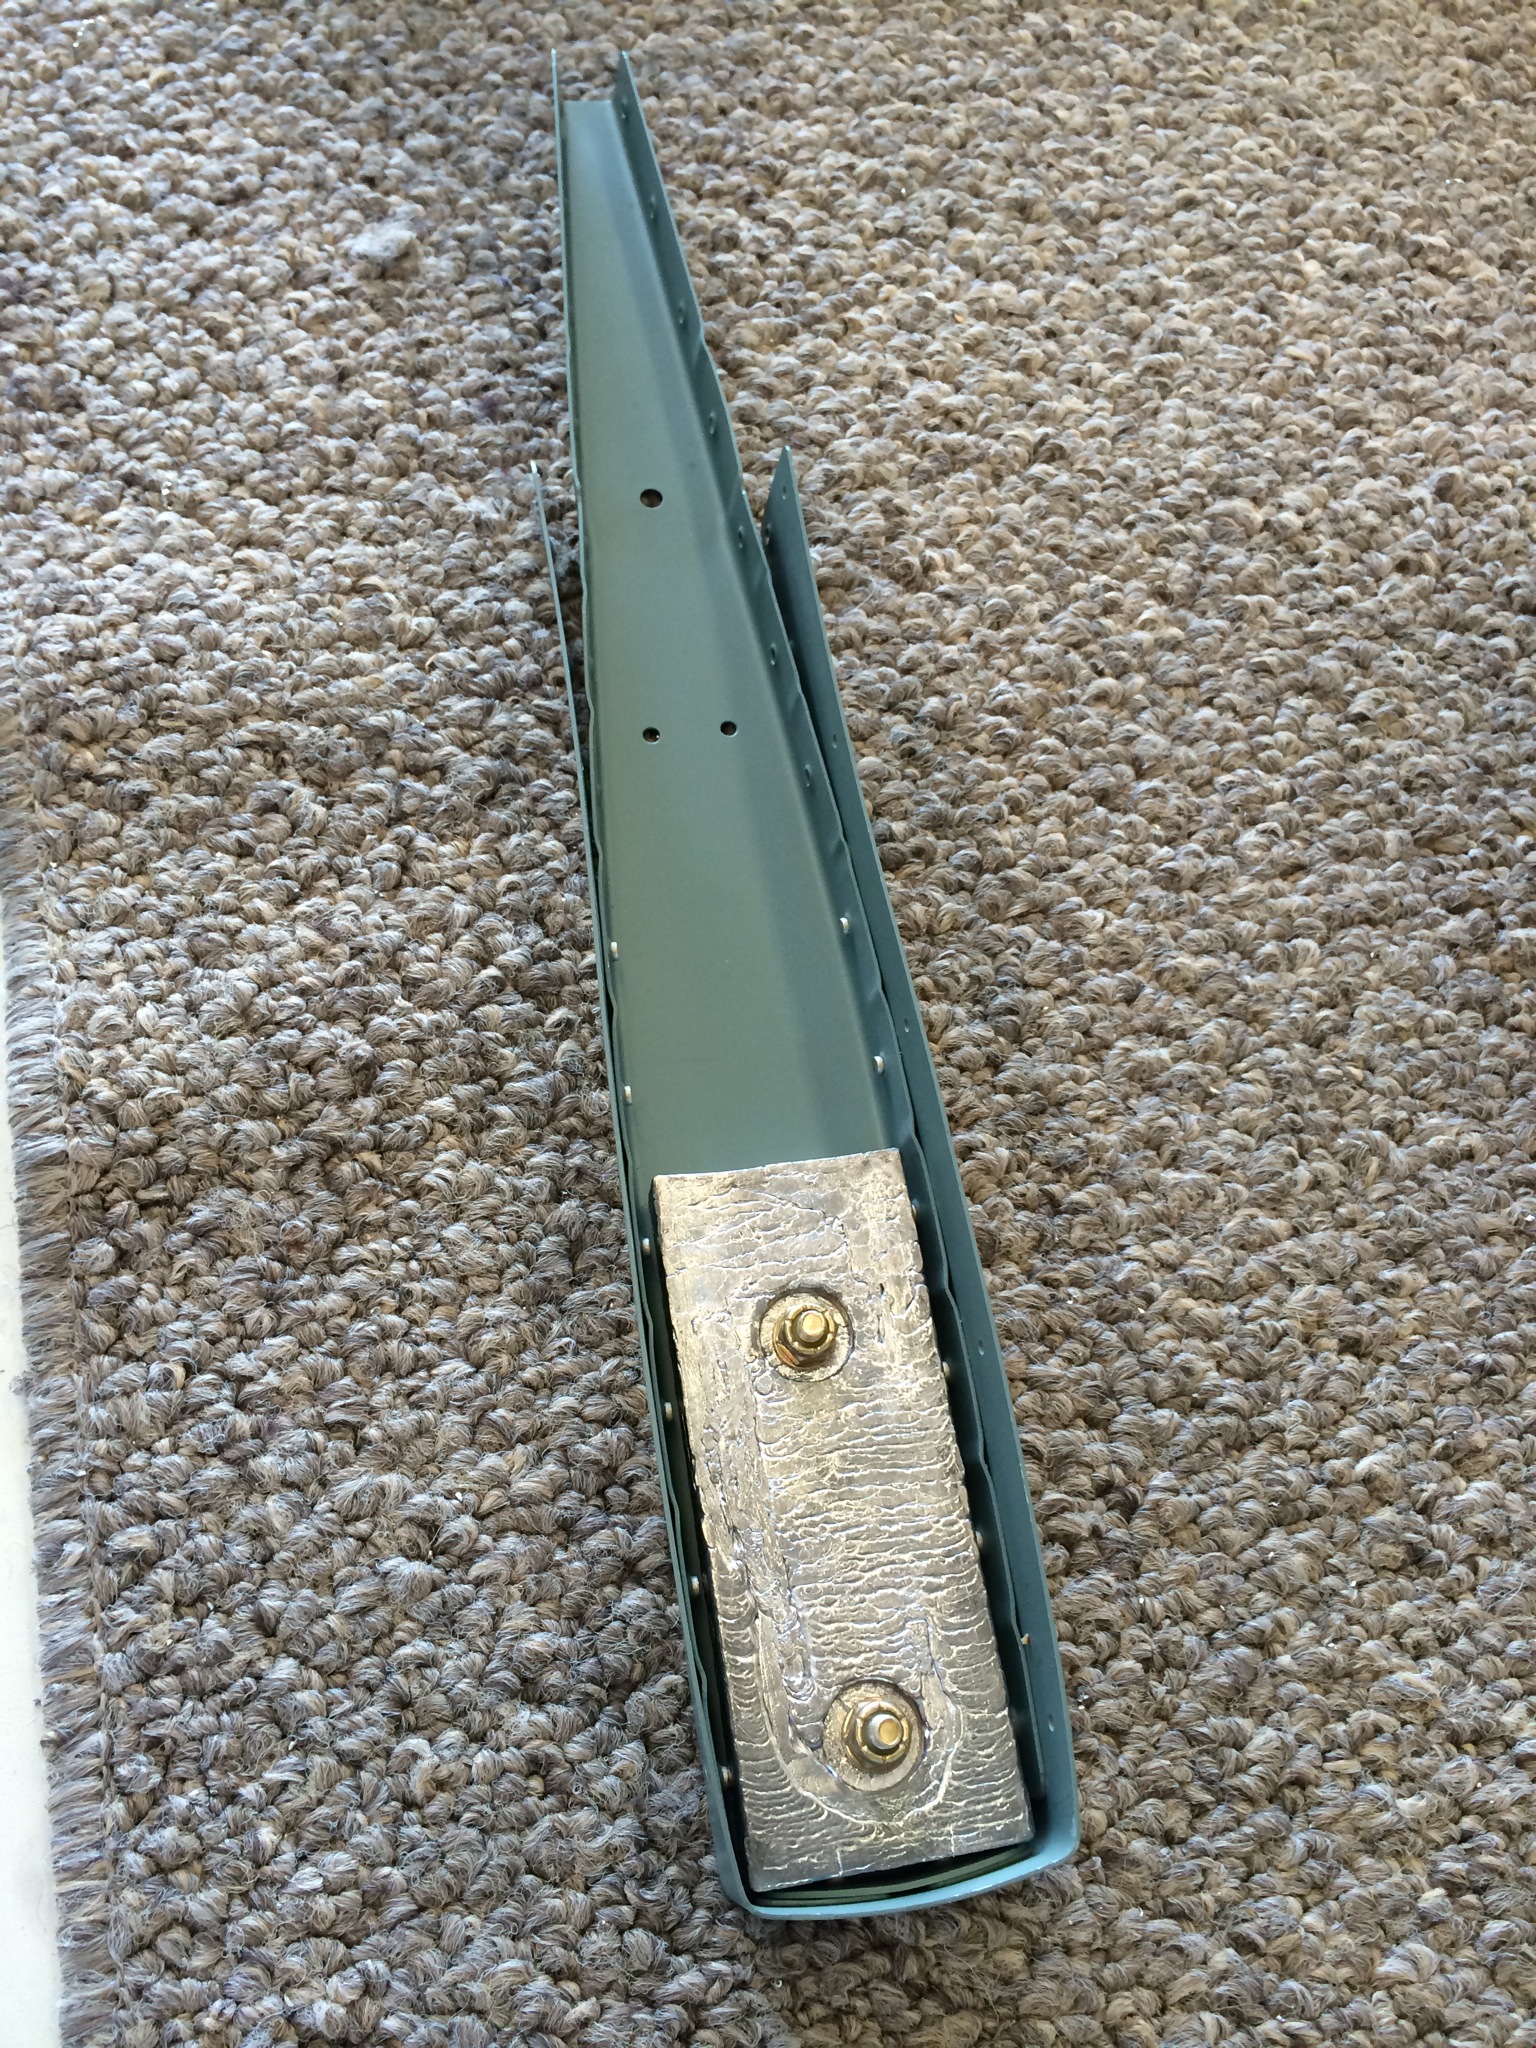
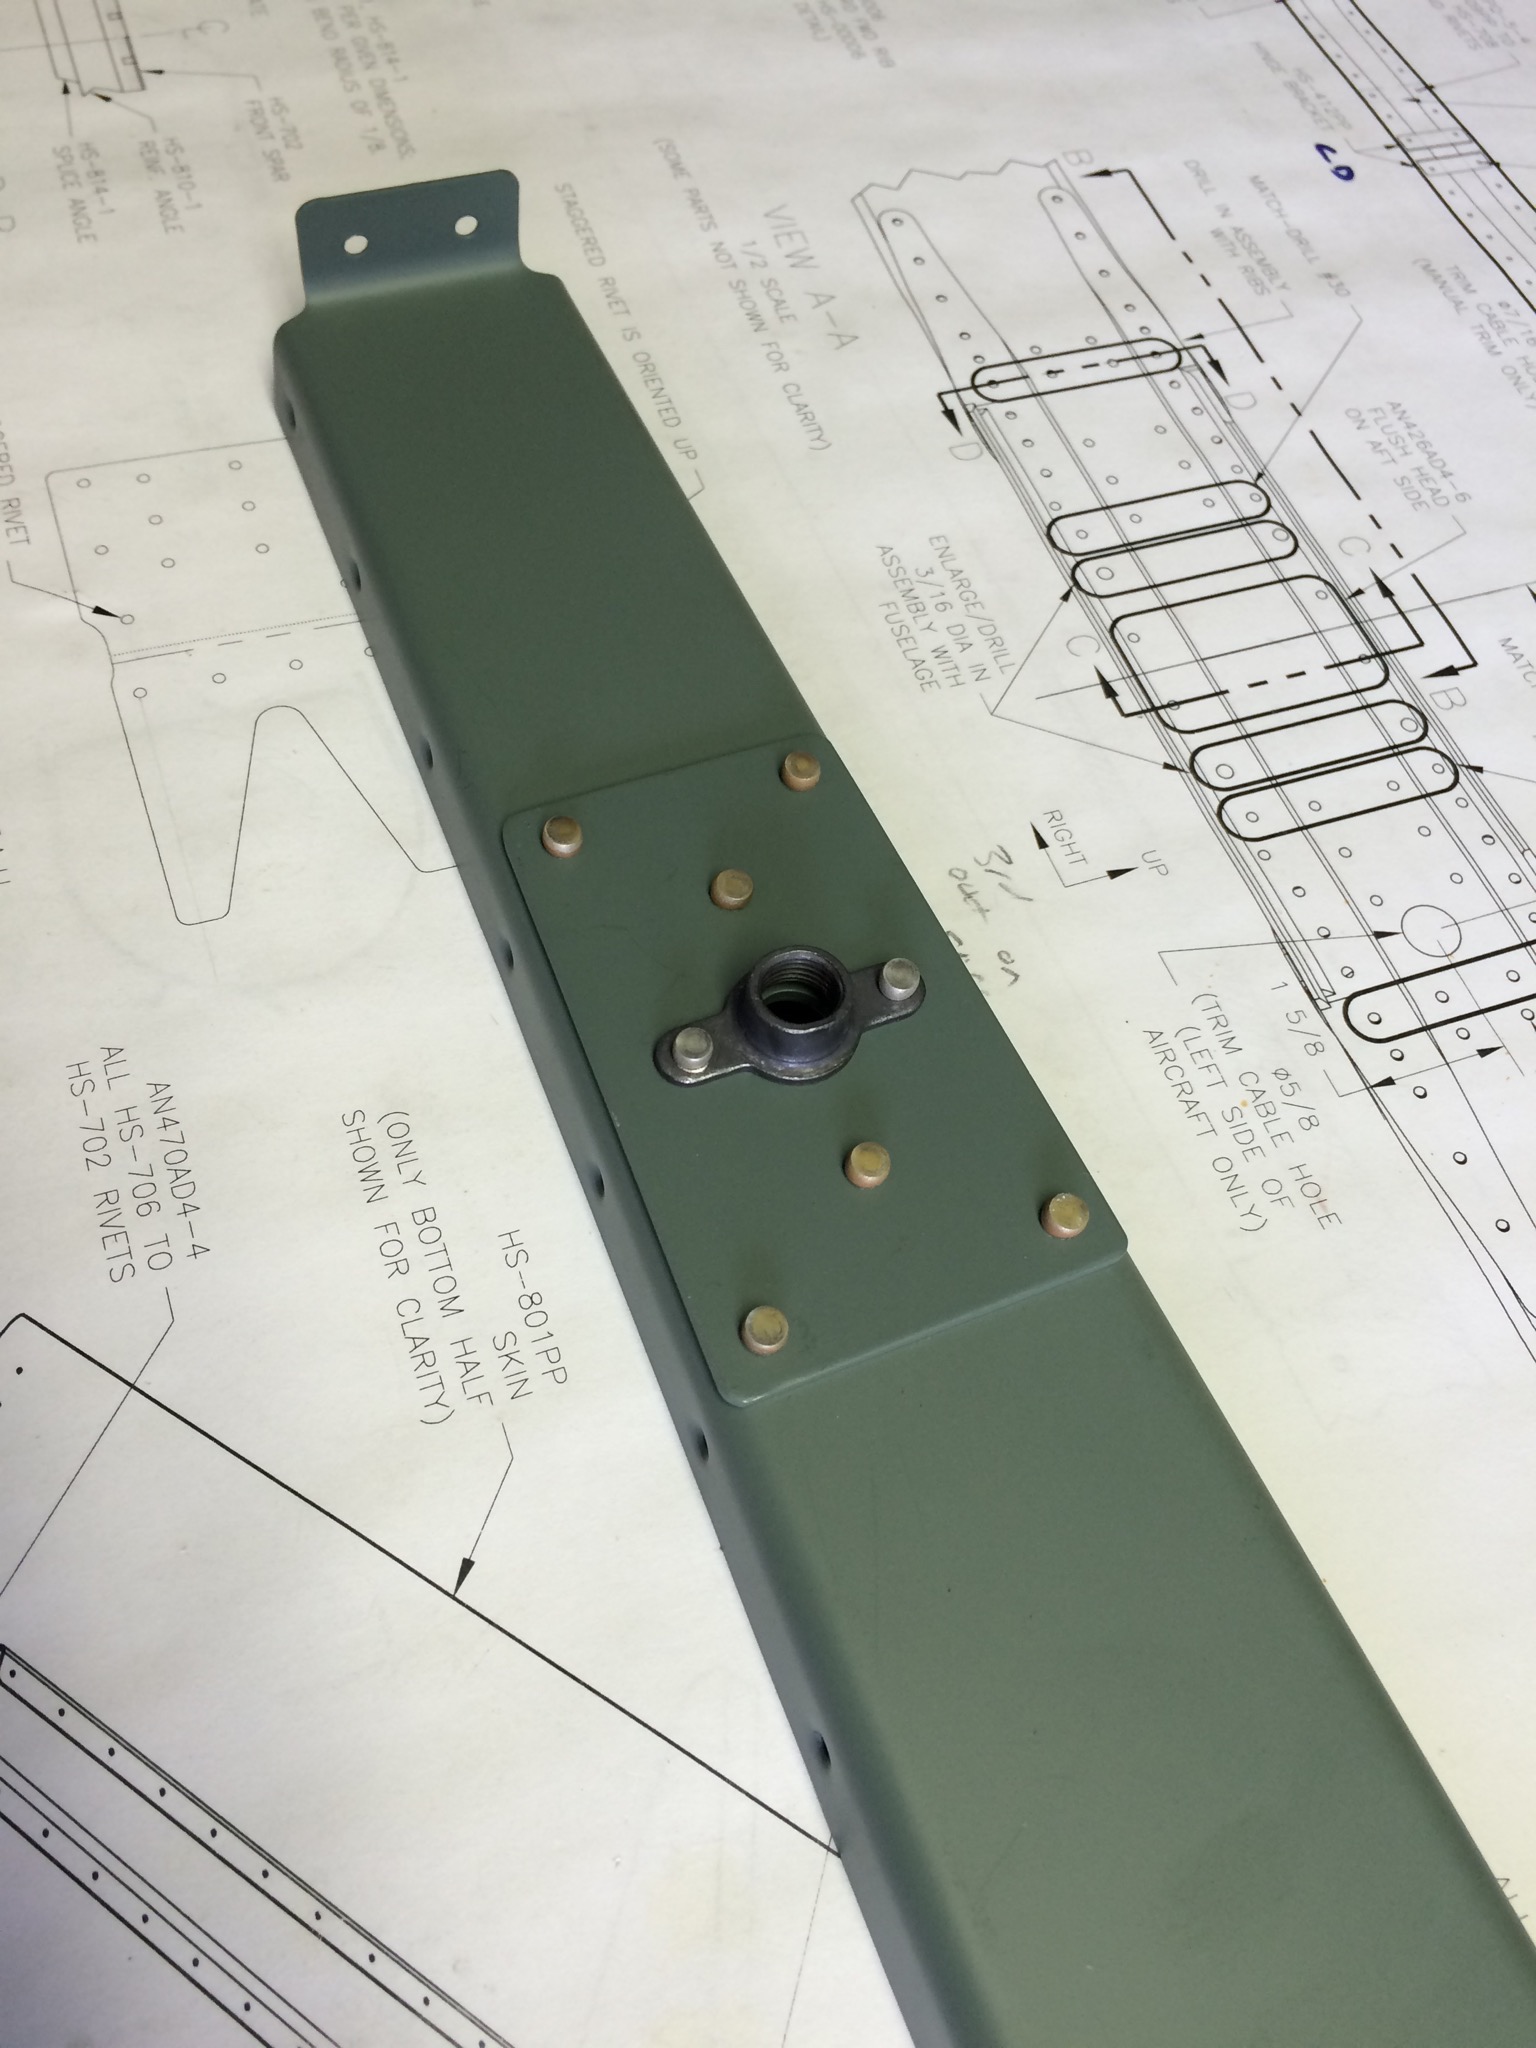
E-614-020 counterweight in the rudder tip rib.