The main interior finally got some color.
 Also finished up riveting on the blocks I had made for the tie down rings.
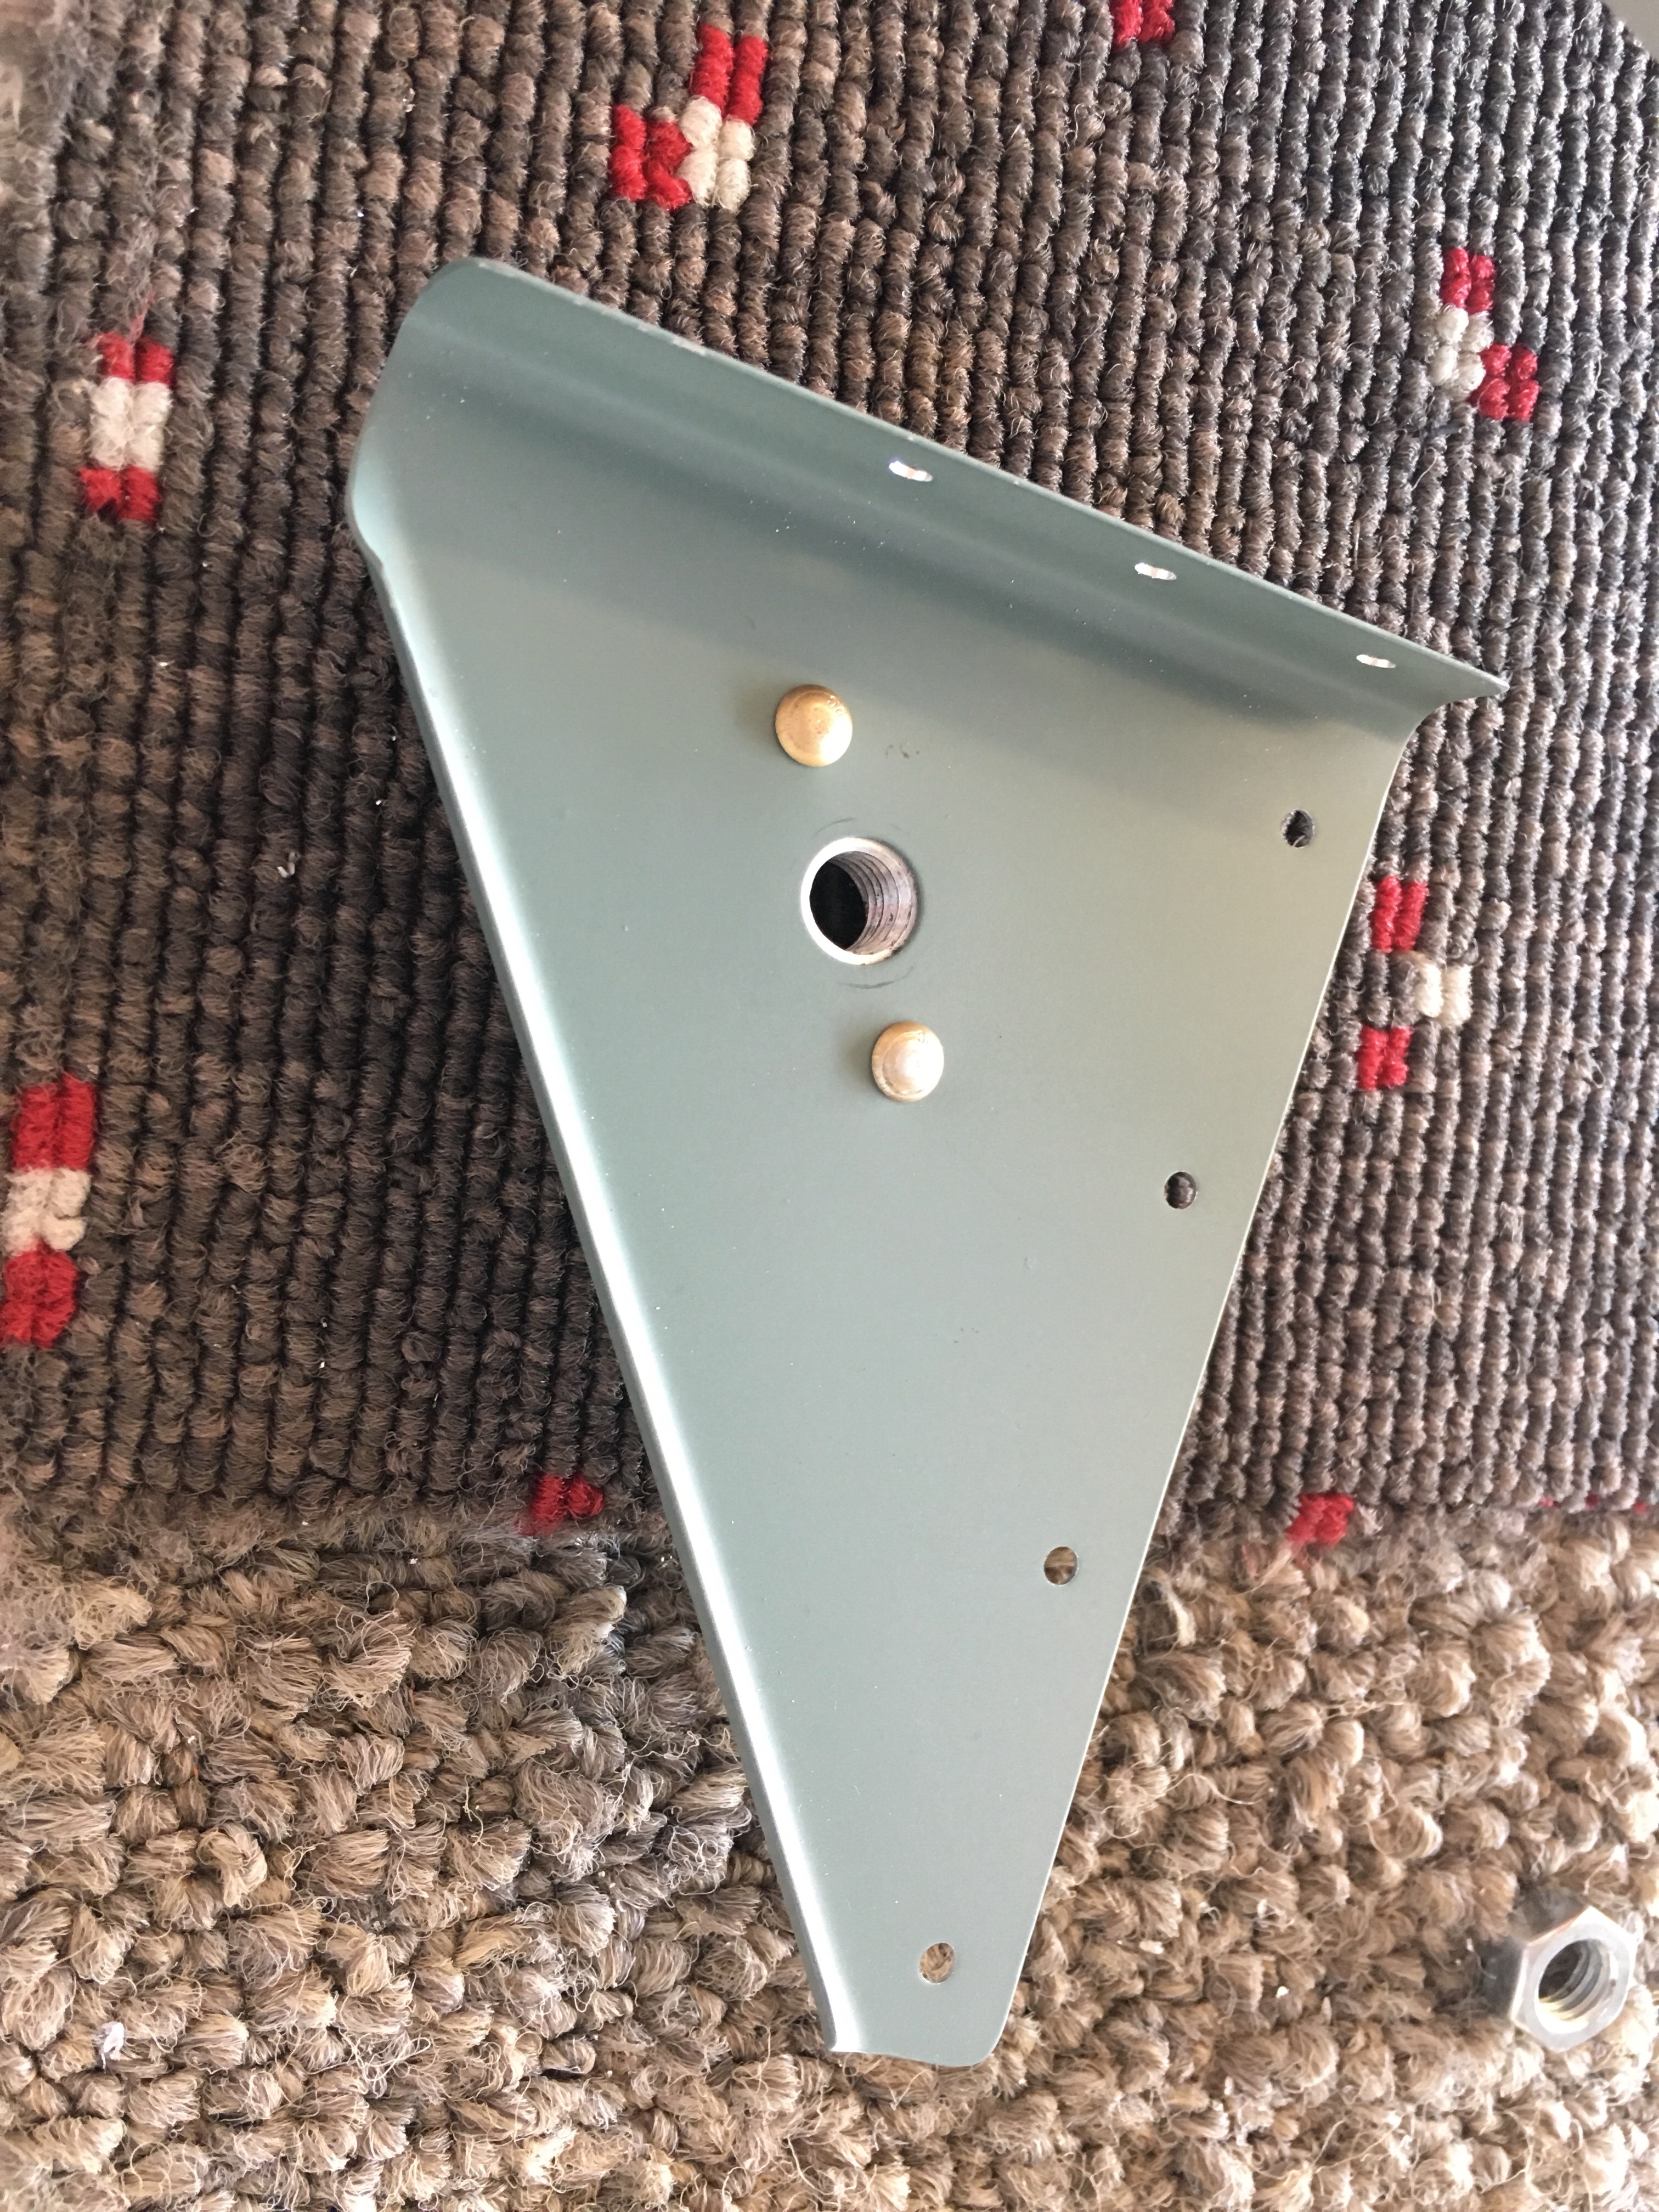
Other tasks included riveting on the fair lead doublers for the seatbelts on the rear bulkhead.
The main interior finally got some color.
Also finished up riveting on the blocks I had made for the tie down rings.
Other tasks included riveting on the fair lead doublers for the seatbelts on the rear bulkhead.
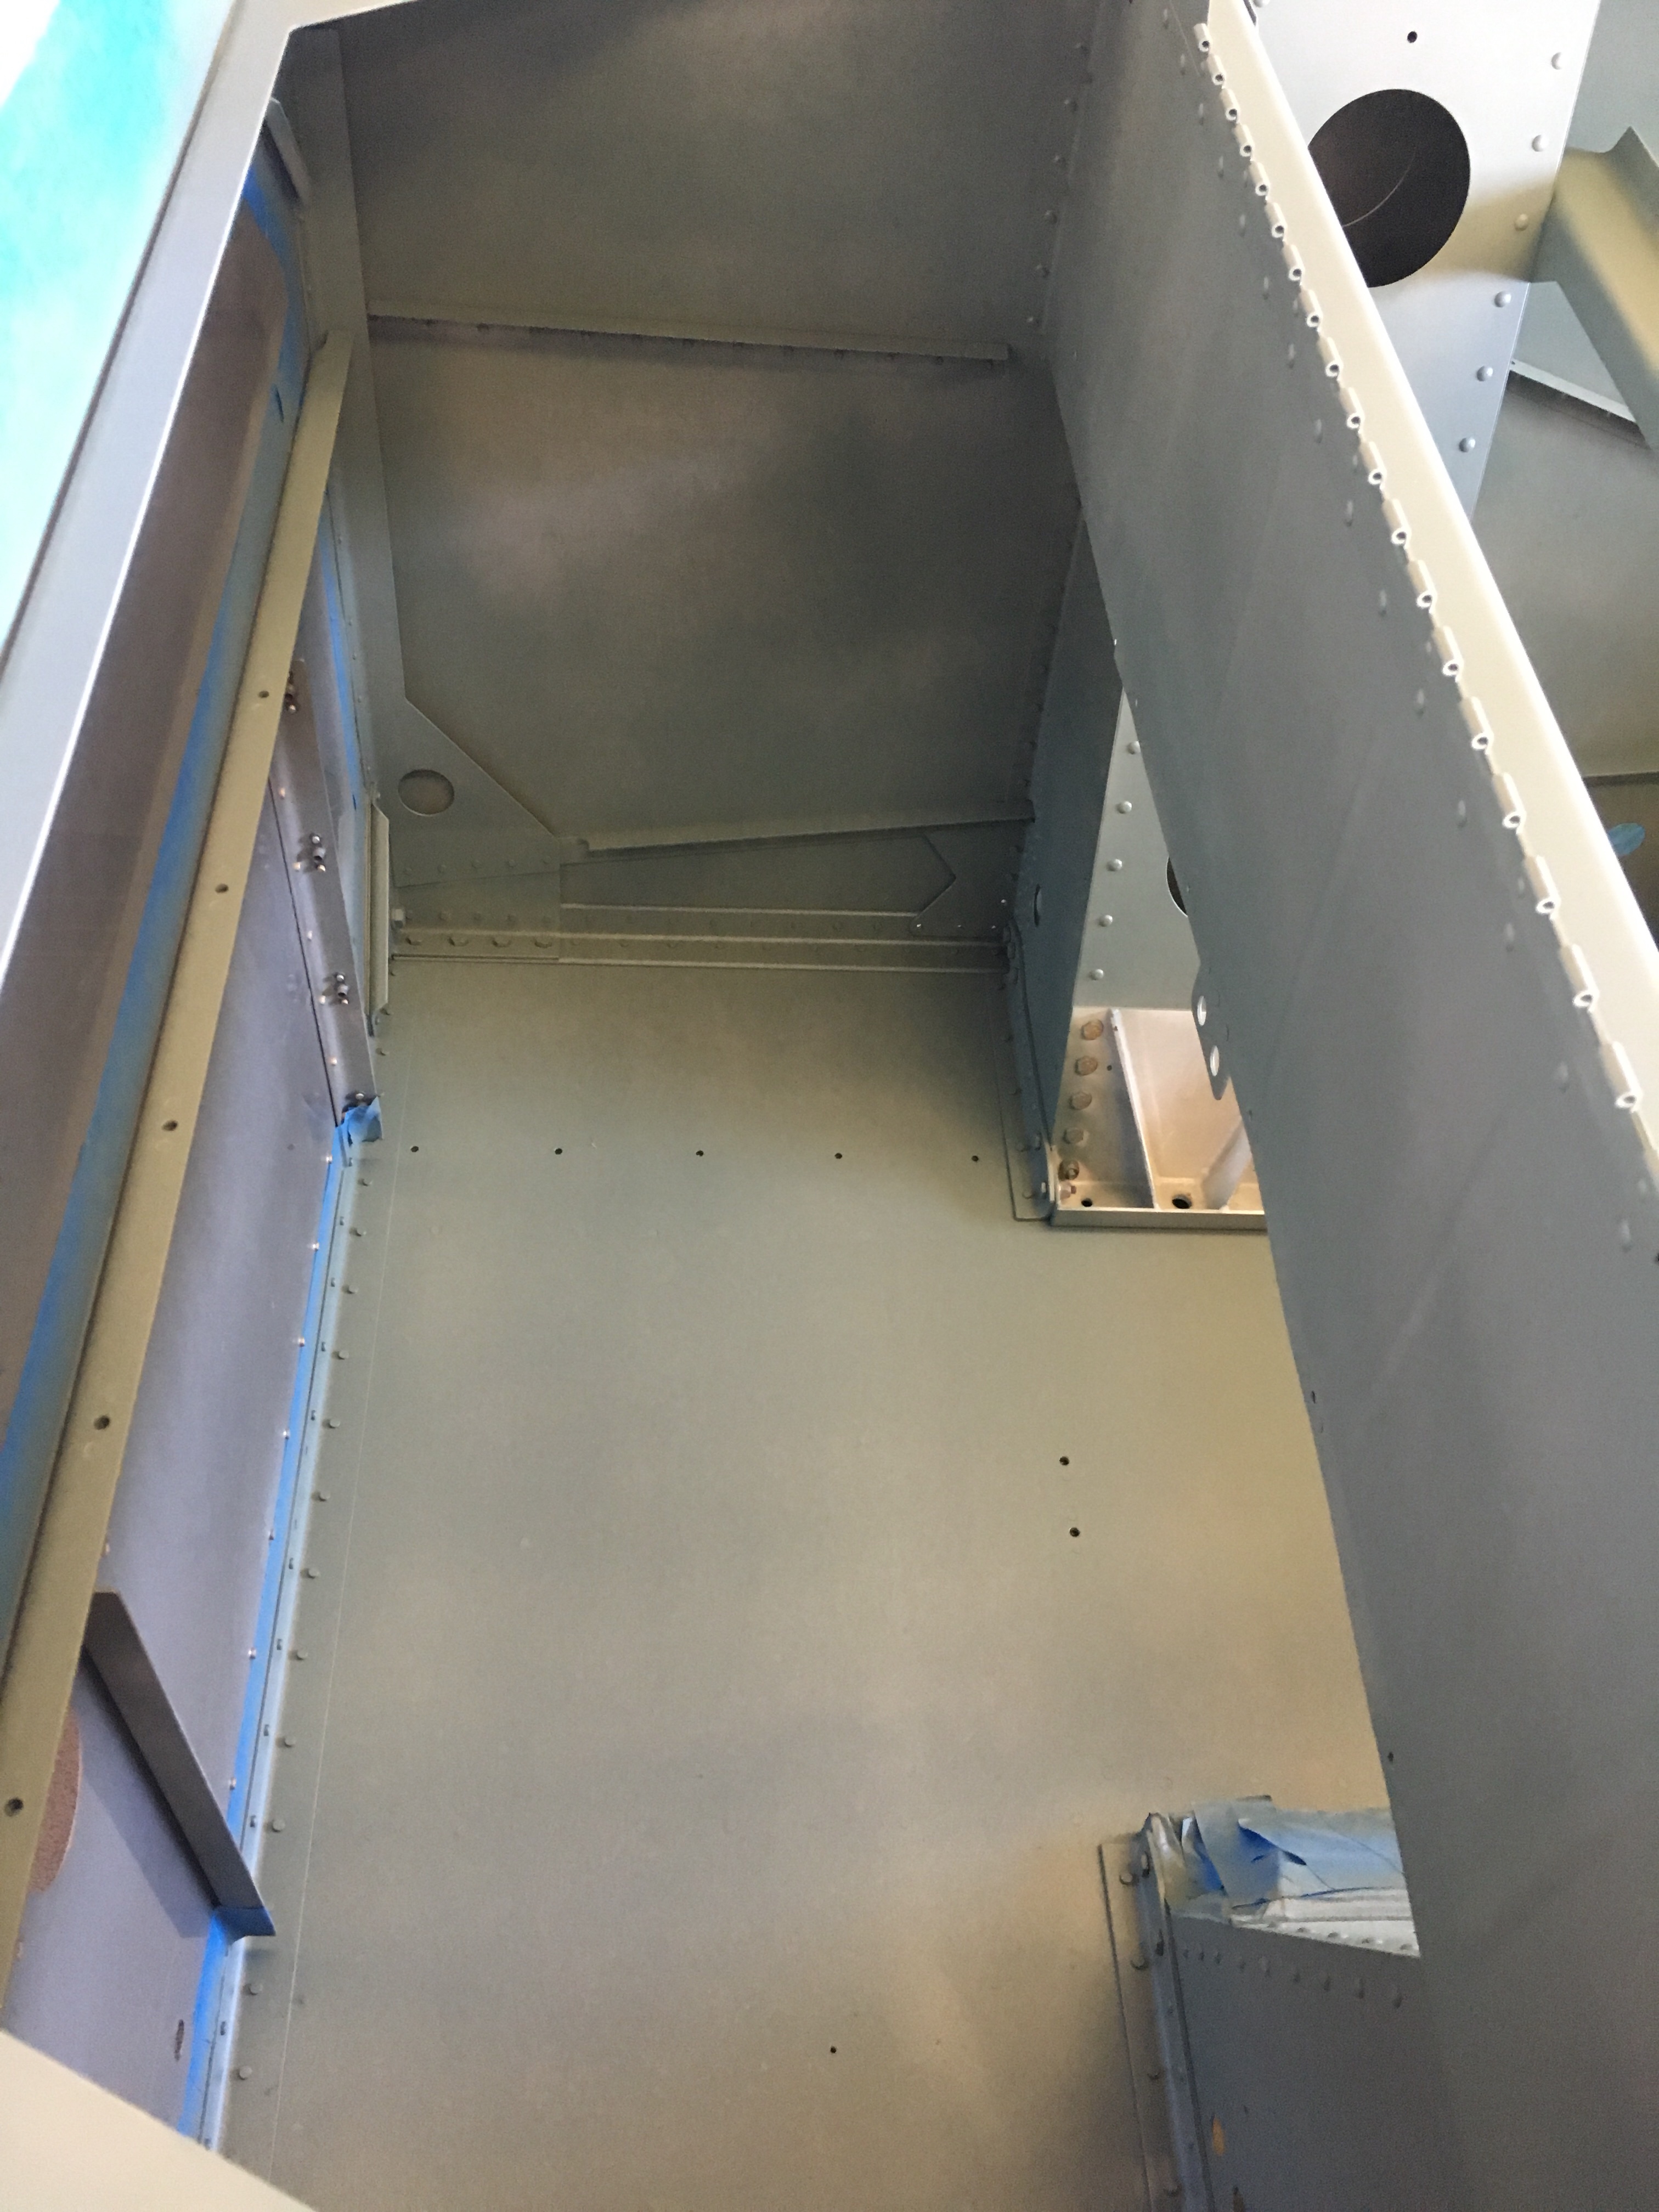
Finished priming the rest of the fuselage interior.
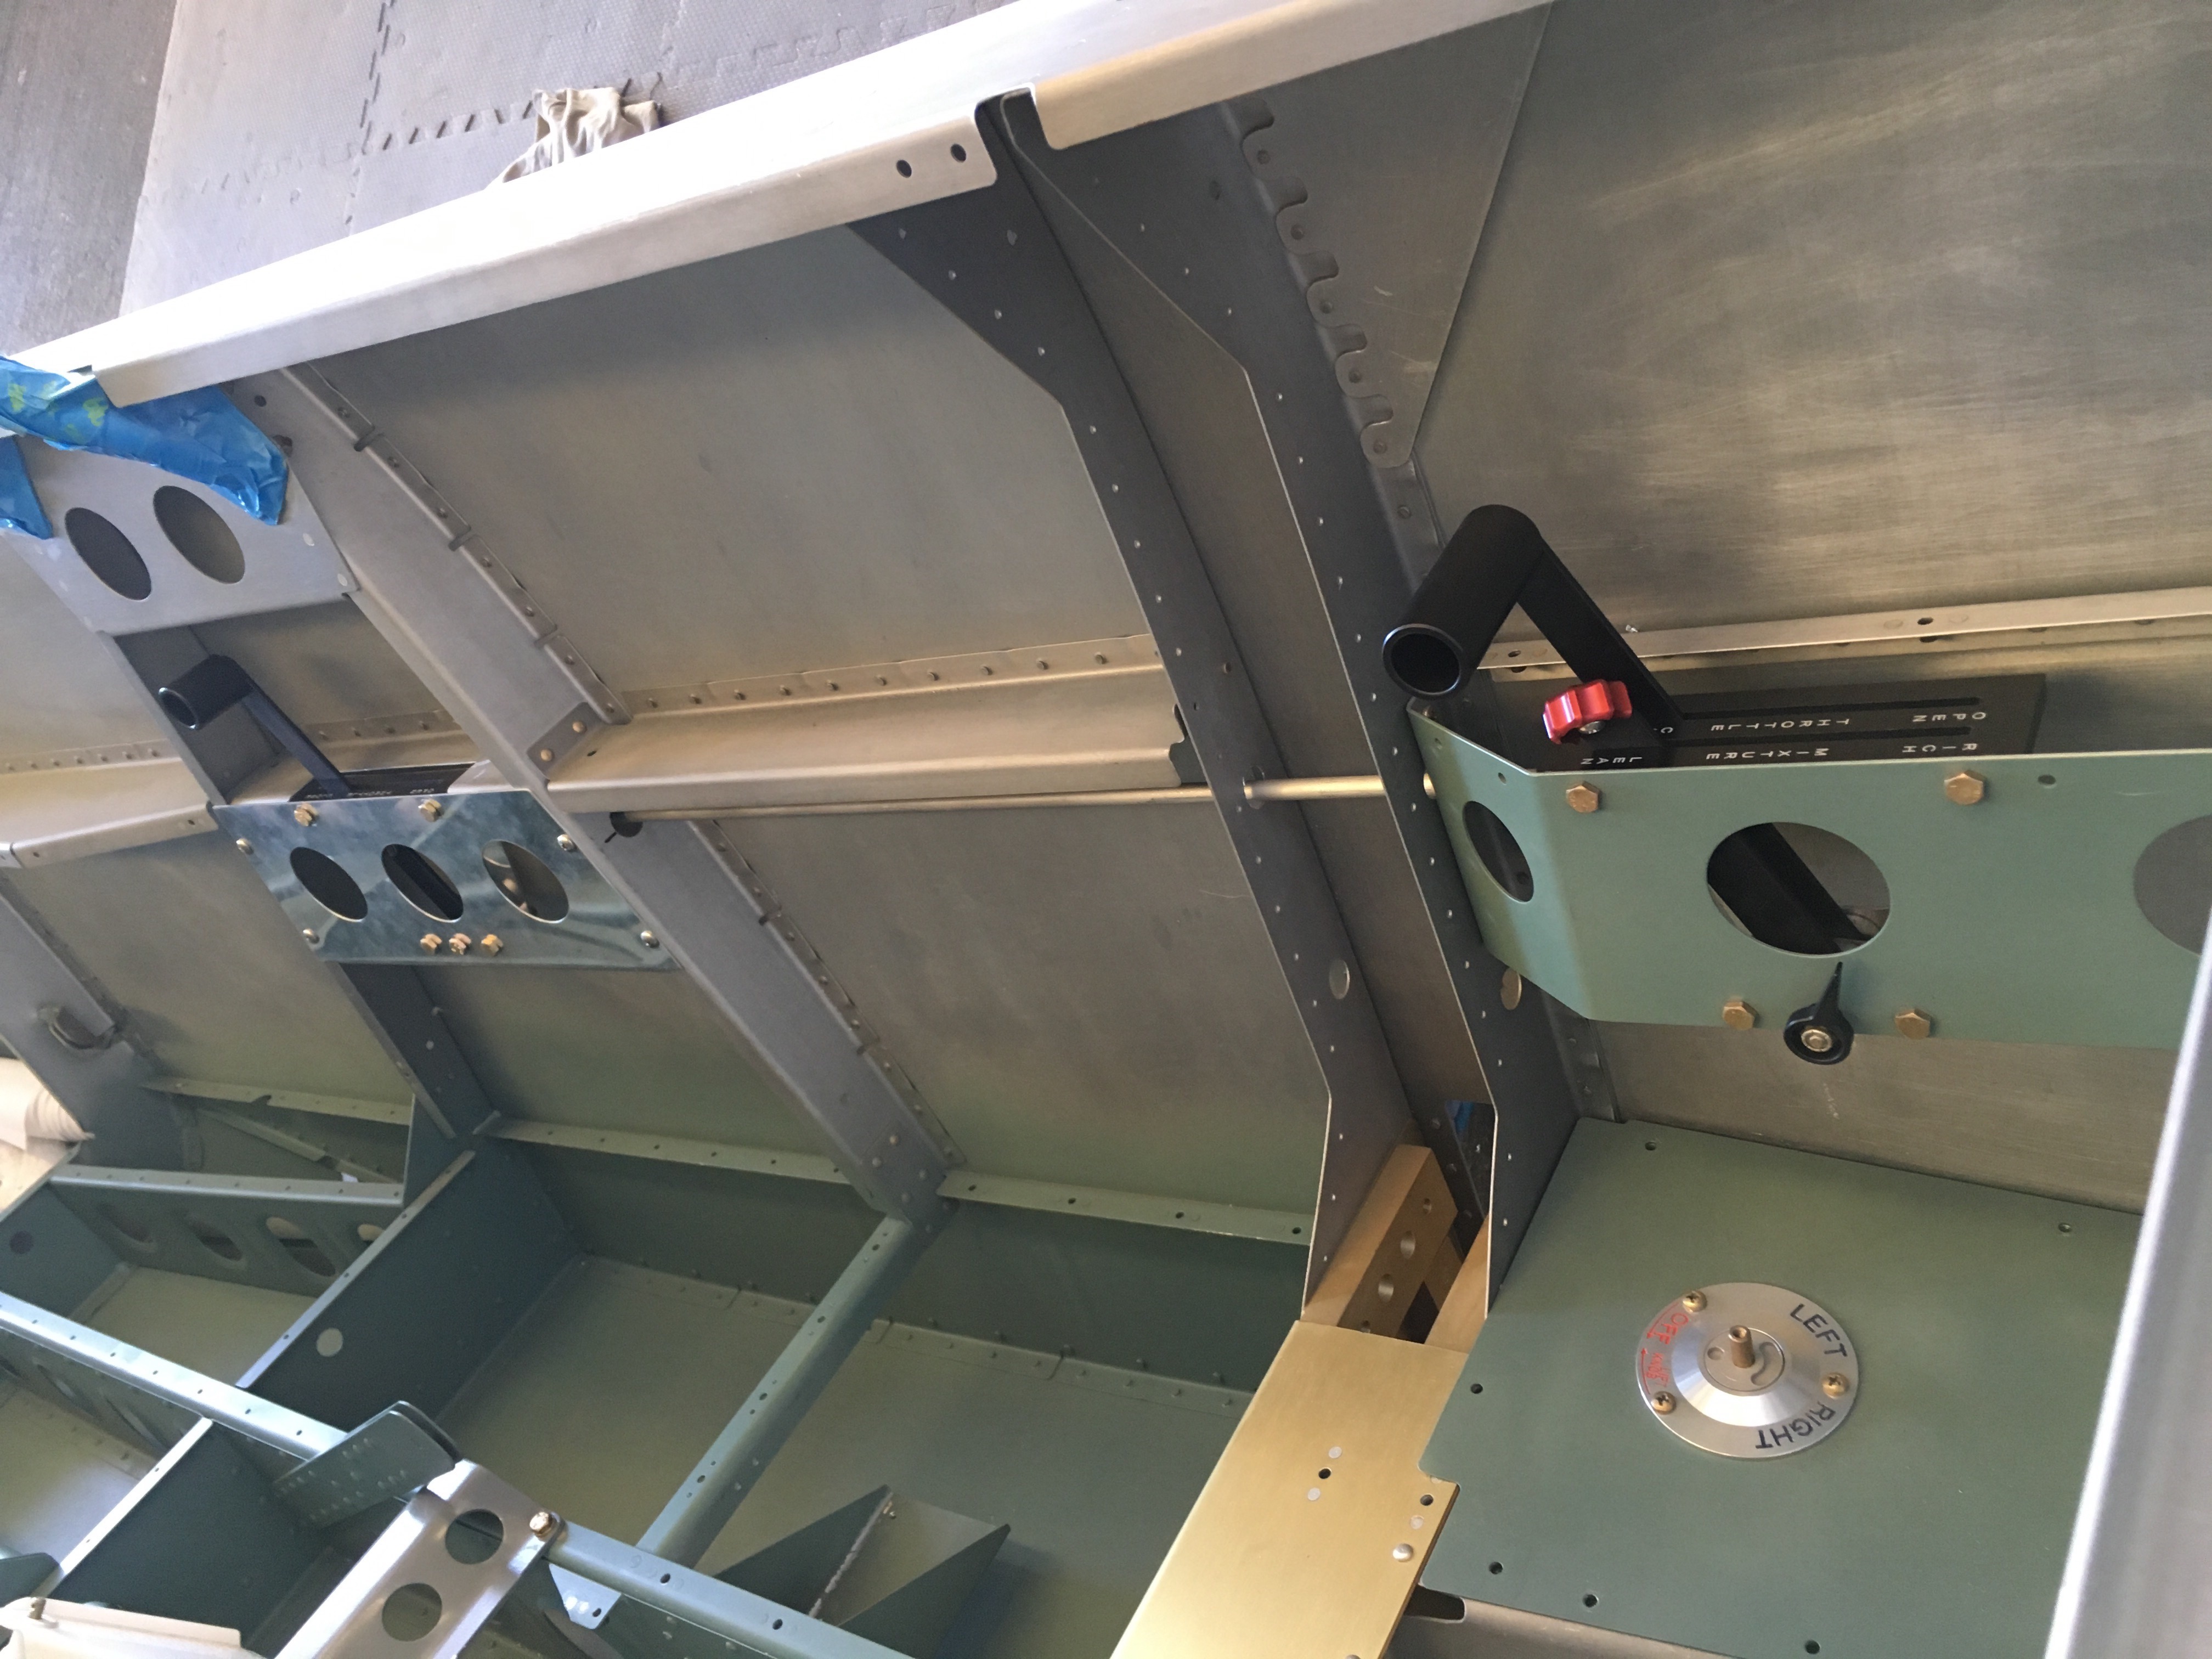
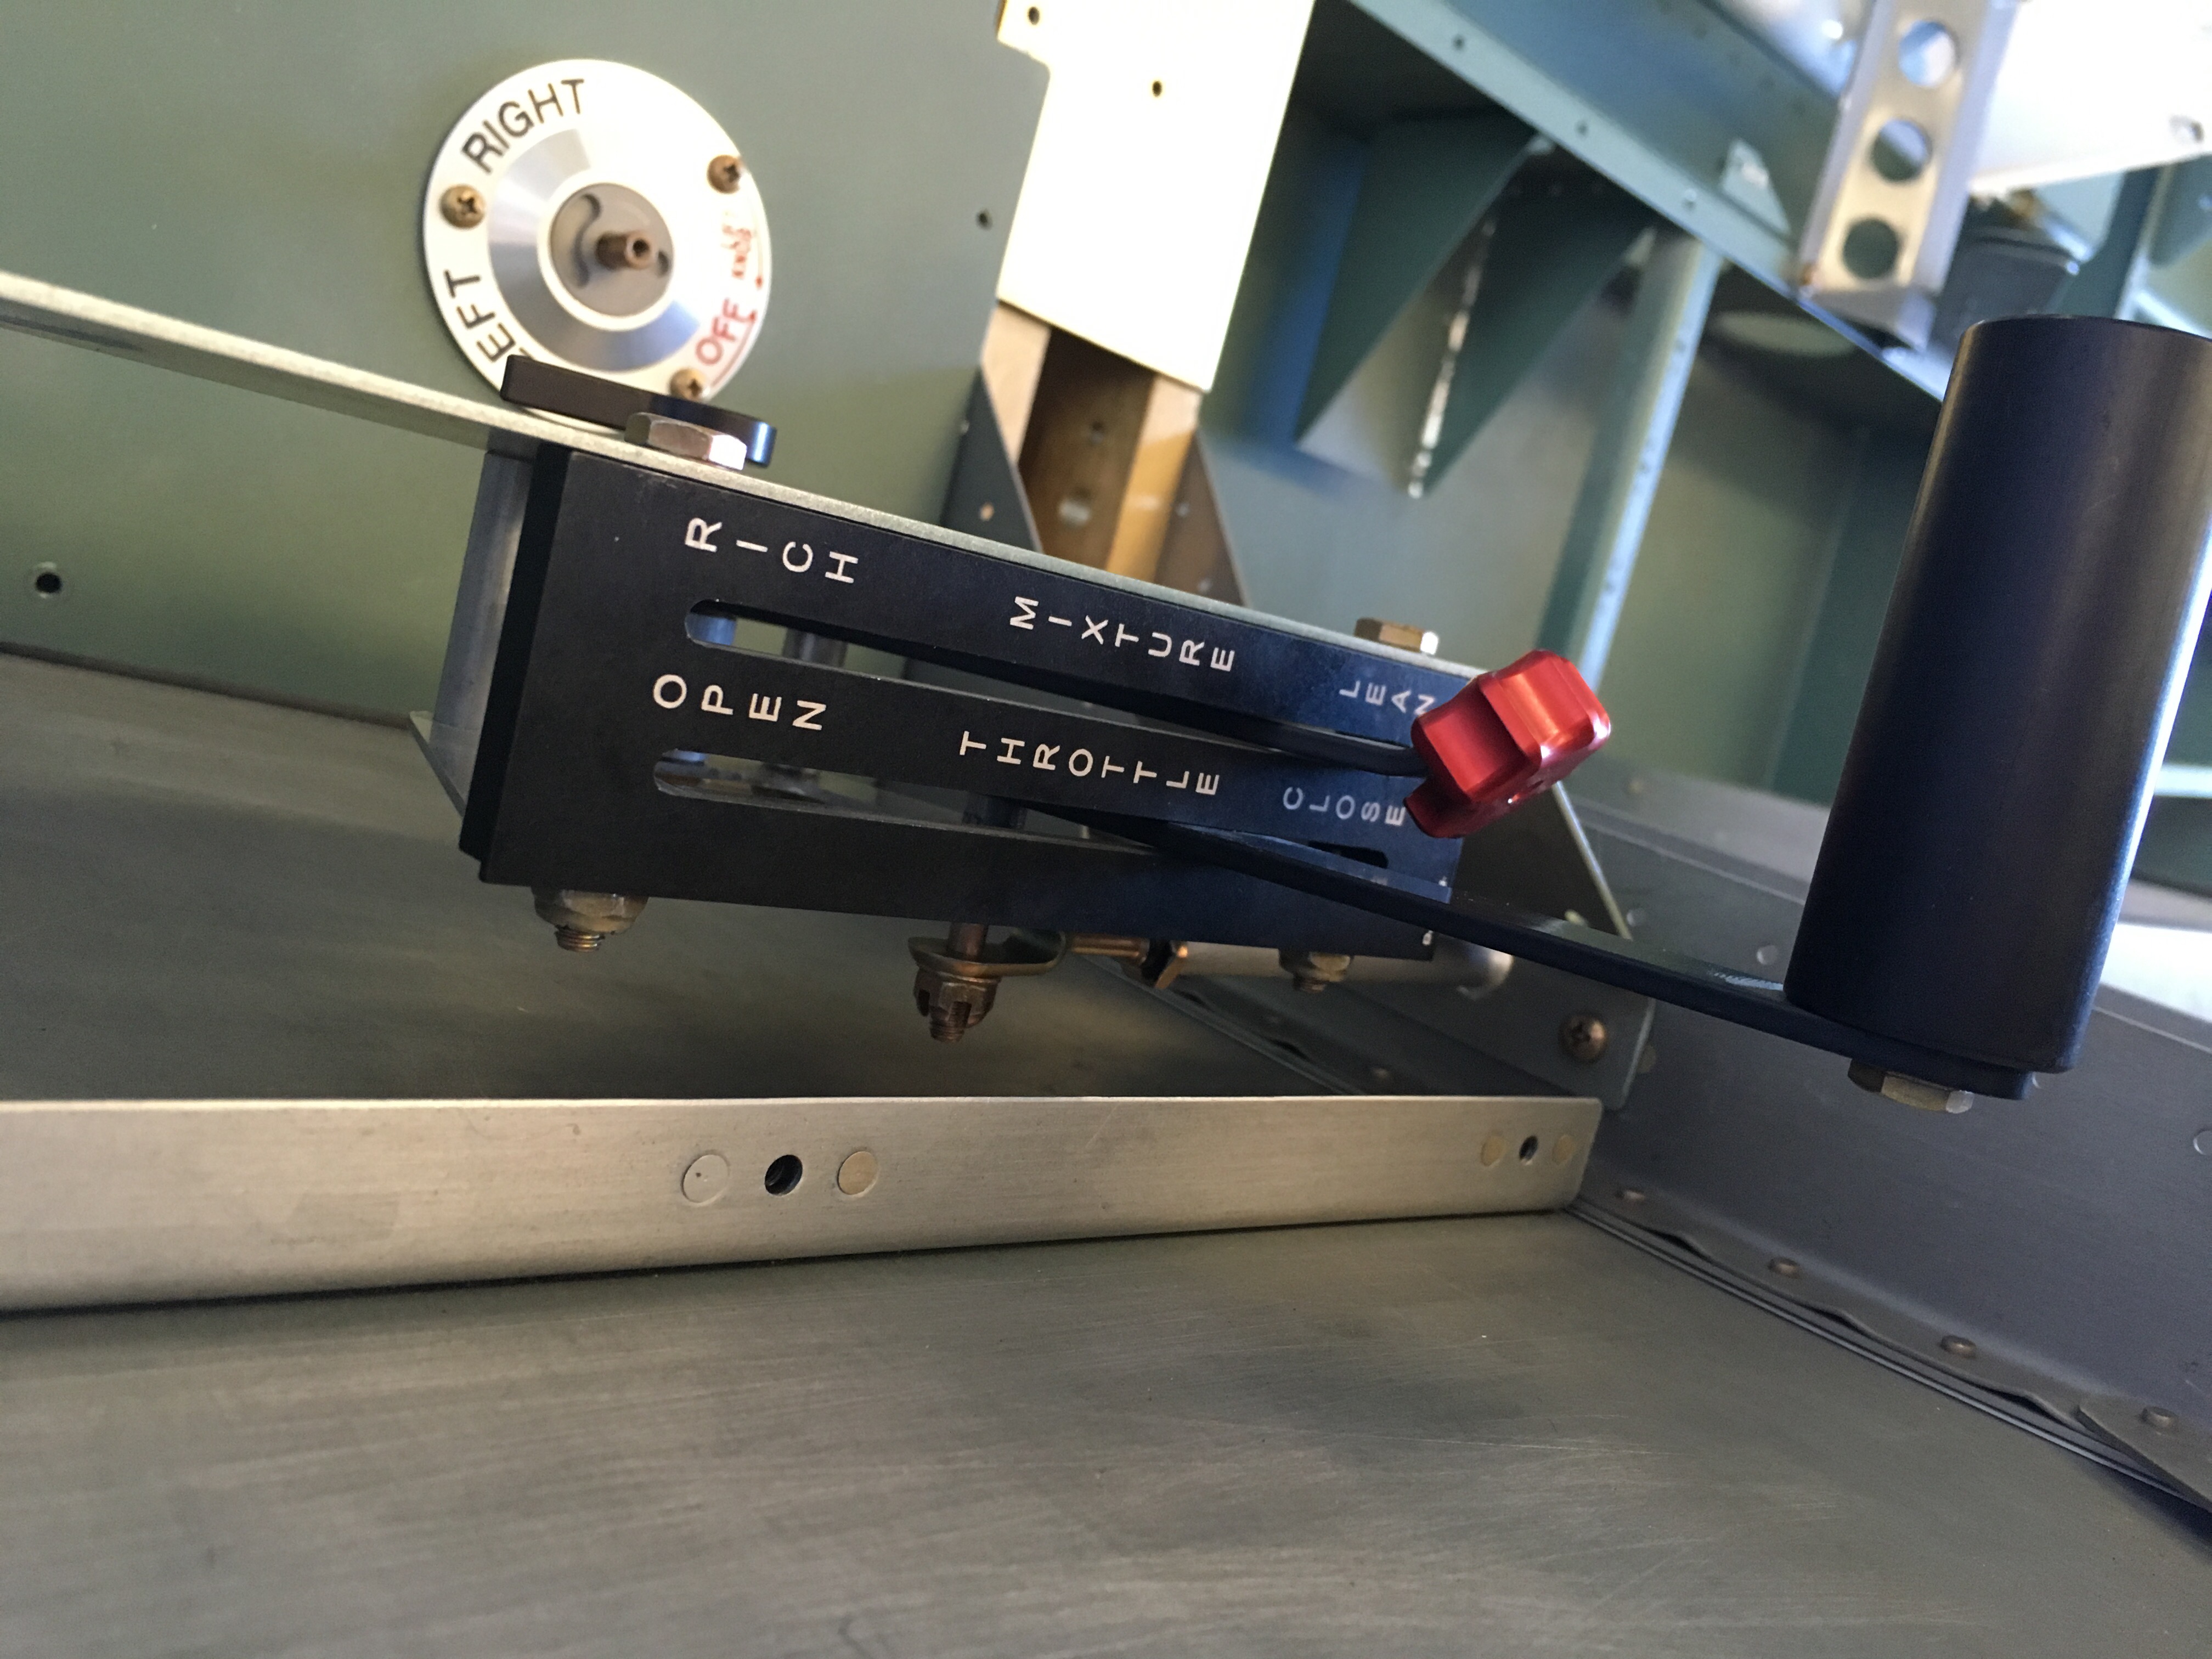
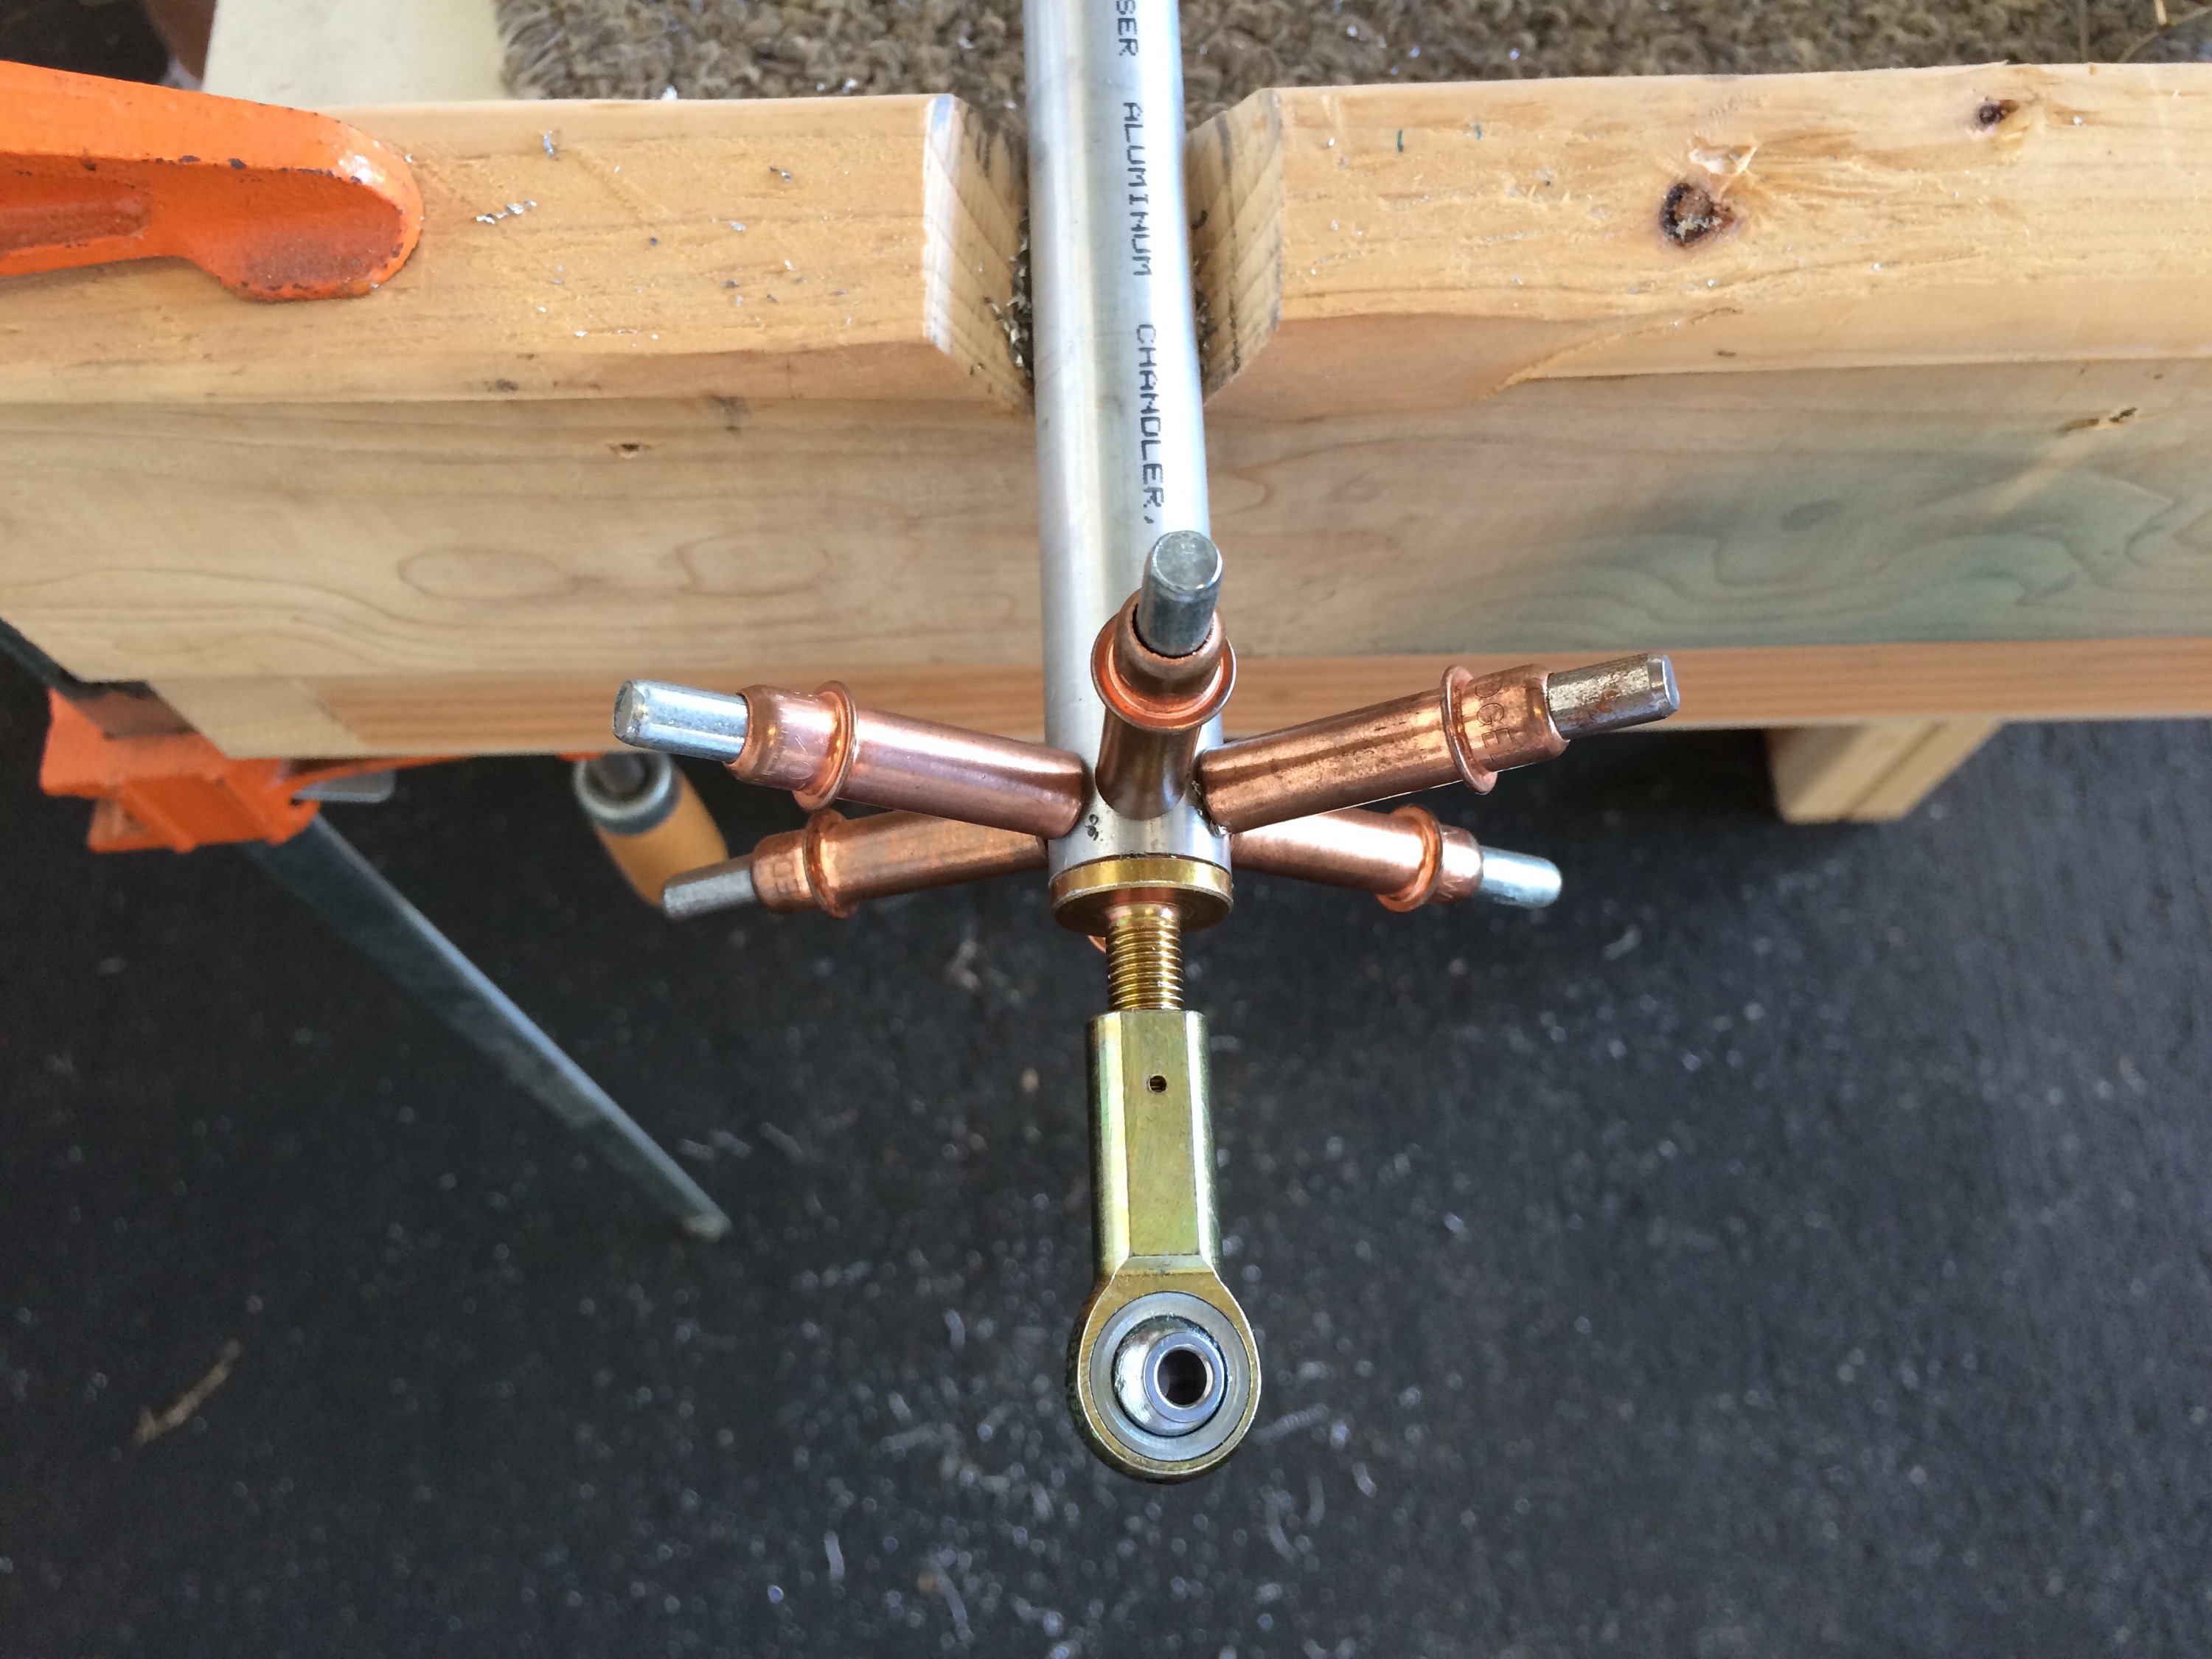
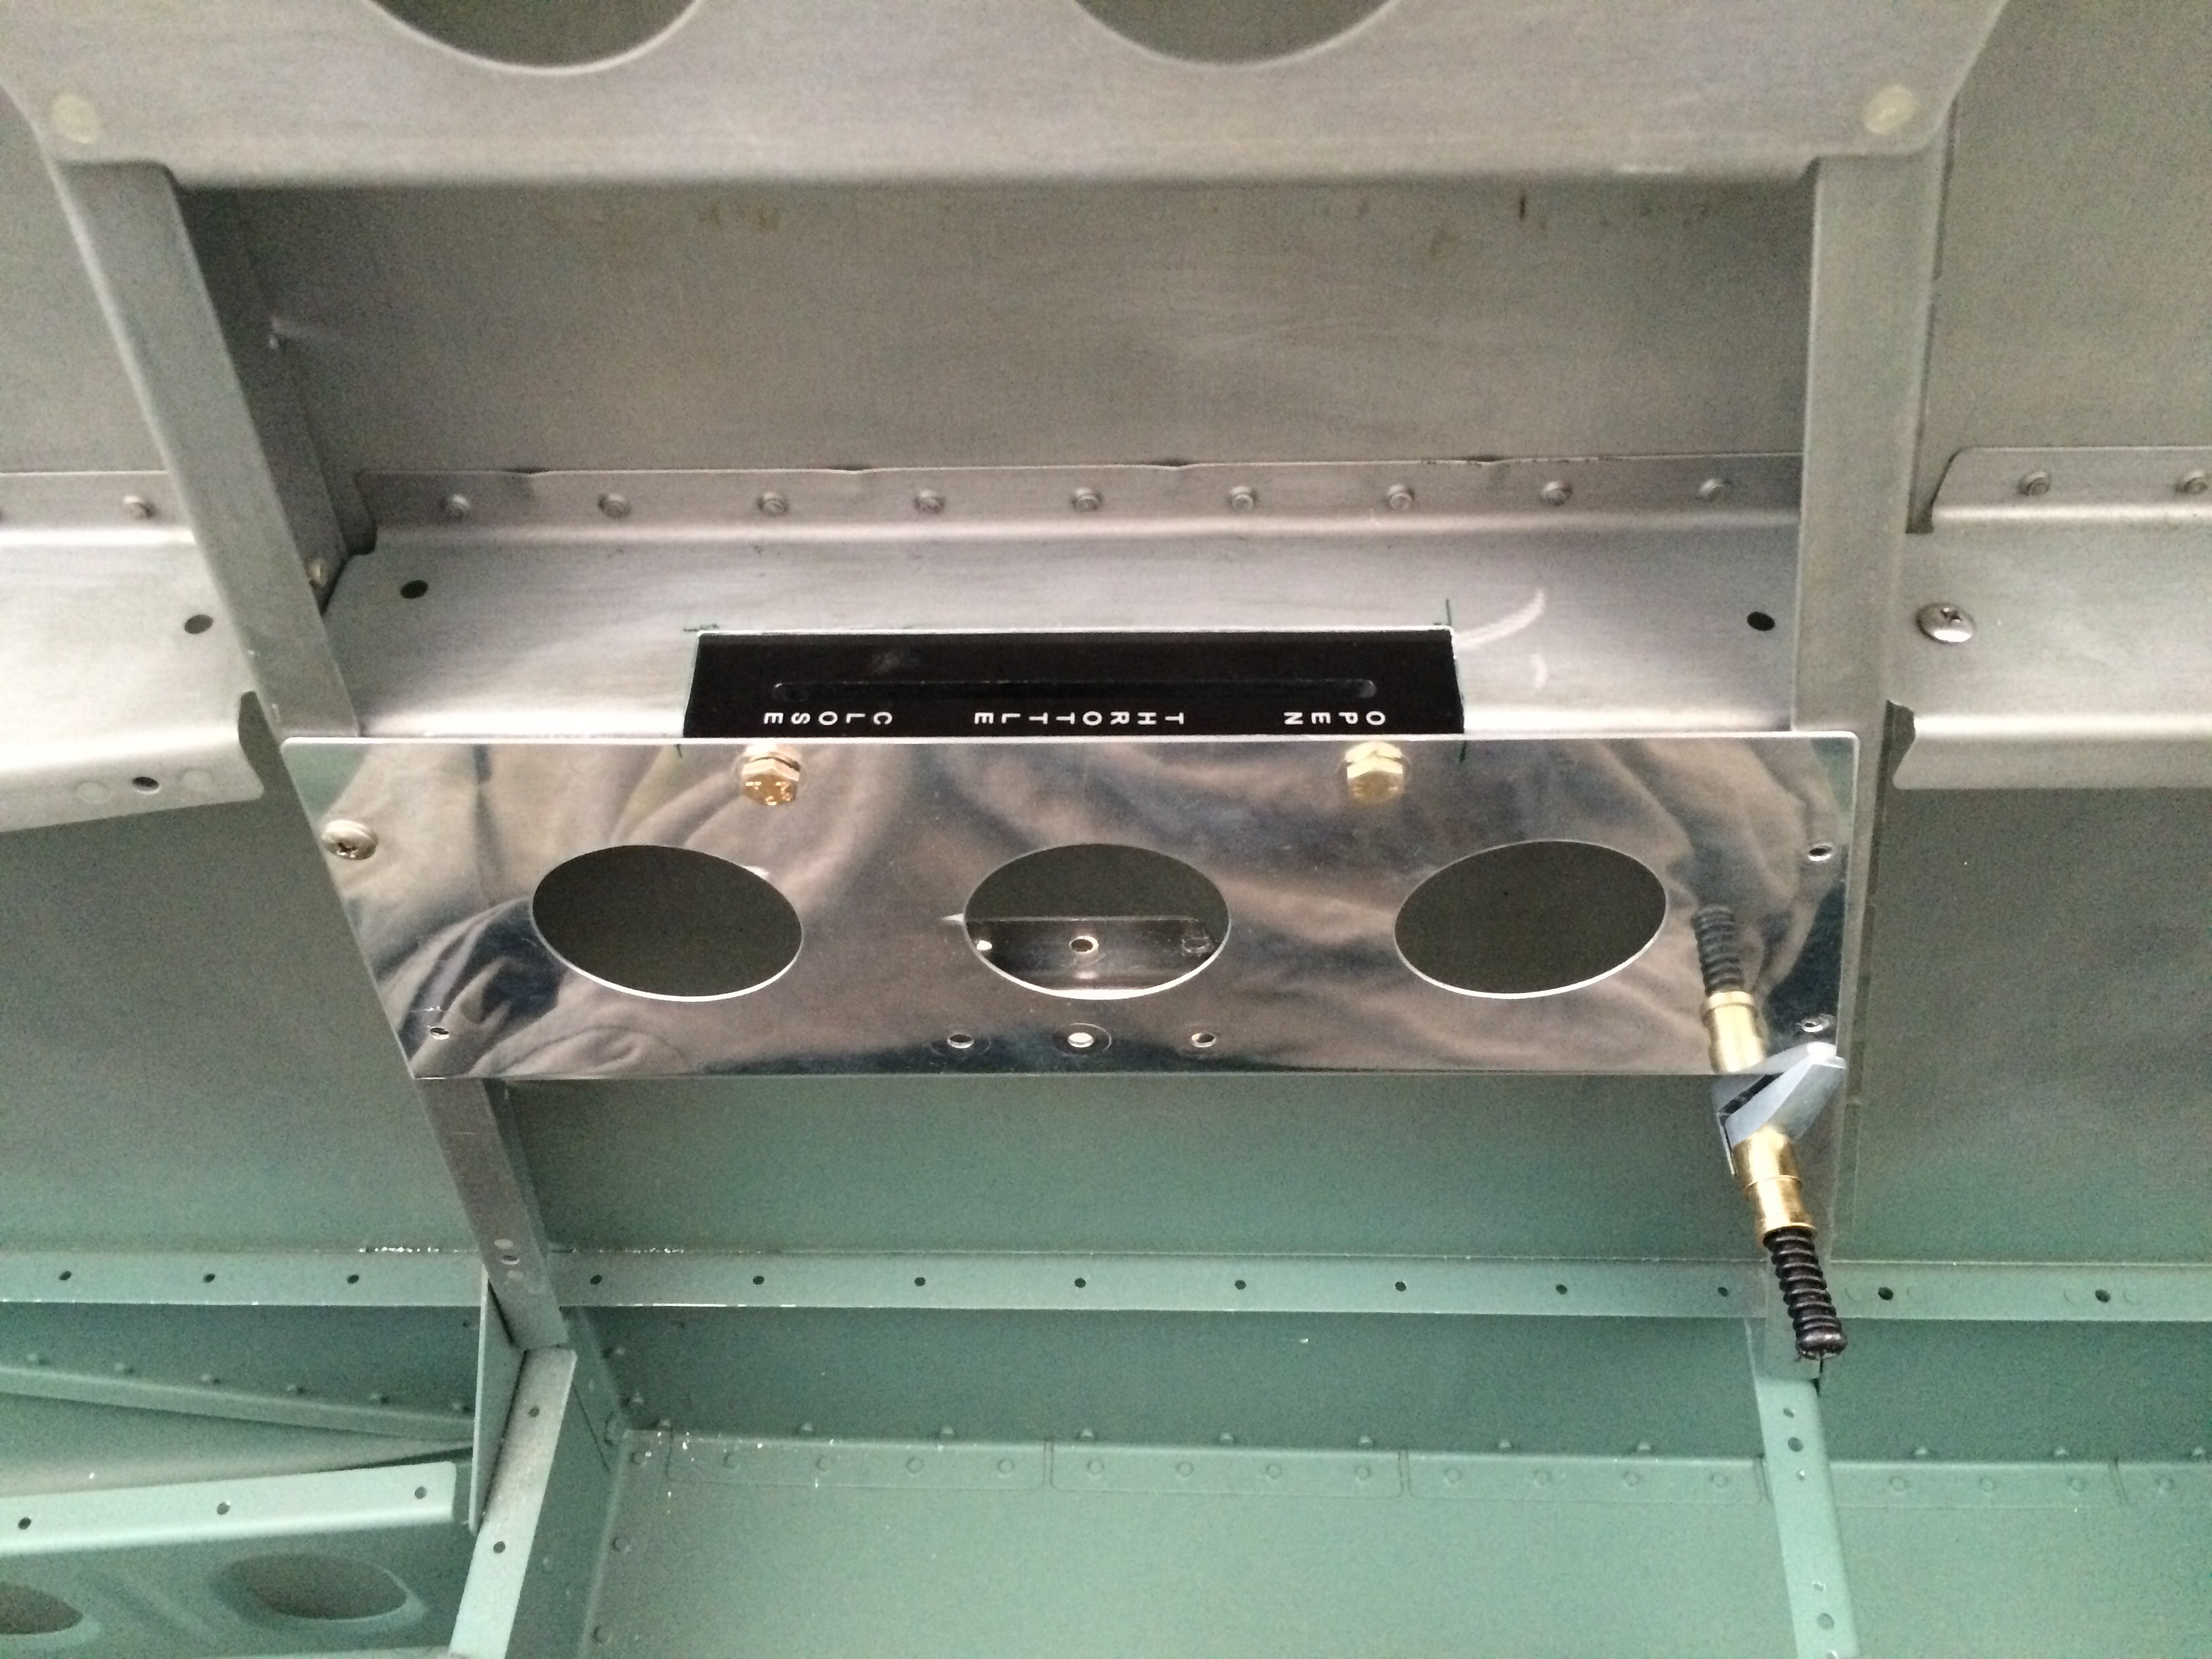
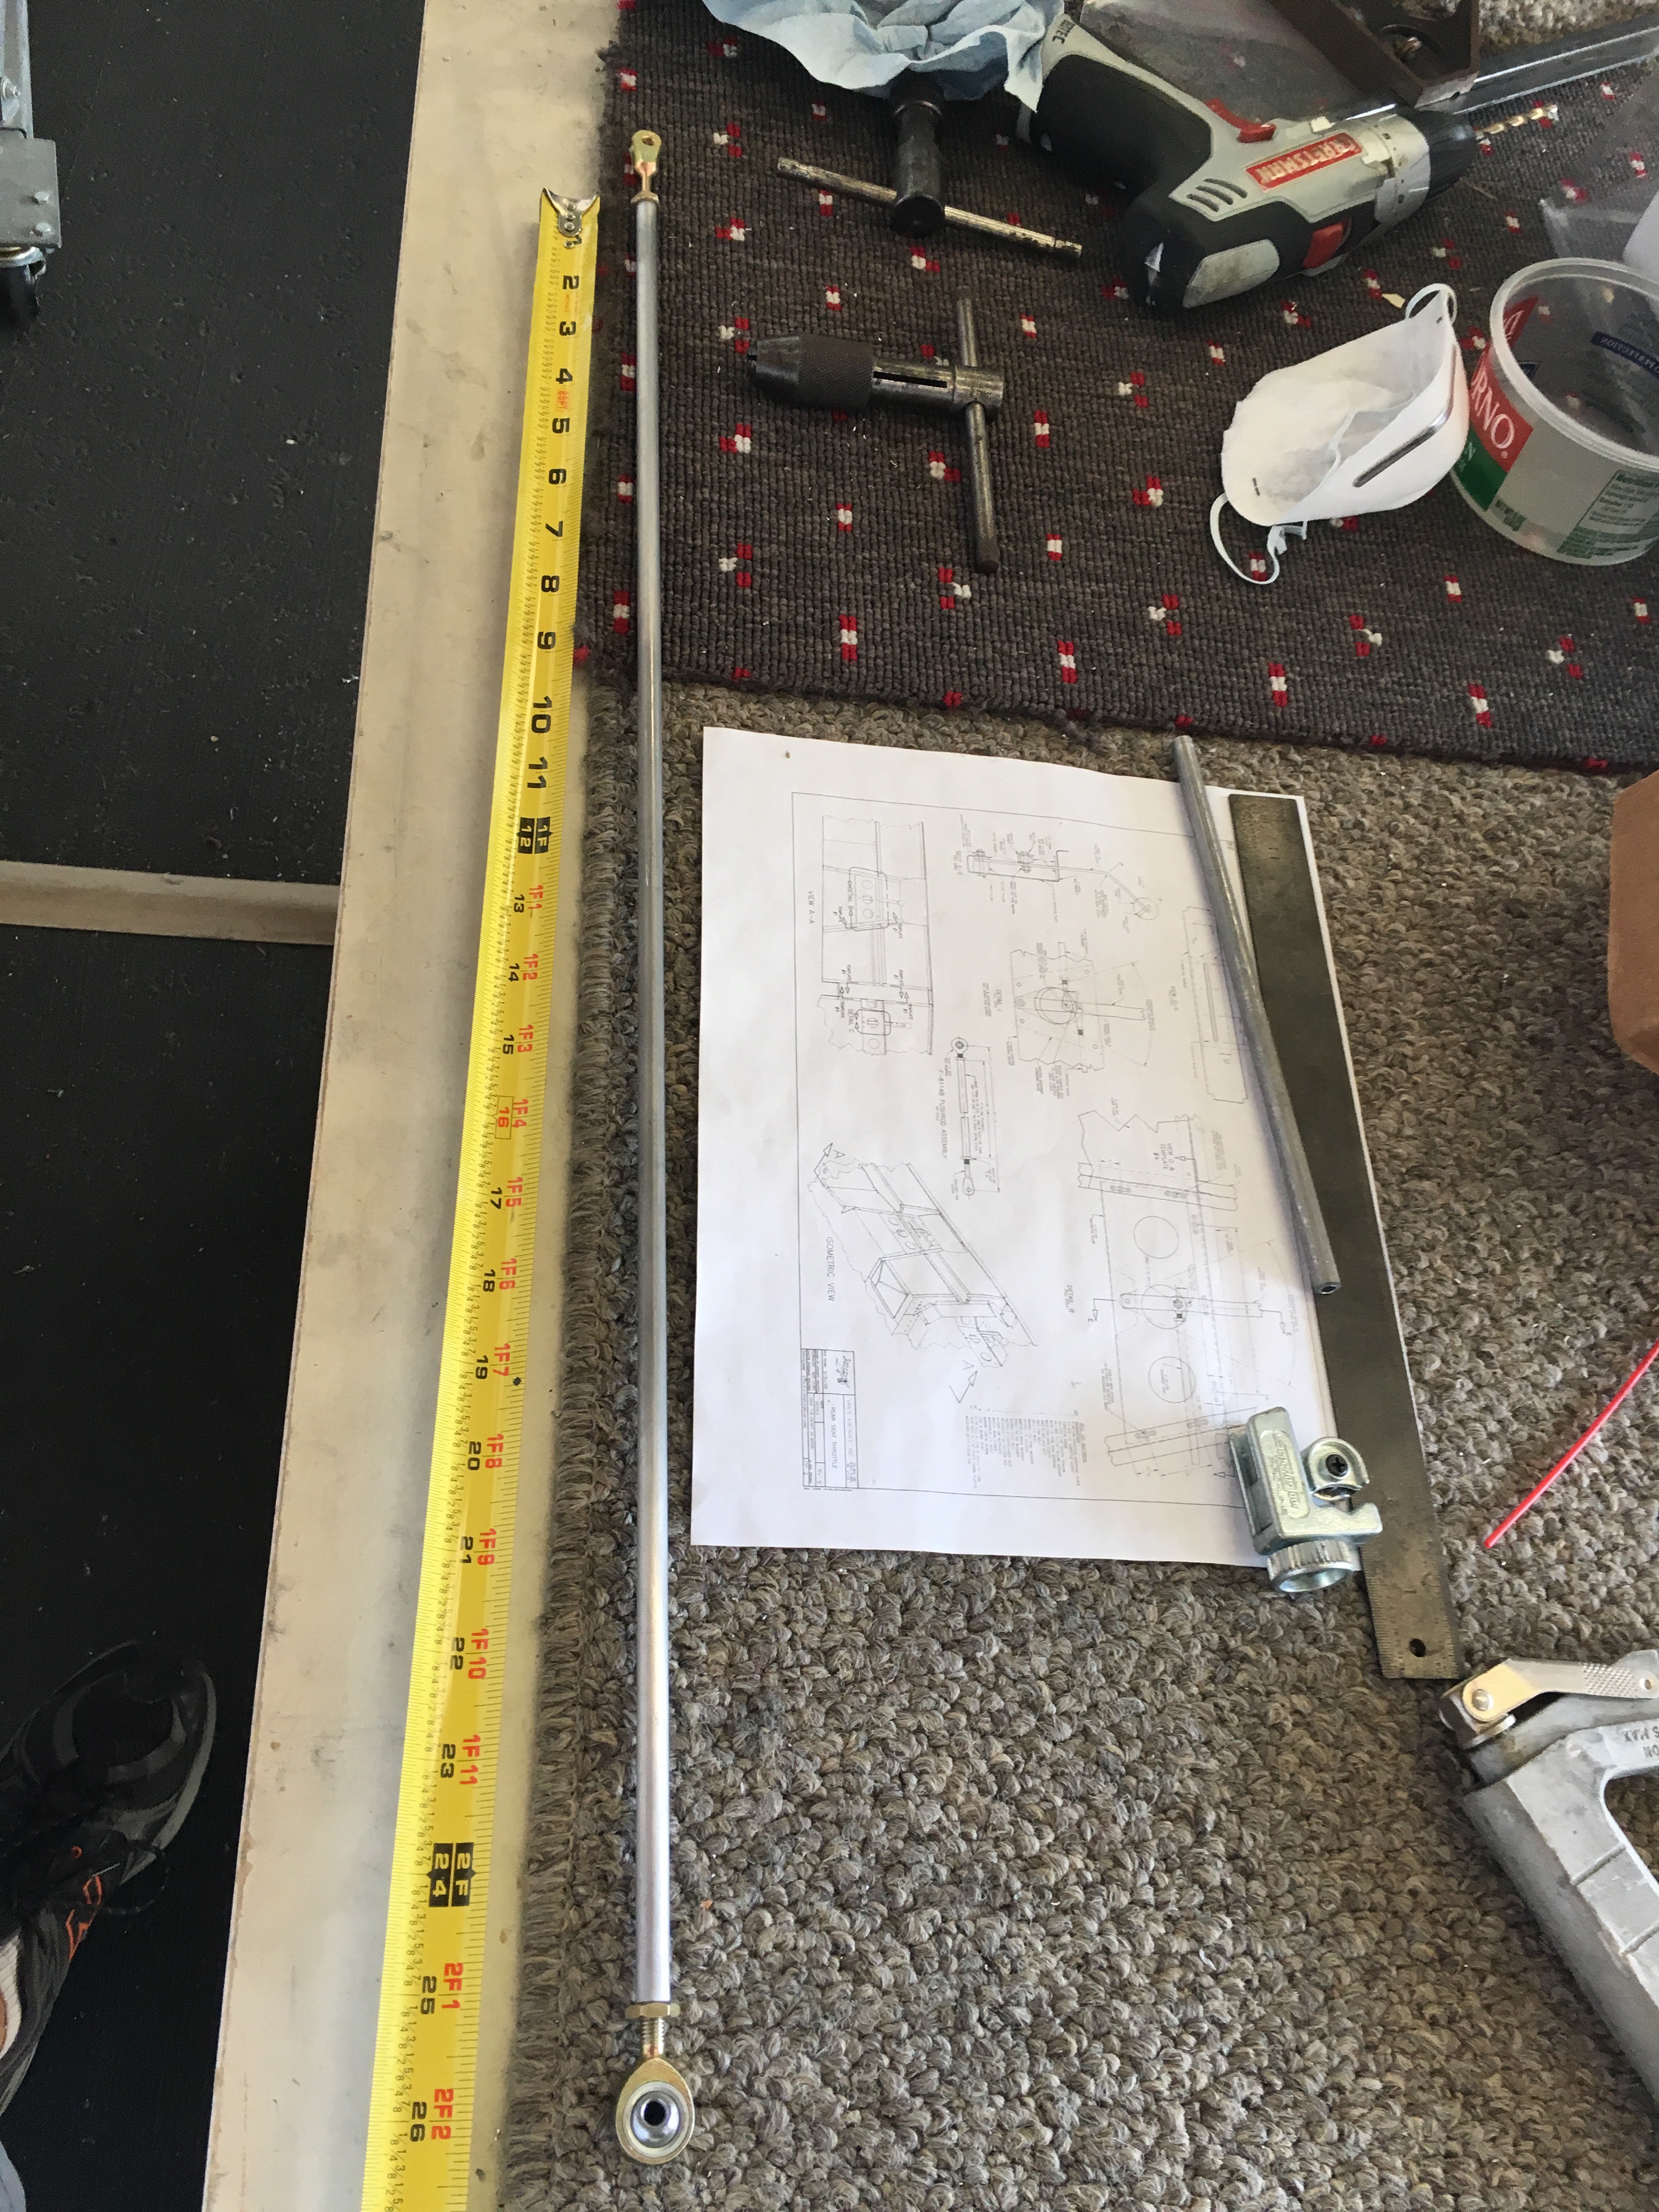
Finished up the avionics access door and got the front-rear throttle linkage built.
Rough Cut of the door: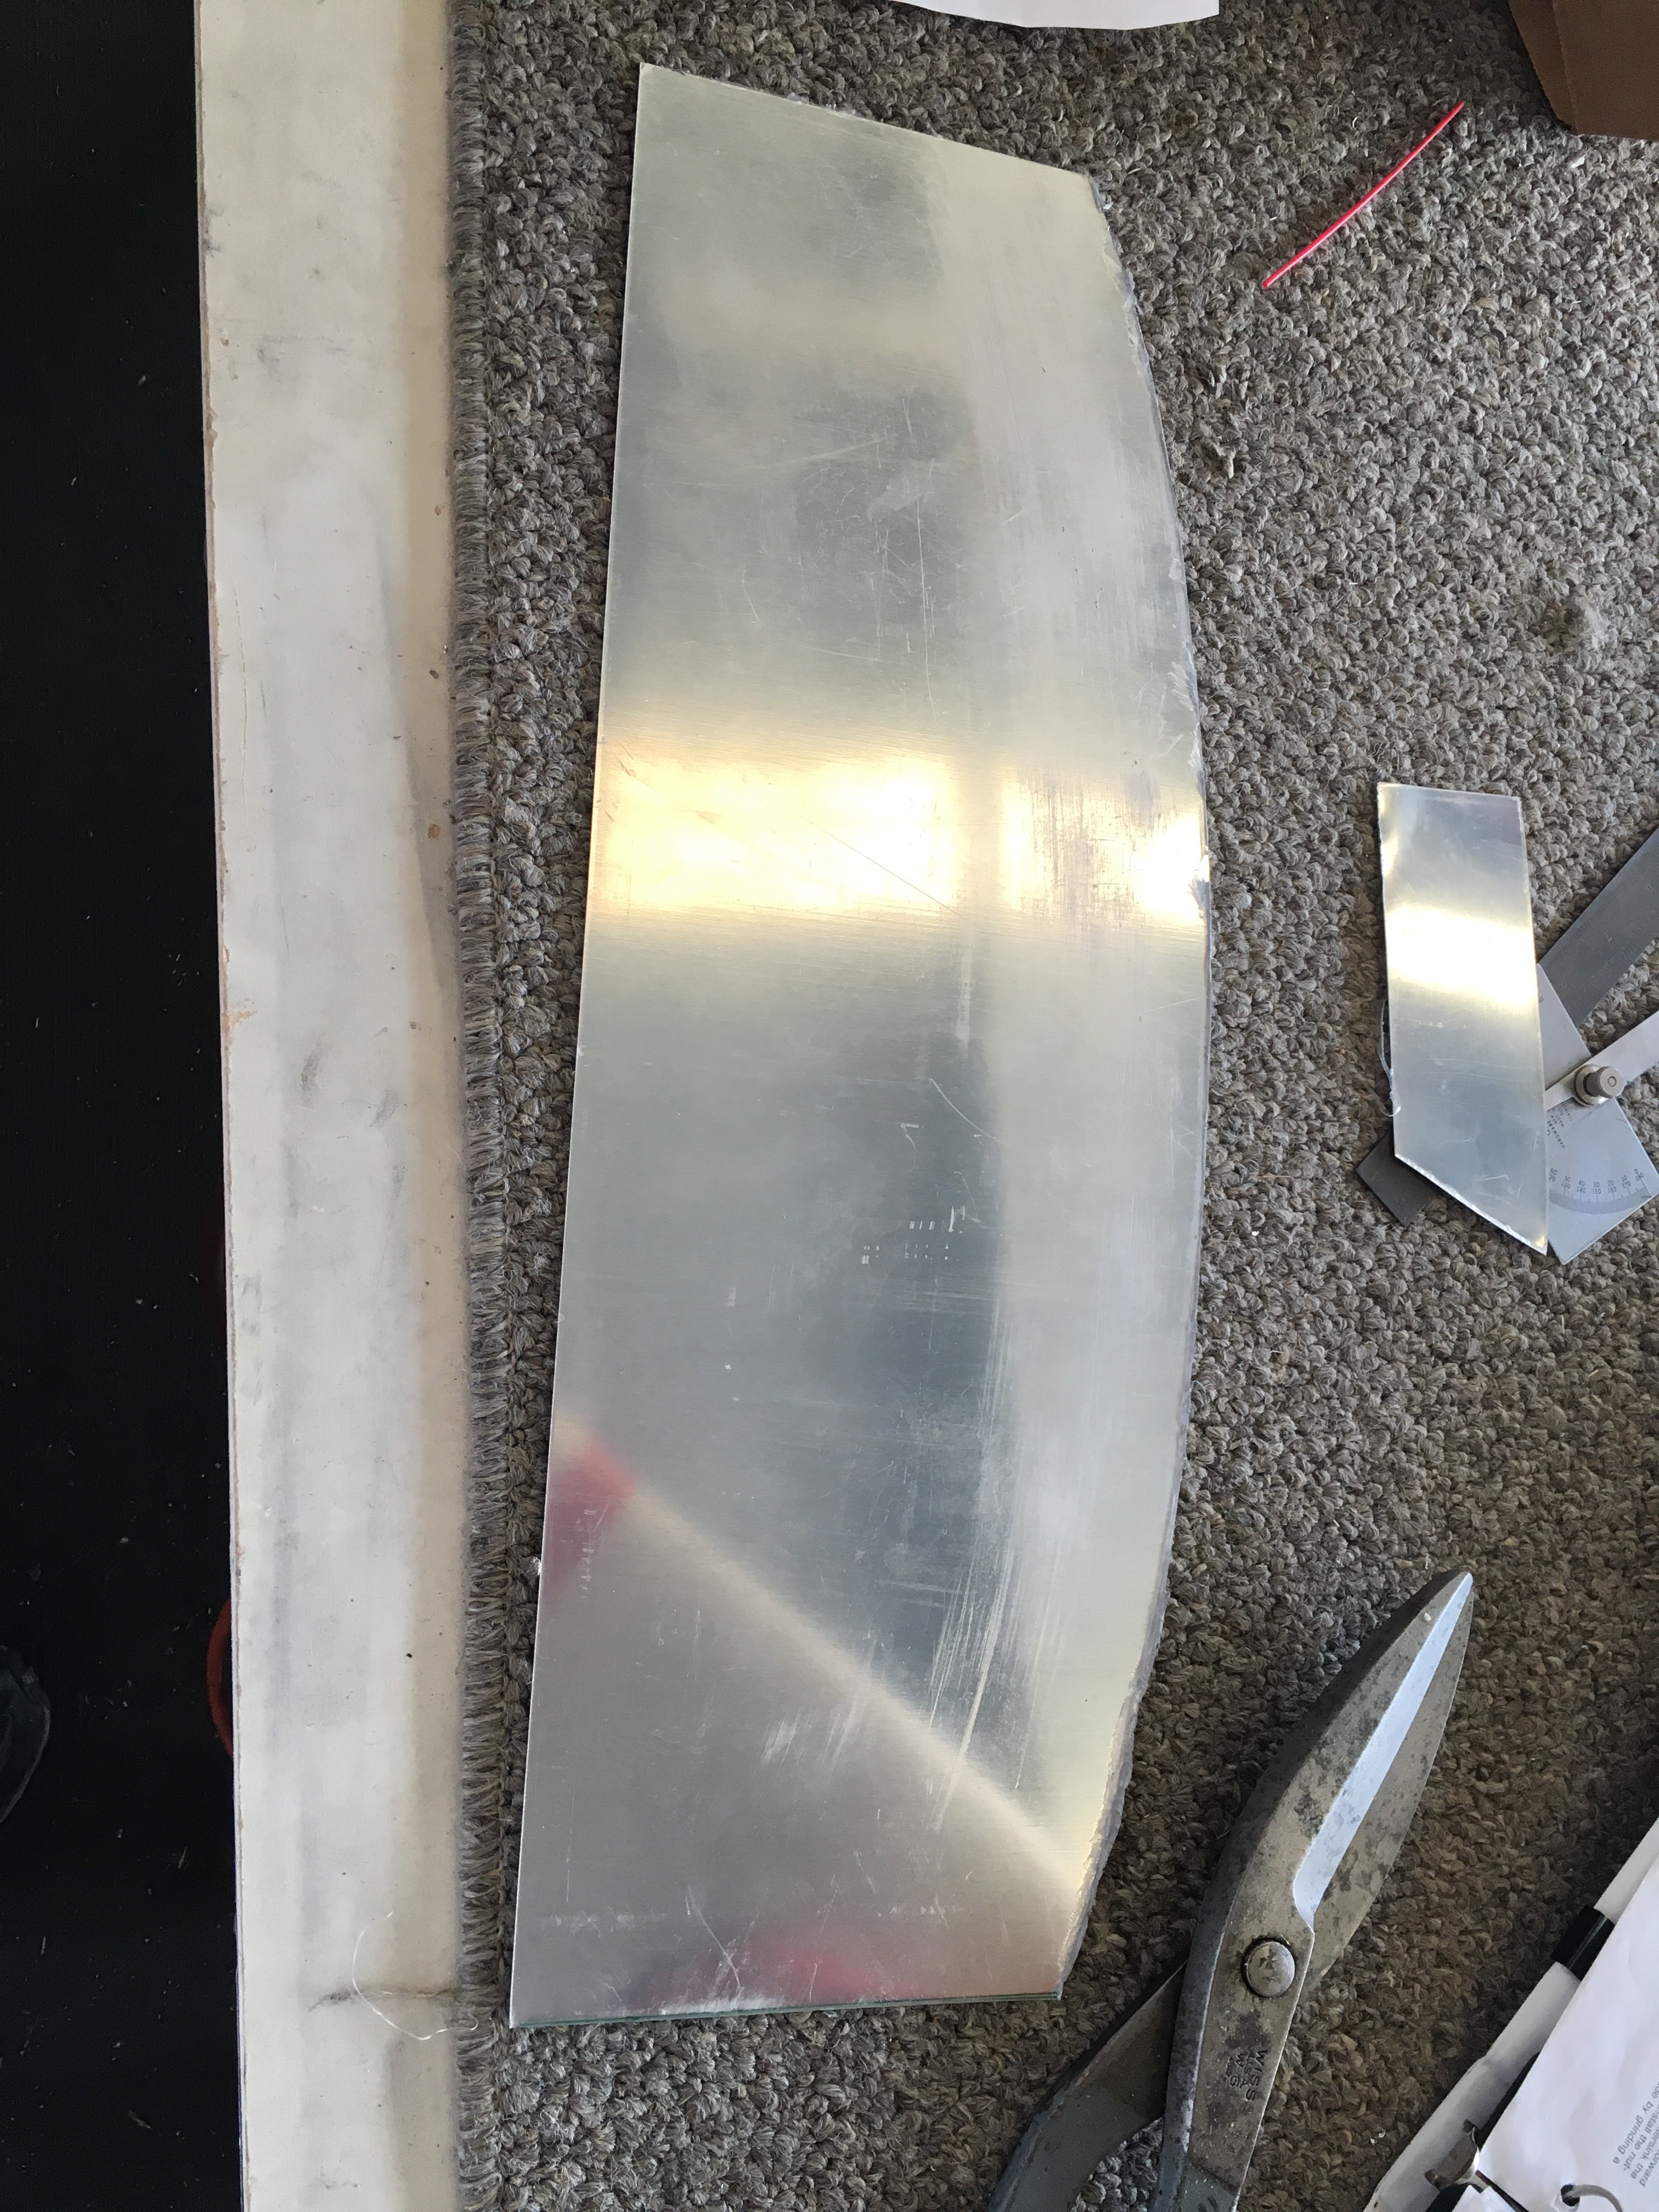
Laying out the rivets for the hinge with the rivet spacer.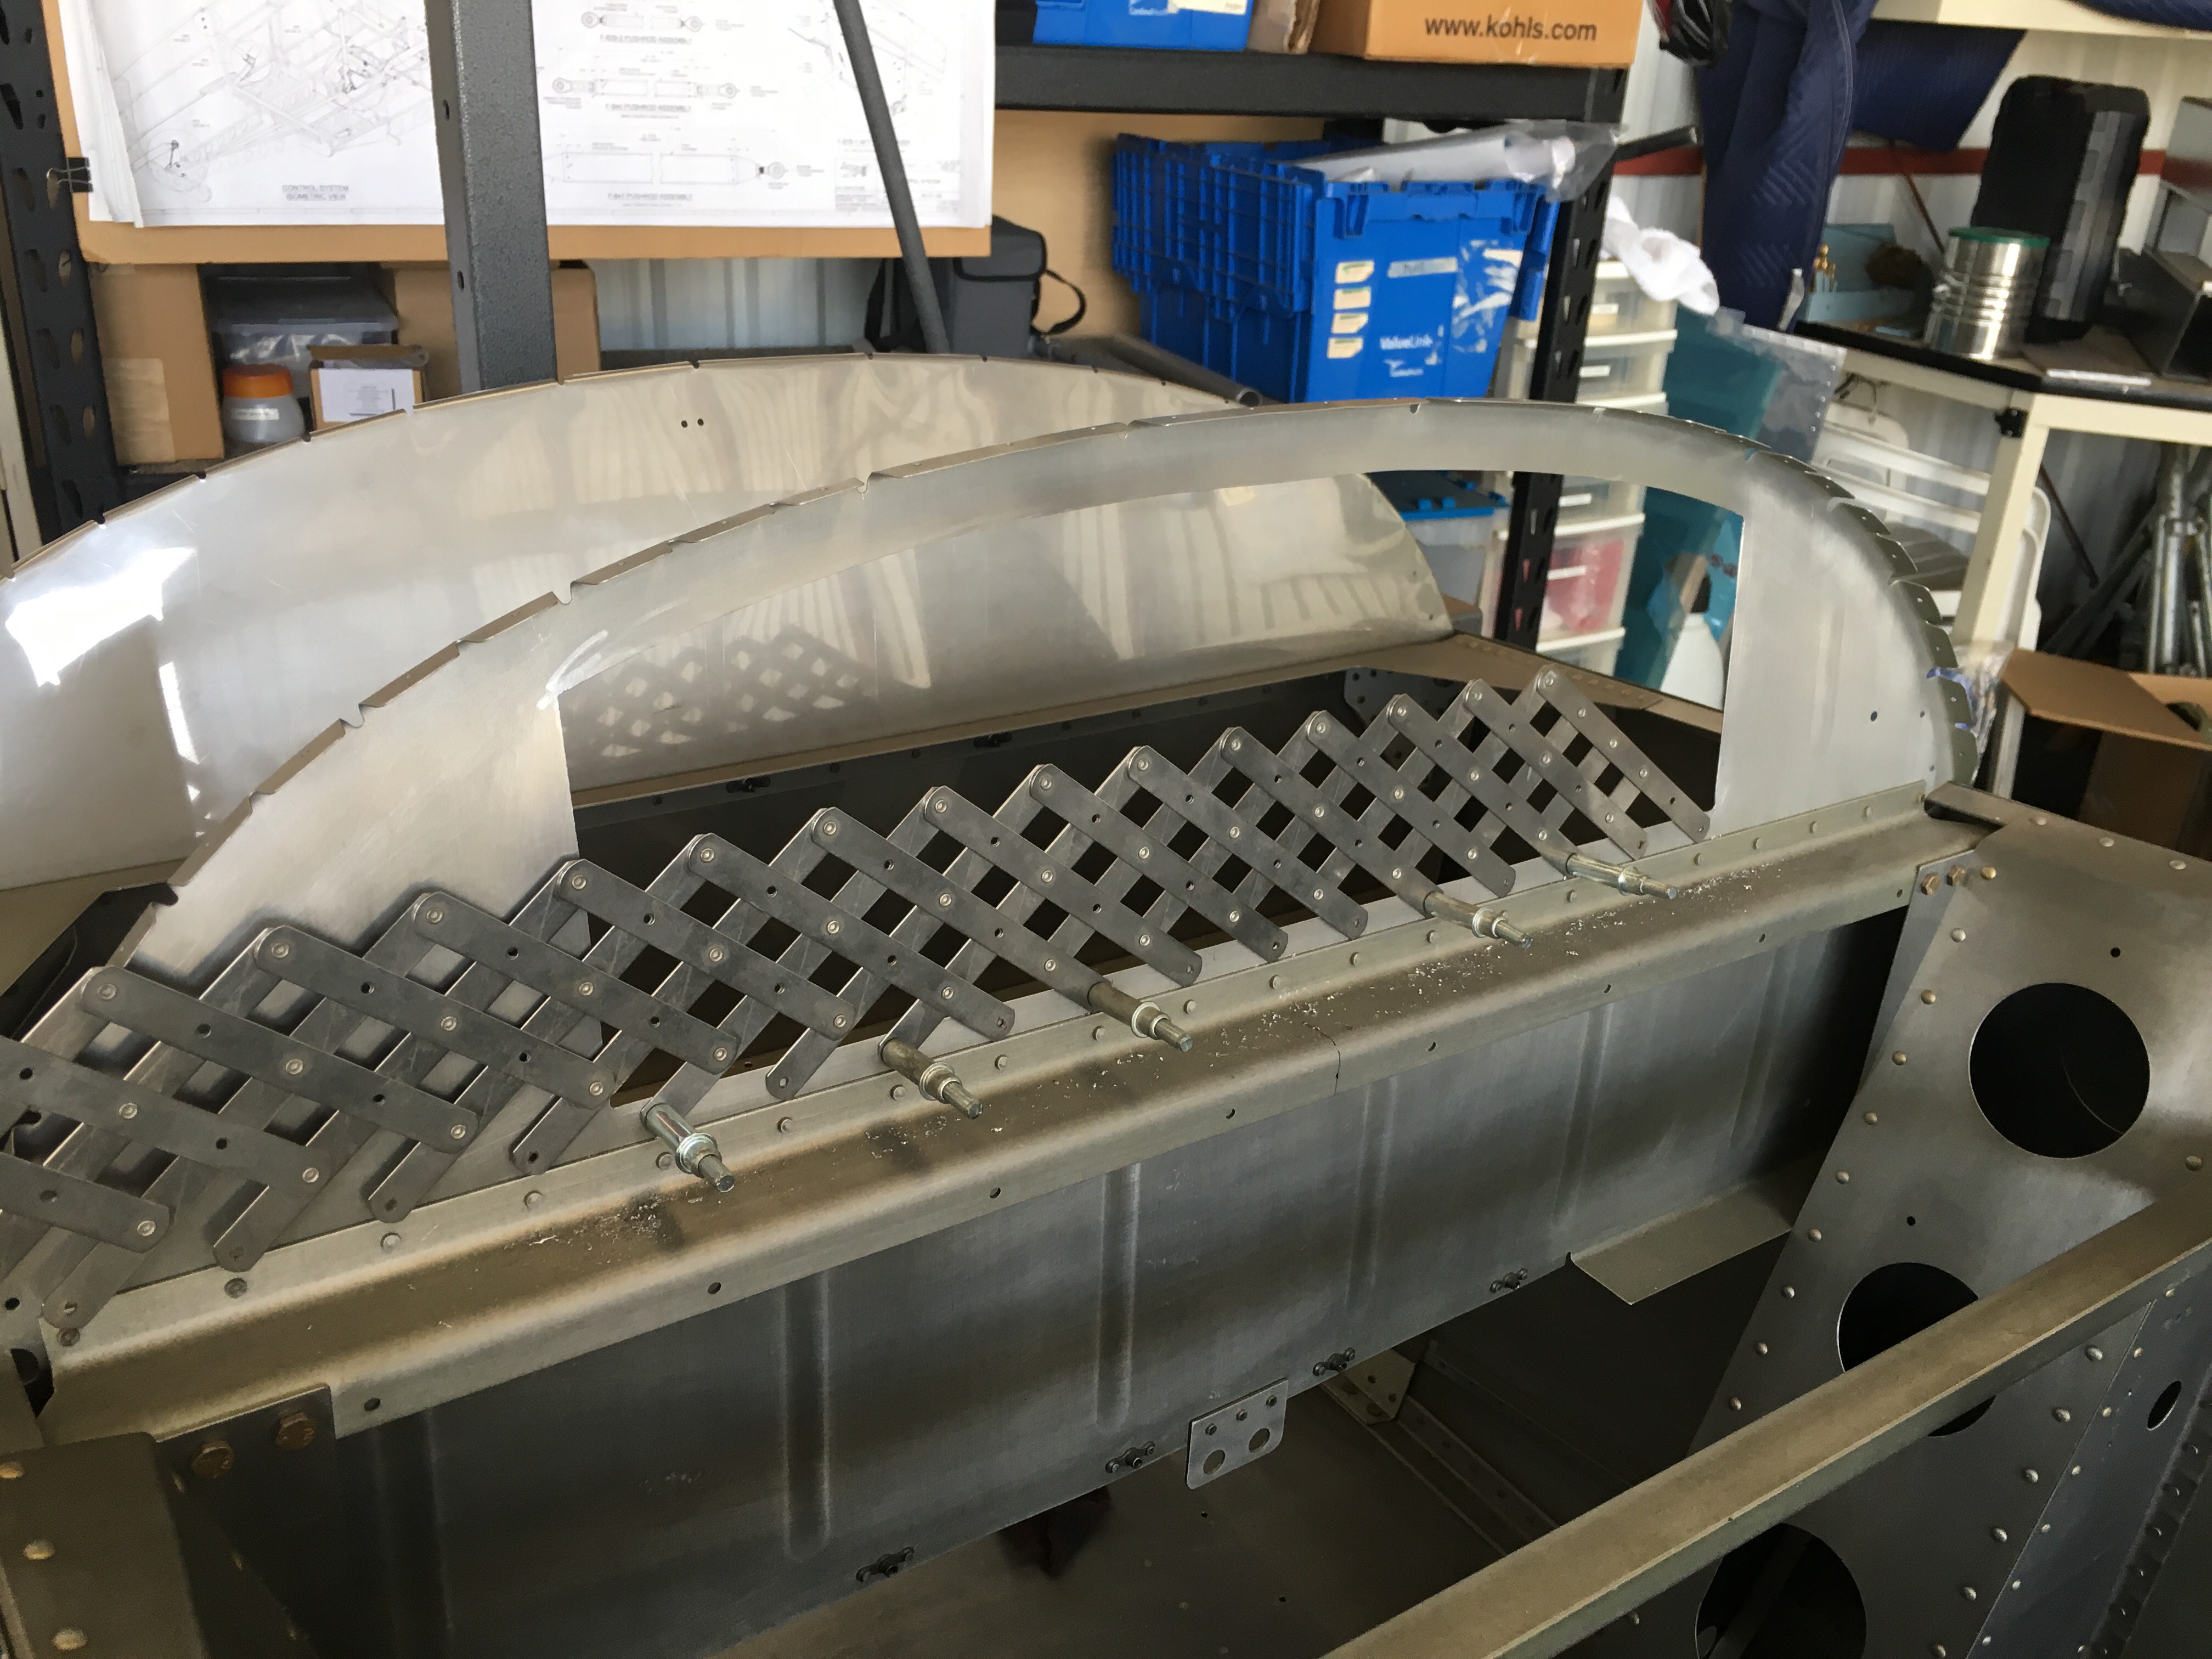
Hinge clamped in place: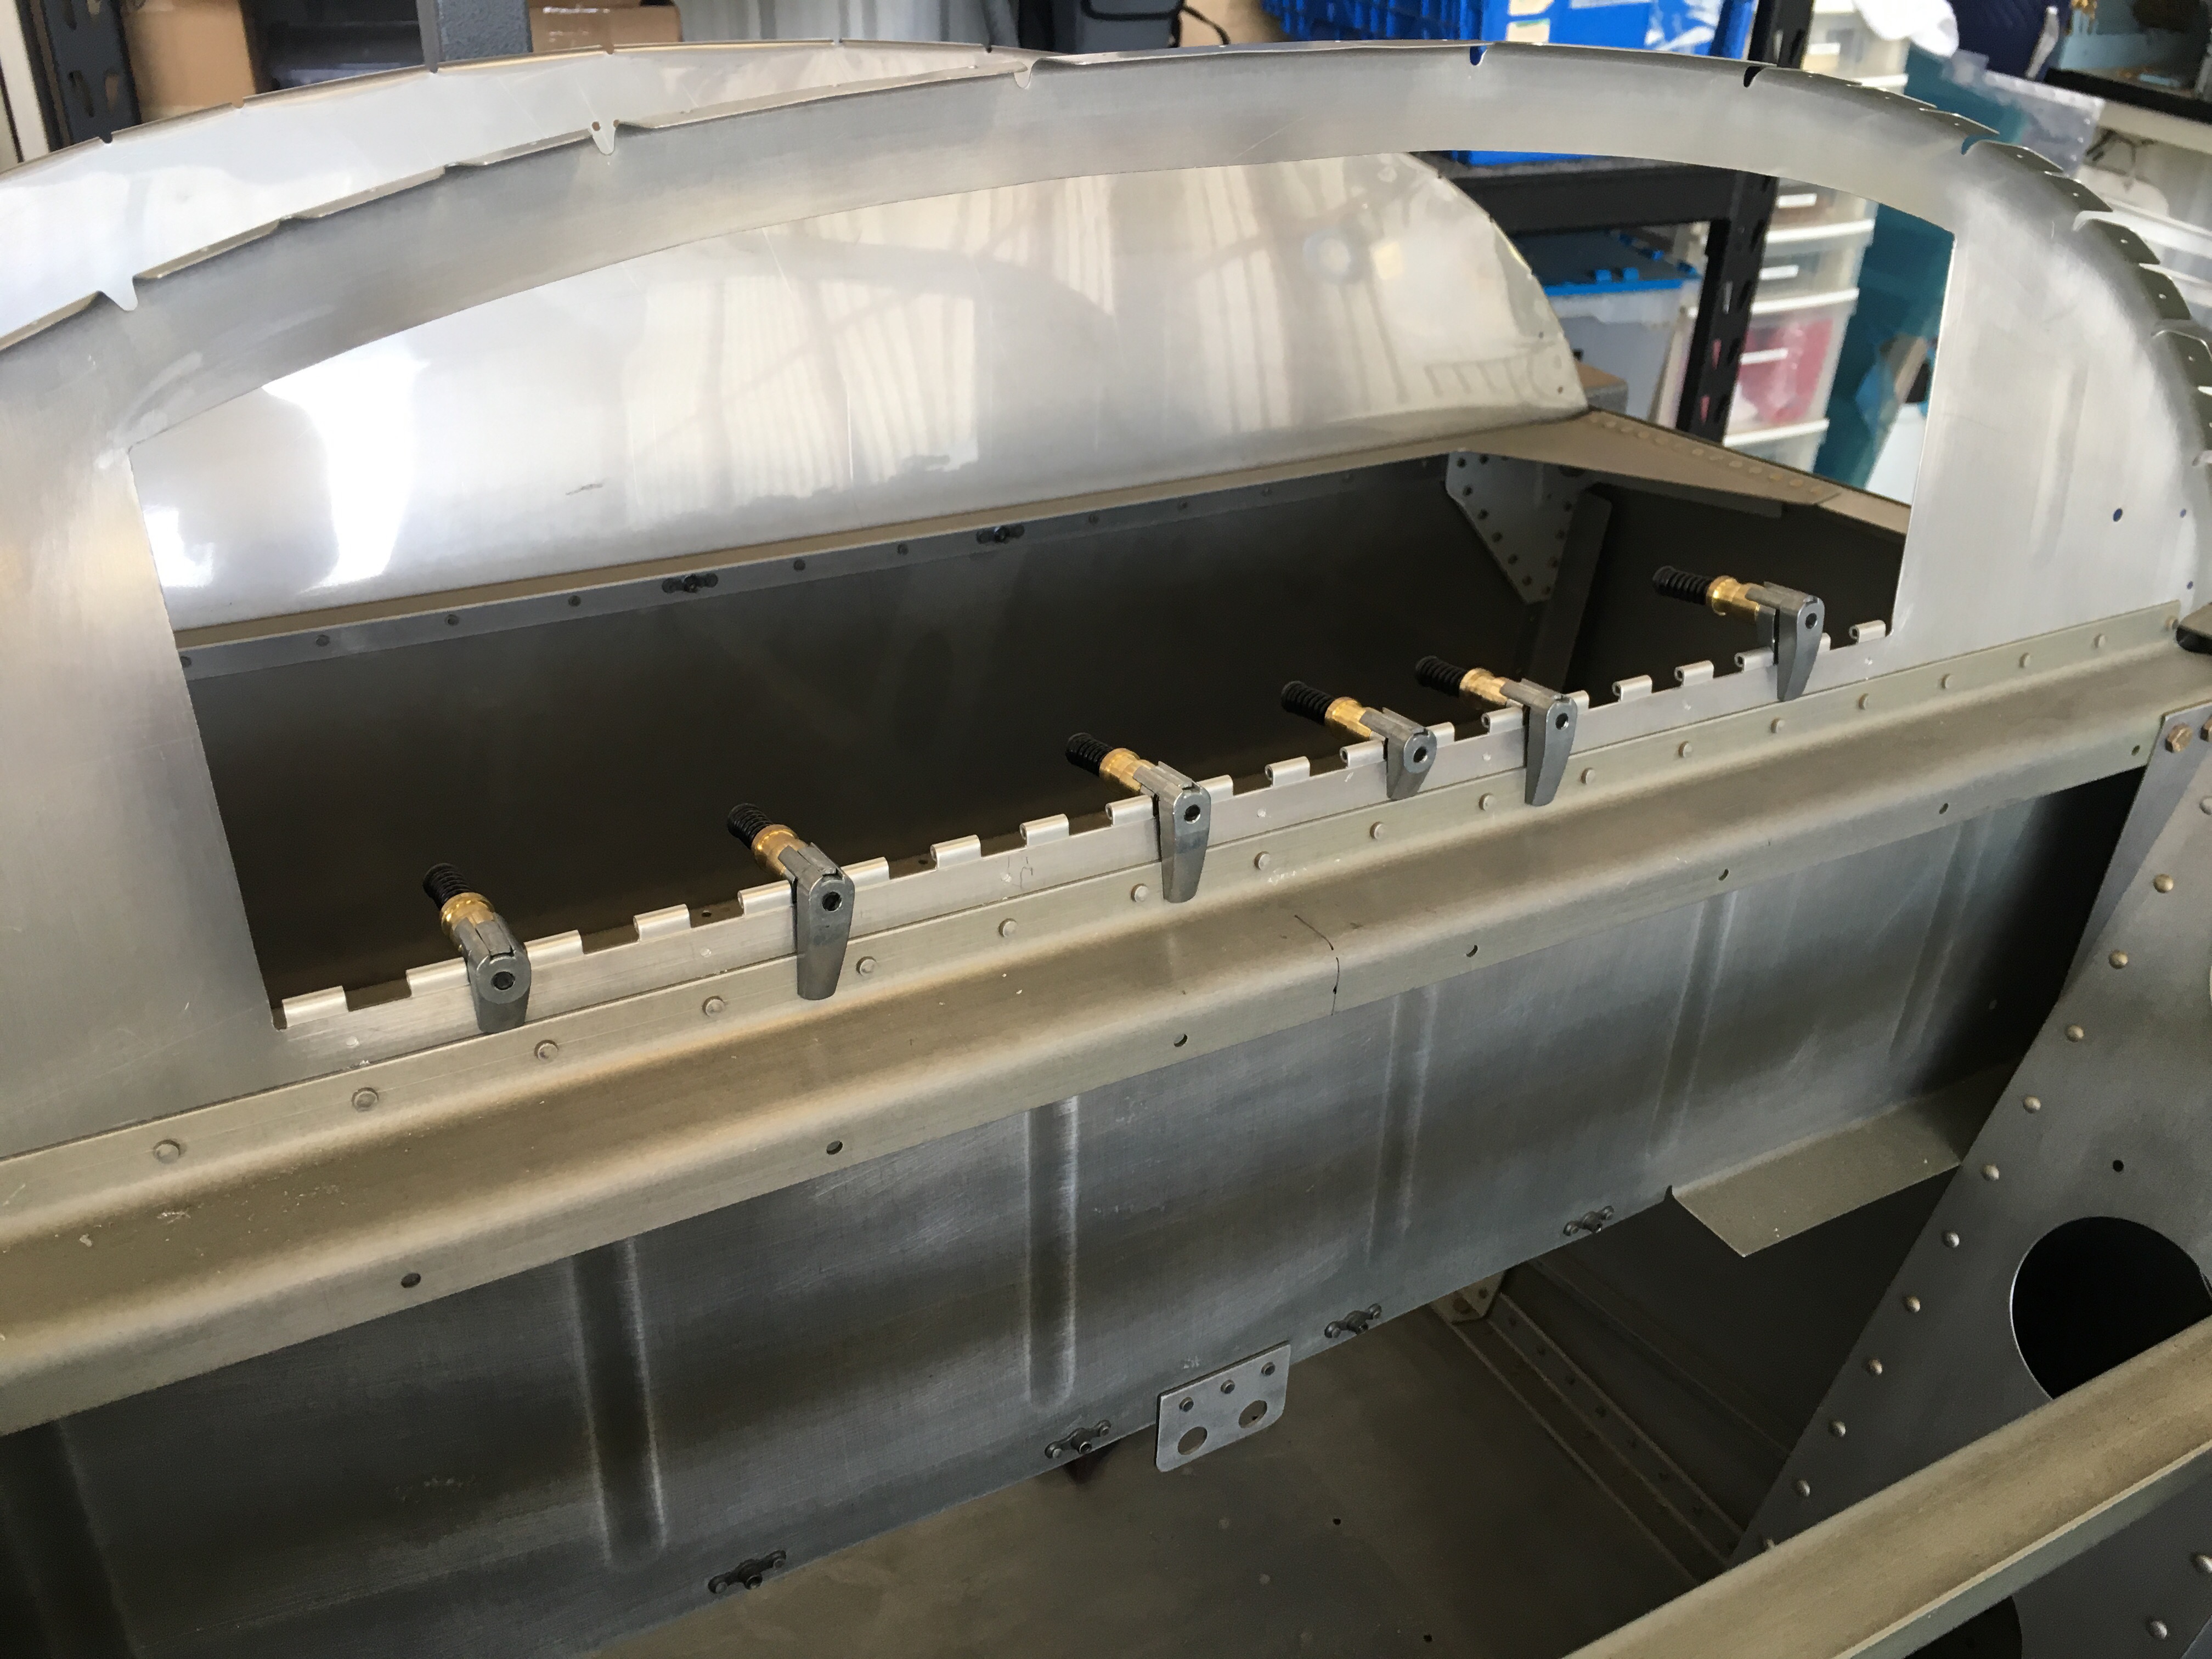
Bottom hinge riveted, door match drilled to the top hing and clecoed in place: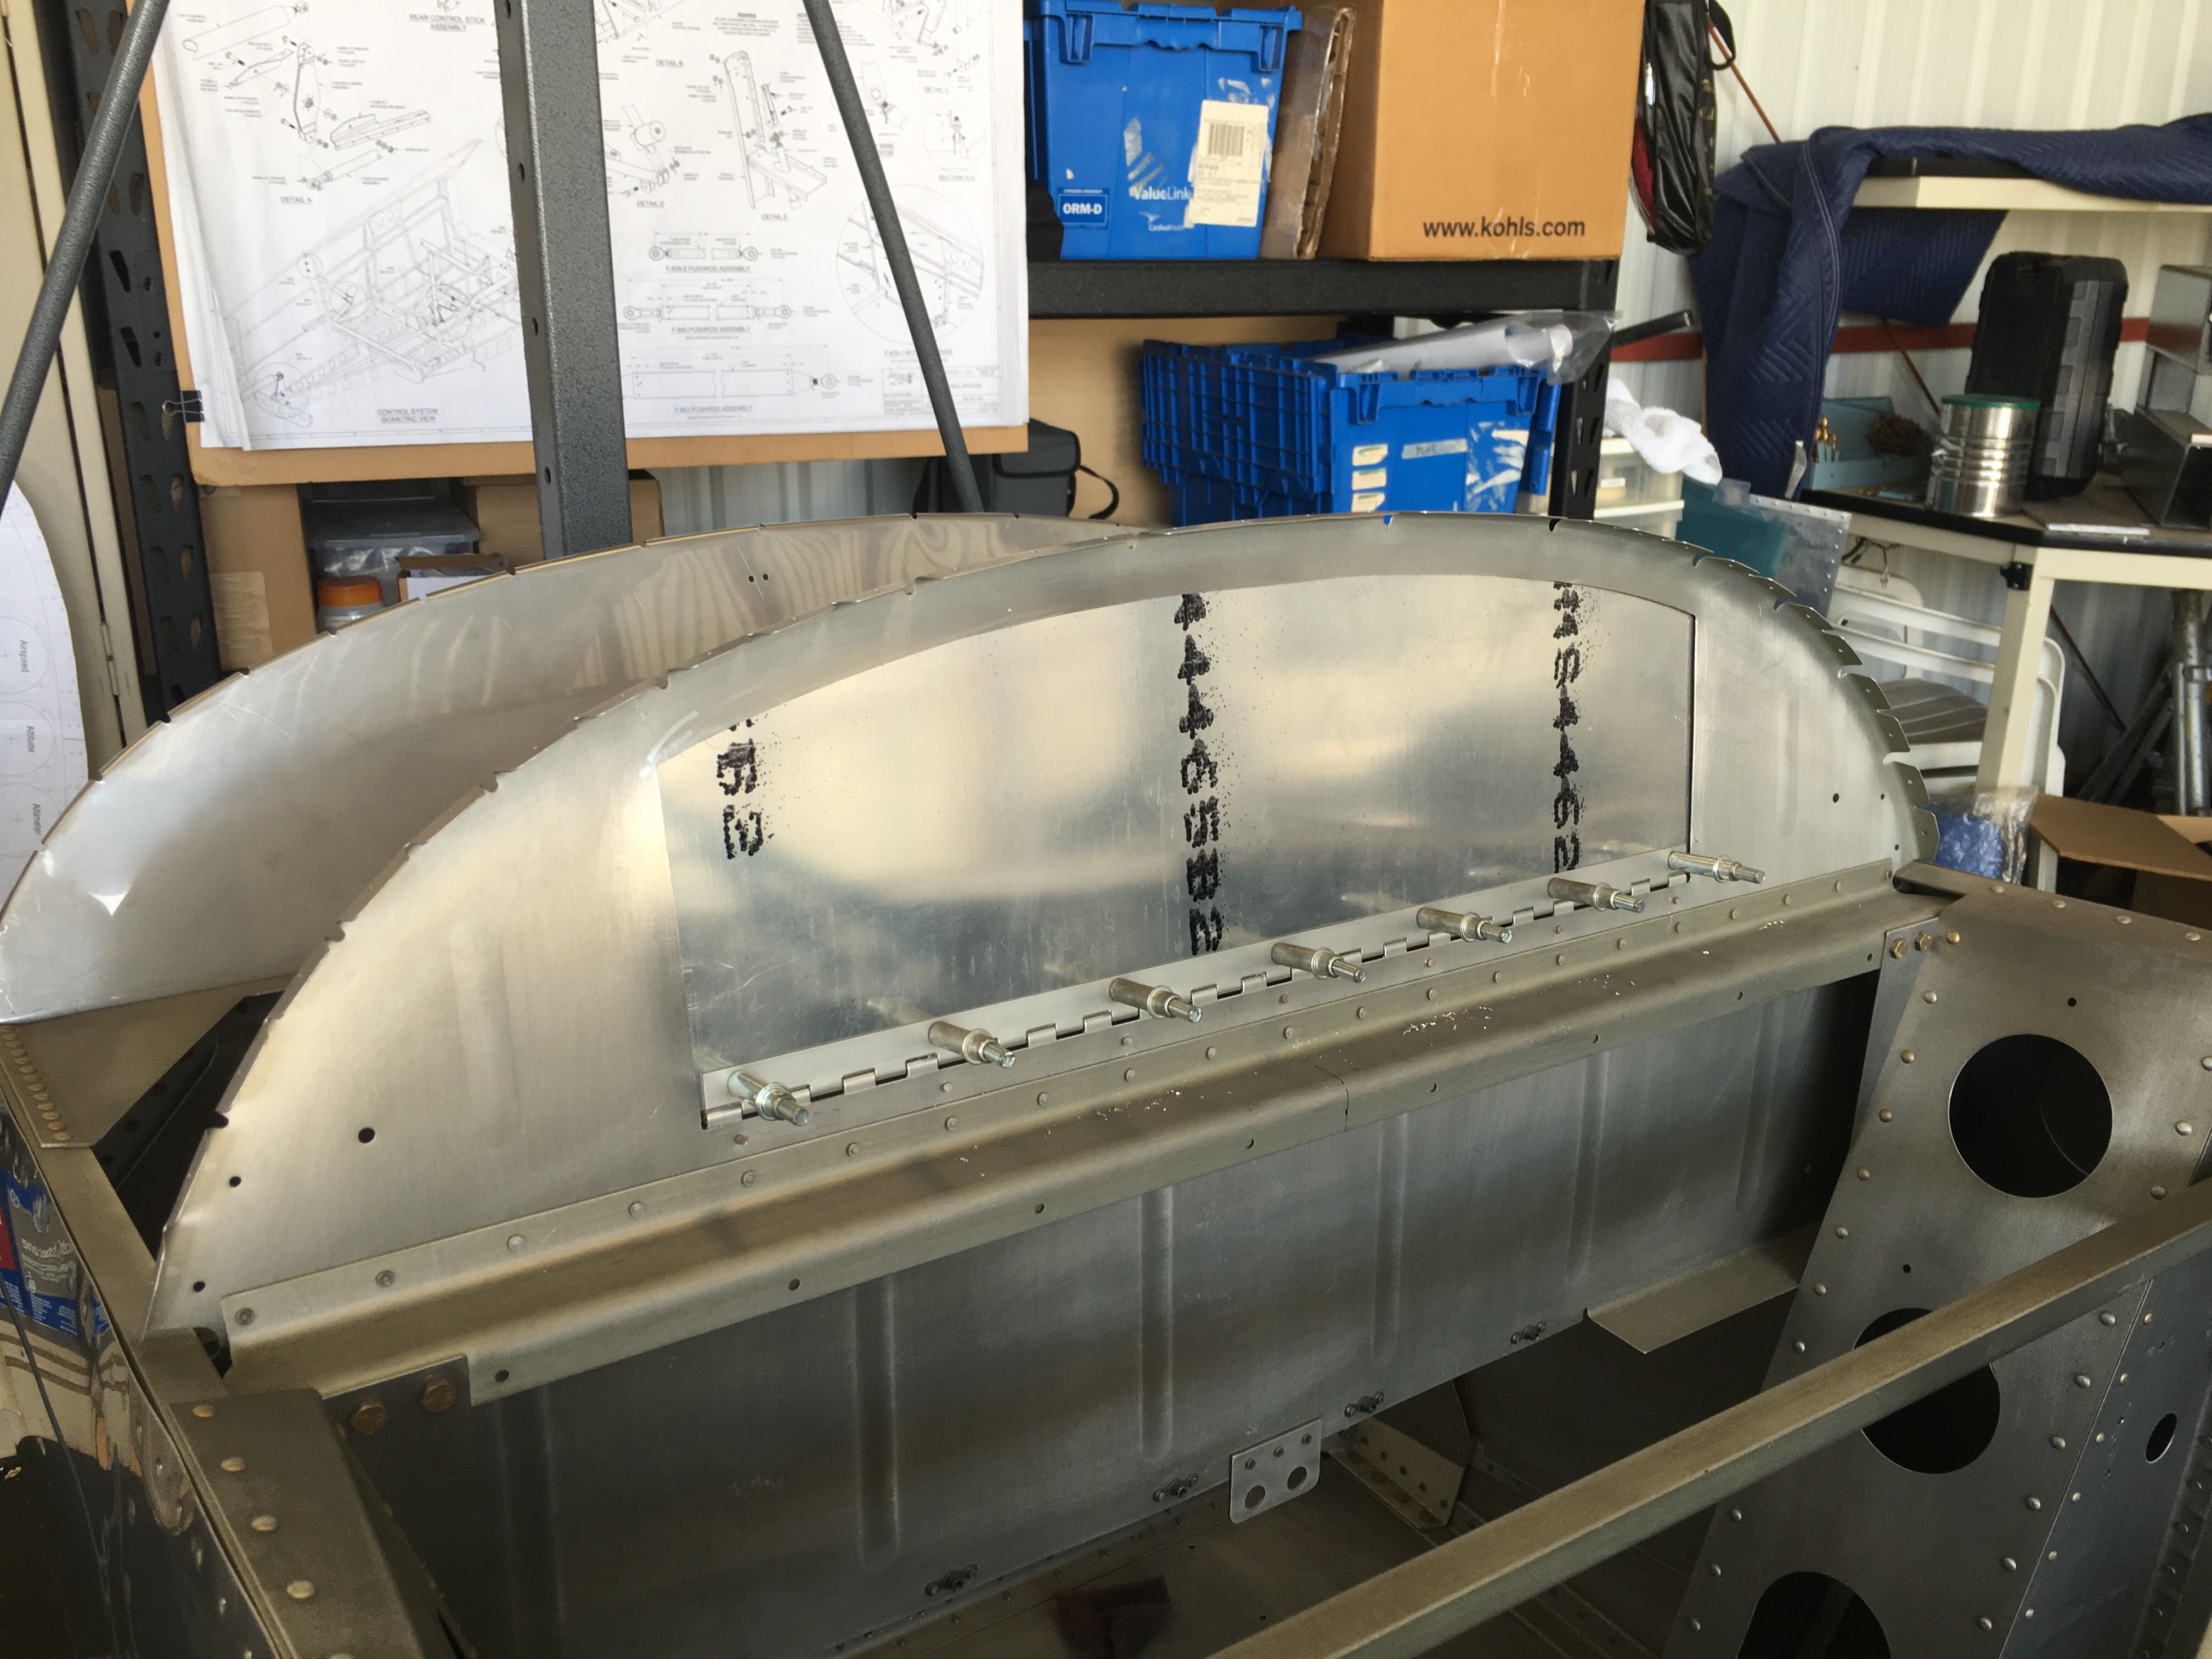
Screws in place, but not cinched down: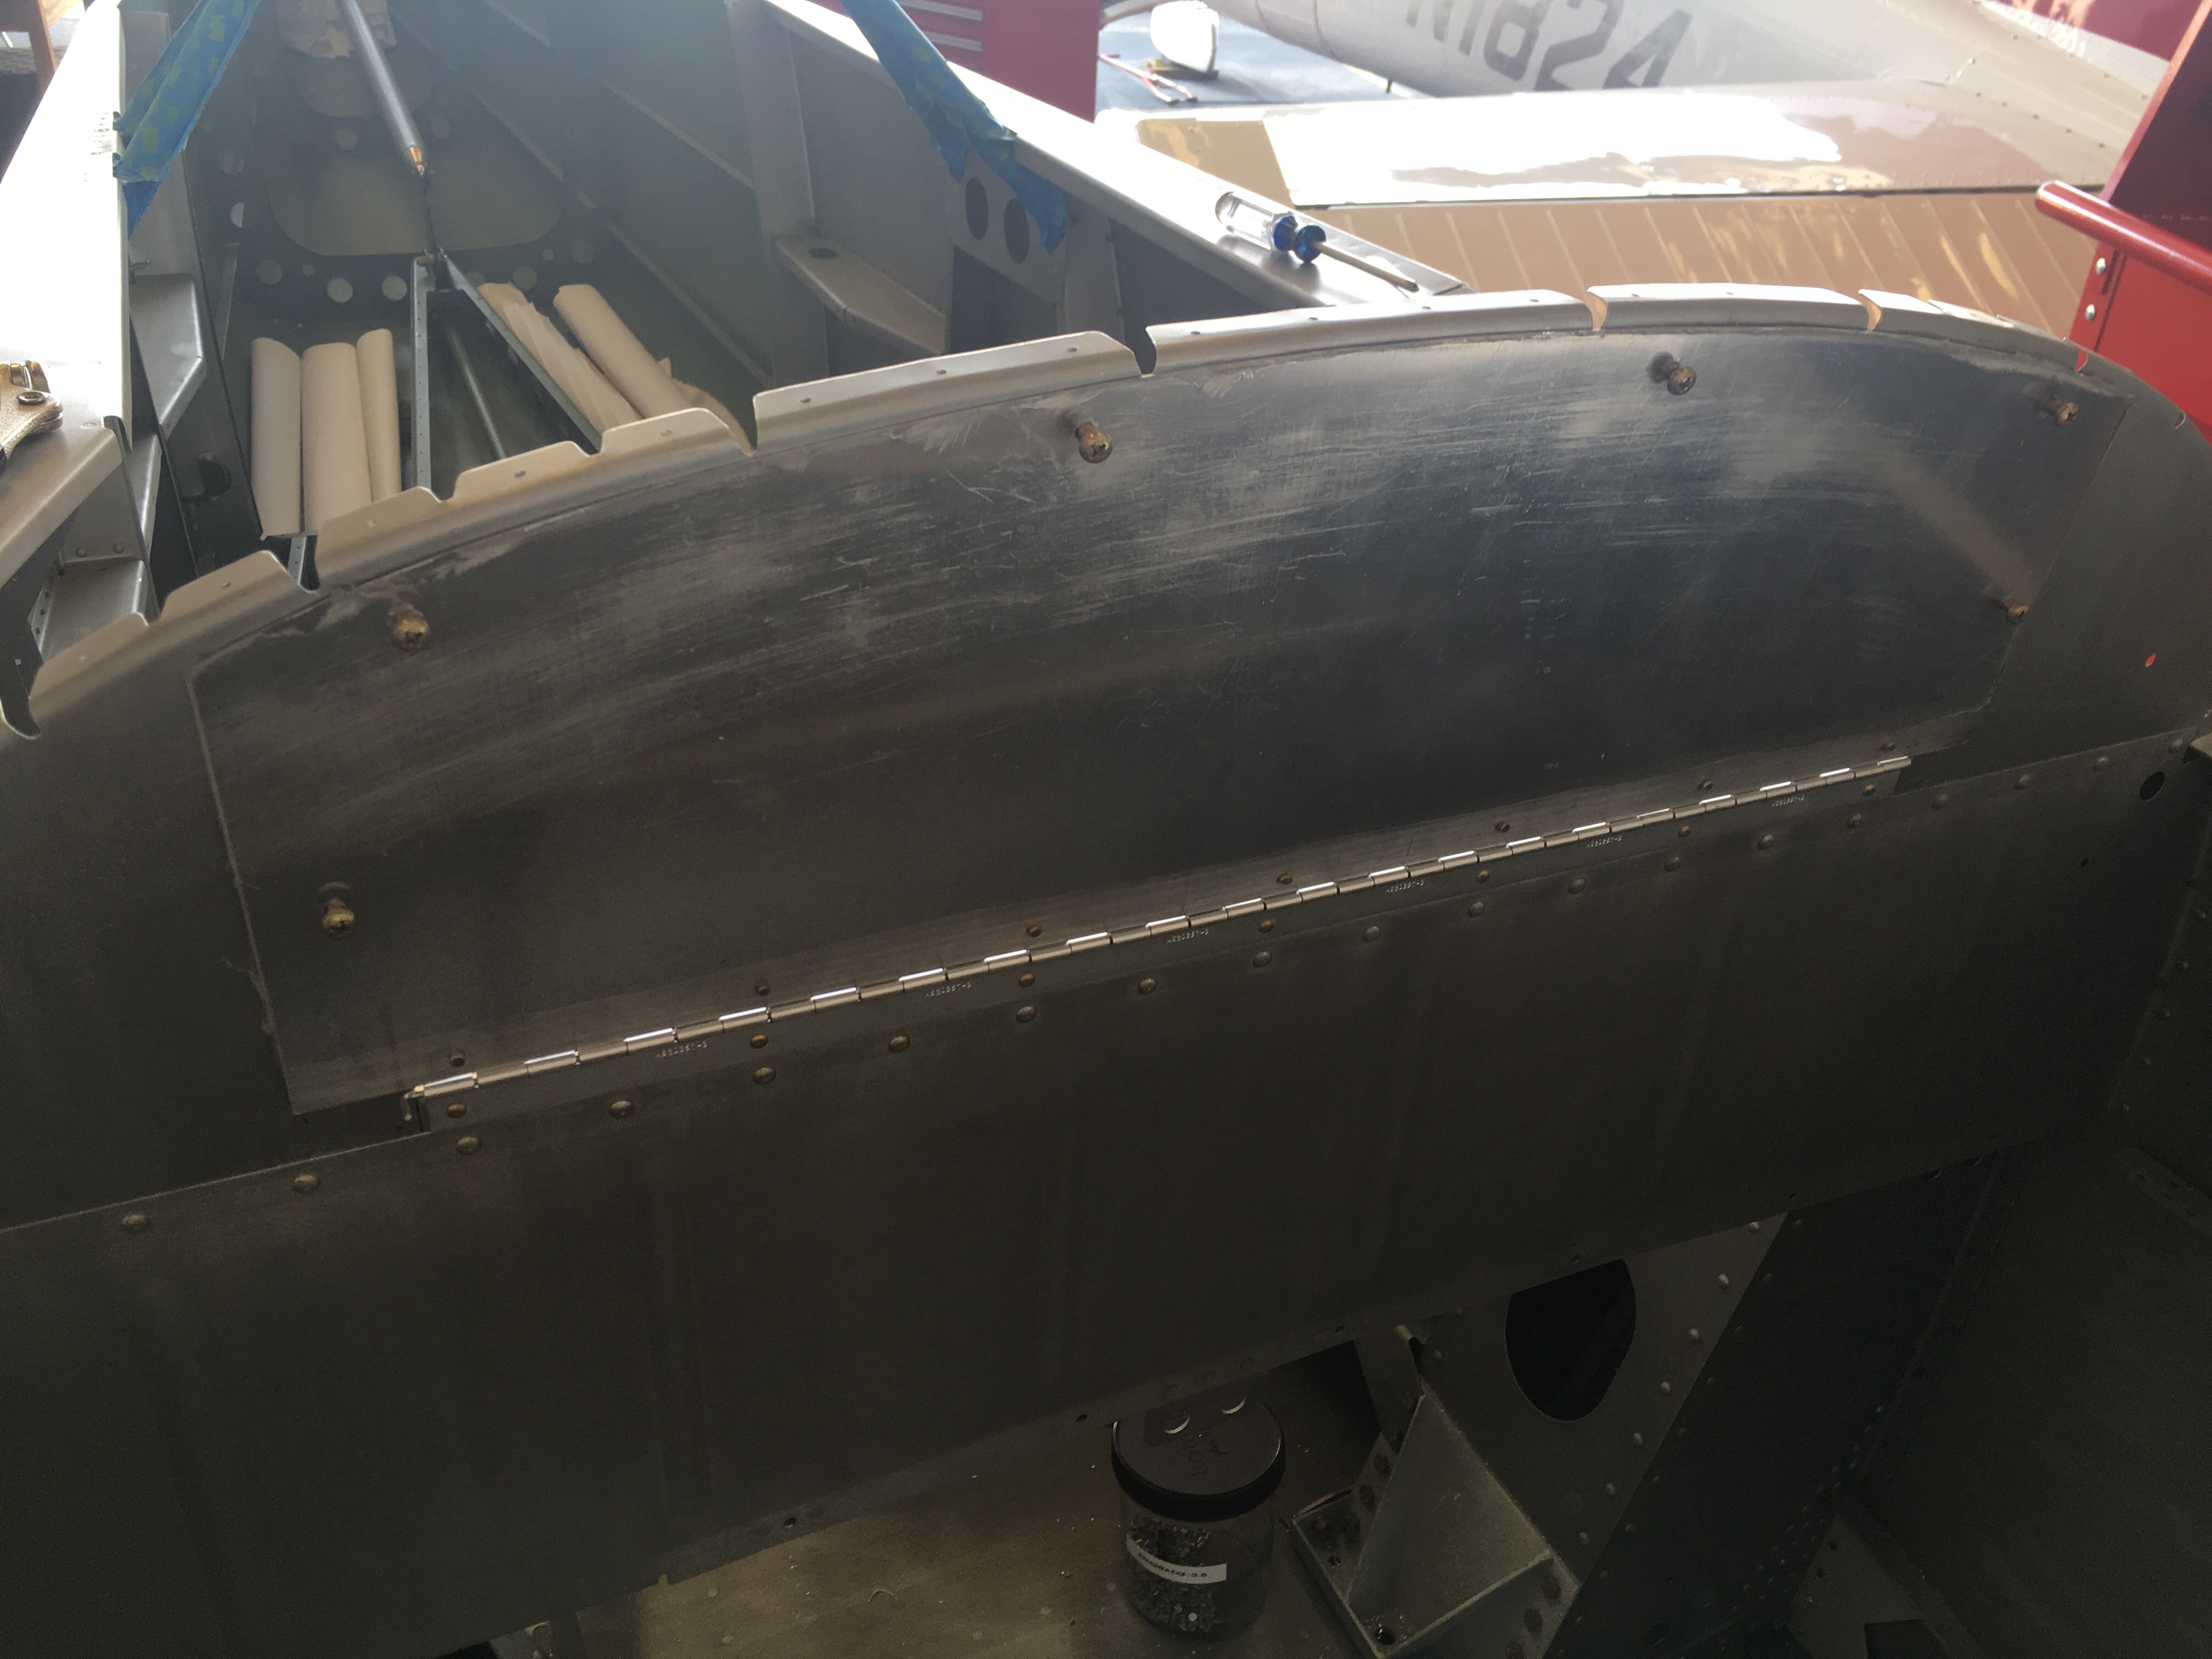
Door open and you can see the nutplates.
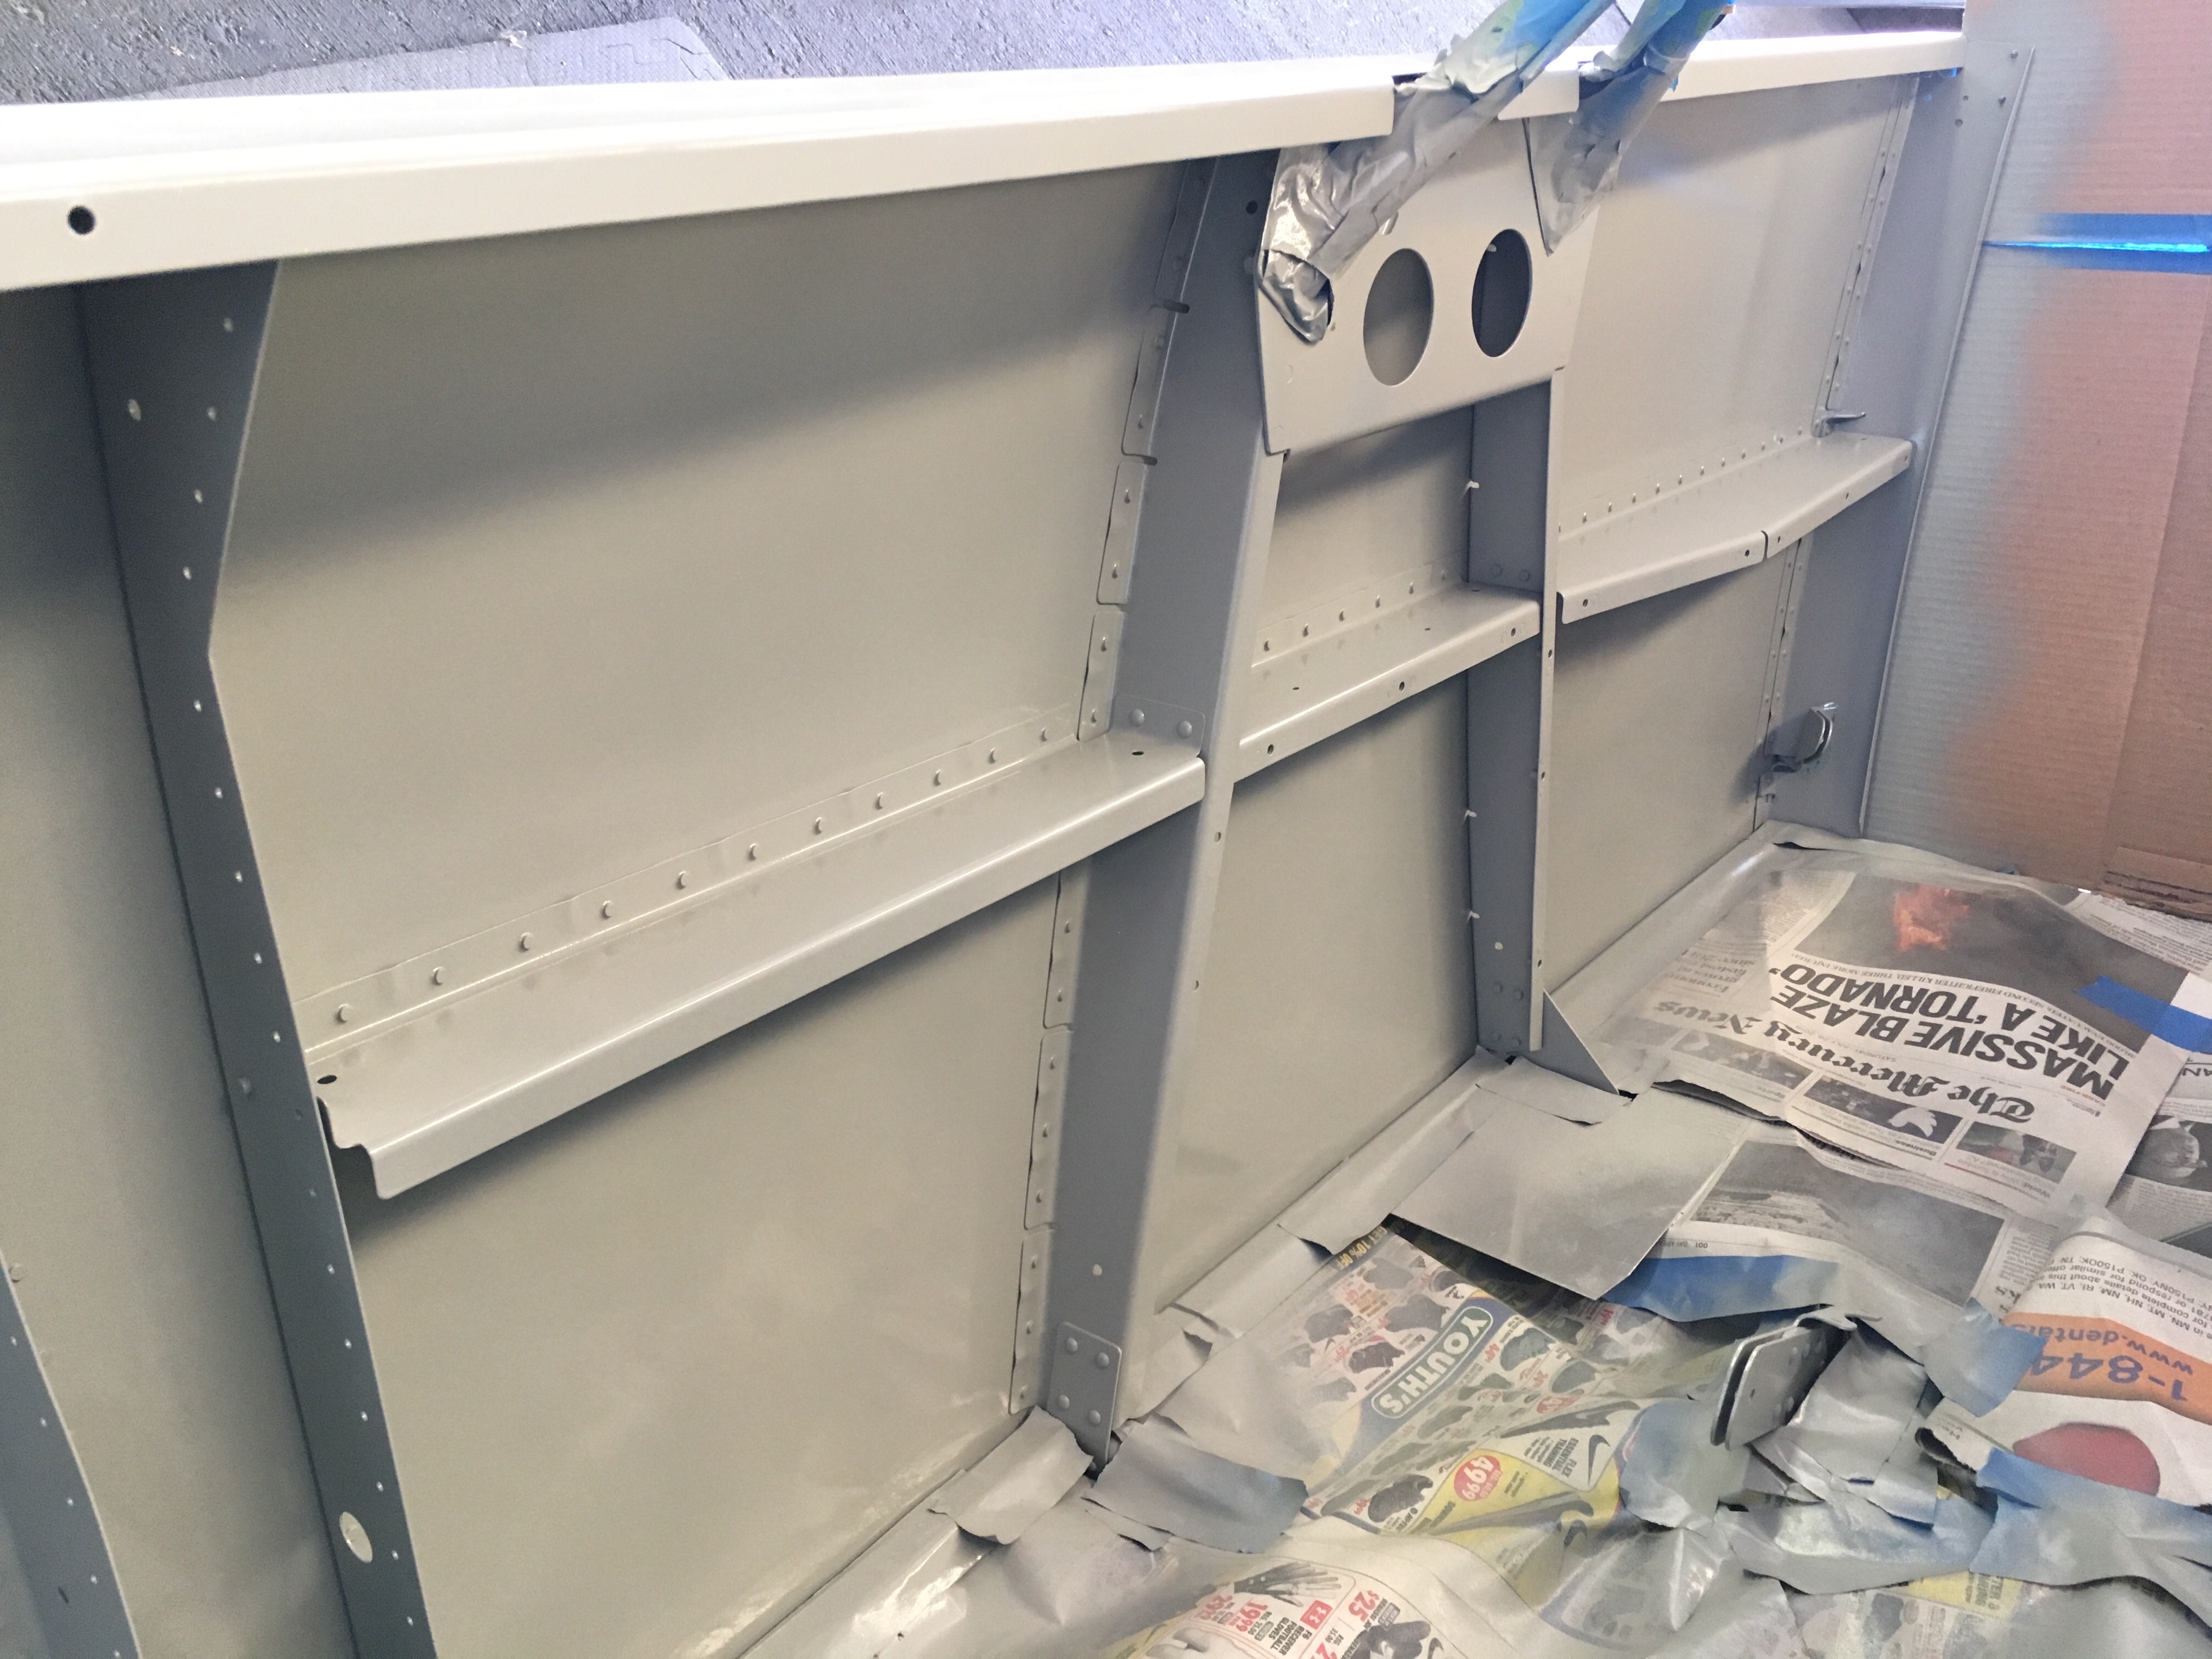
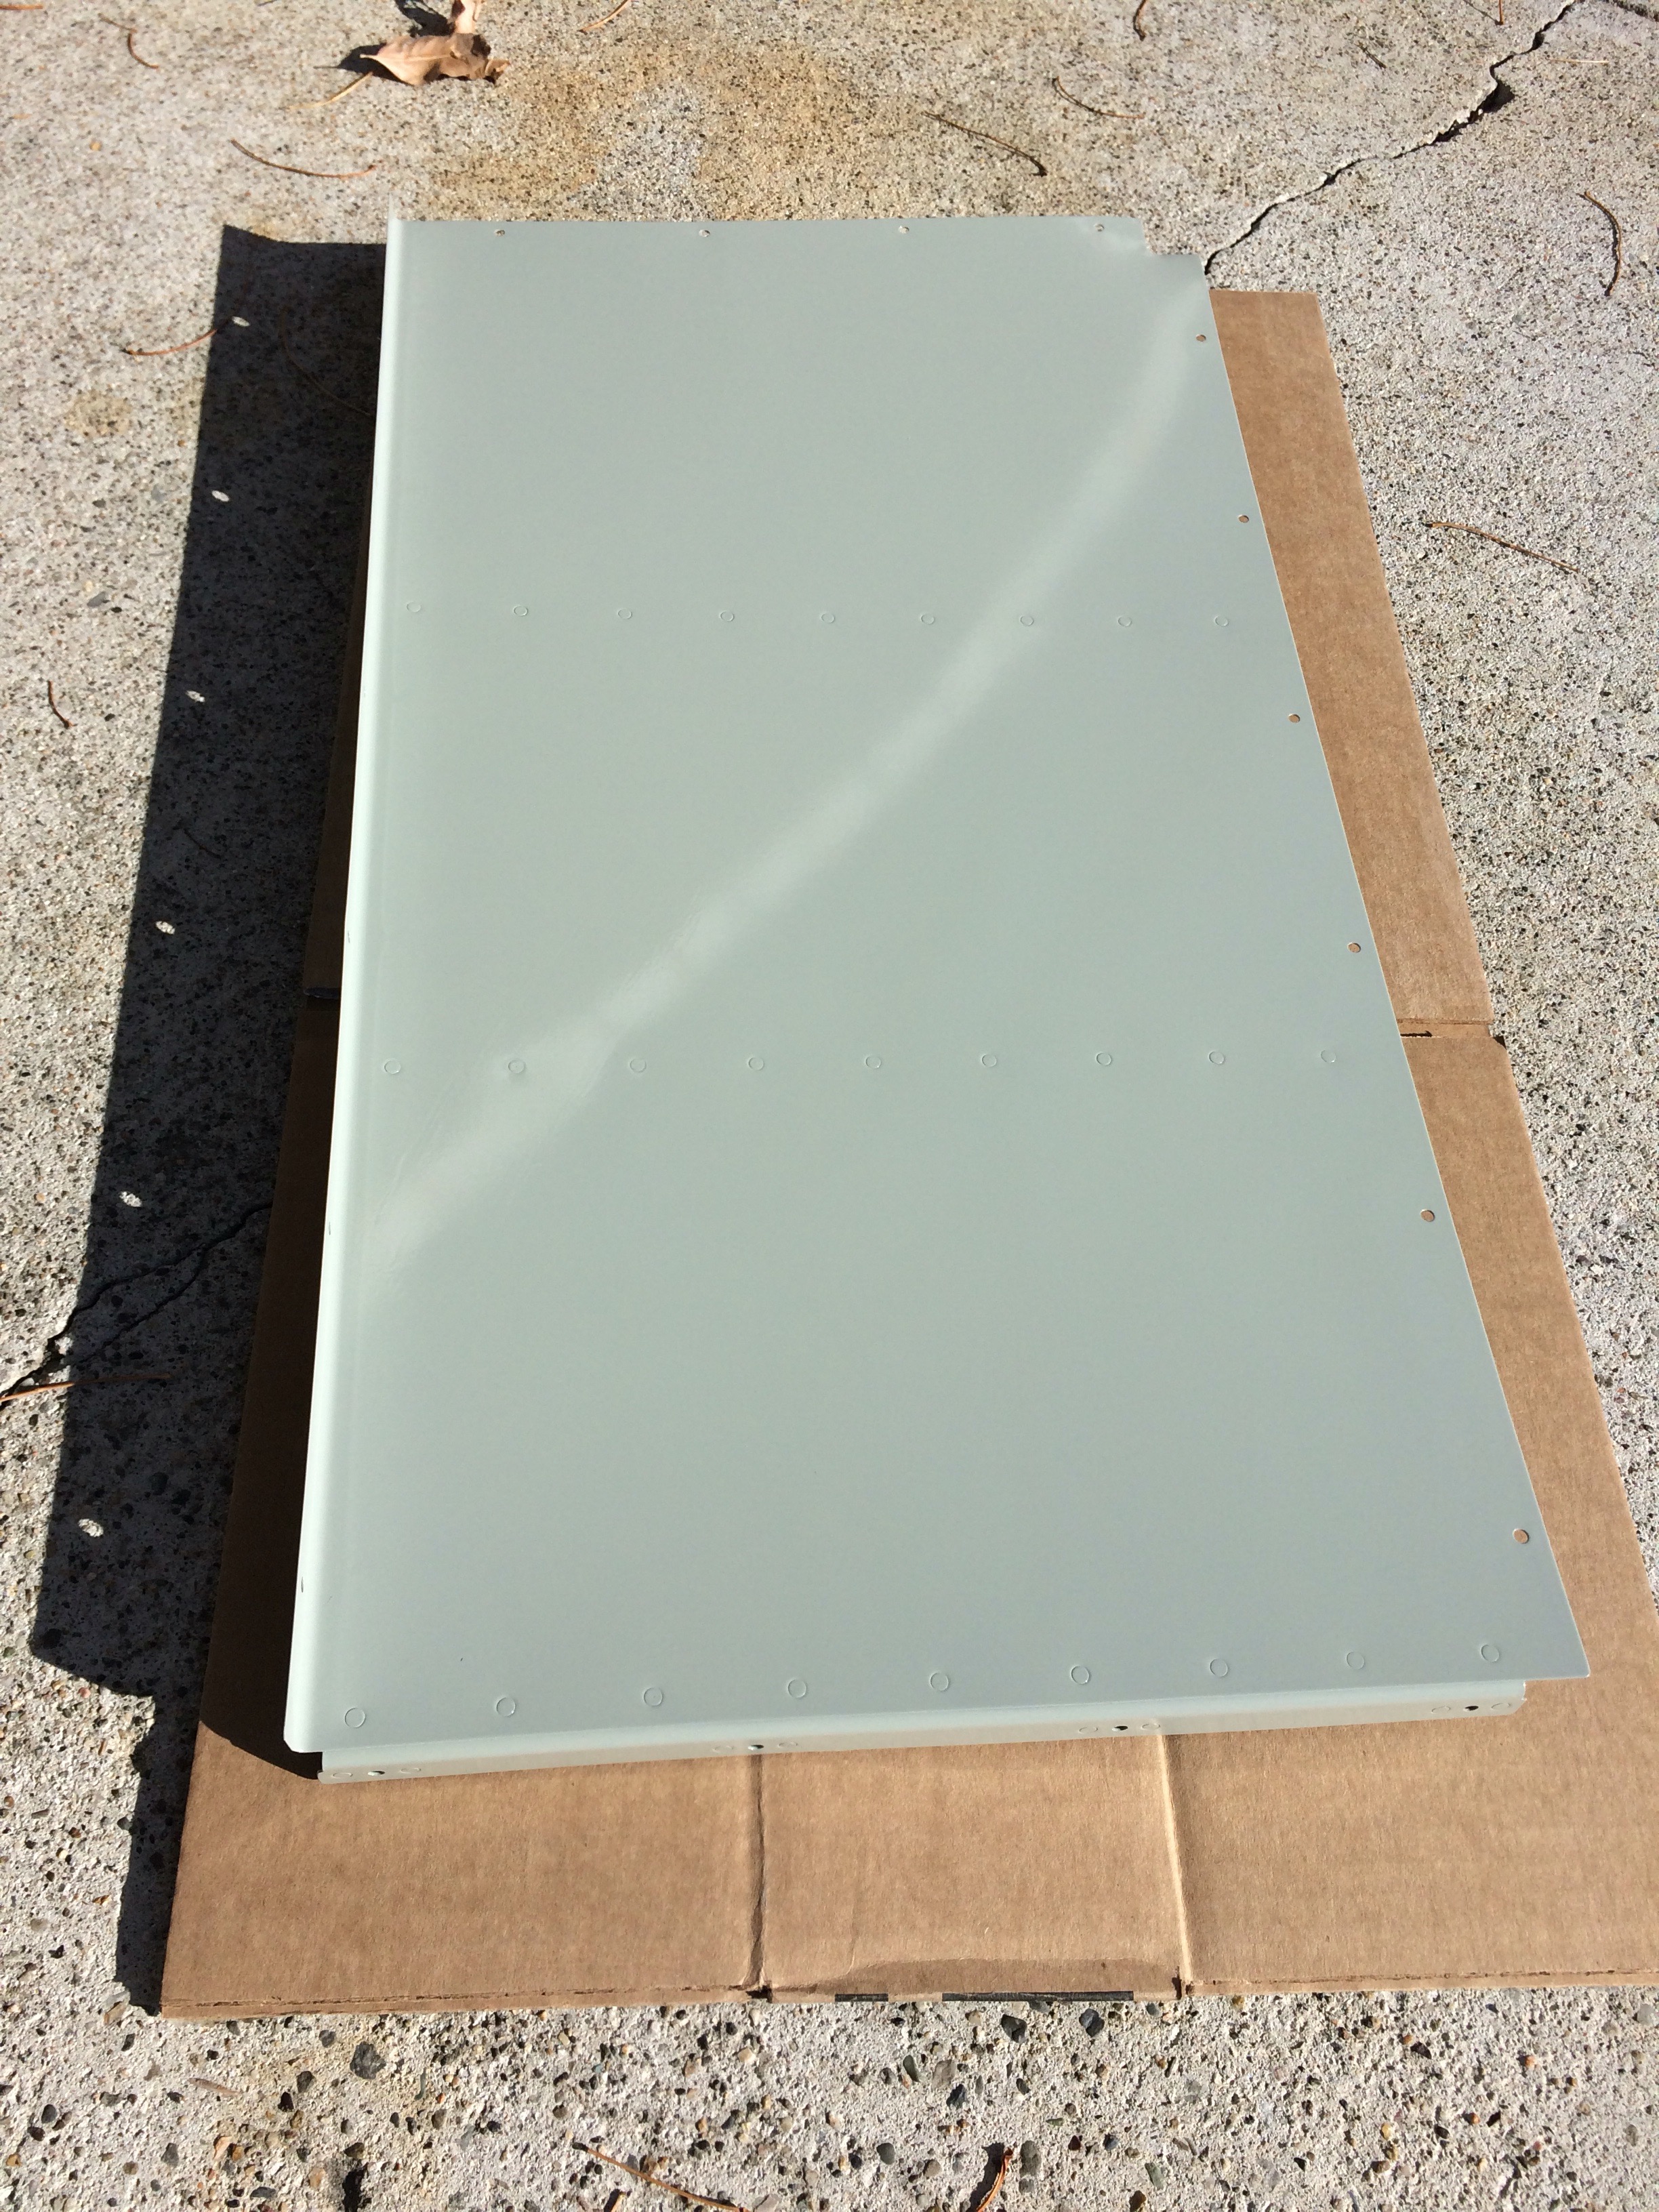
Got a little bit of warmer weather and no rain so I started painting the interior panels of the fuse with the final color “light machine gray”.
Most of the panels had been primed for quite a while already, so I just had to sand them smooth first.
Floorboards, a couple of side console panels and one of the front baggage compartment panels finished. Hopefully can get a few more done this week before the rain comes again.
Looks a little green, but it’s actually light gray. 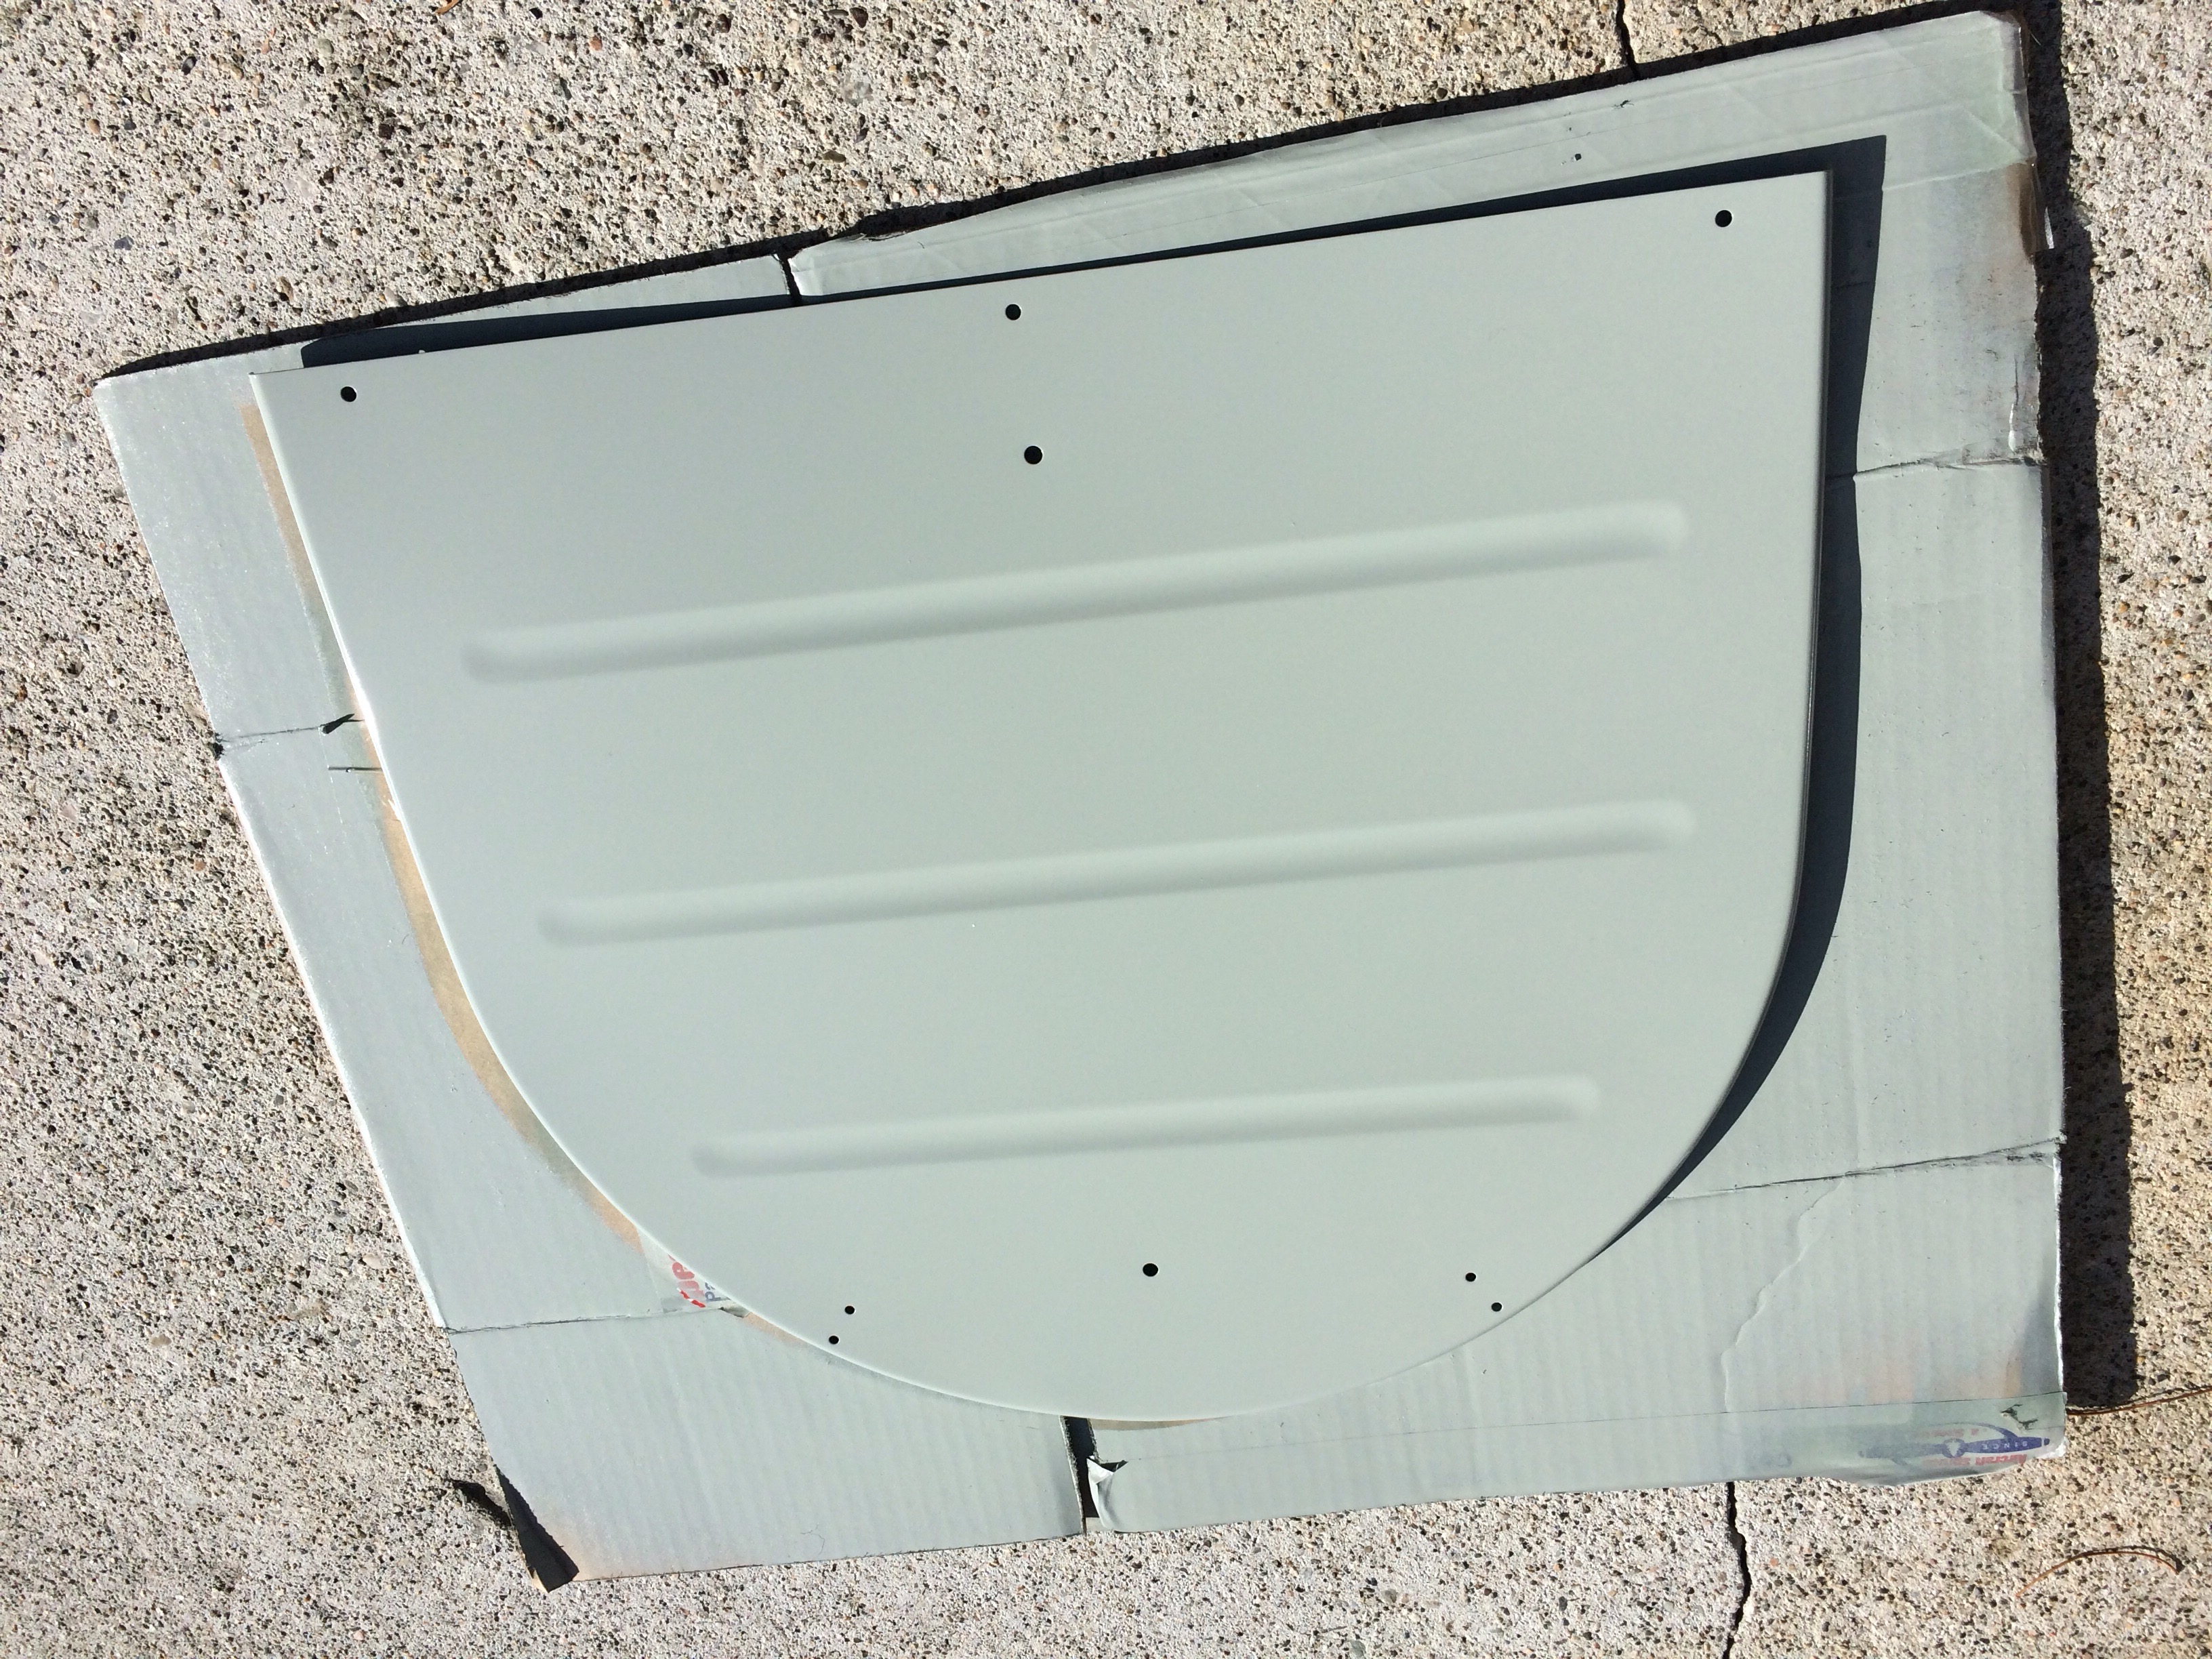
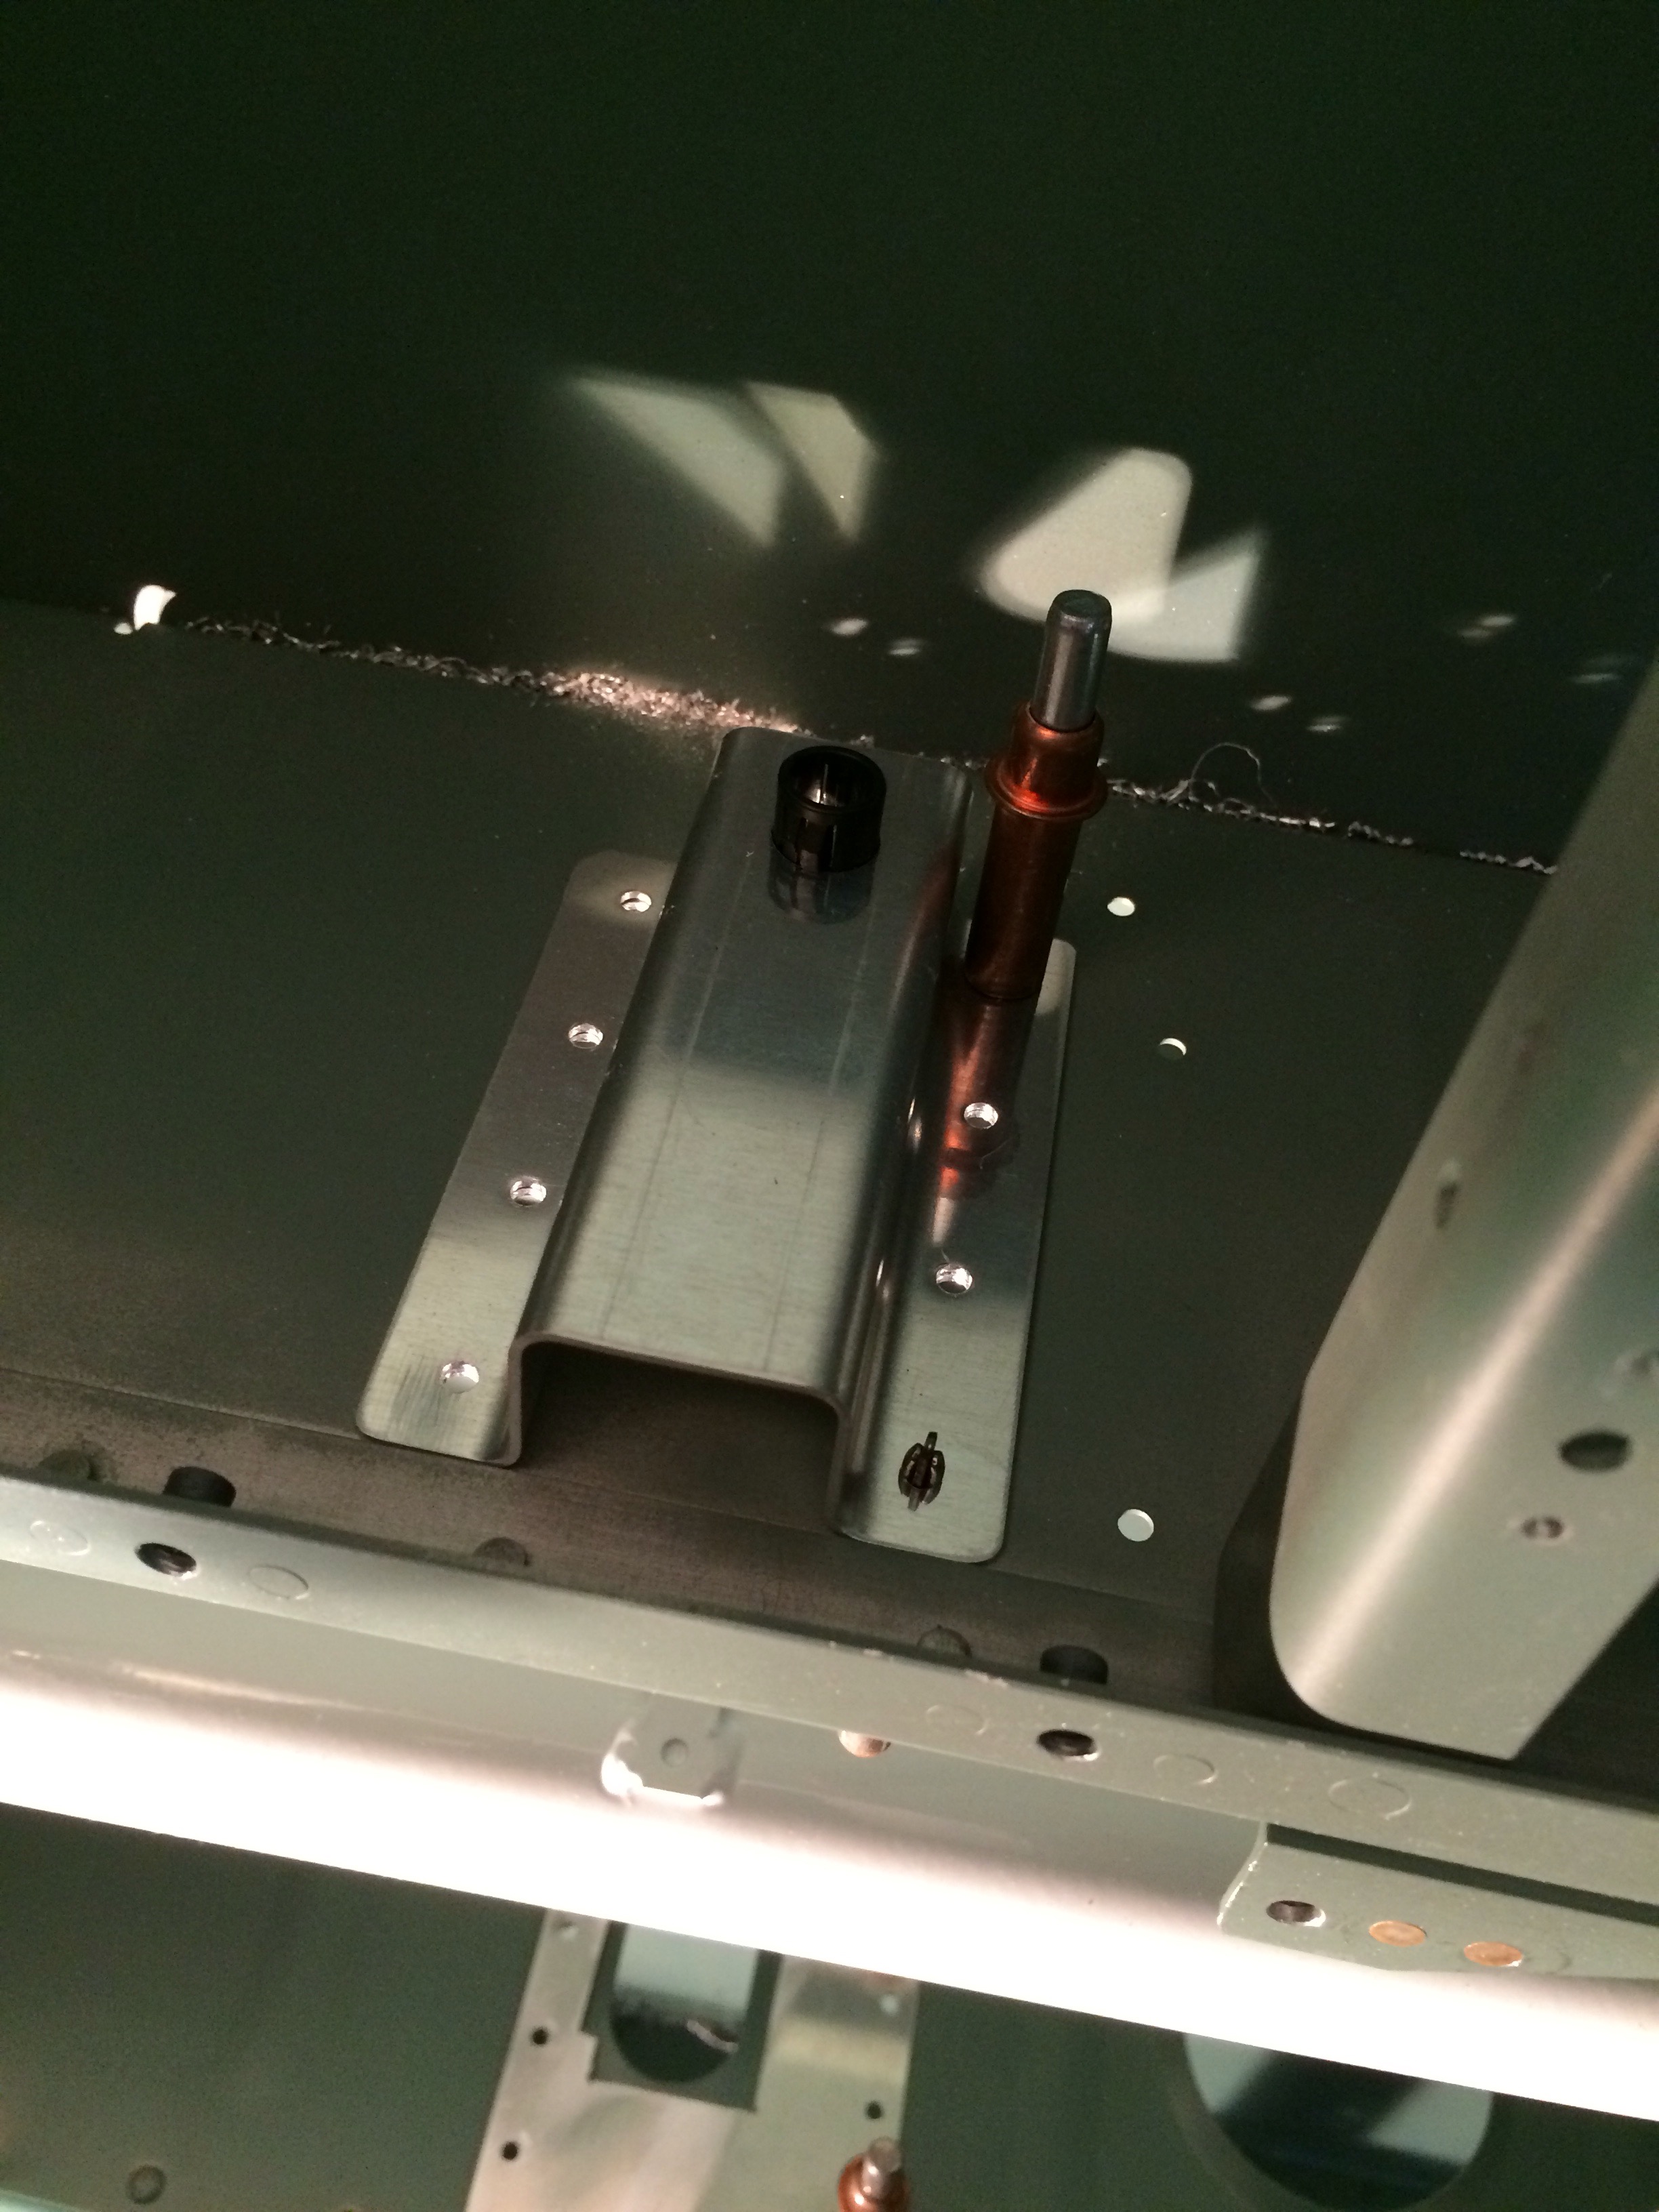
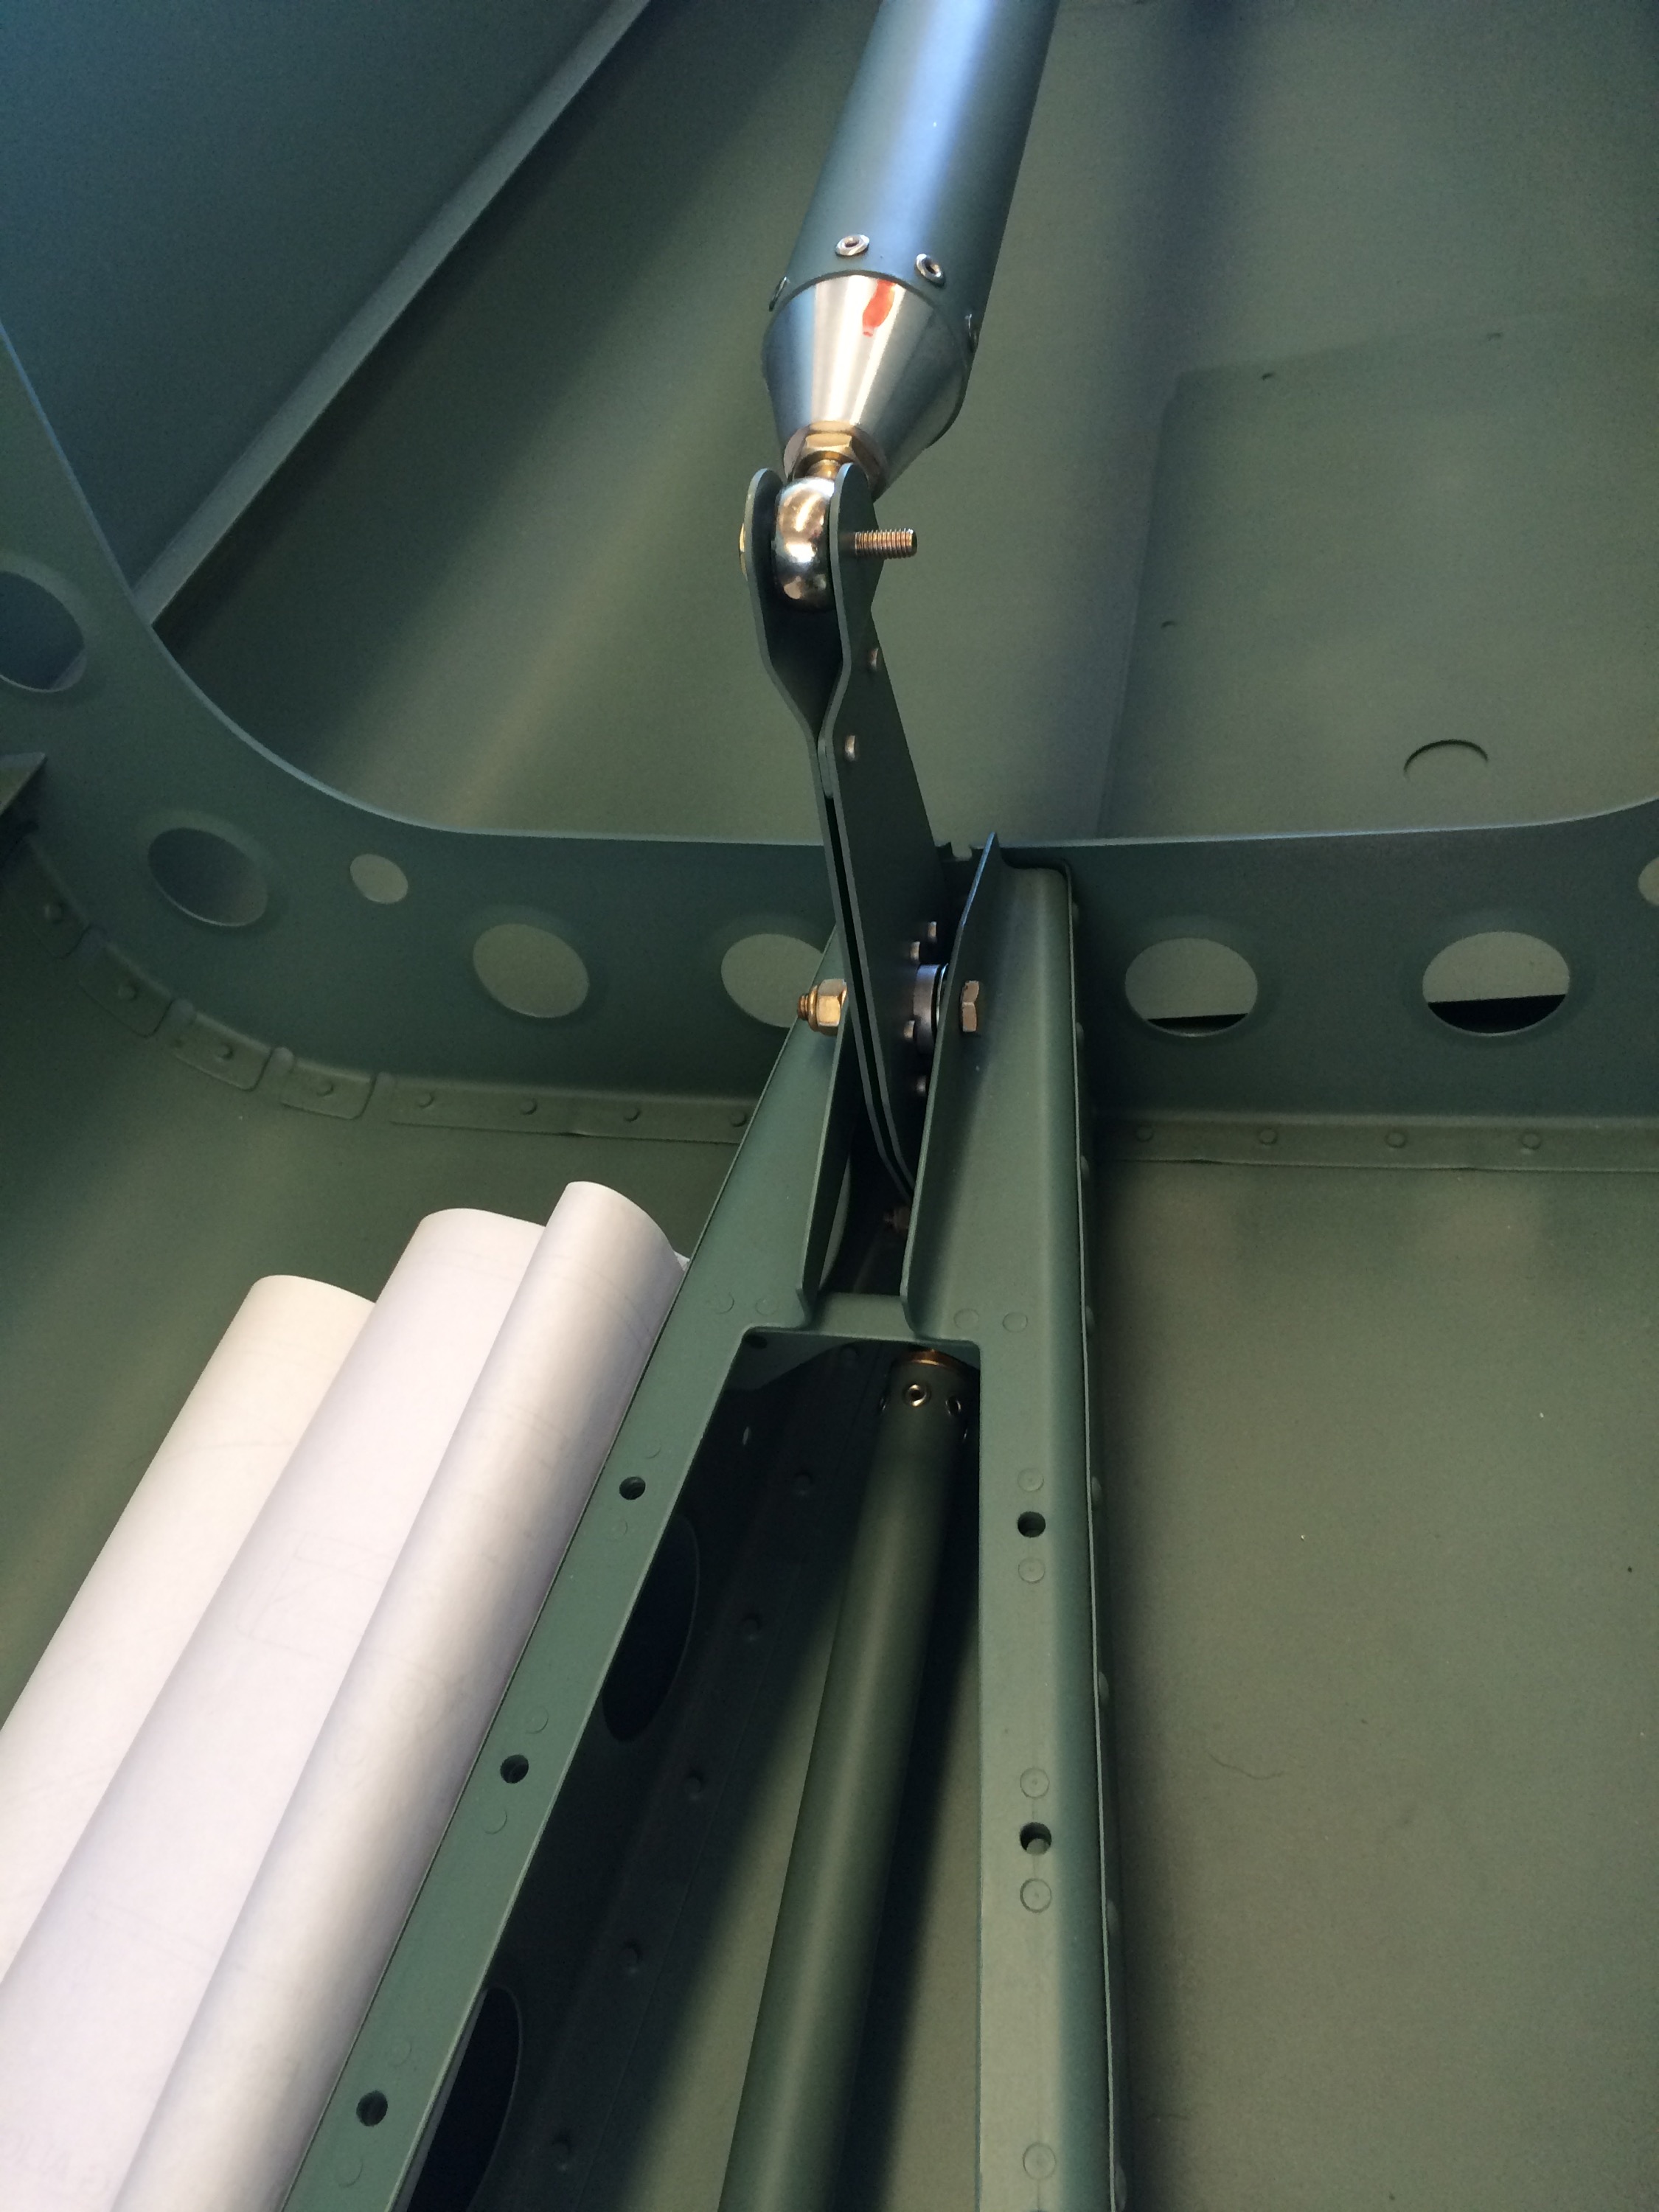
Worked on the aileron trim servo install, even though it was cold and rainy today at the hangar.
Also started work on the rear throttle quadrant now that I have the correct plate I had to order from the rear throttle kit.
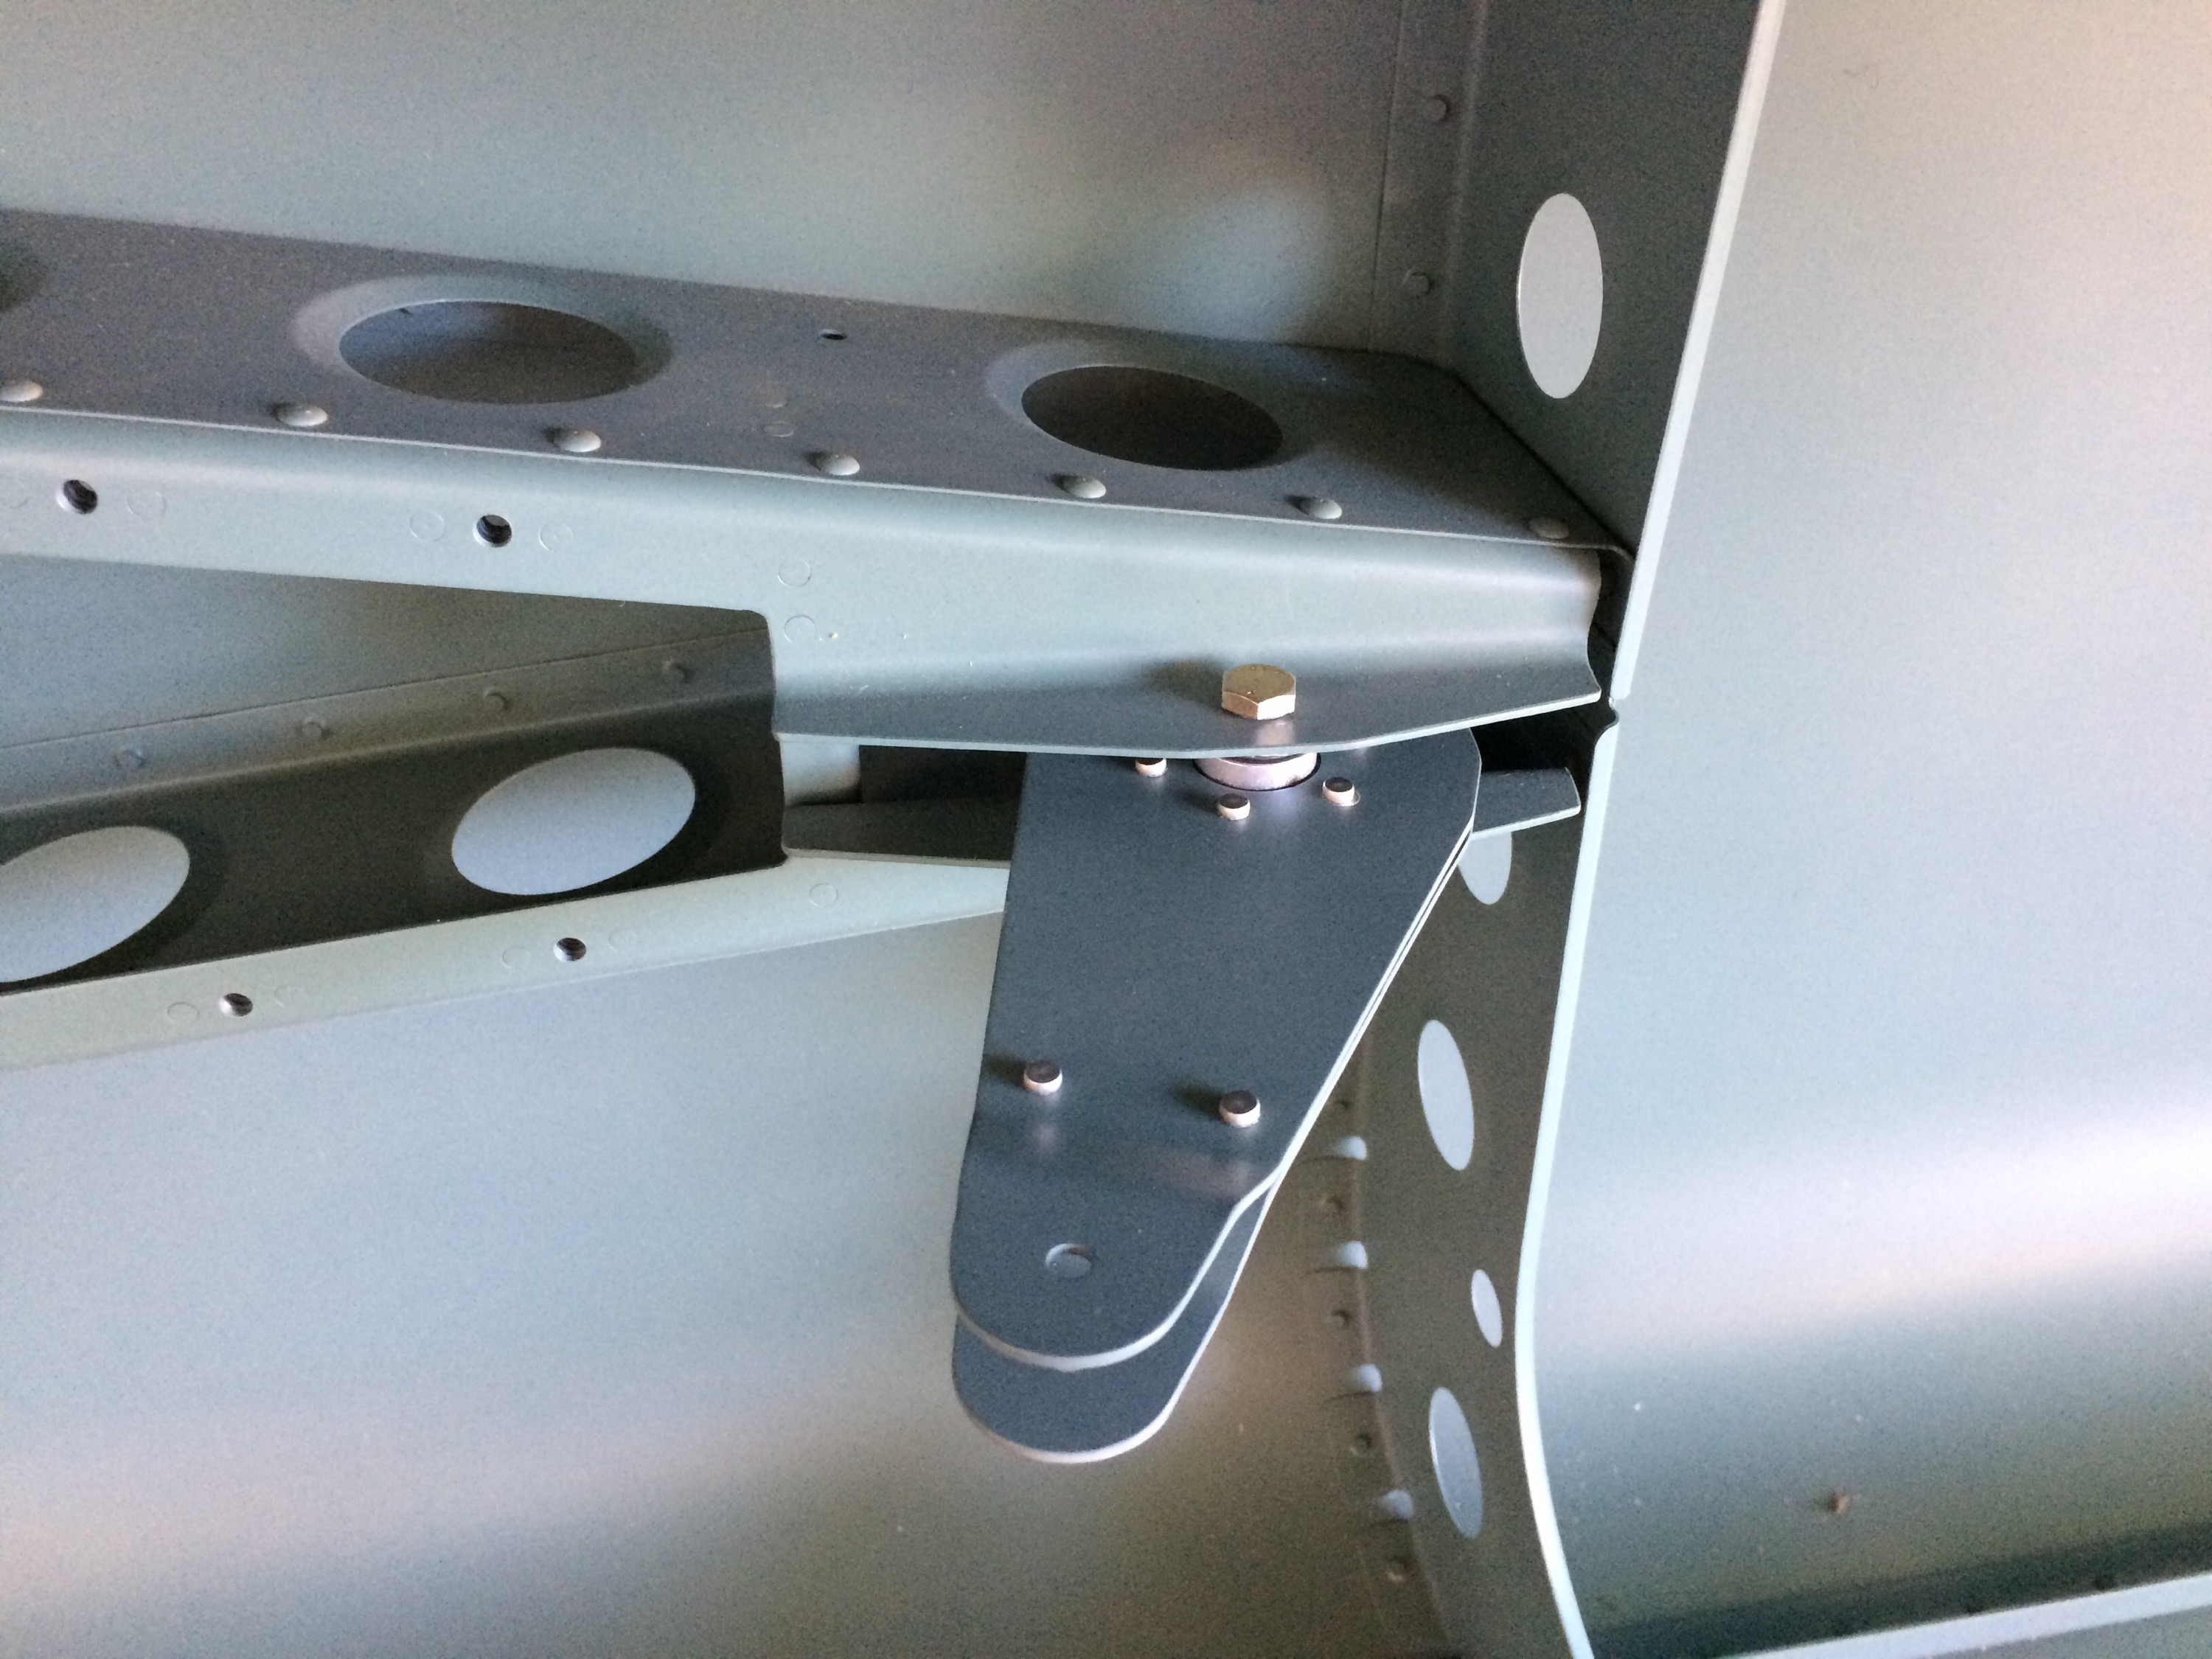
Installed and checking the pushrod alignment before riveting it in.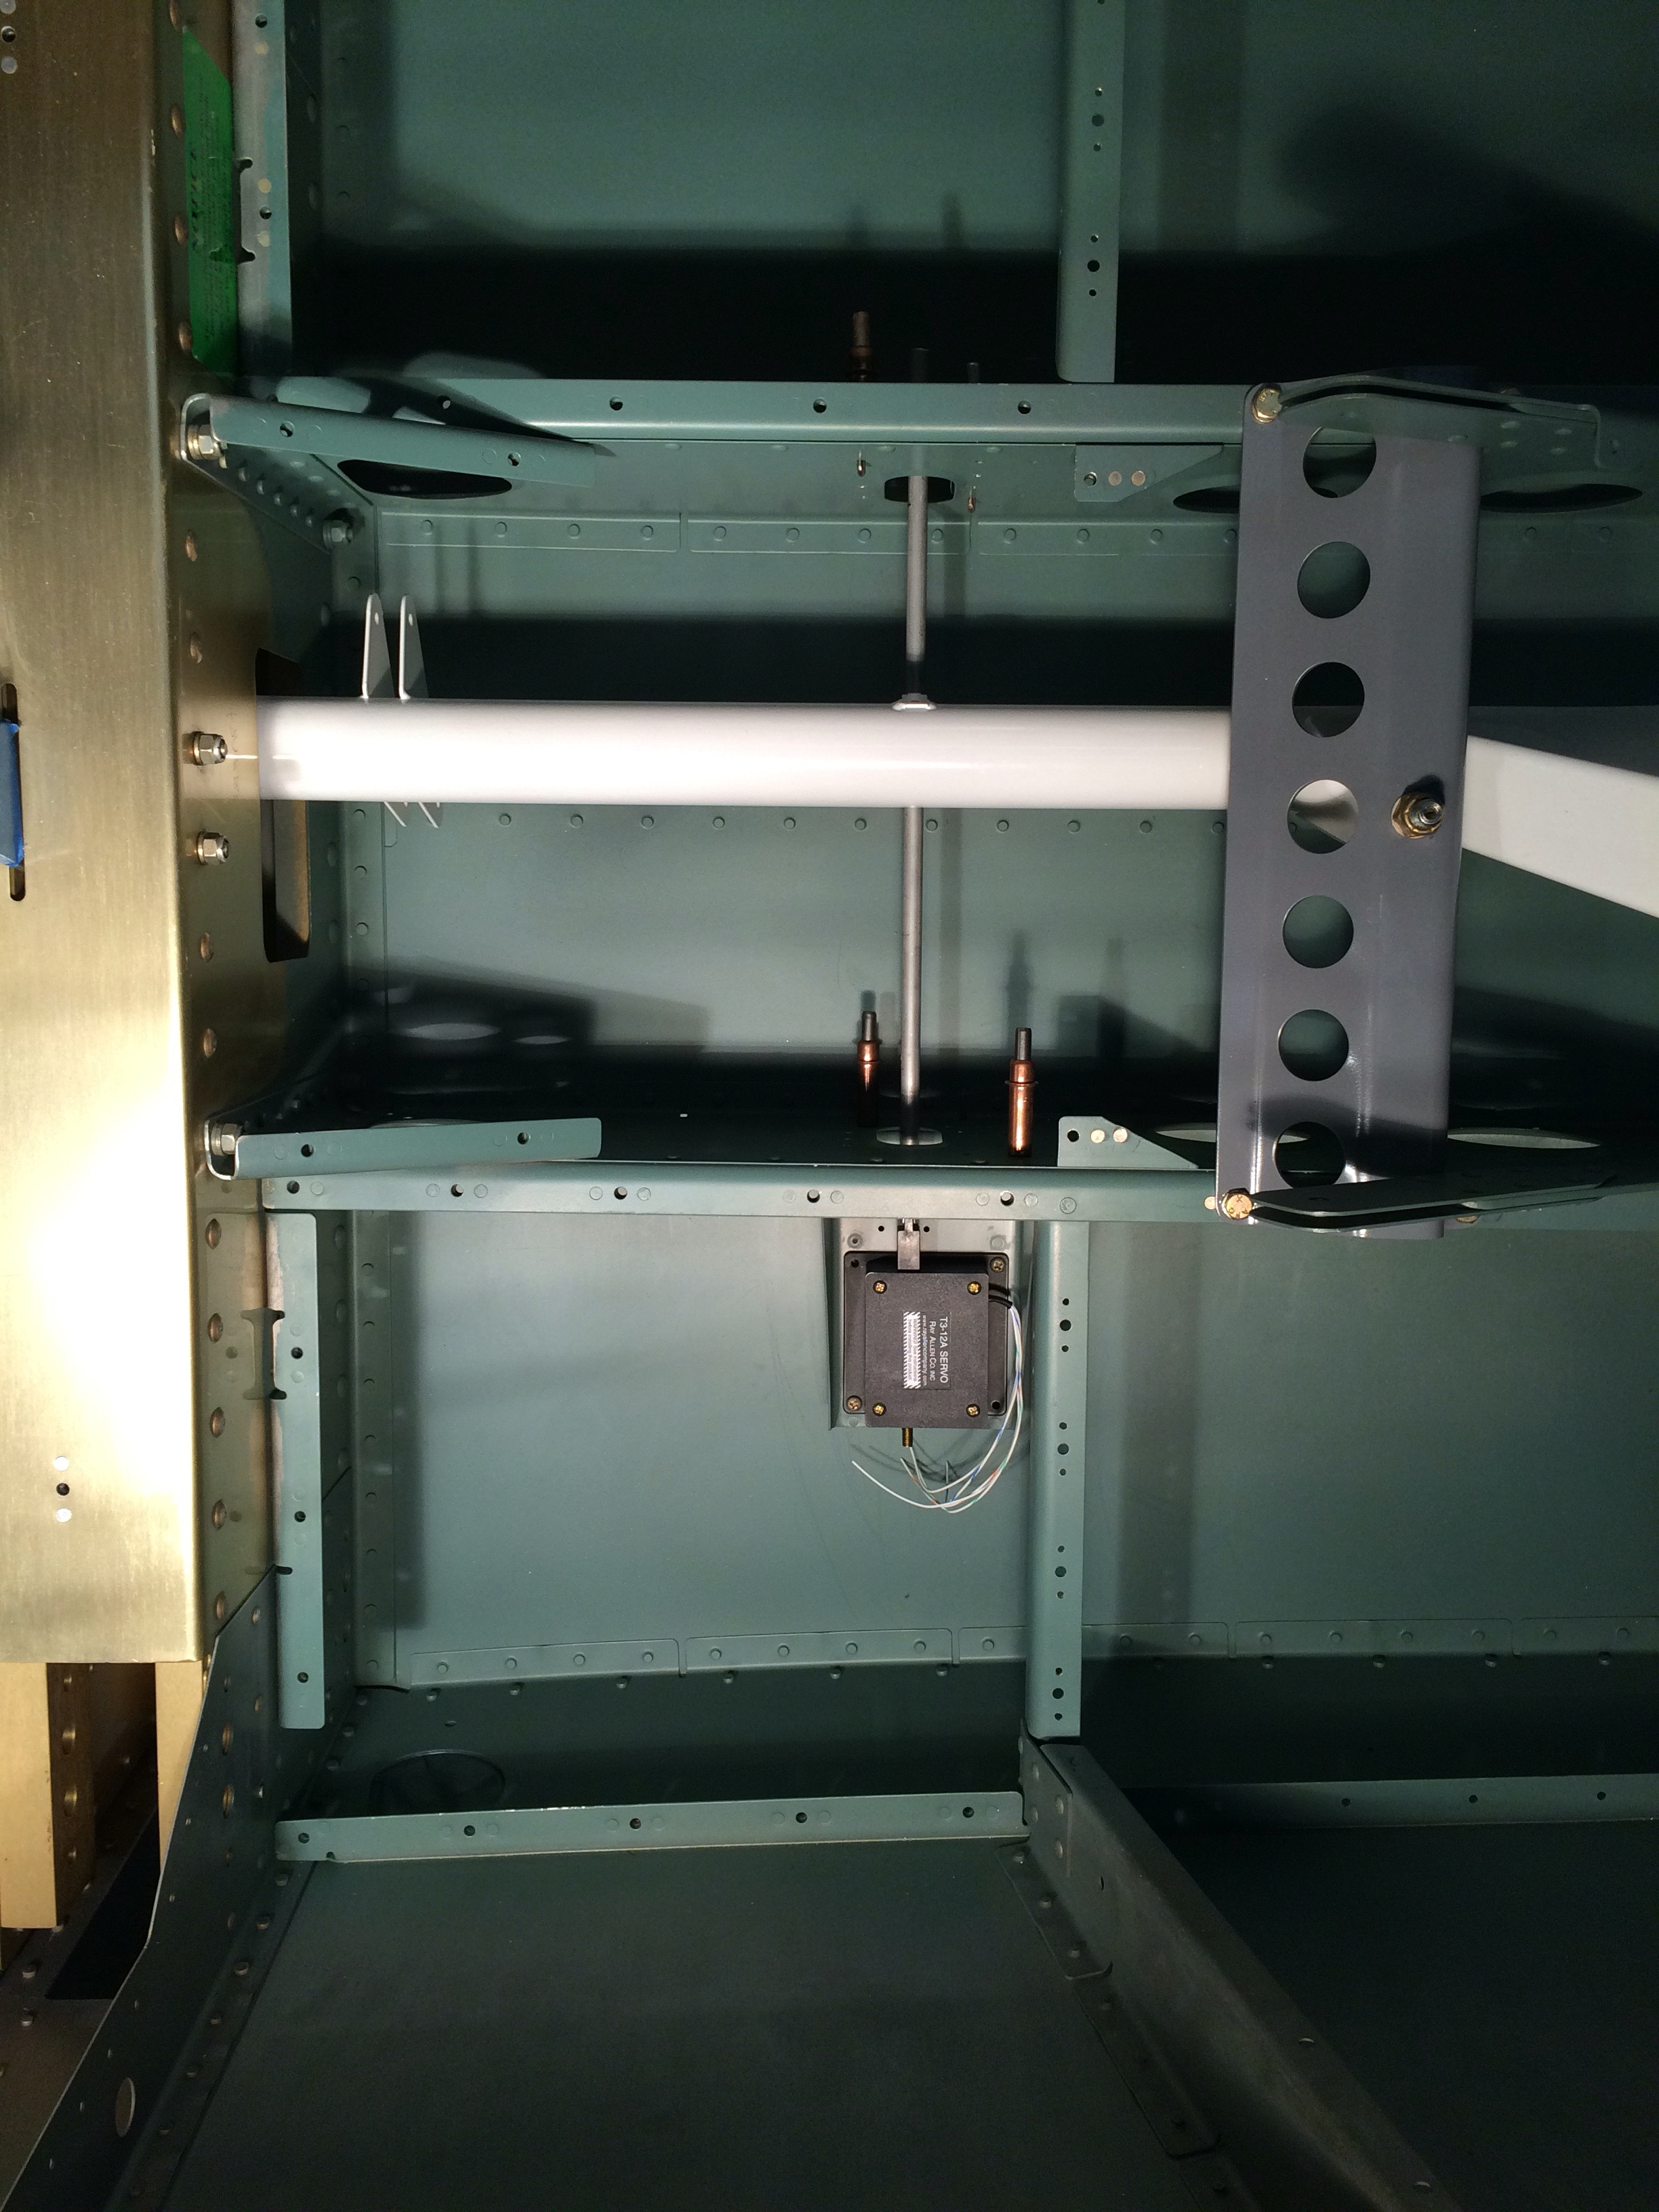
Guide bracket ready to be match drilled.
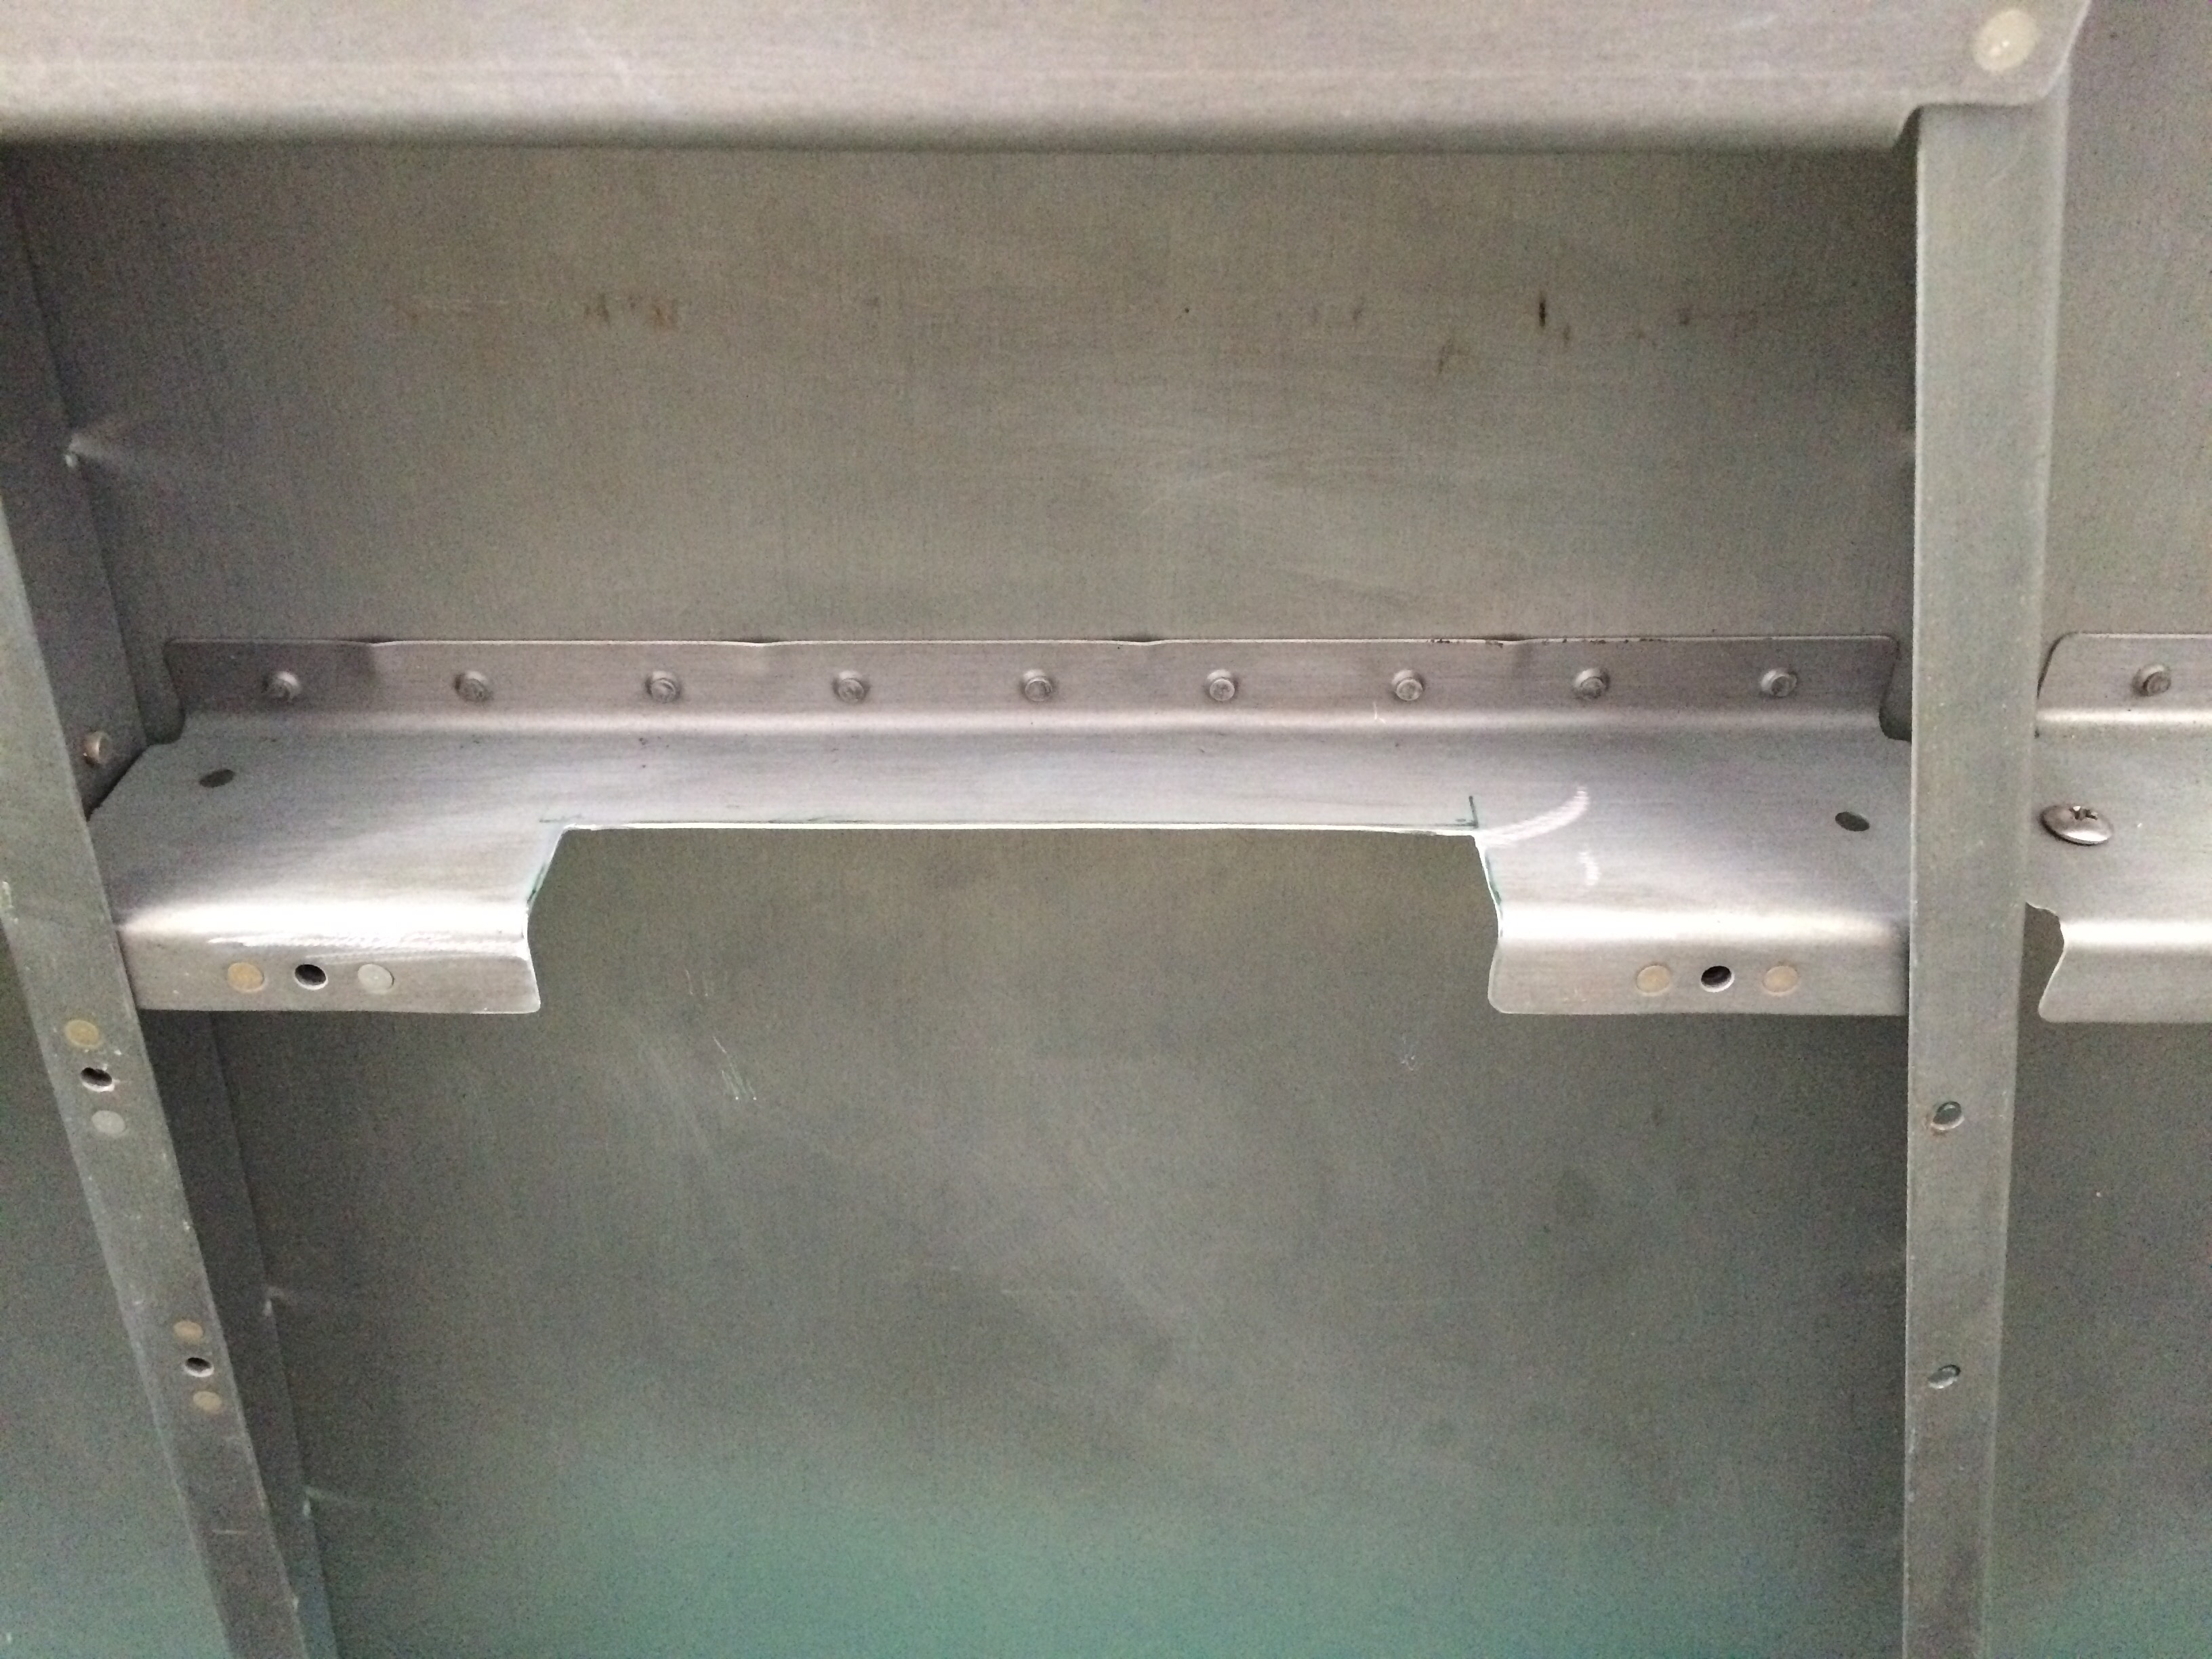
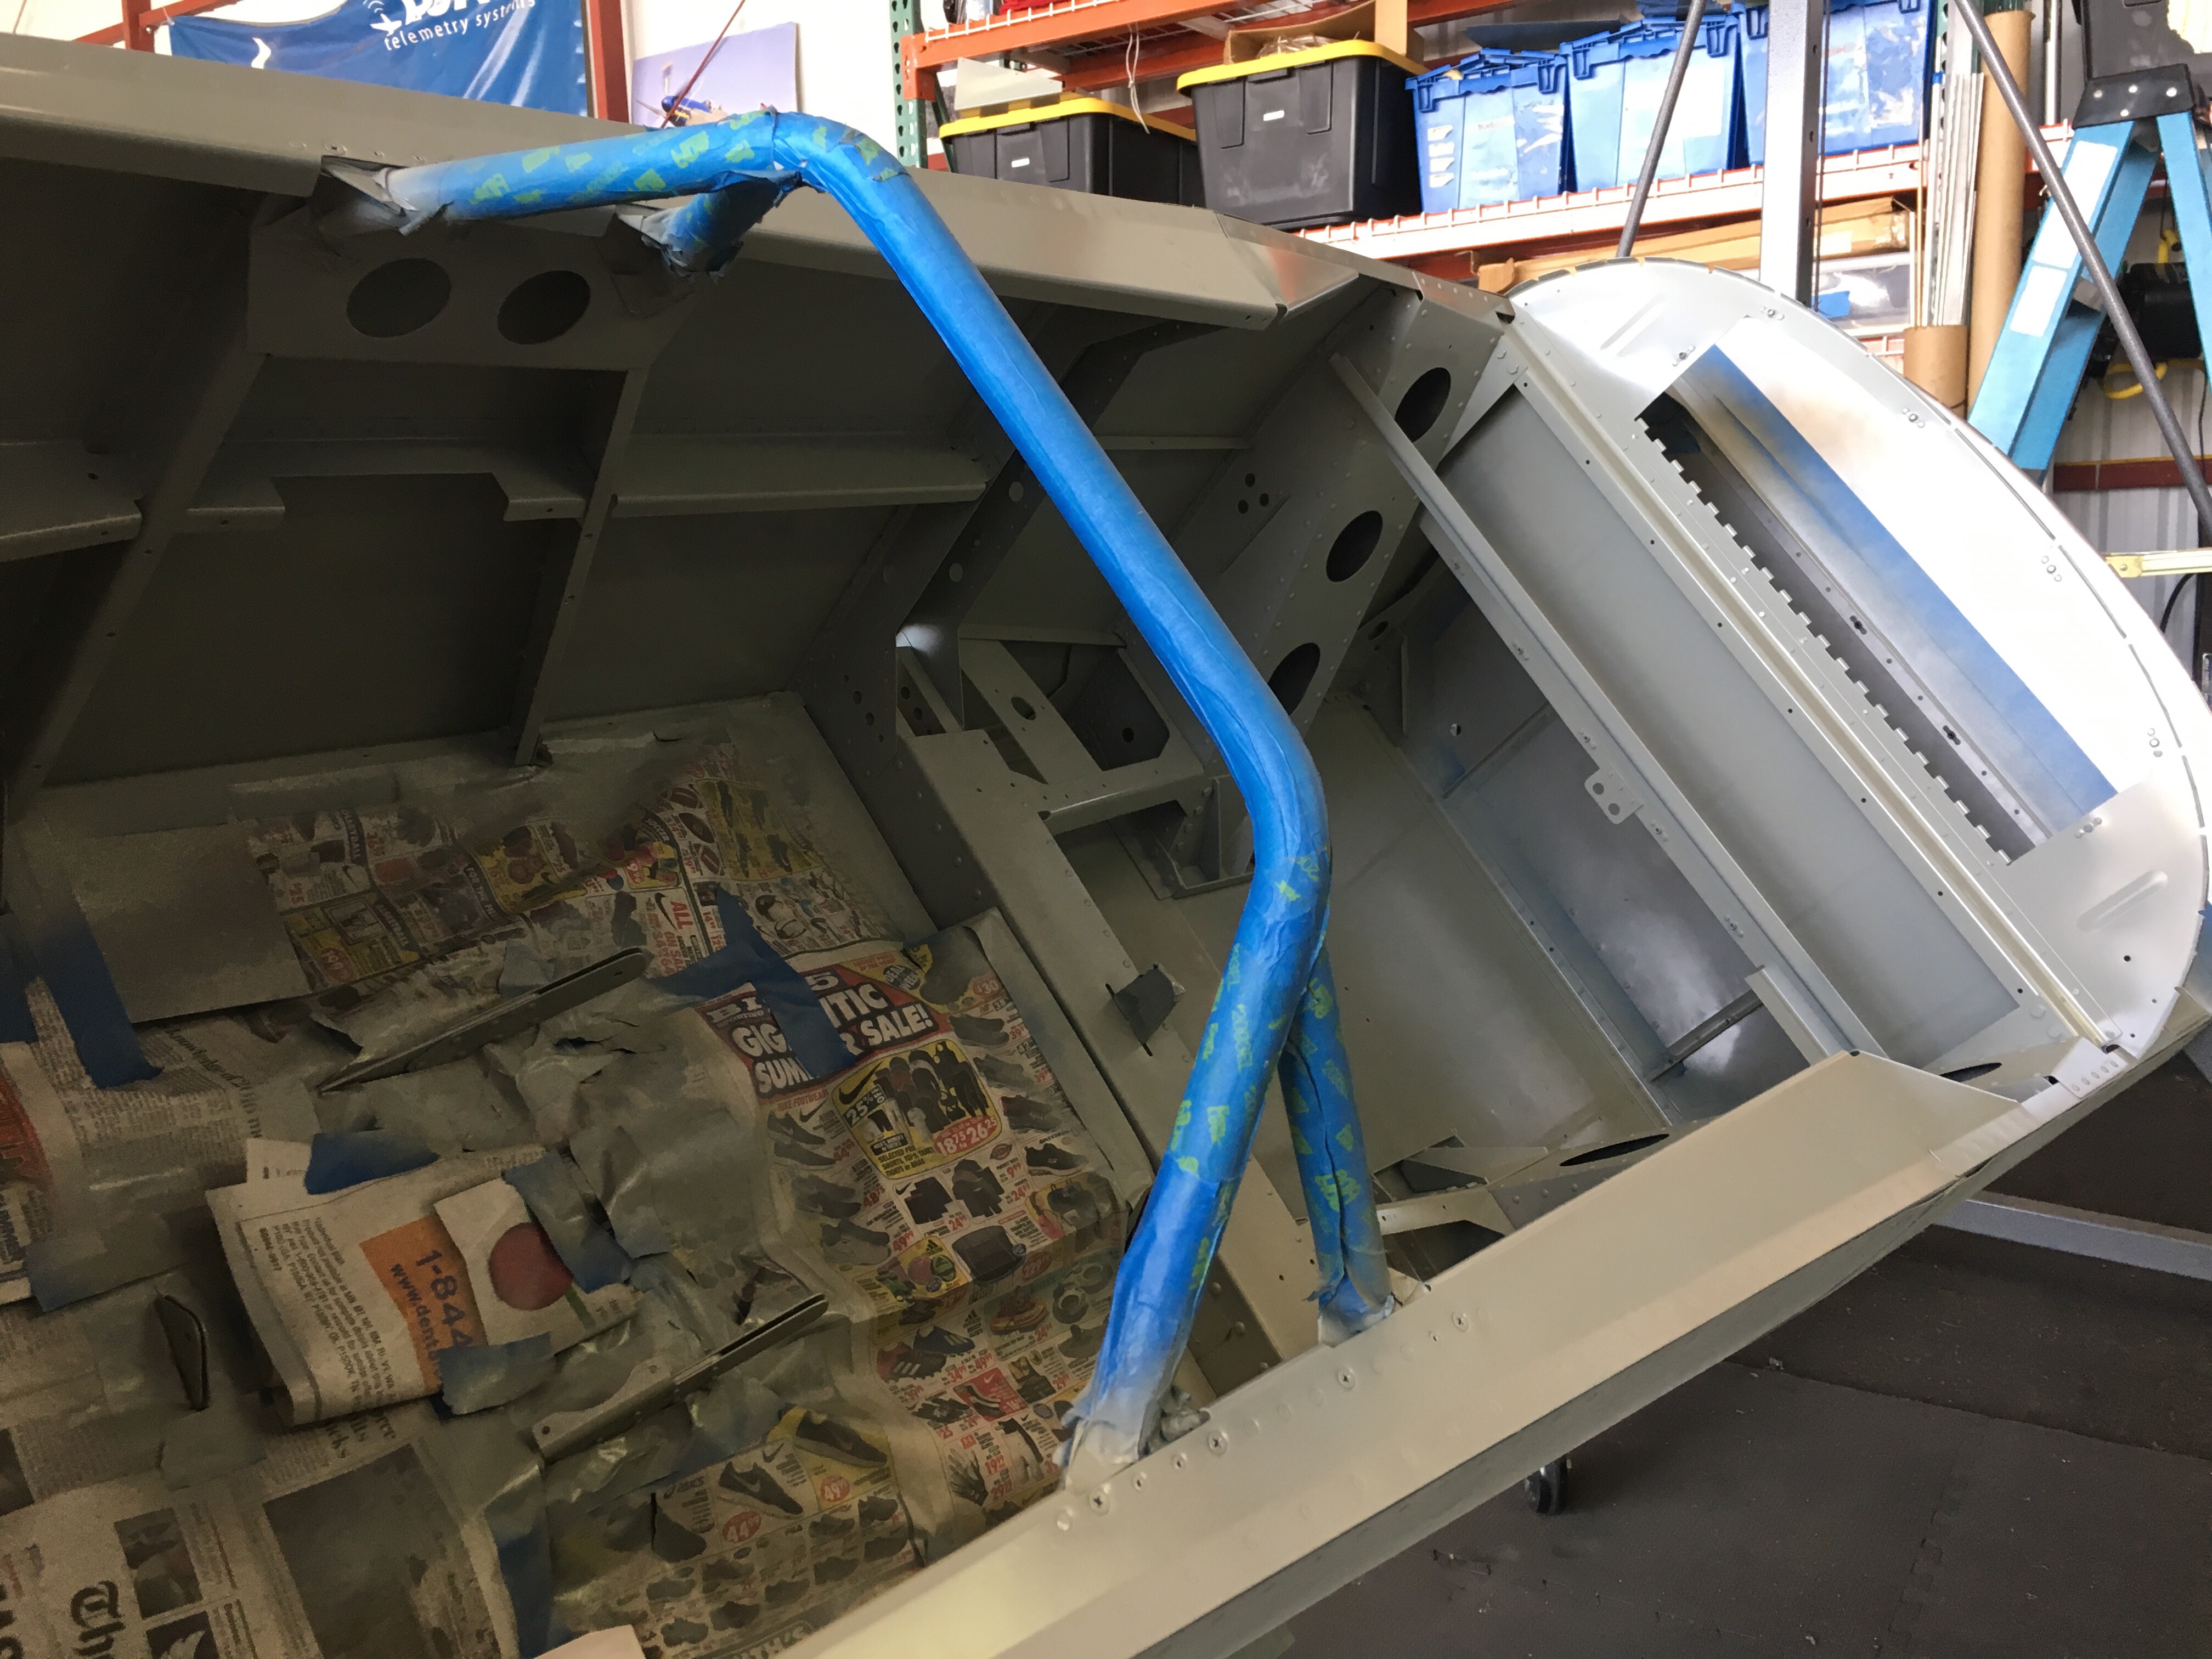
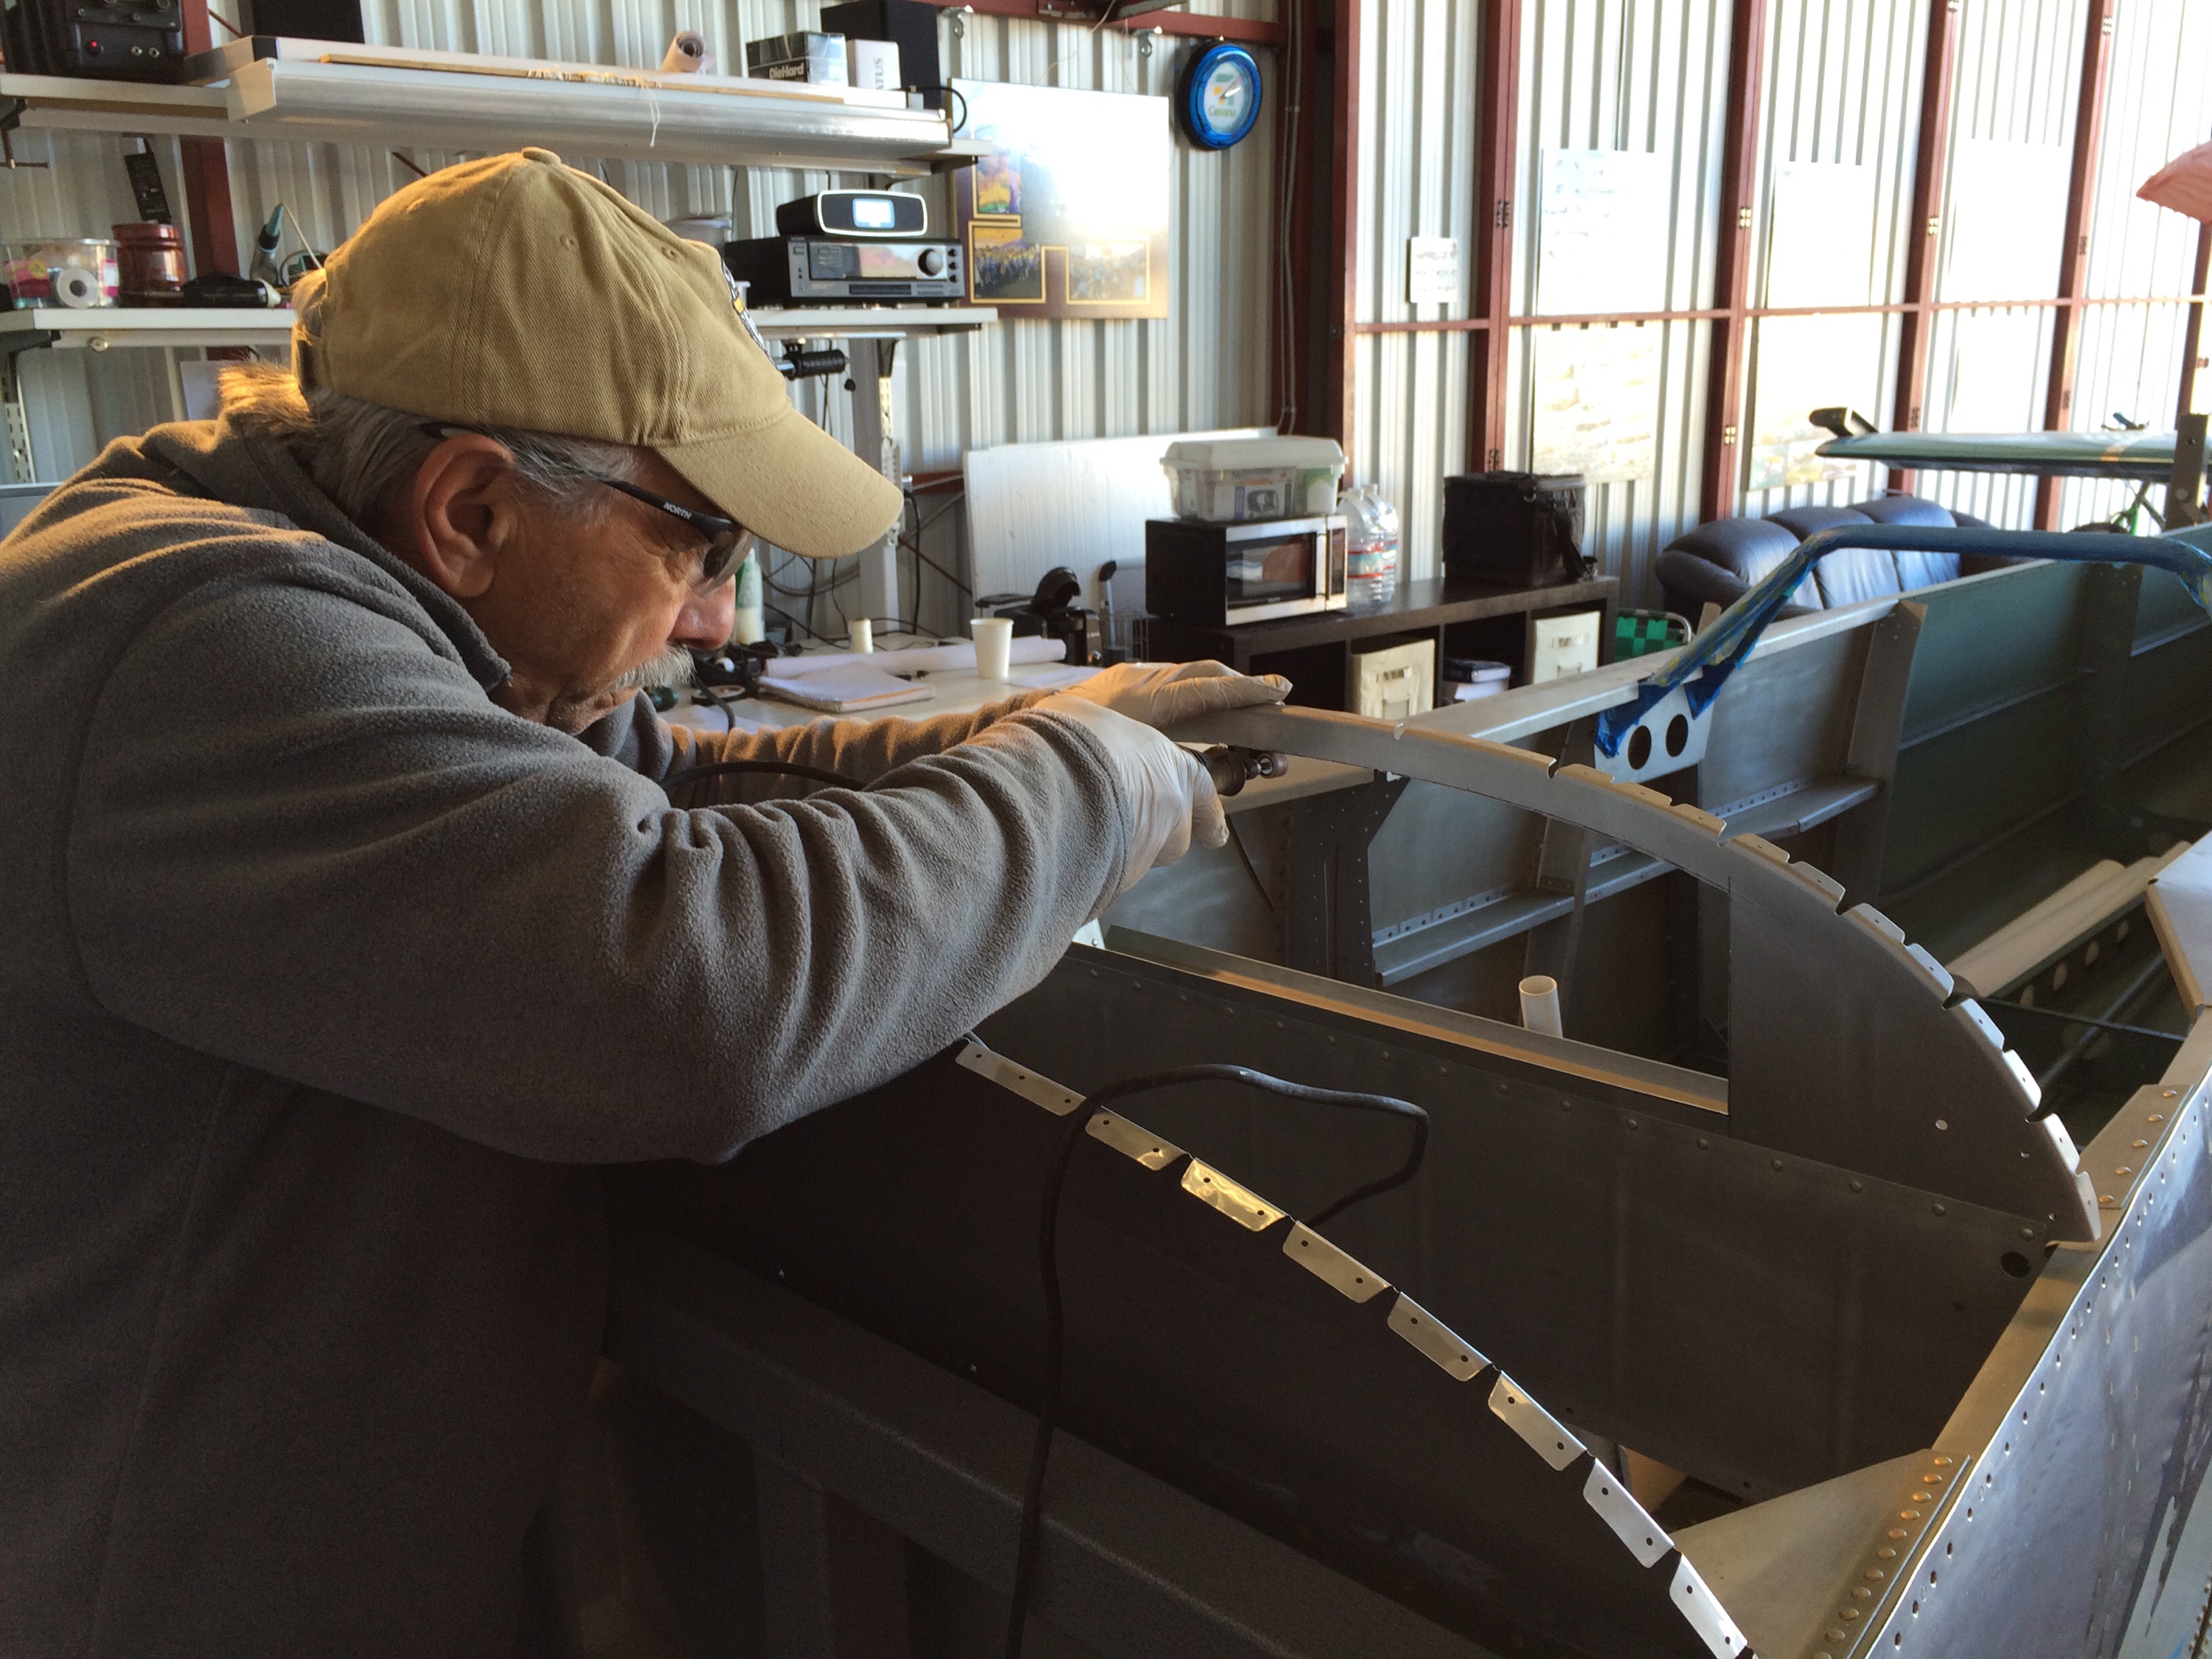
Worked on the fuselage and rudder pedals today. One item we’ve been delaying on is cutting the avionics access hatch.
Here’s Dad smoothing out or cut of the hatch. This will help access the instruments from the front cargo hatch.
More work on the rudder pedals. For whatever reason, I have two different color pedal assemblies, as you can see the left assembly is a greyish color, while the rest is white.
Started working on installing the pushrods and controls. Here is the control column and front control stick installed. This won’t be a final install as I still have to finish priming the fuse and then painting the interior color.
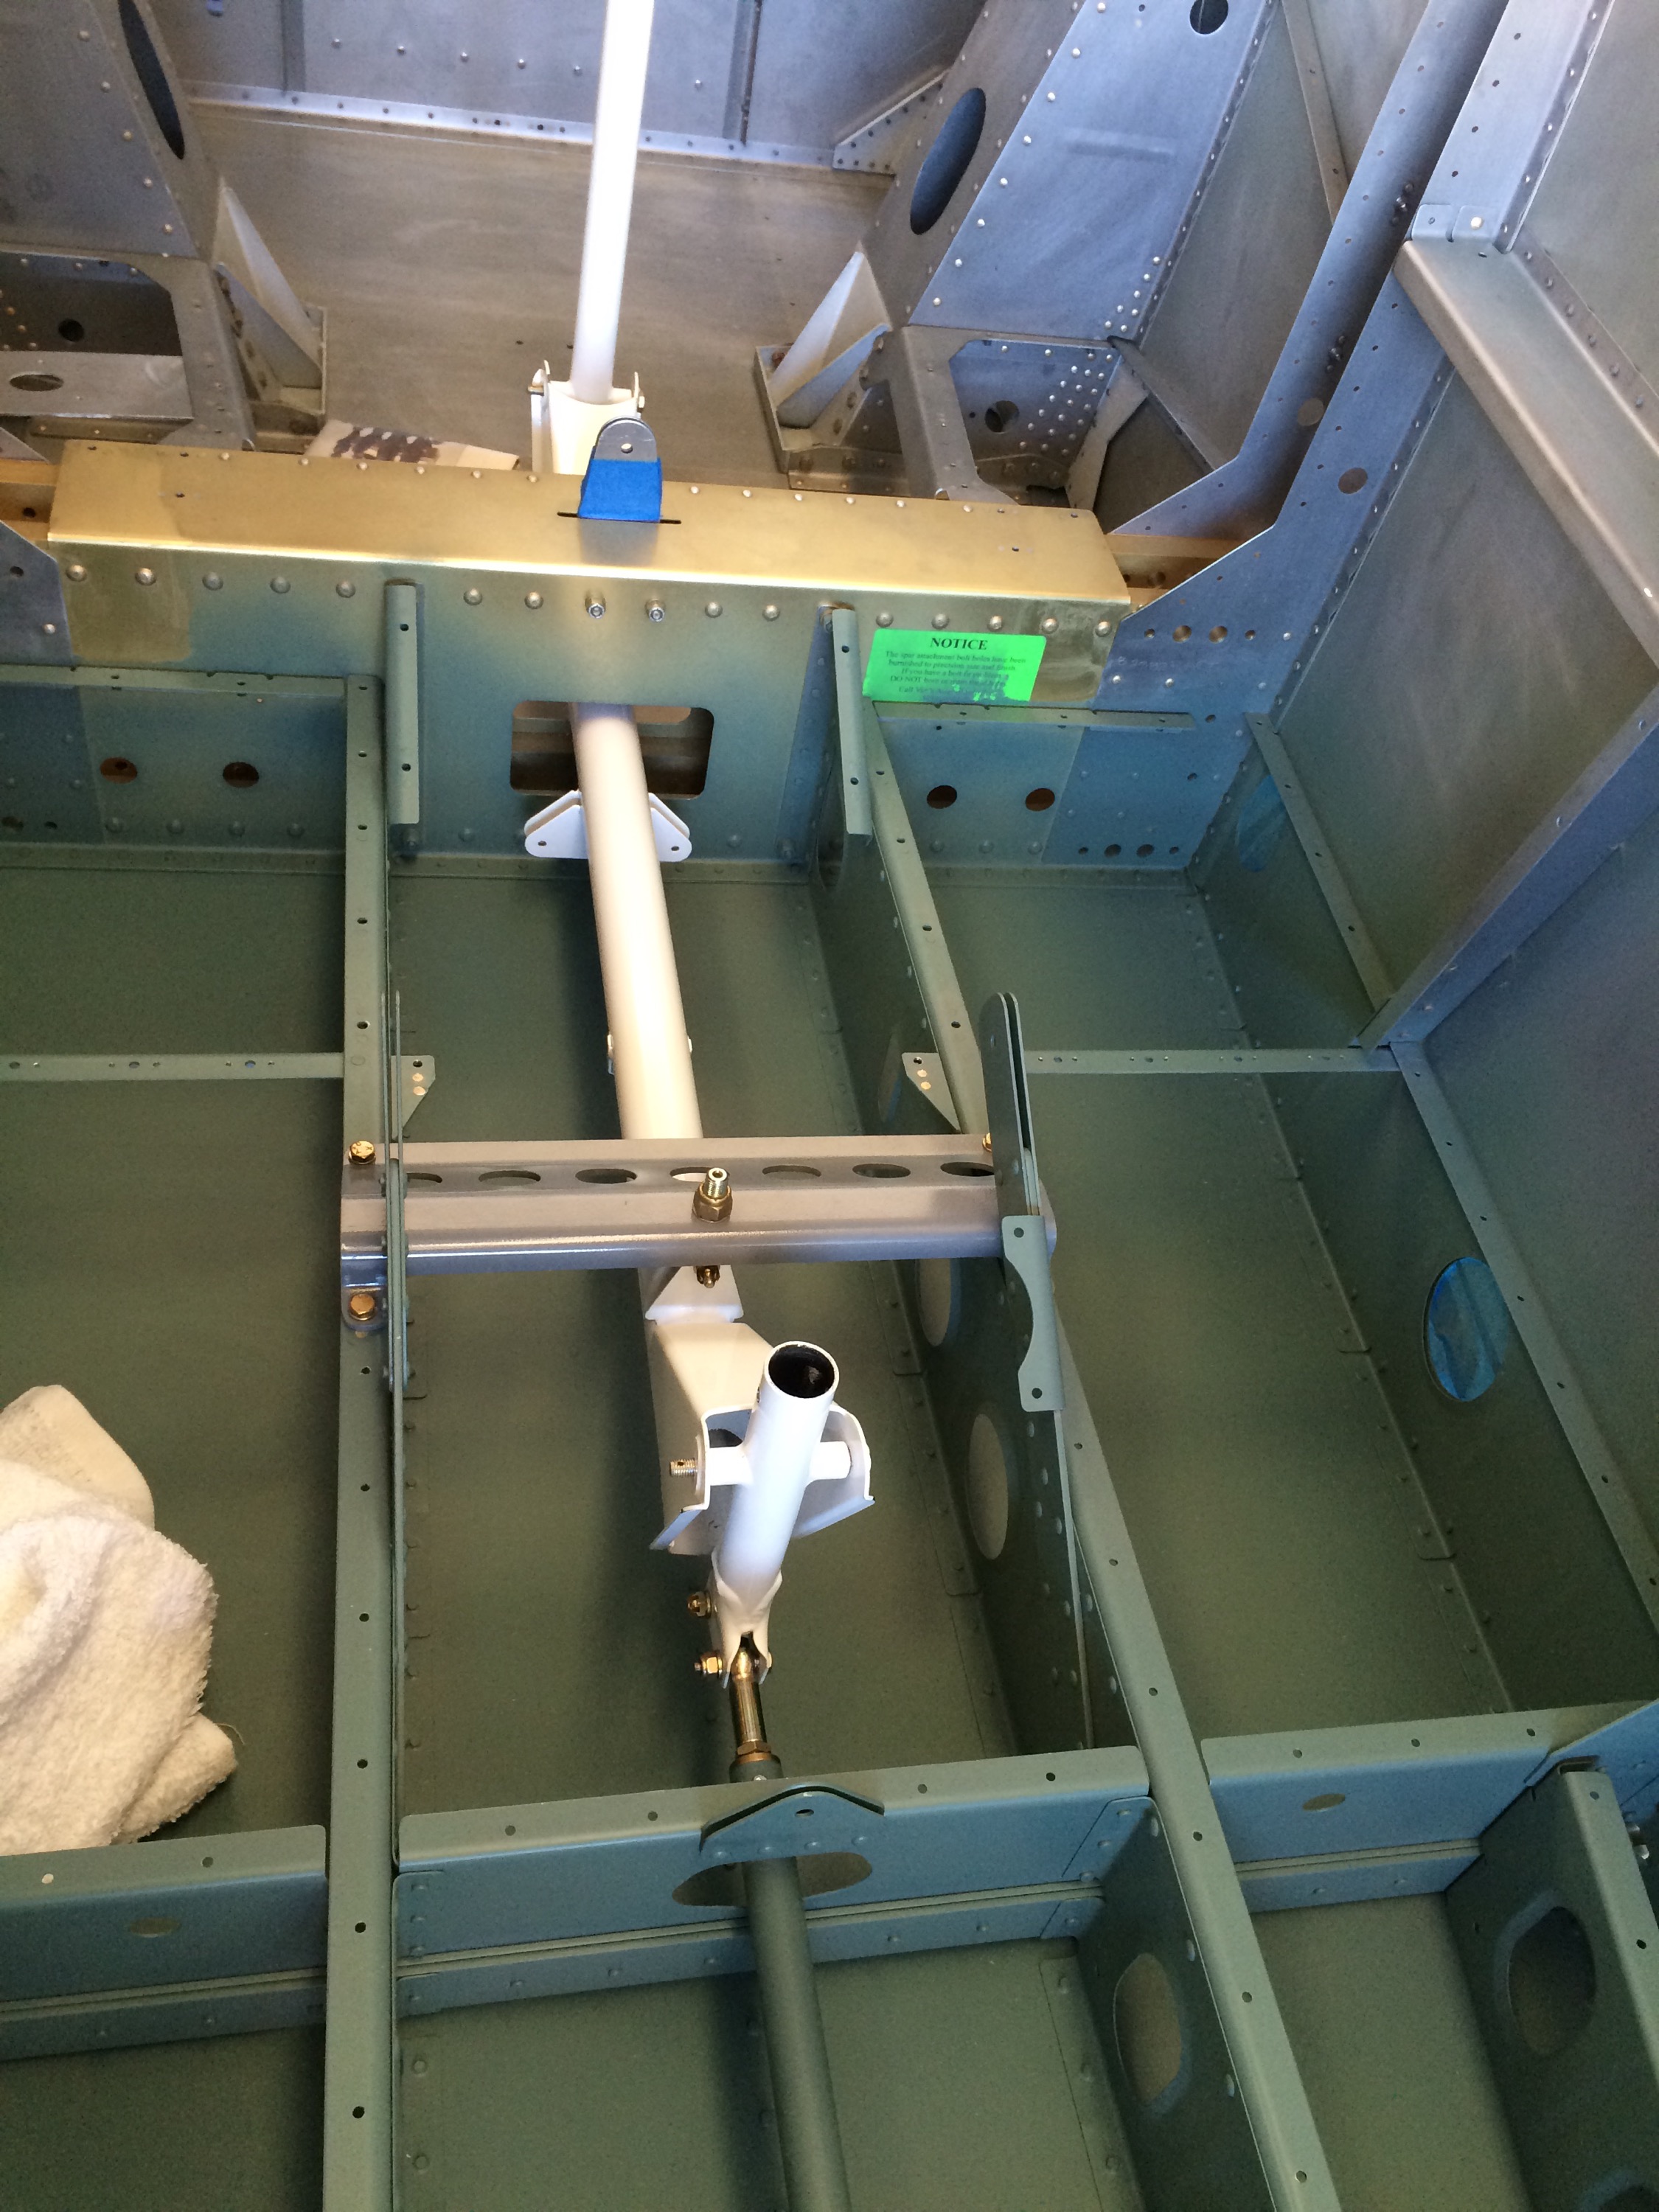
Test fitting the pushrod on the bellcrank
Also started work on the rudder pedals today.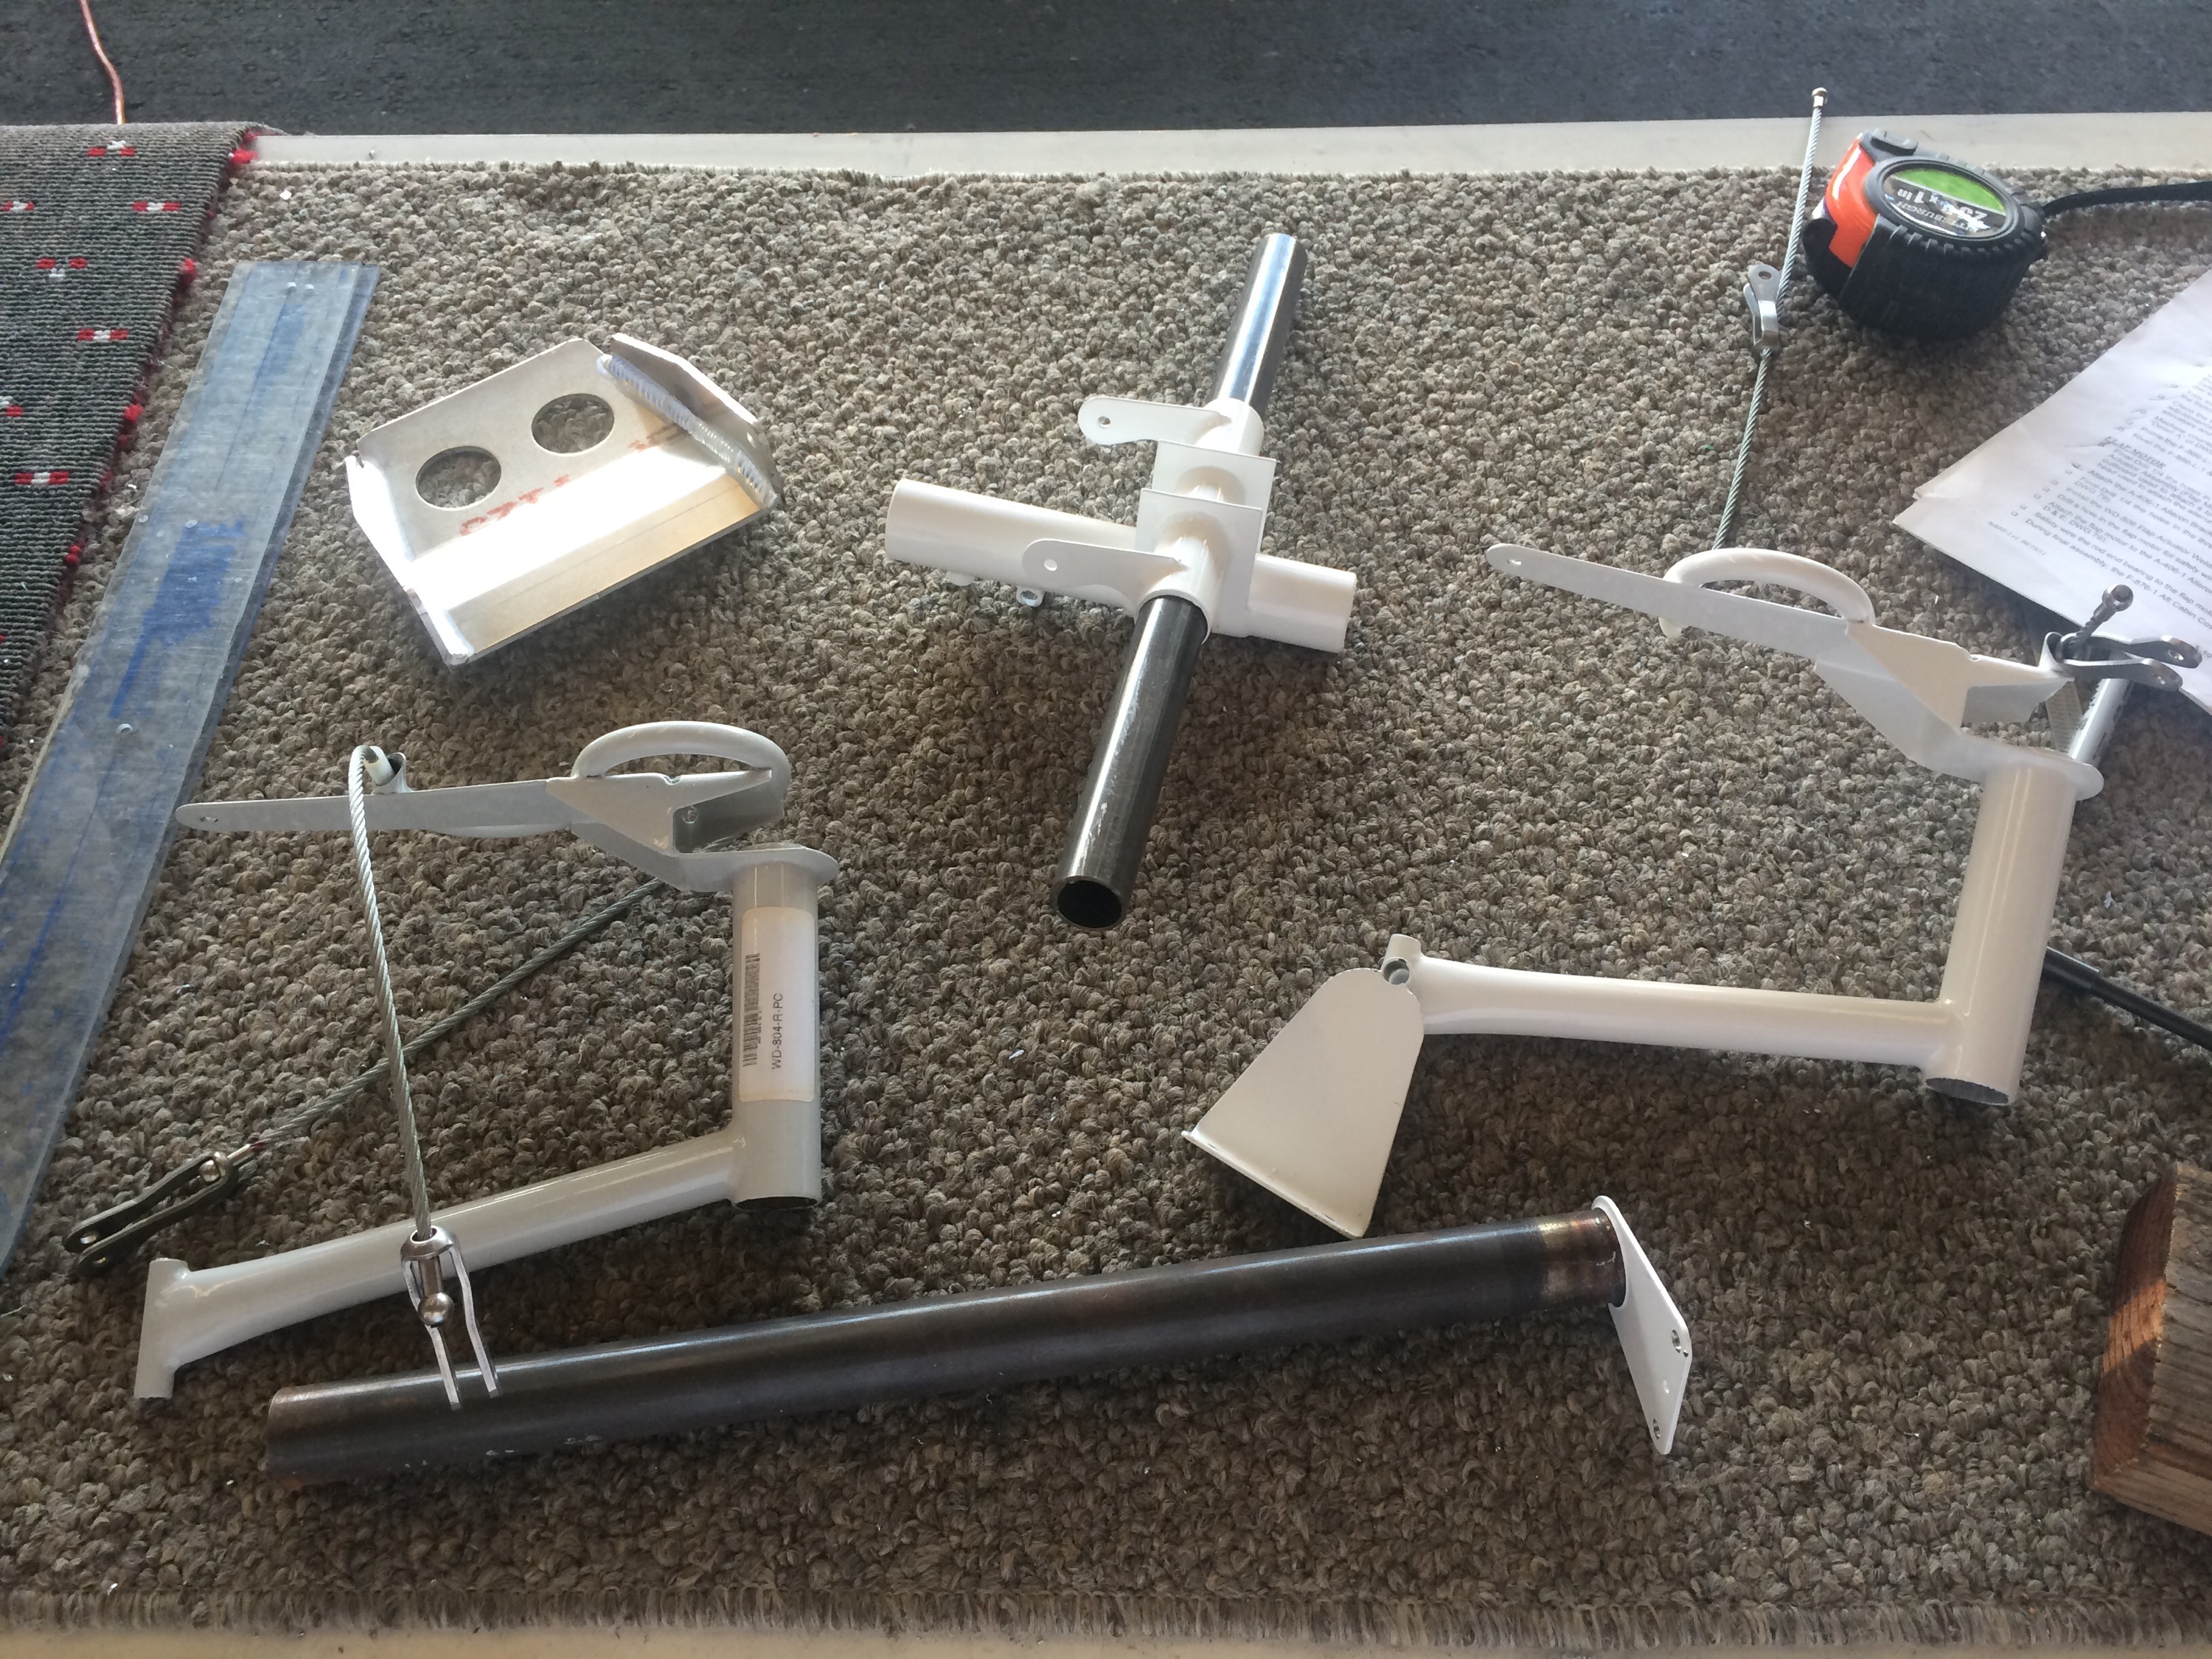
Drilling the holes for the inflight adjustable pedals.
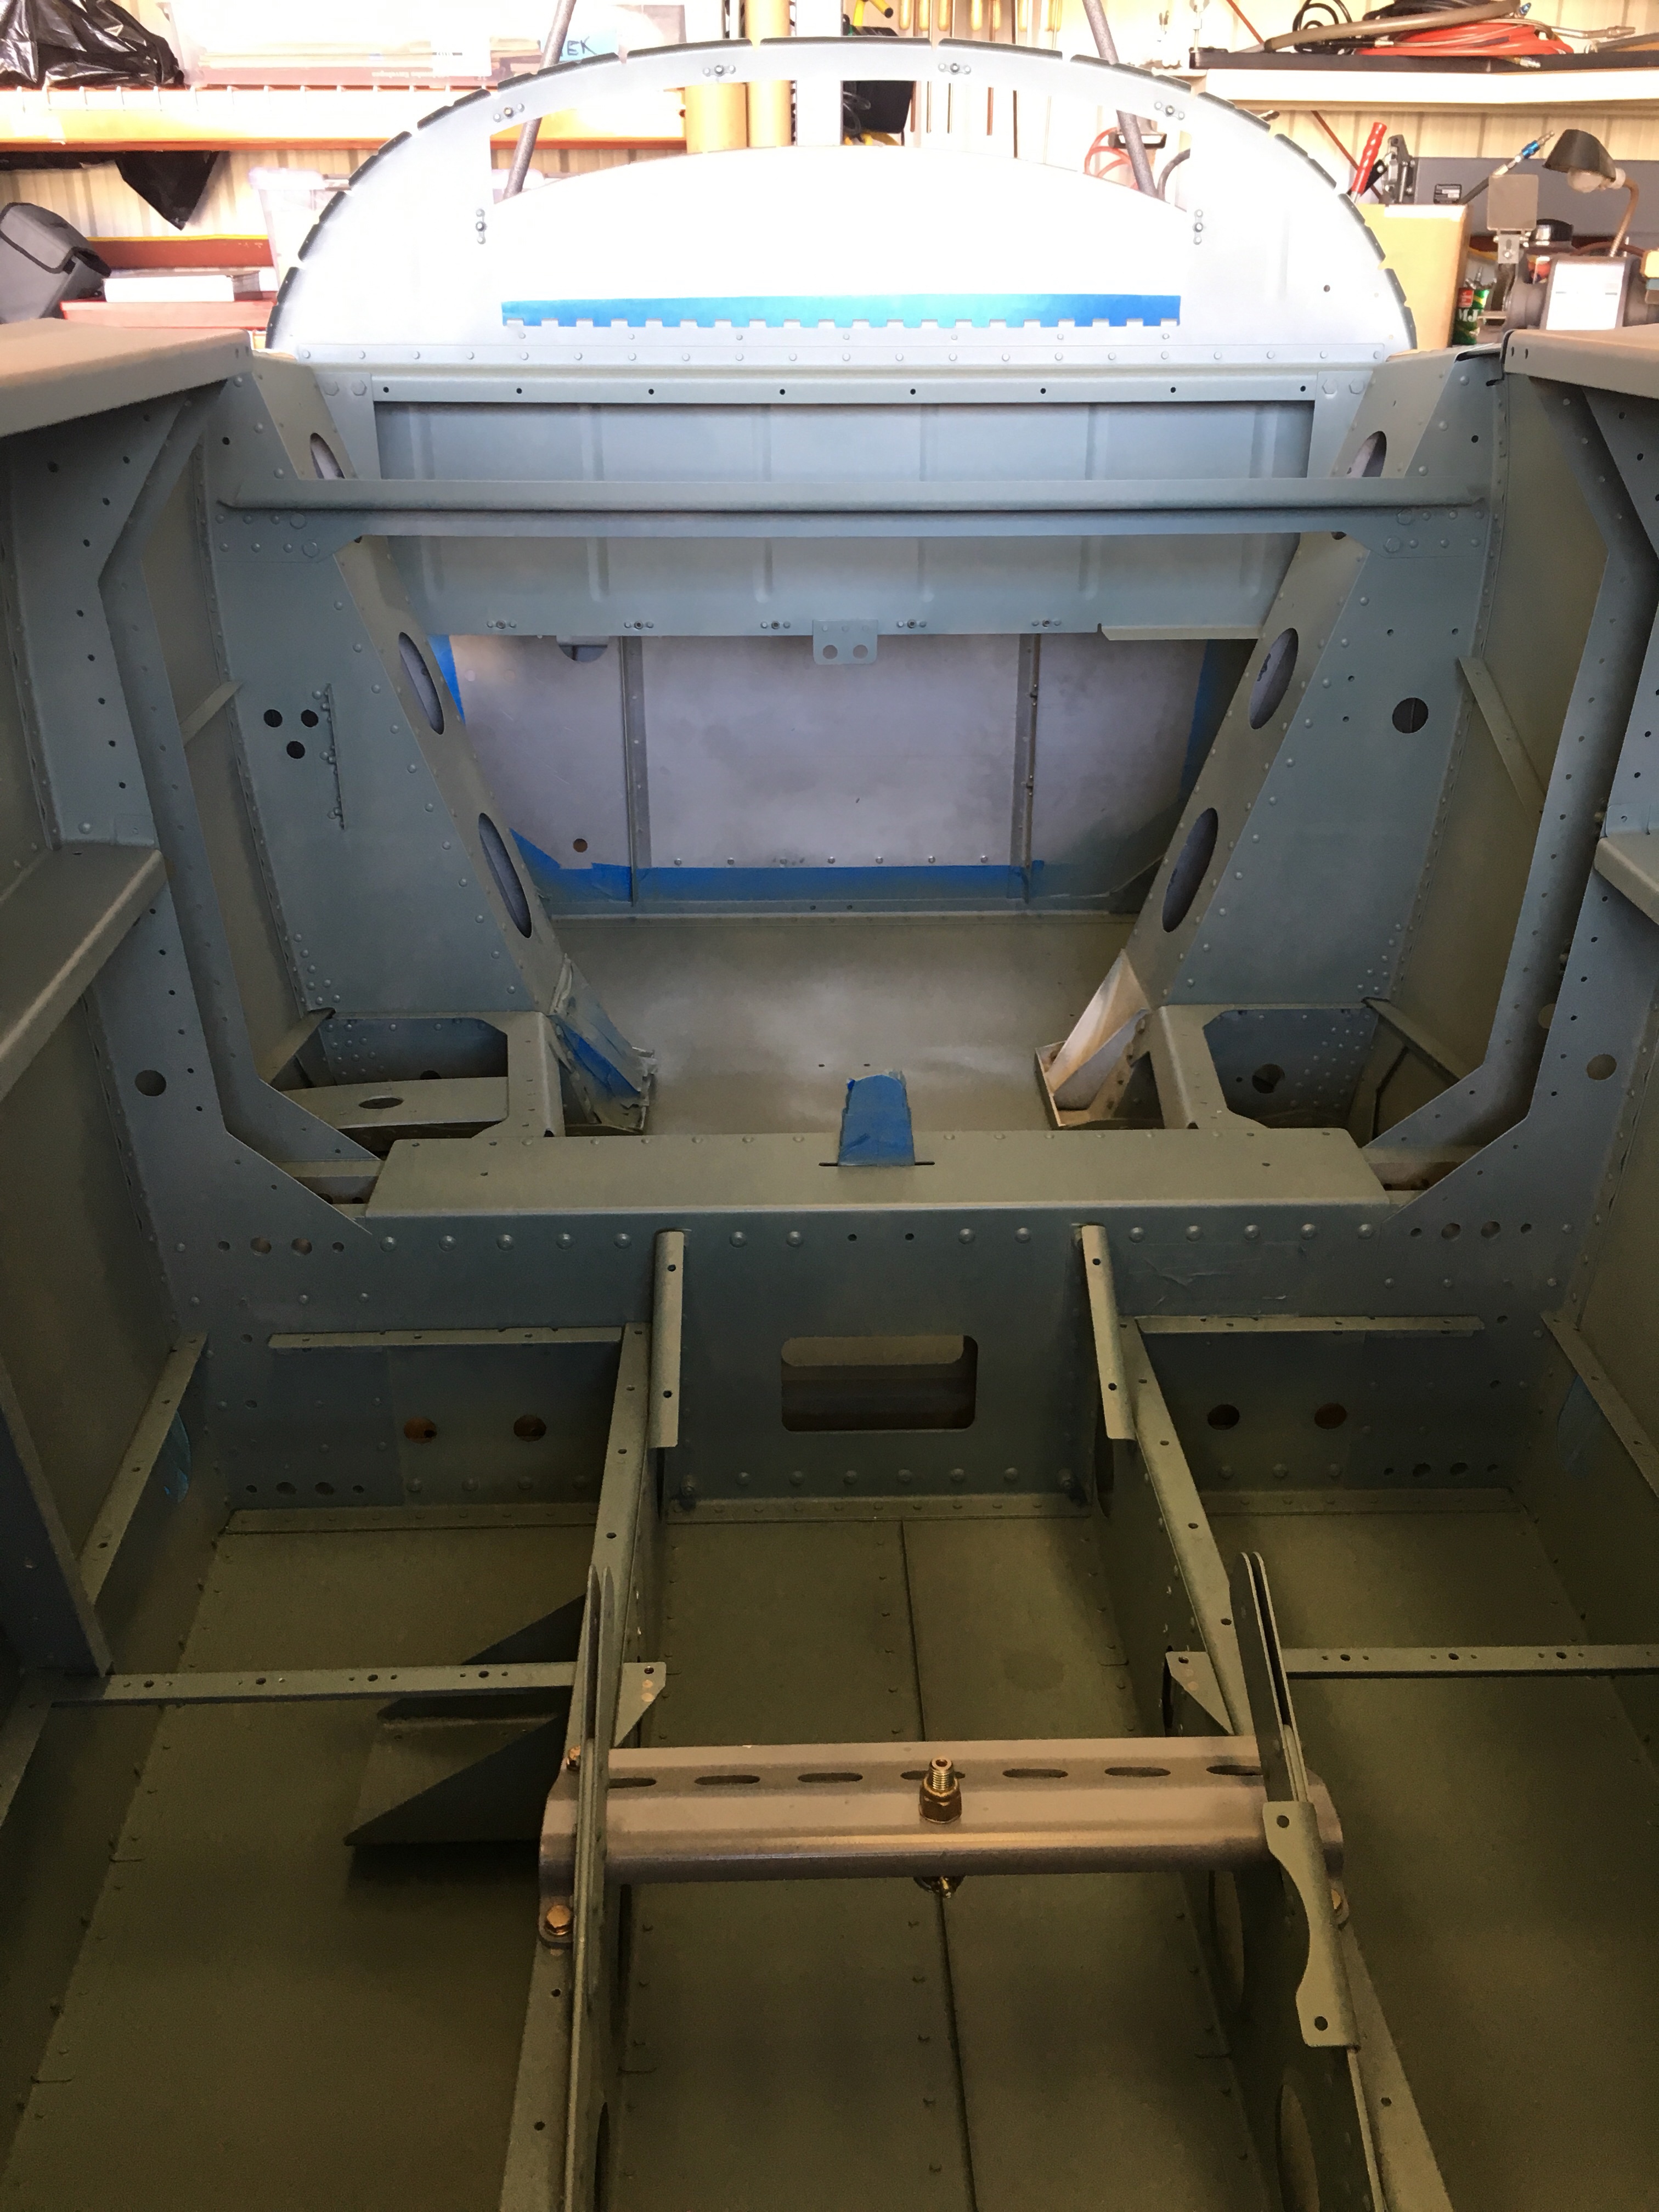
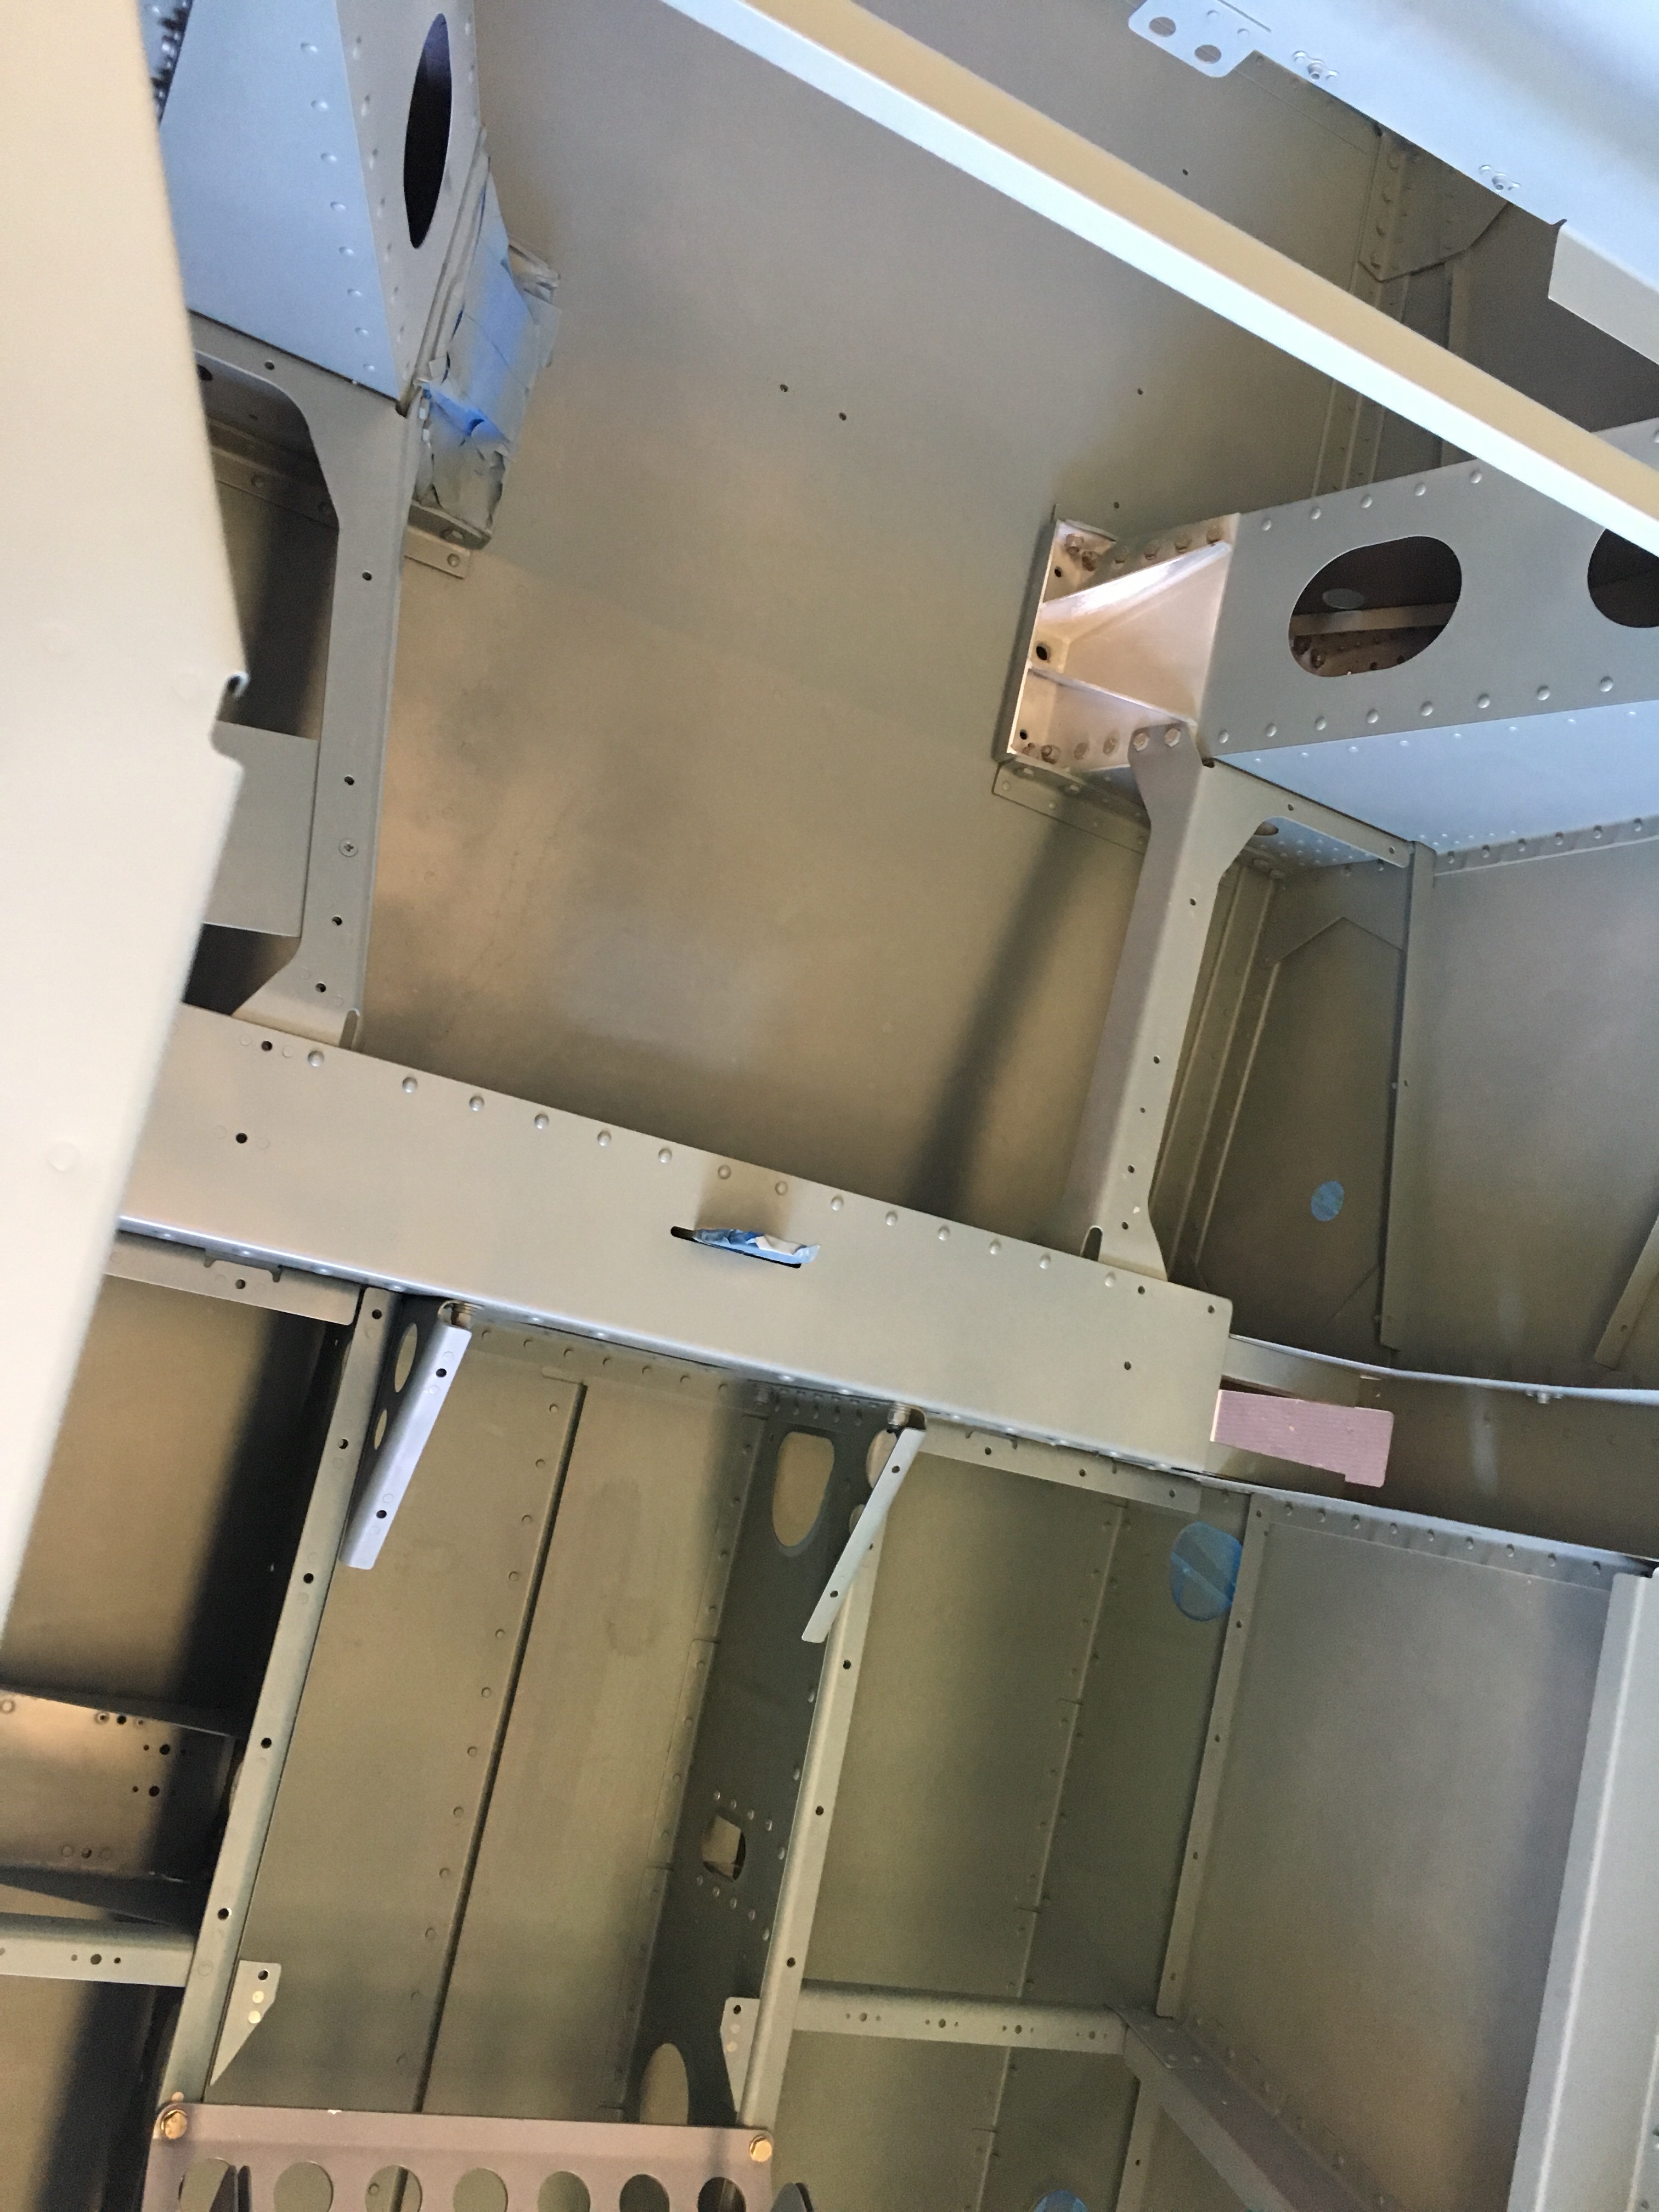
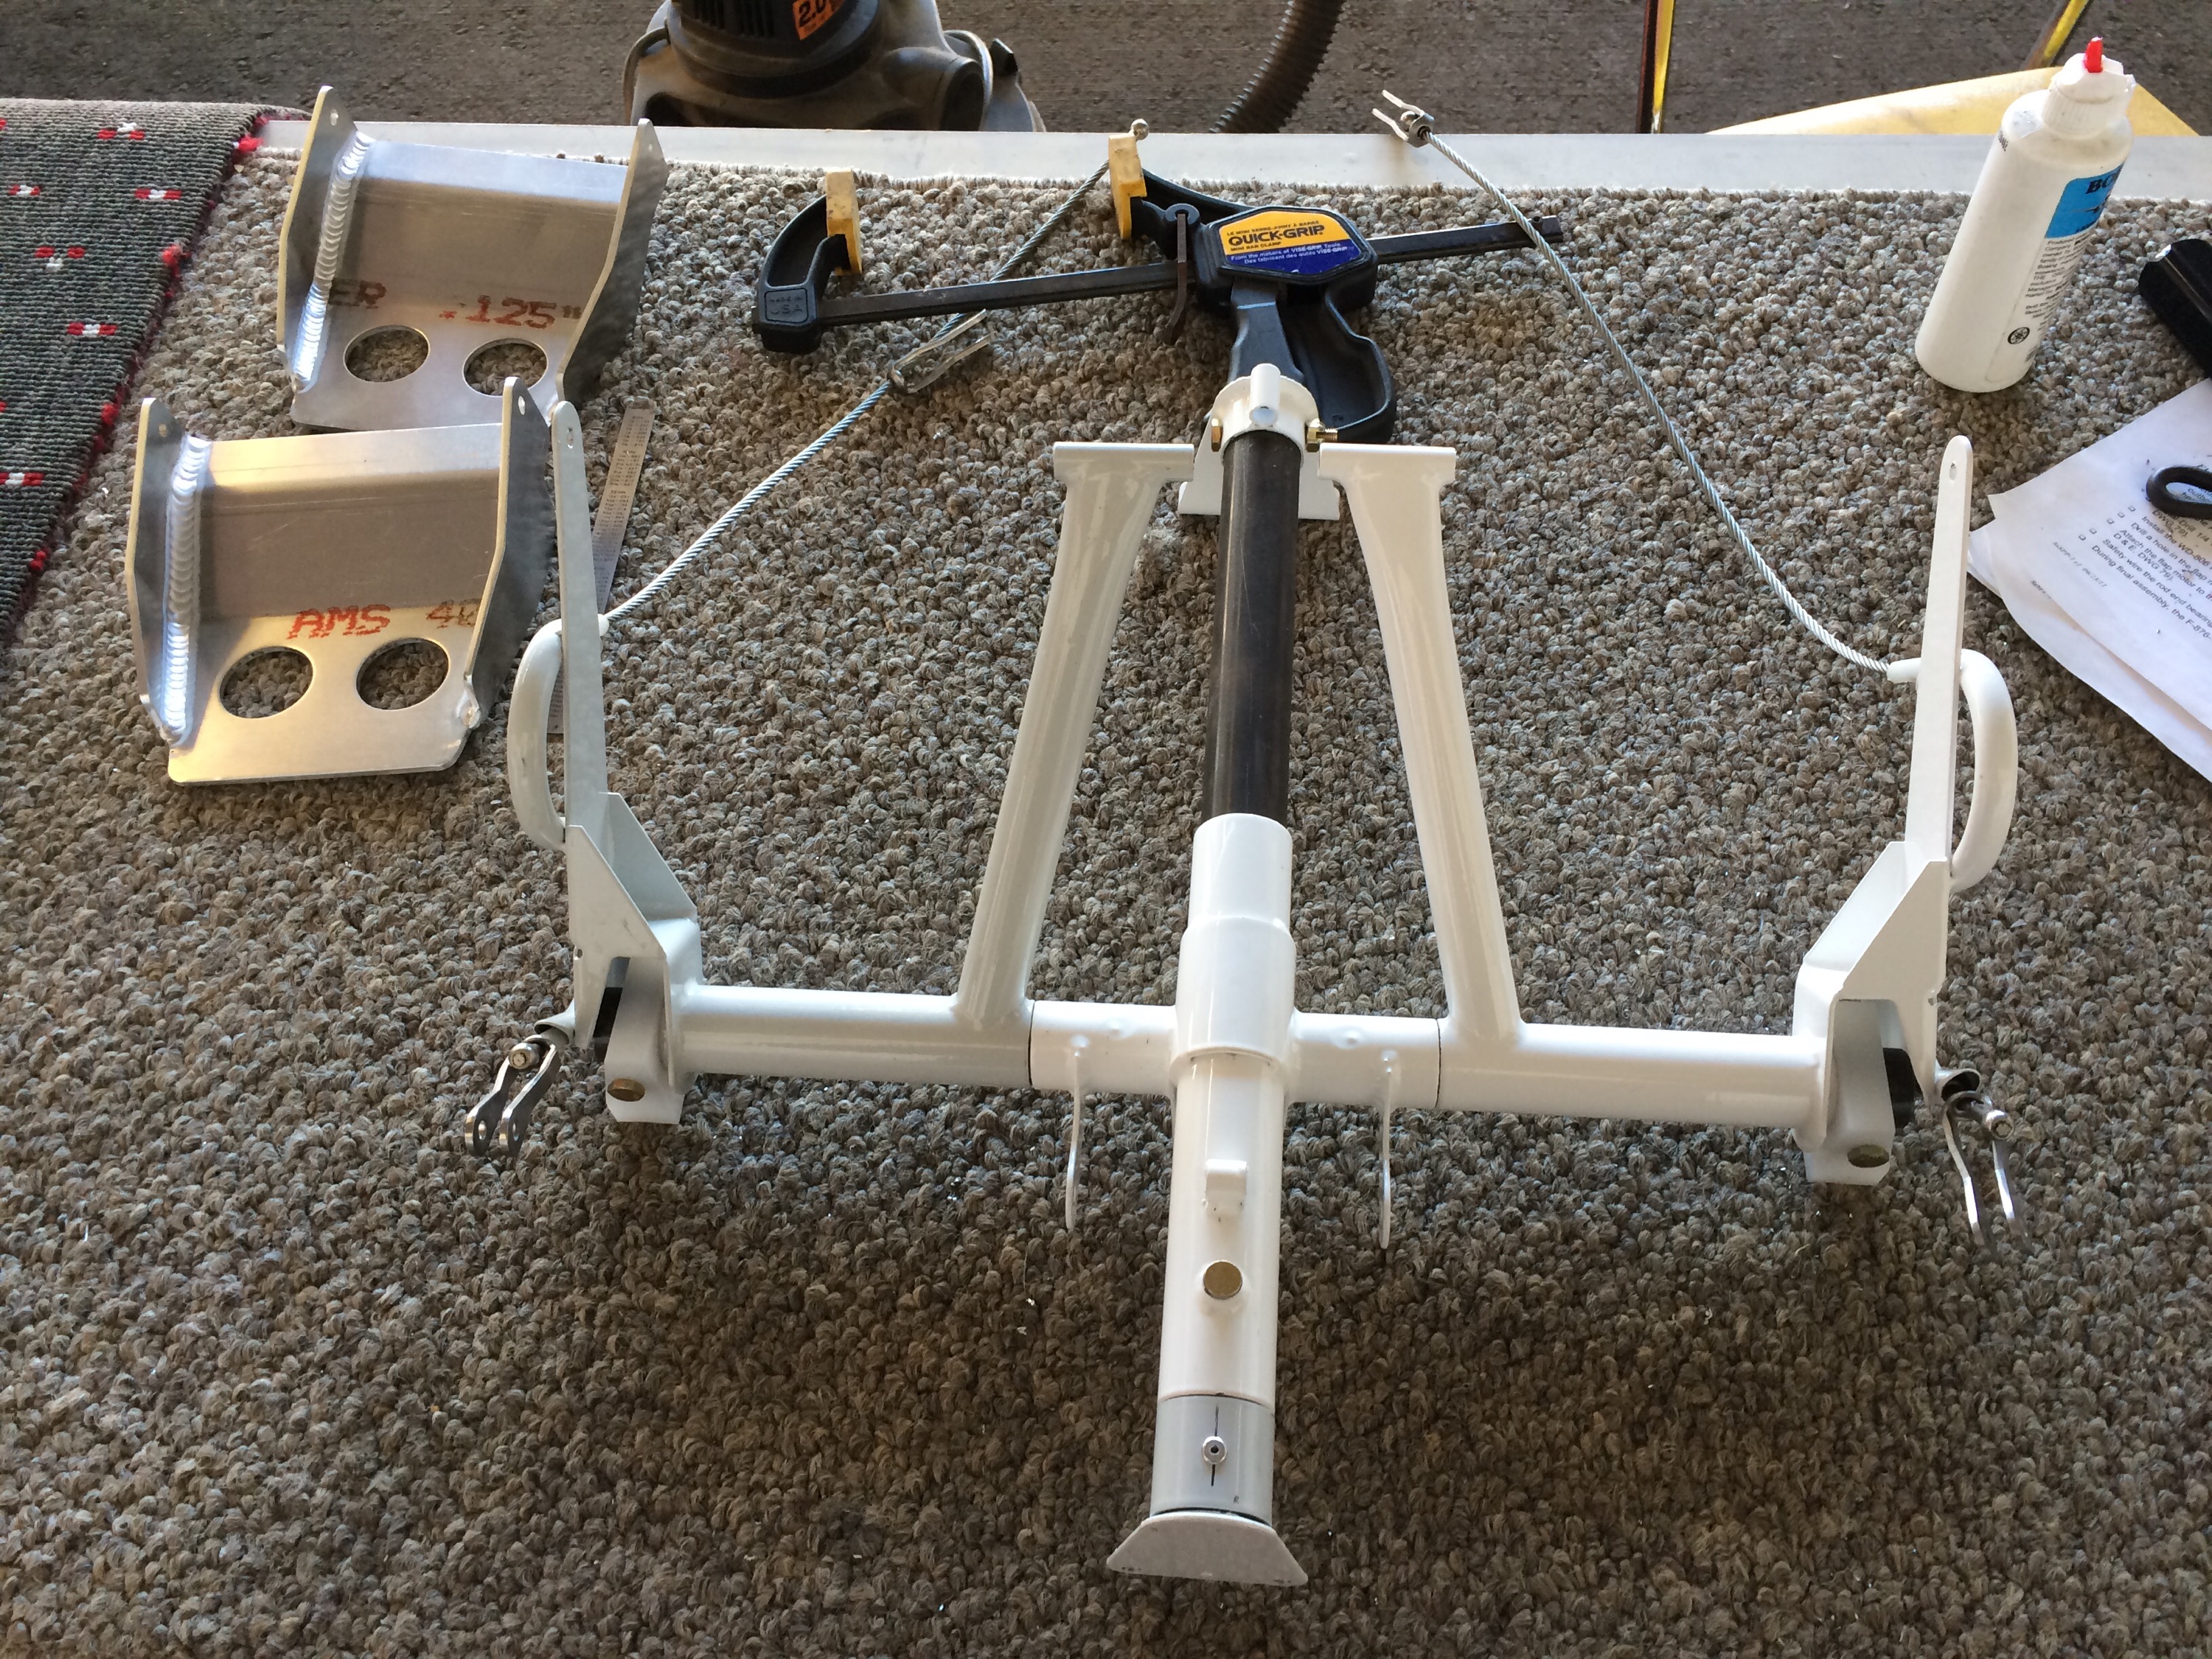
Decided to skip attaching the Horizontal to the Fuse until I could clear the correct amount of space in the hangar, so it was spent working on the control tubes and associated items.
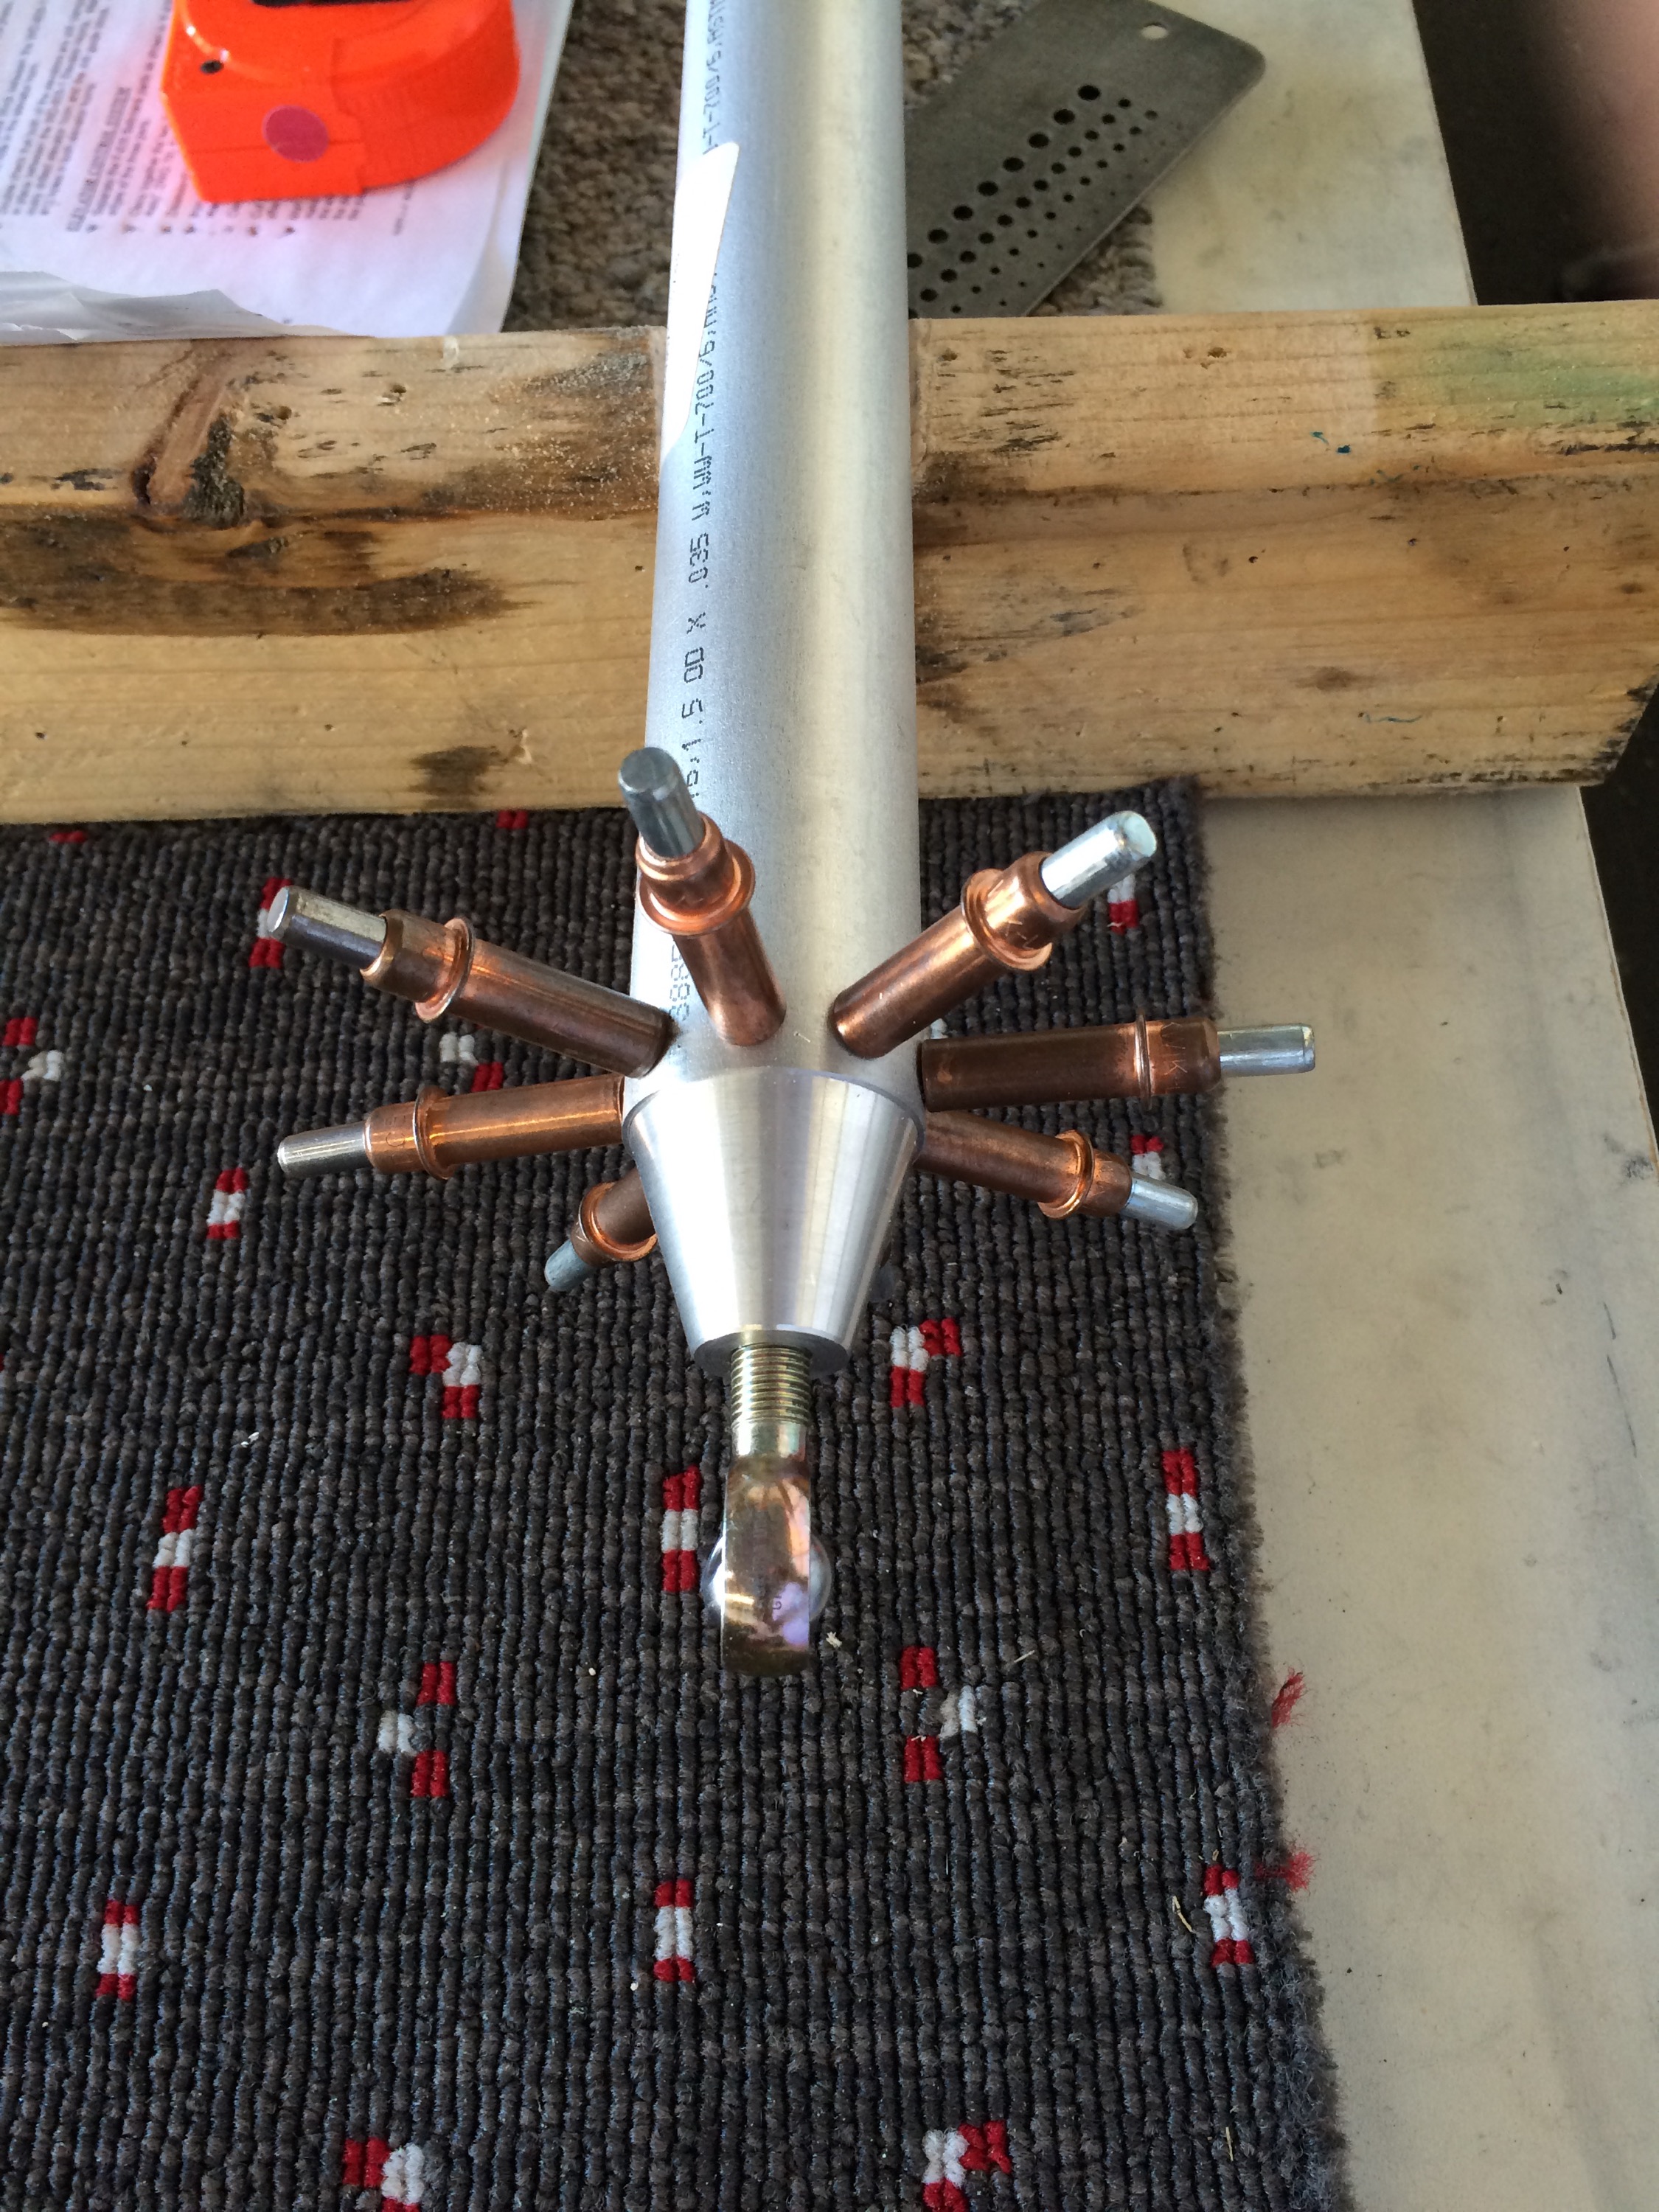
First off was drilling the Elevator Control horns, this was something we had put off as well. Using a .250 piece of tubing and a drill that fit exactly to the ID of the tubing, it went well. As with all of the horns, it seems like they don’t match up exactly, but we had the surfaces matched in trail, since that is the important piece.
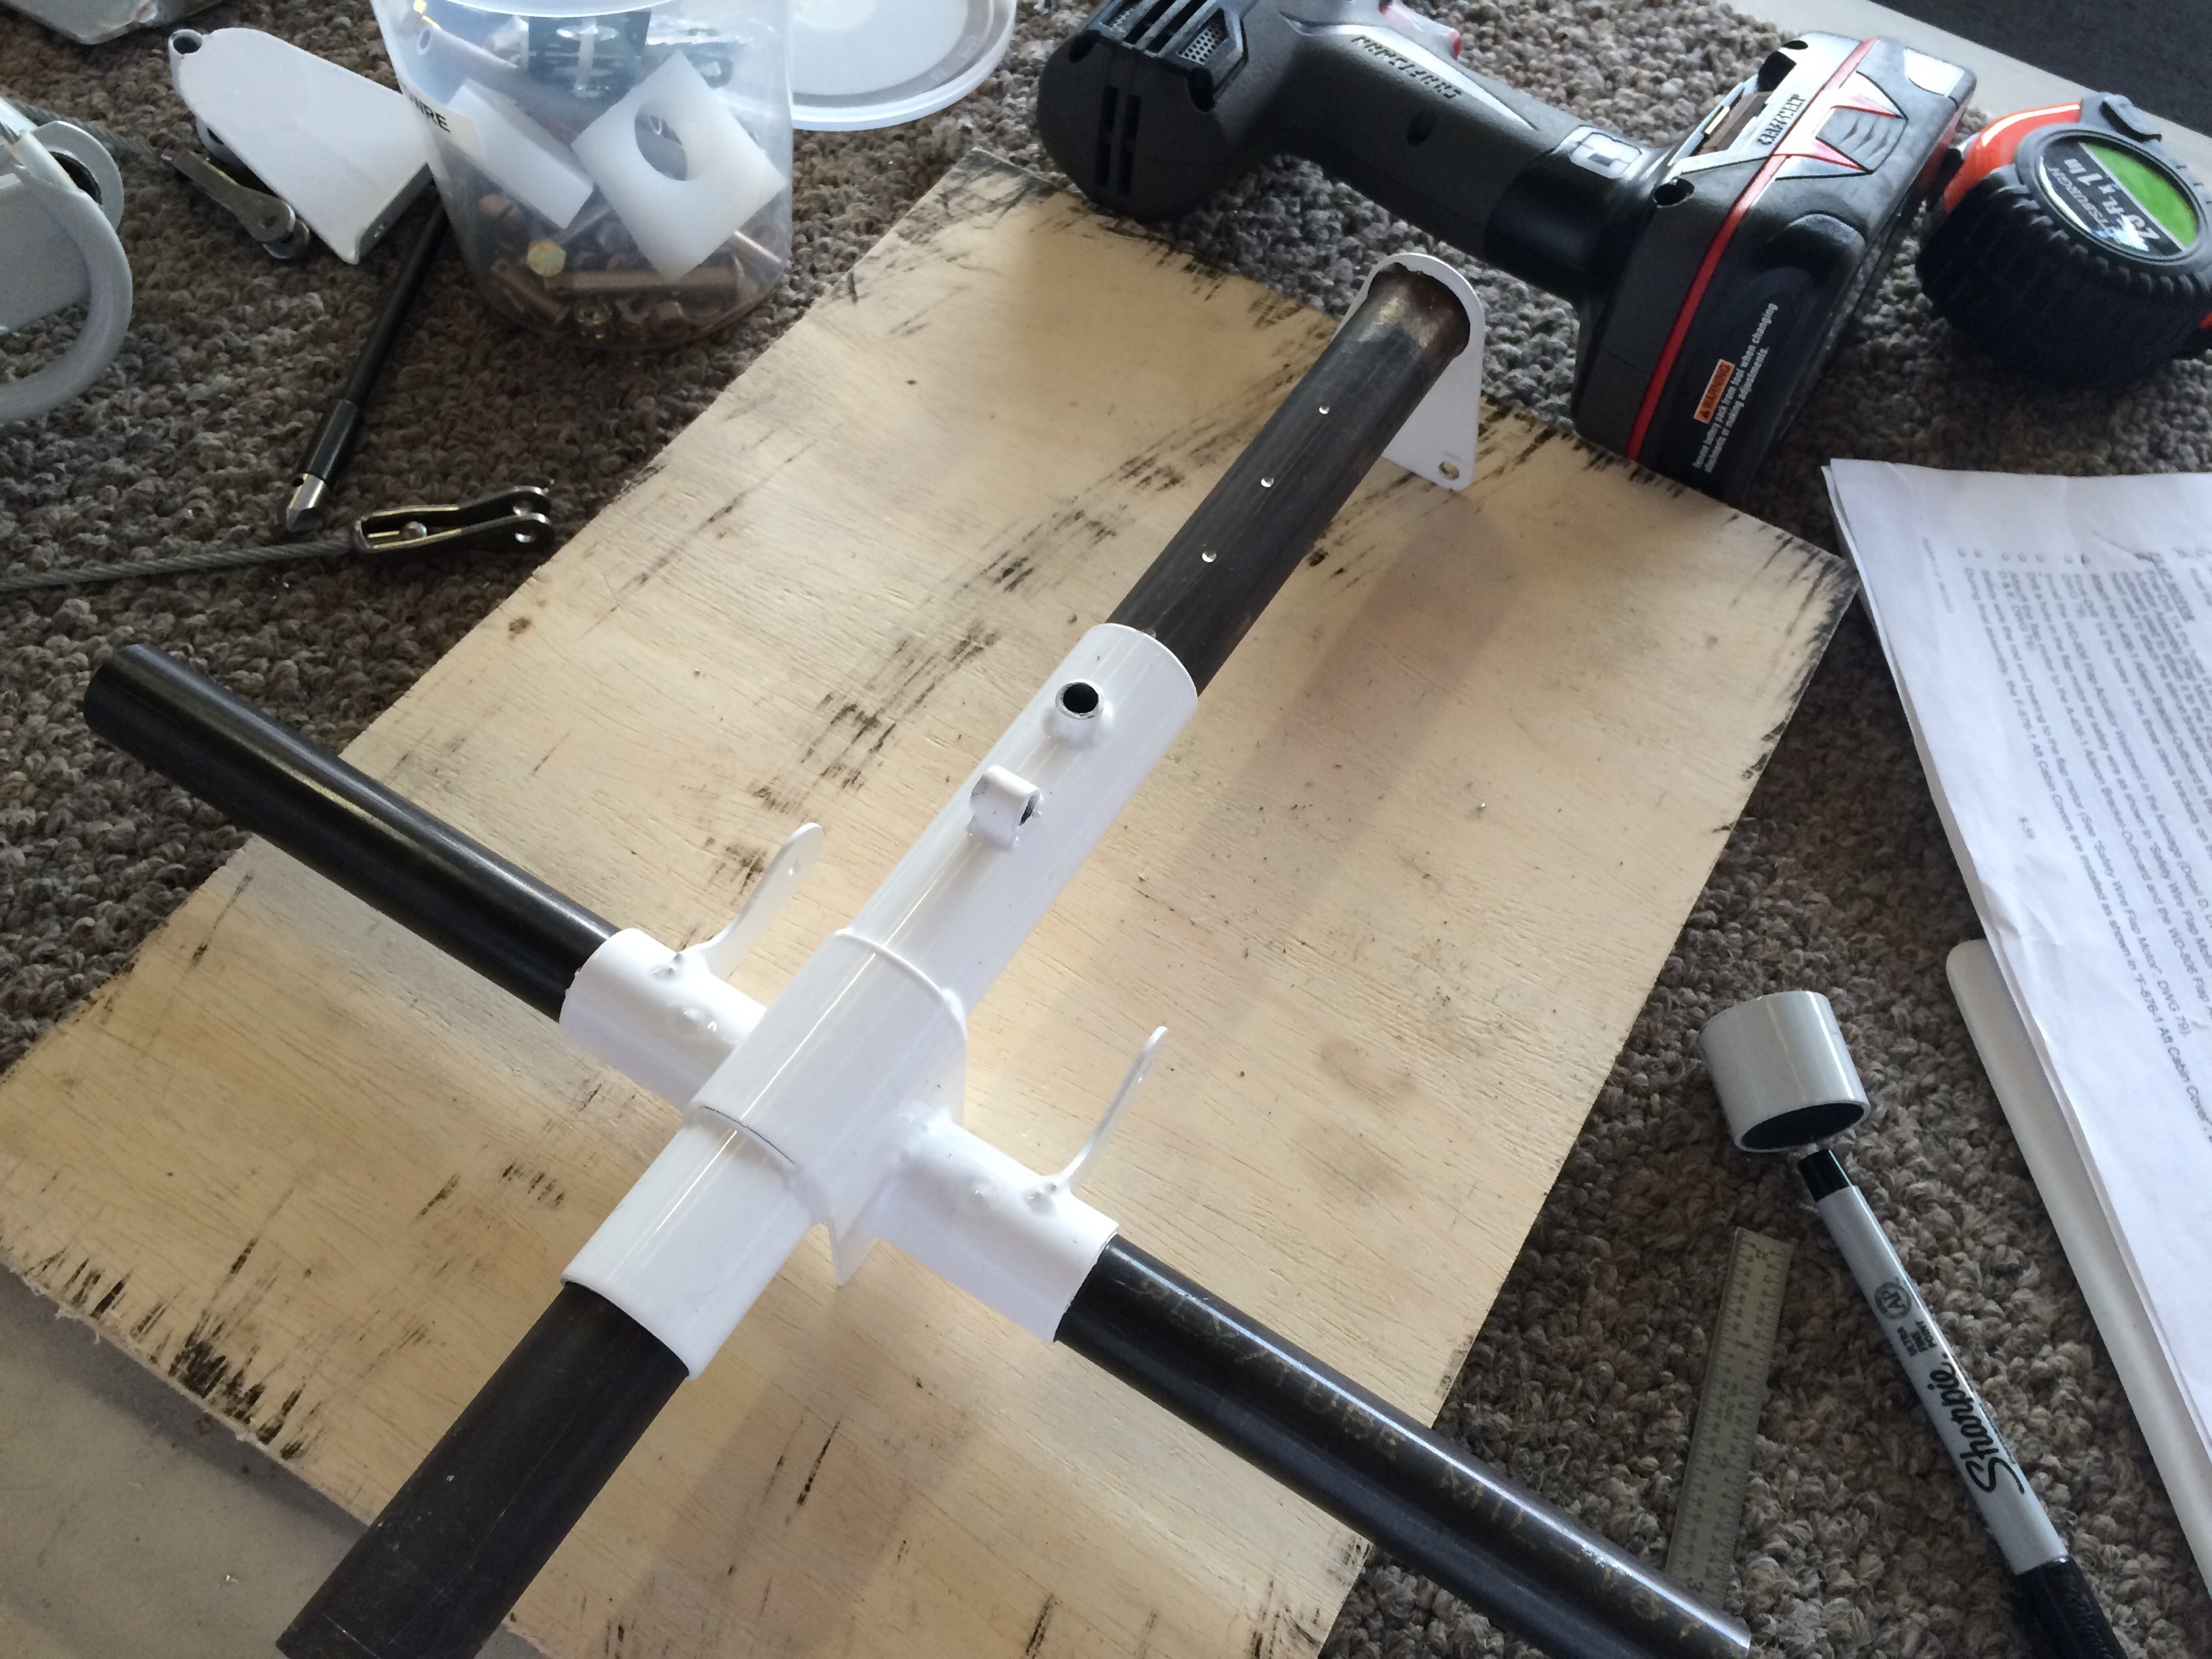
Finished fabricating the elevator bellcrank.
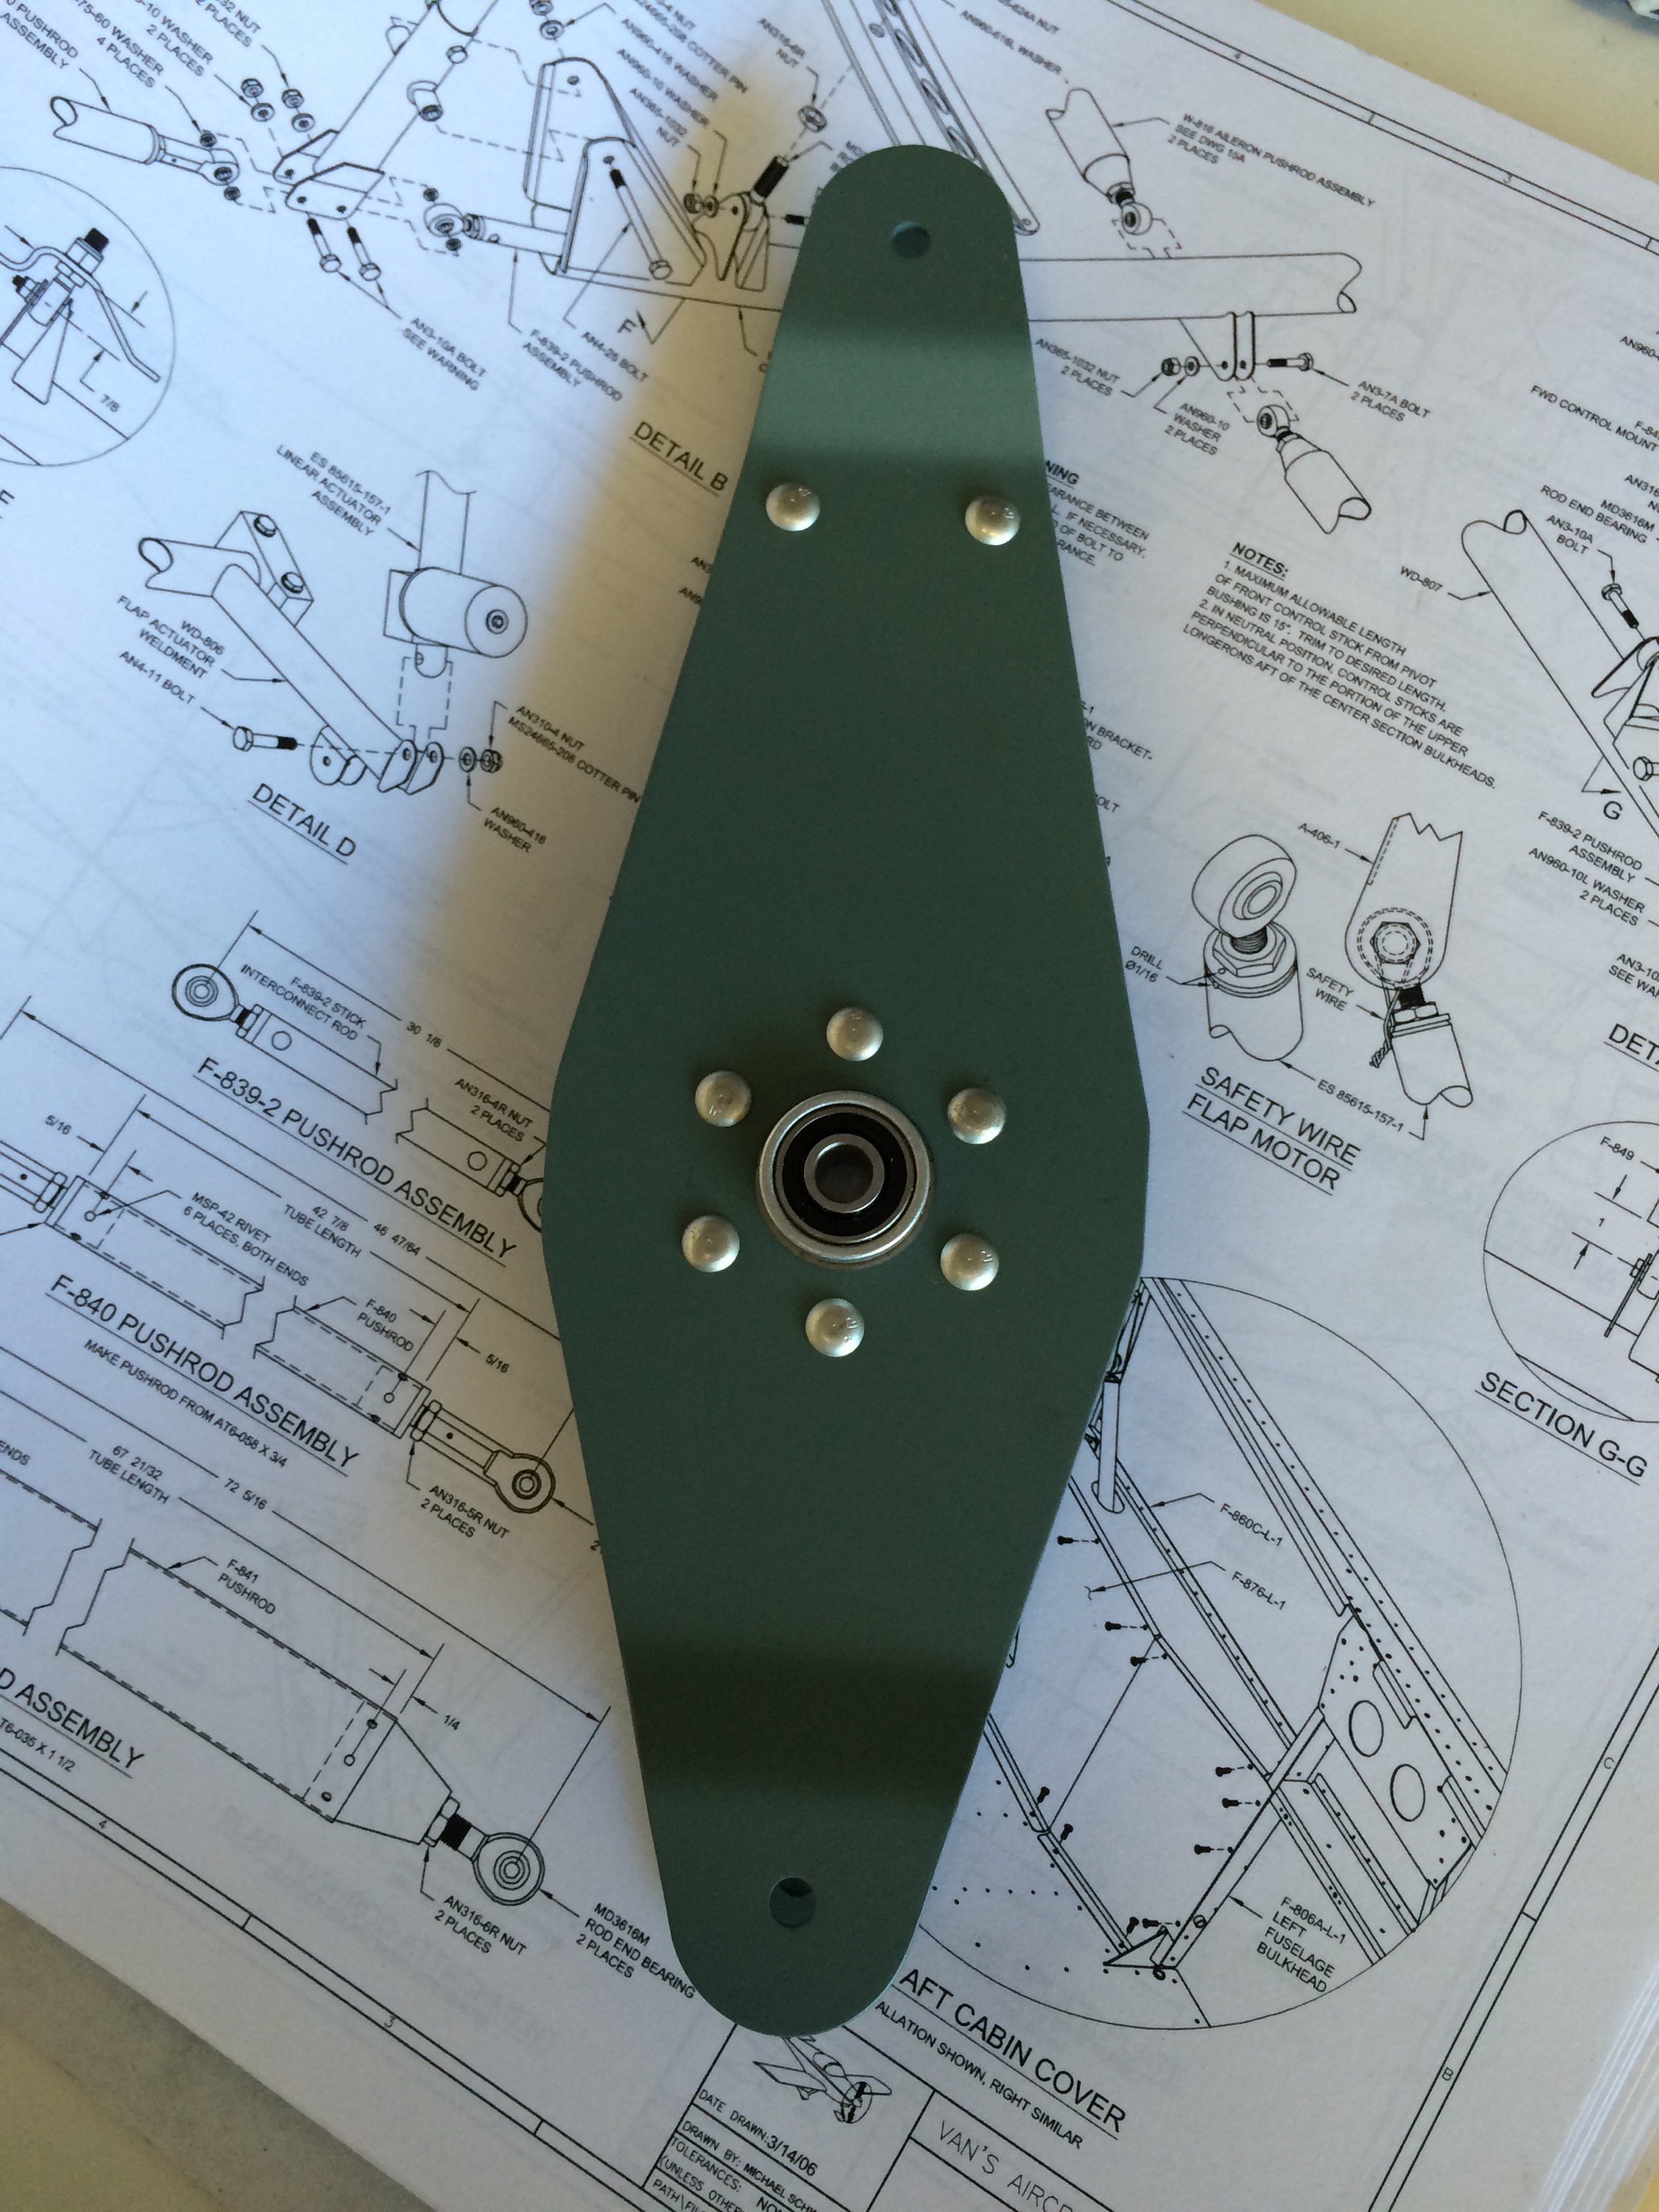
Elevator bellcrank temporarily installed.
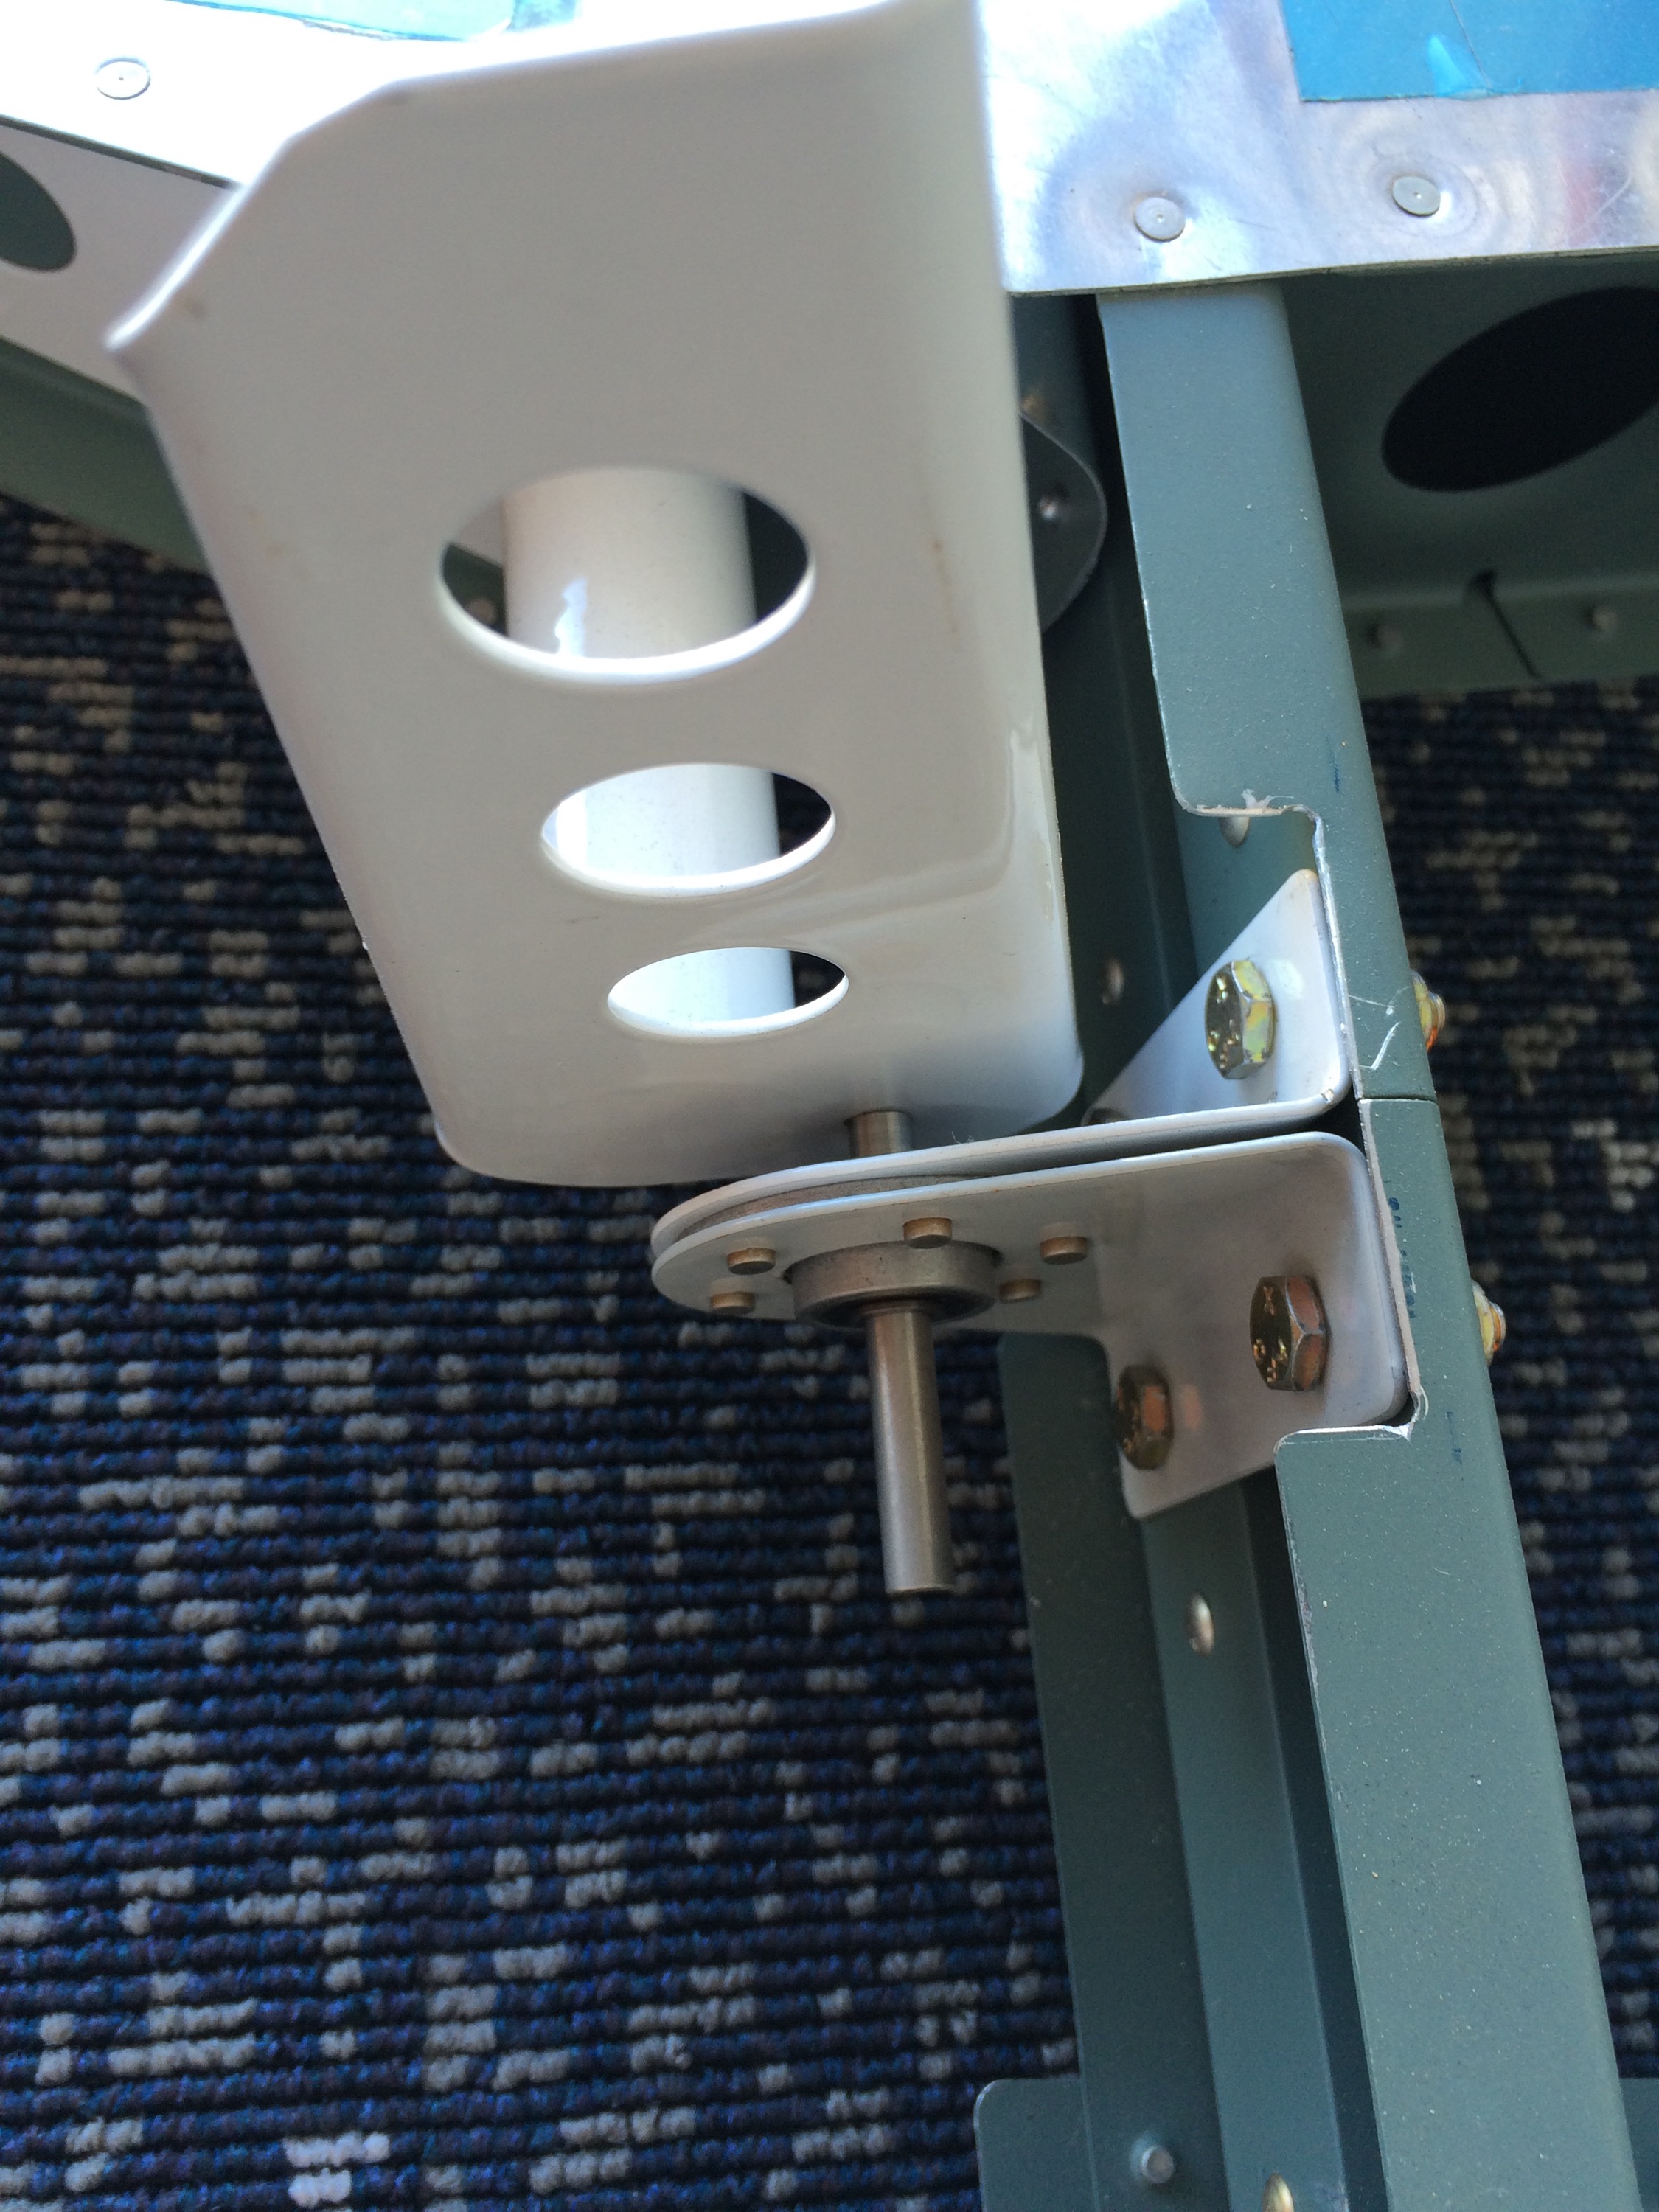
The first control tube drilled (F-481) and clecoed. Ready for primer.
The first control tube drilled (F-4800) and clecoed. Ready for primer.