After working at the hangar today, I decided to take the elevator stiffeners home to get them ready for match drilling with the skins.
After working at the hangar today, I decided to take the elevator stiffeners home to get them ready for match drilling with the skins.
Worked on getting the rudder skeleton frame mocked up, but ended up messing up my first part.
Just like I read many times, I too trimmed R-710 too much, so the edge distance for the rivets wasn’t sufficient. Oh well, time to order a new one.

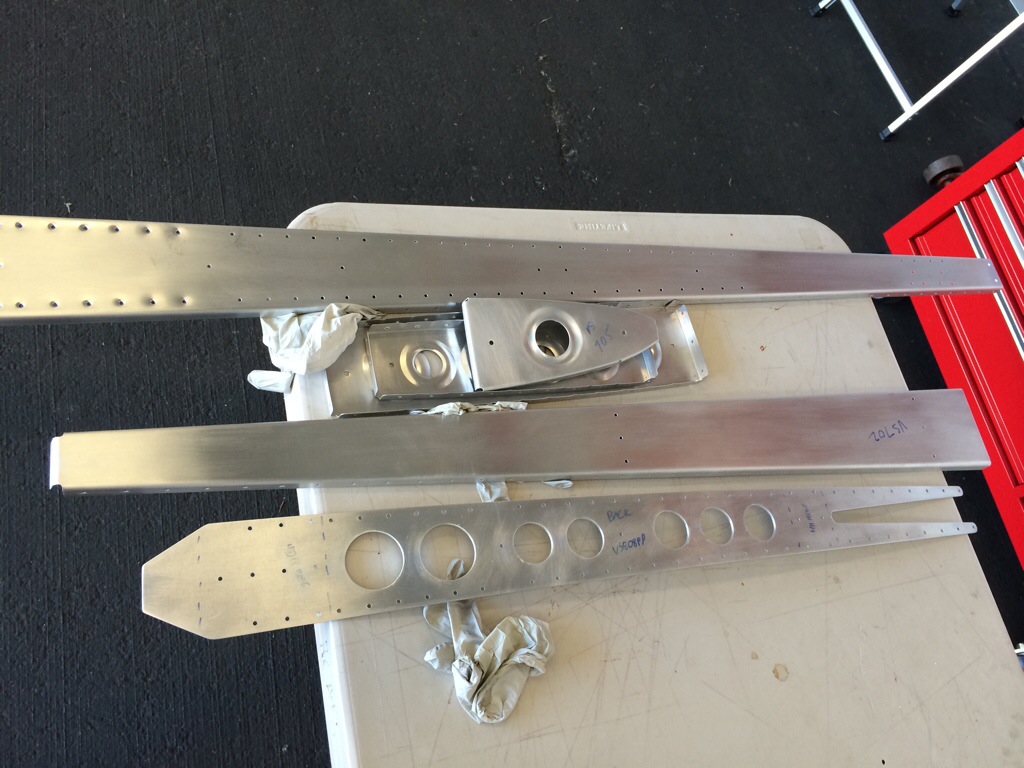
I also fabricated R-717 and R-716 from the flat stock.
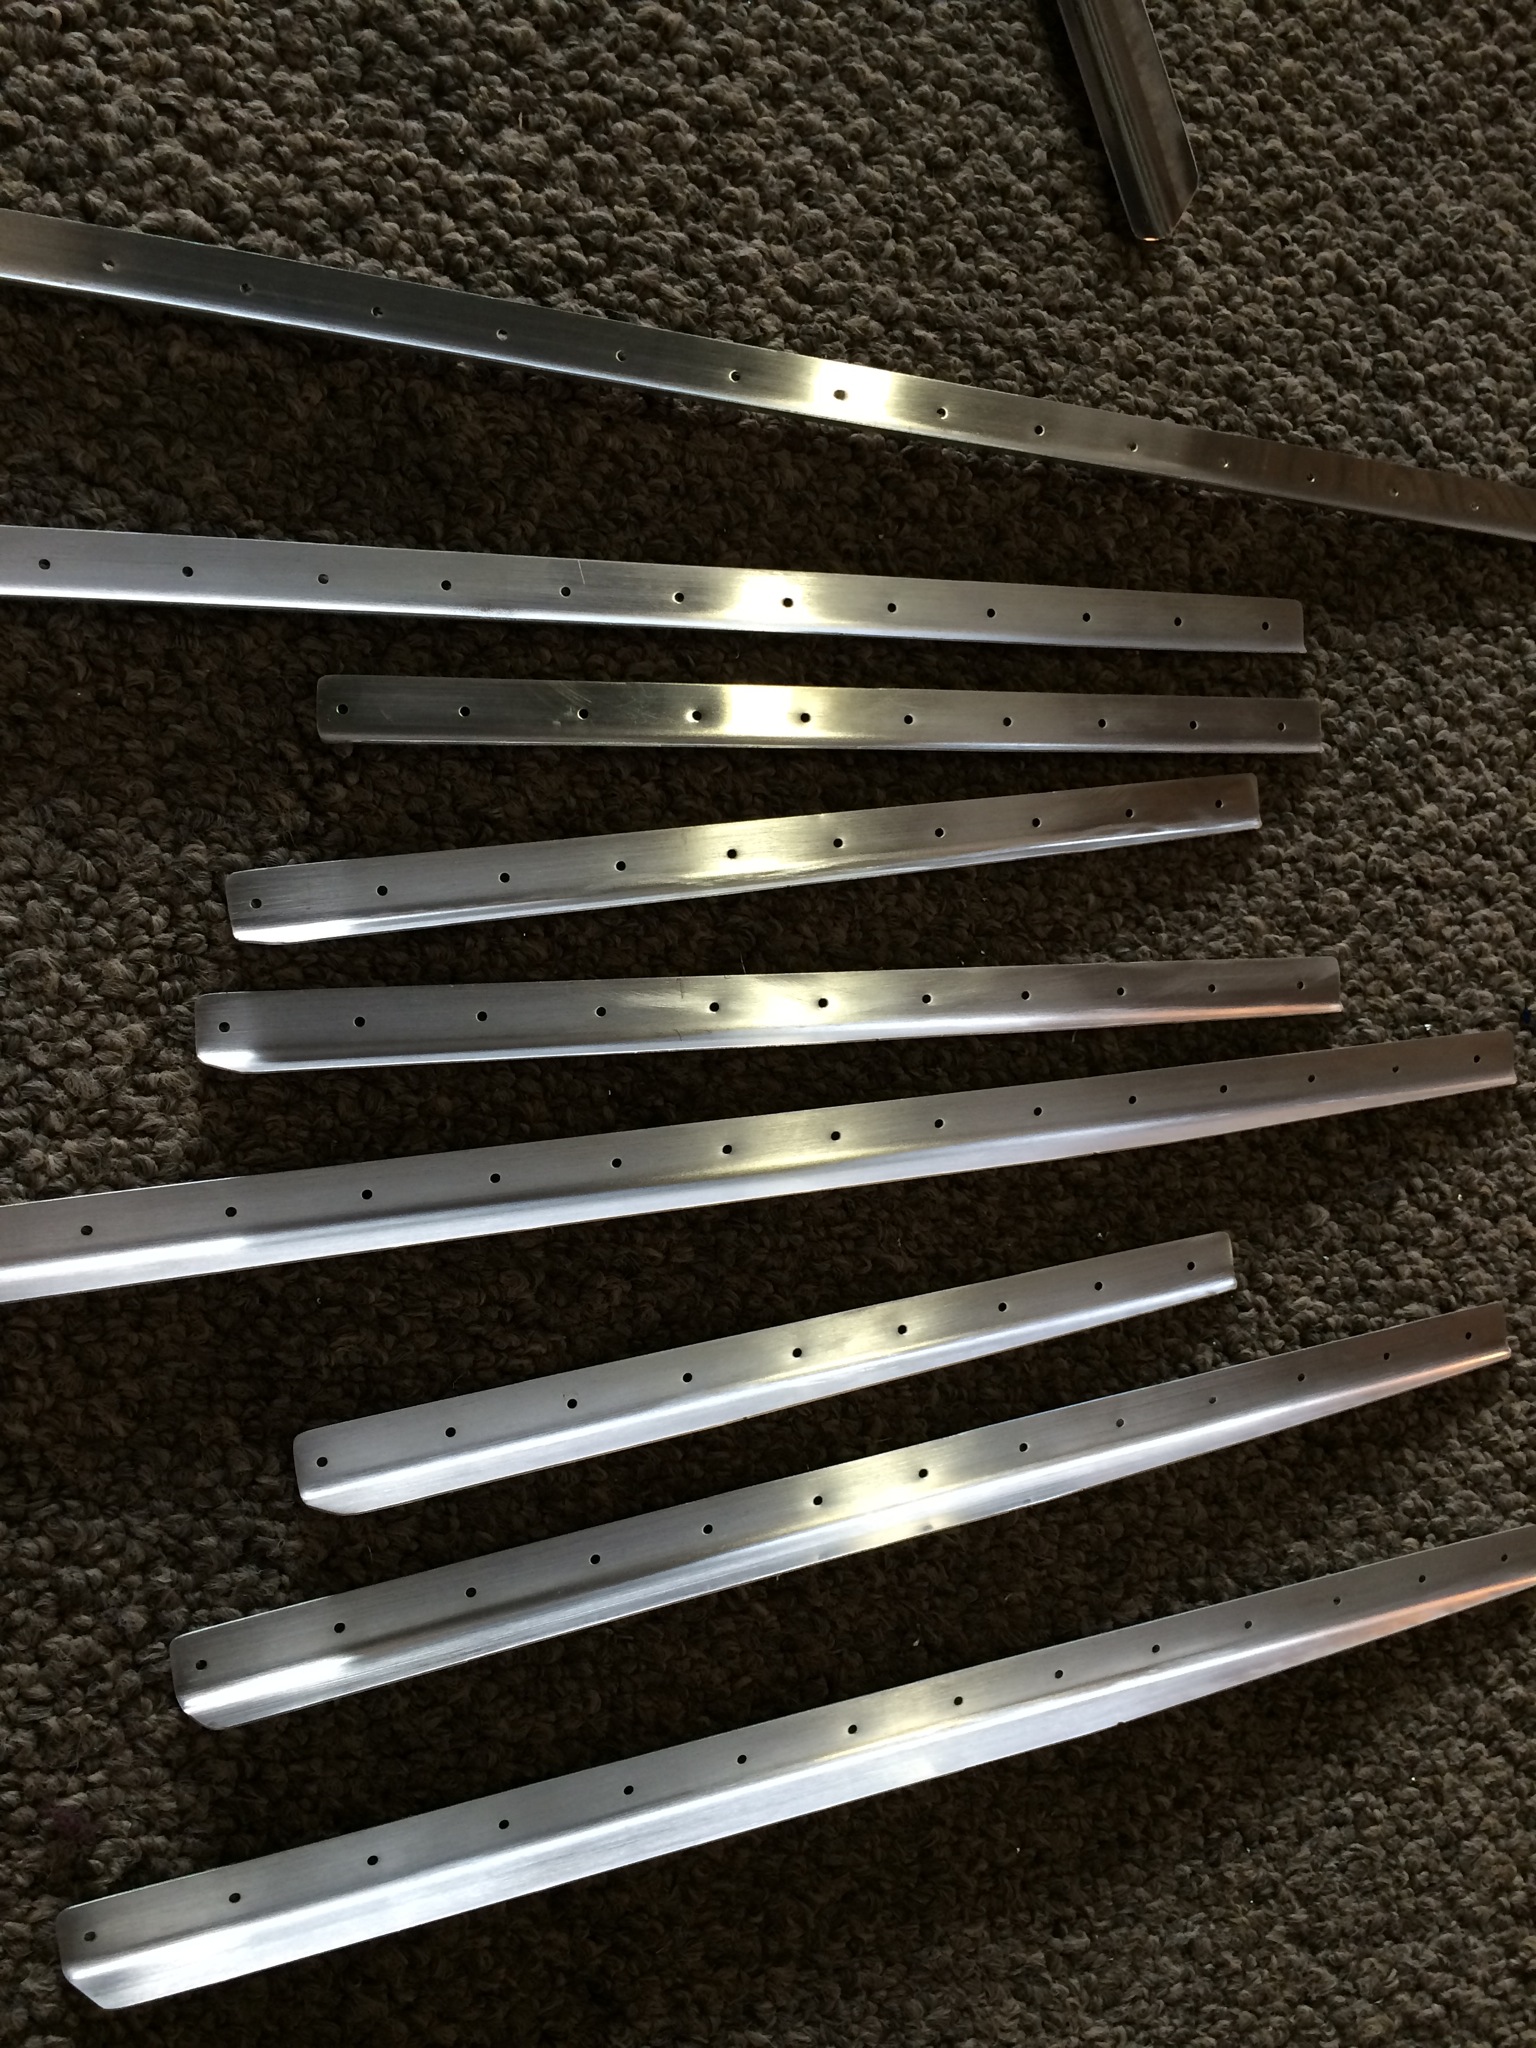
Been busy with work, but got all the rudder stiffeners finished and primed. I also got the inside of the rudder primed as well.
Finished off the match drilling of the Rudder stiffeners and finished off the priming for the Vertical stabilizer.
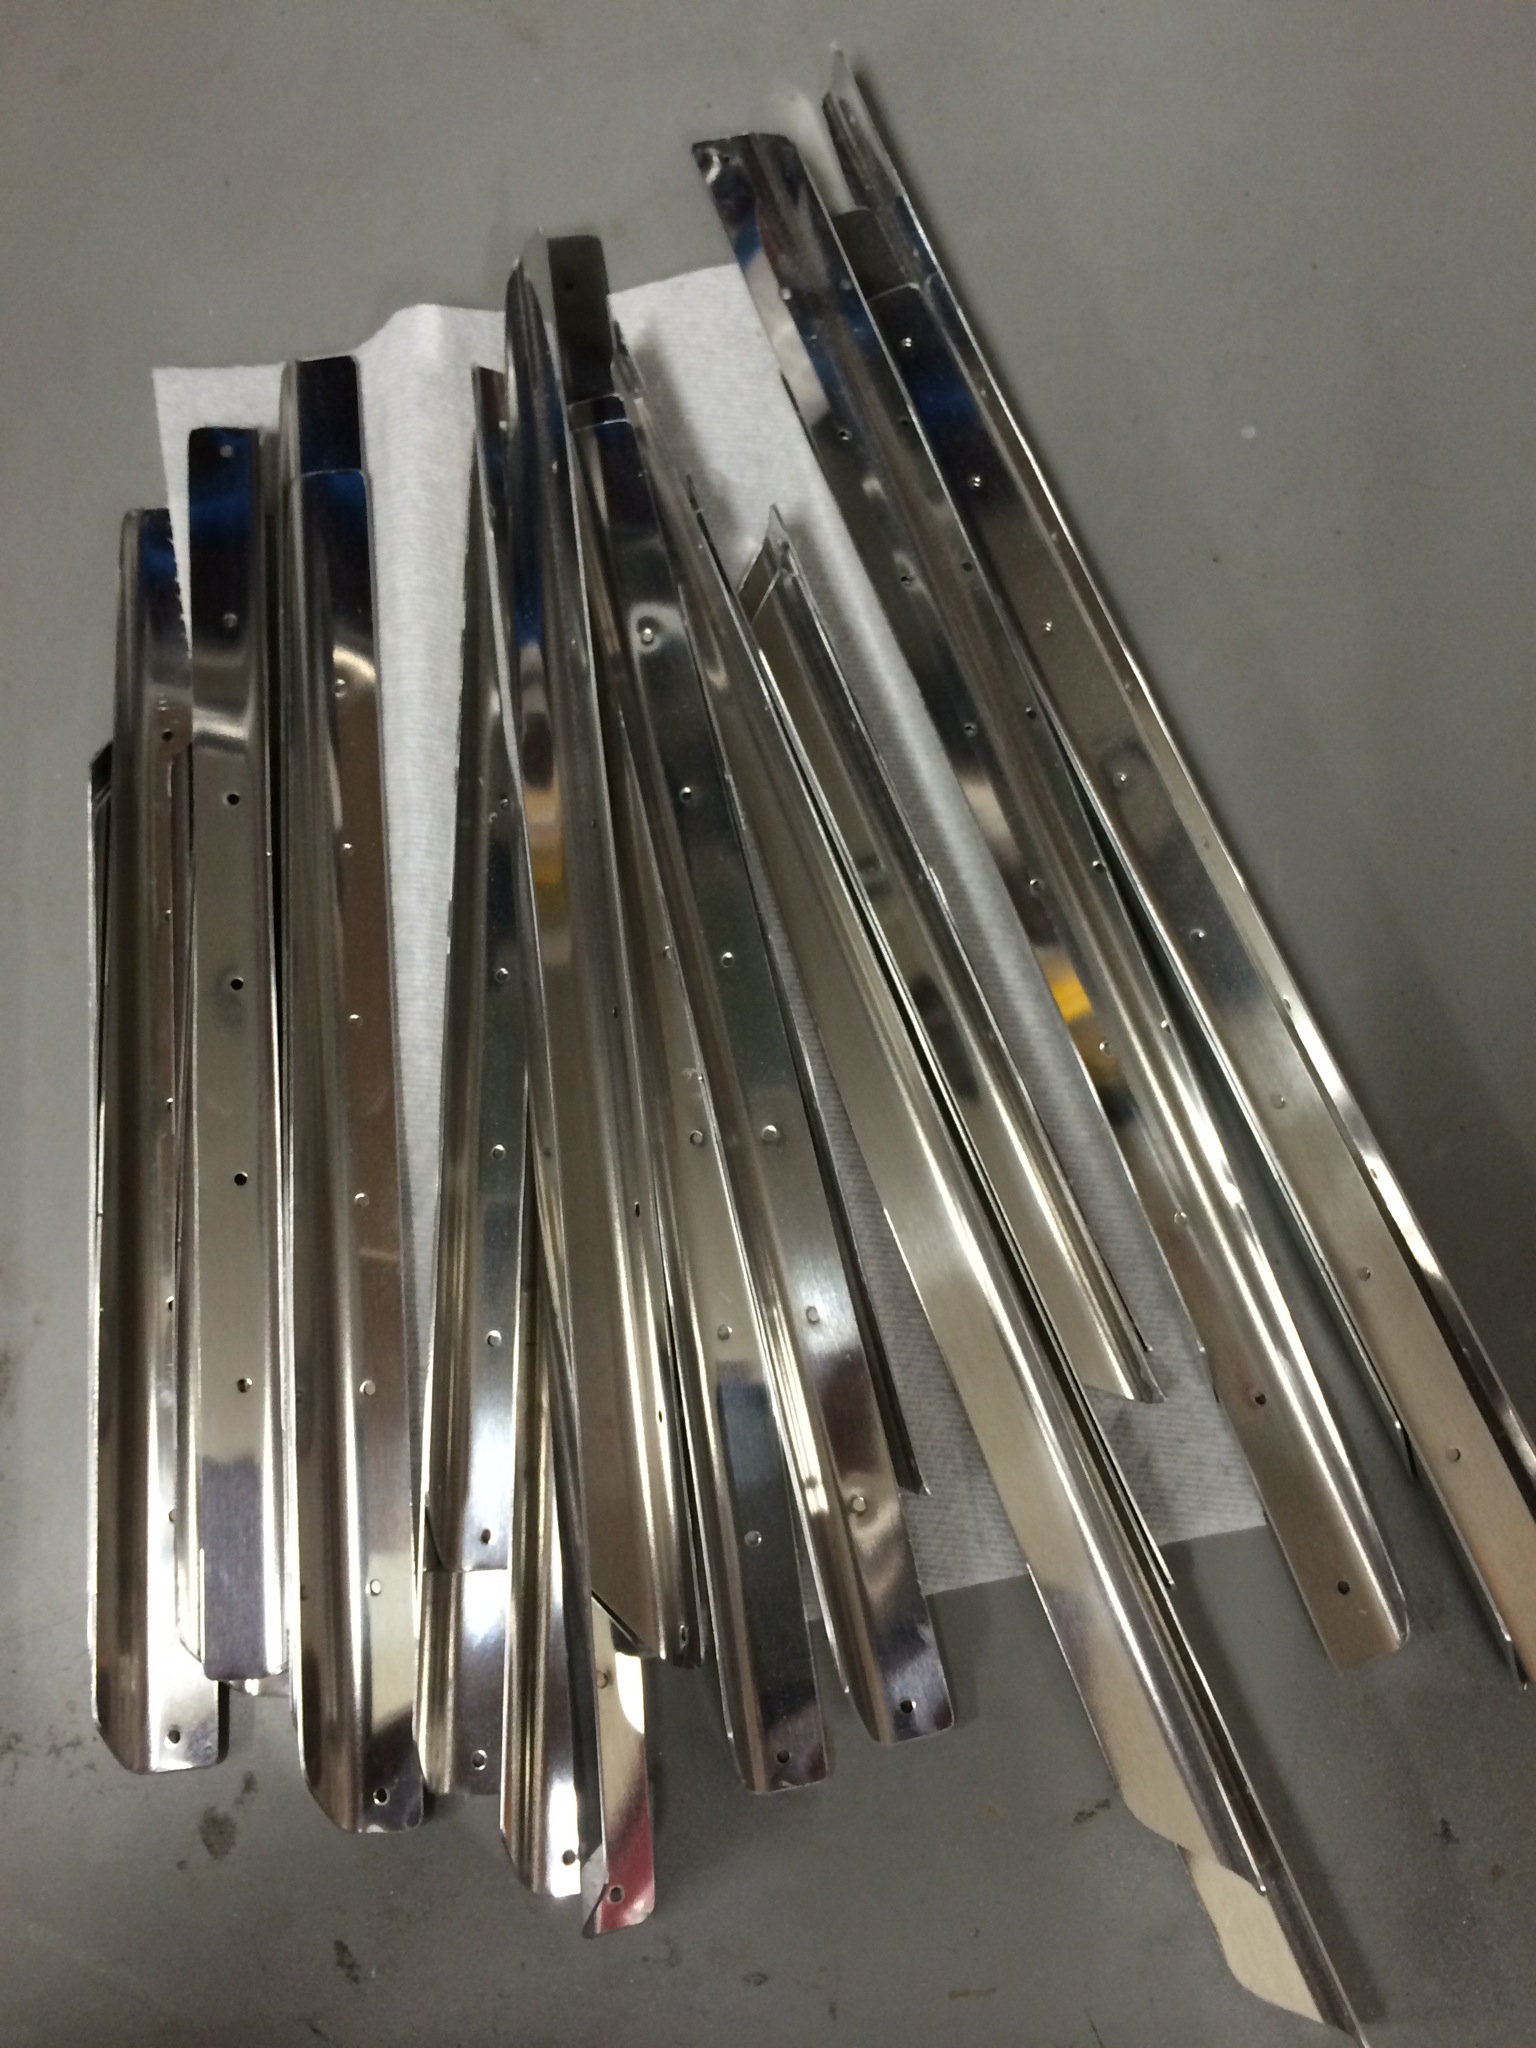
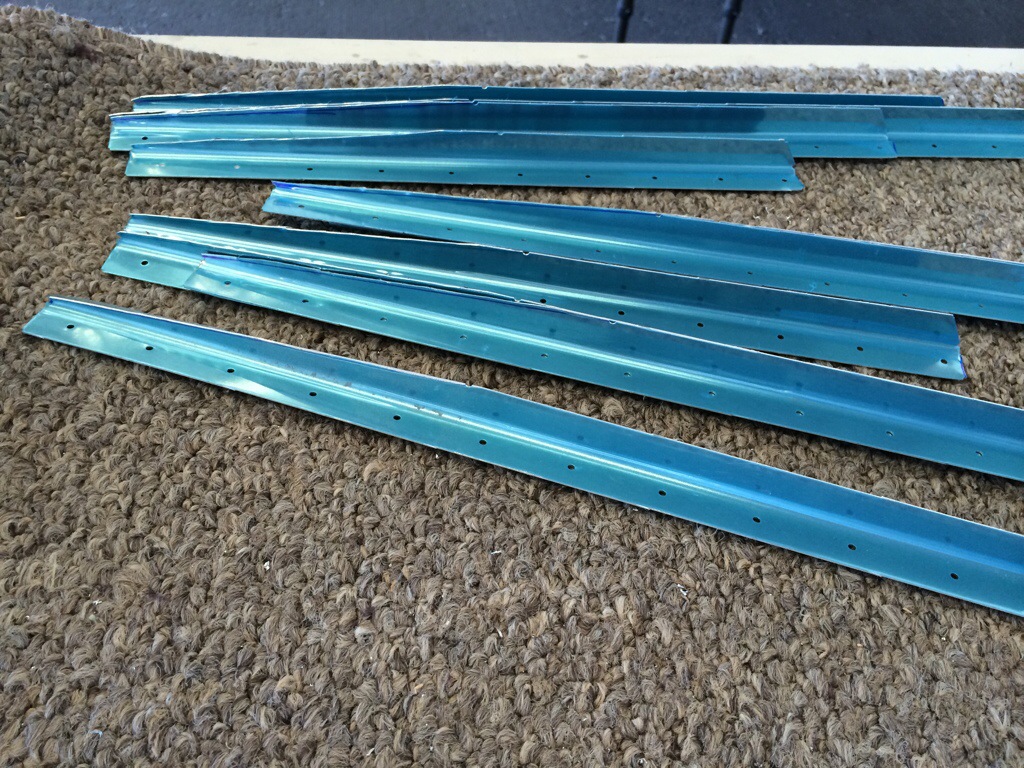
After cutting, sanding and scotchbriting the Rudder stiffeners:
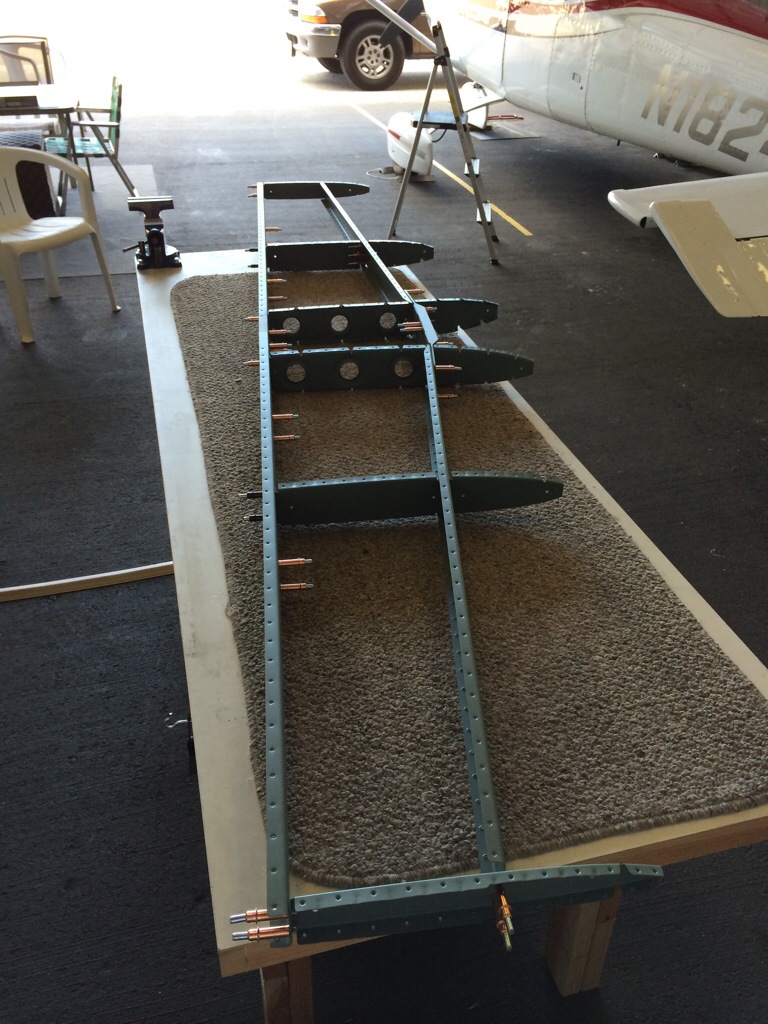
The stiffeners clecoed into place on the rudder skin before match drilling.
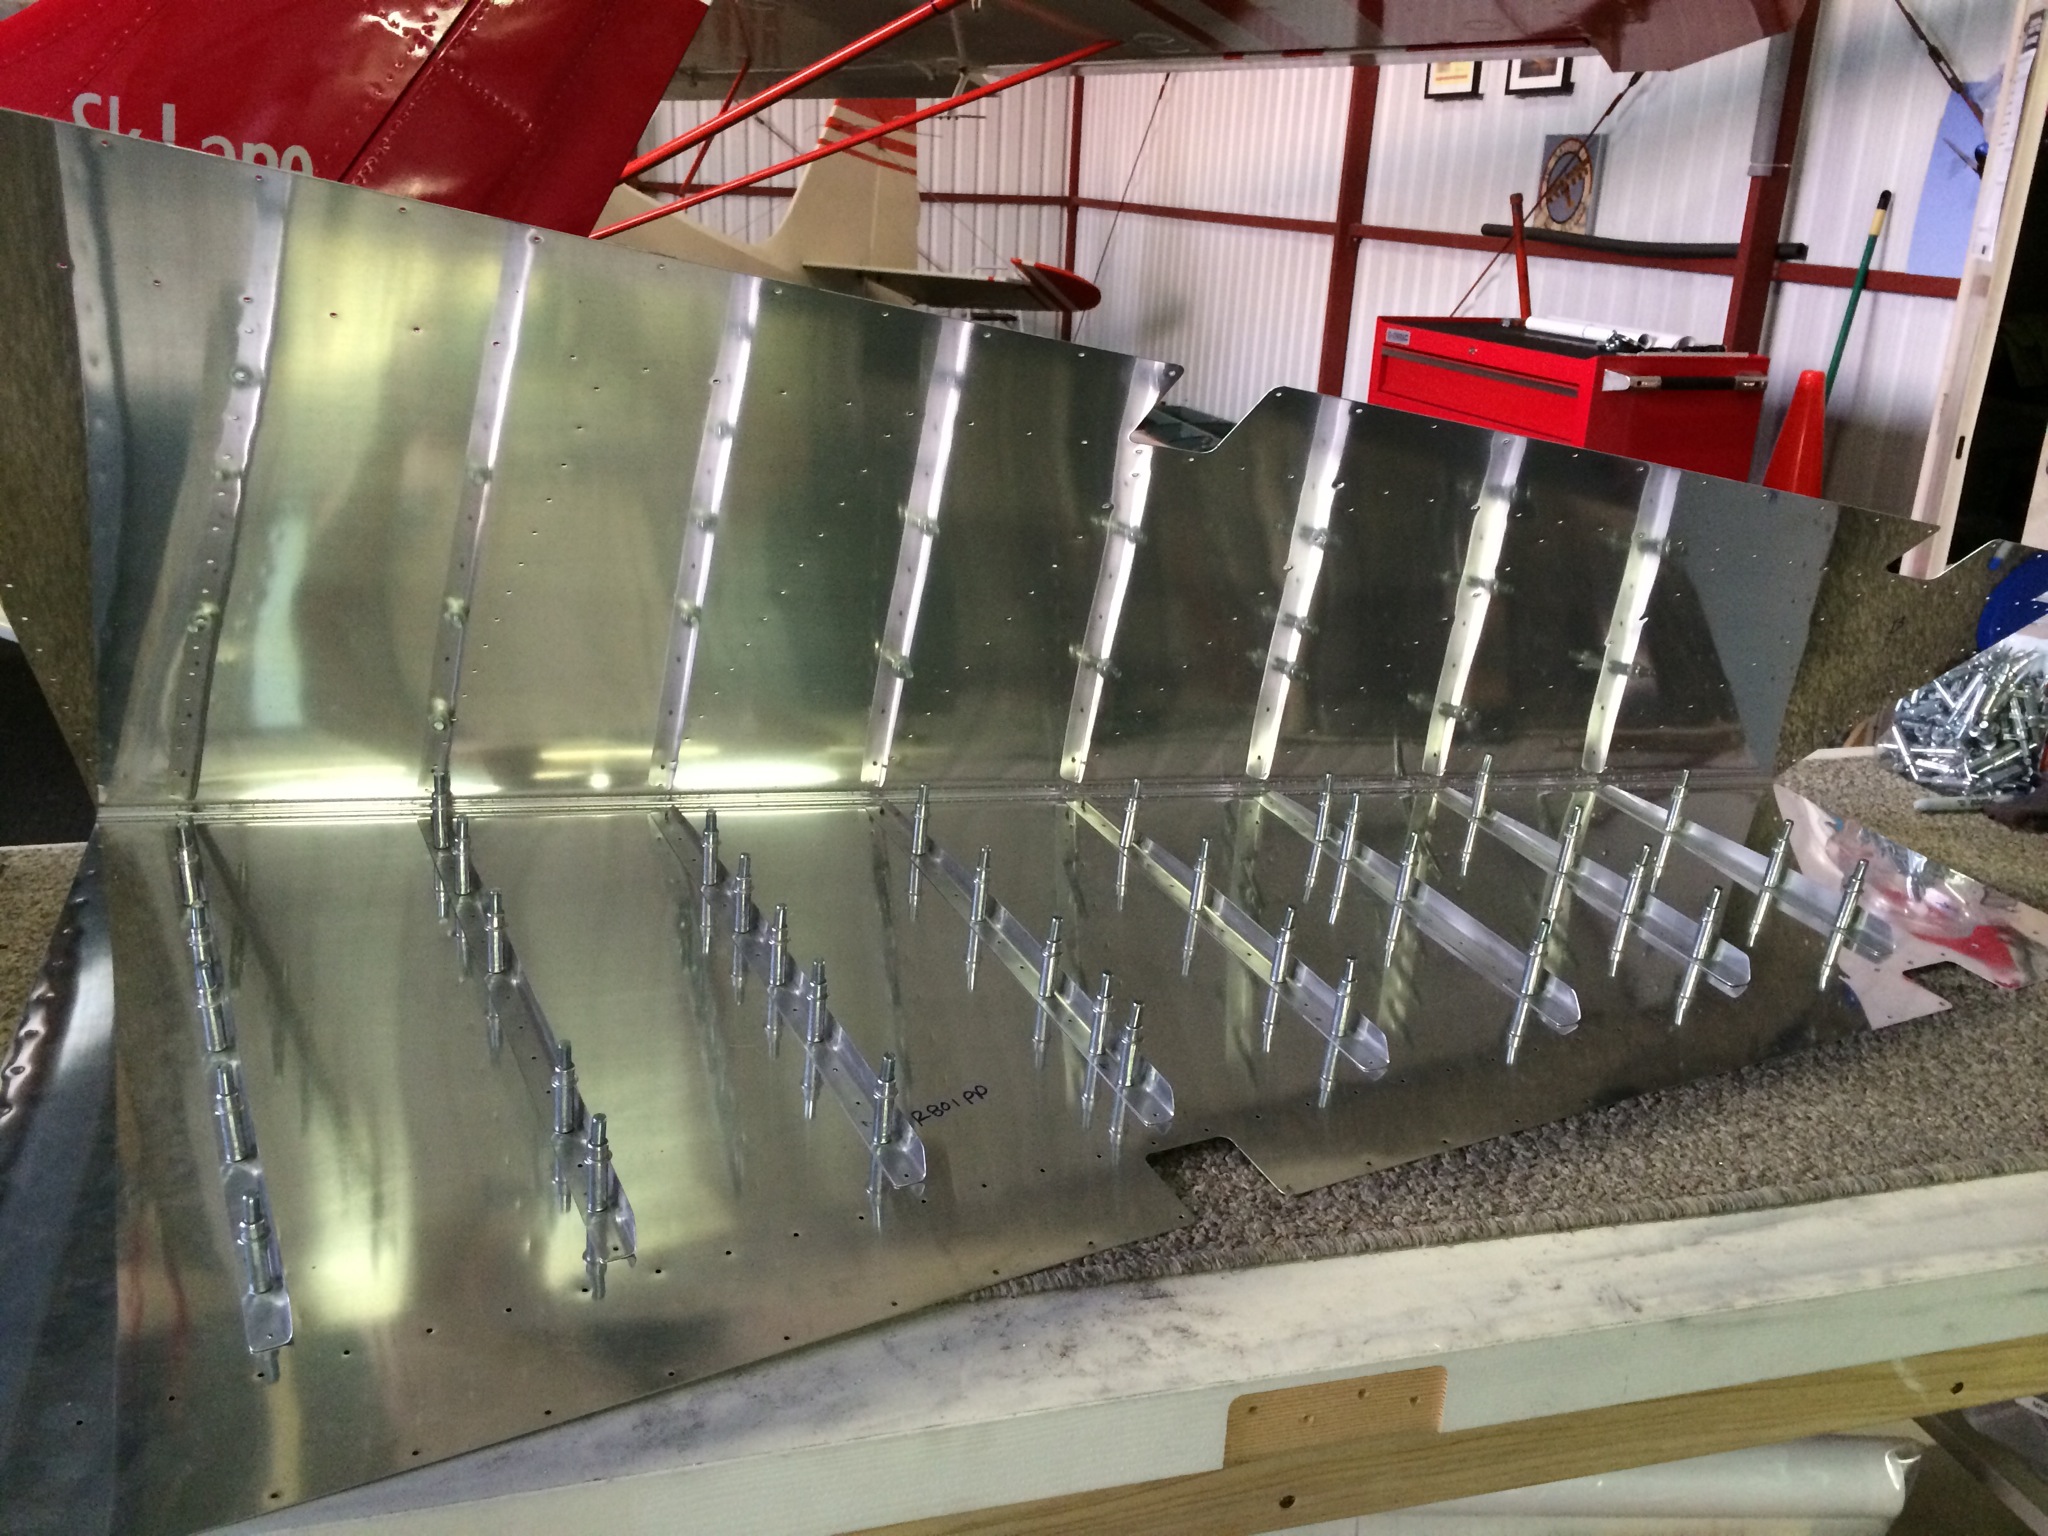
Spent most of the day finishing up the deburring and dimpling on the Vertical Stabilizer so I can take them home and prime.
Most of the Vertical Stab parts almost ready to be cleaned and primed.
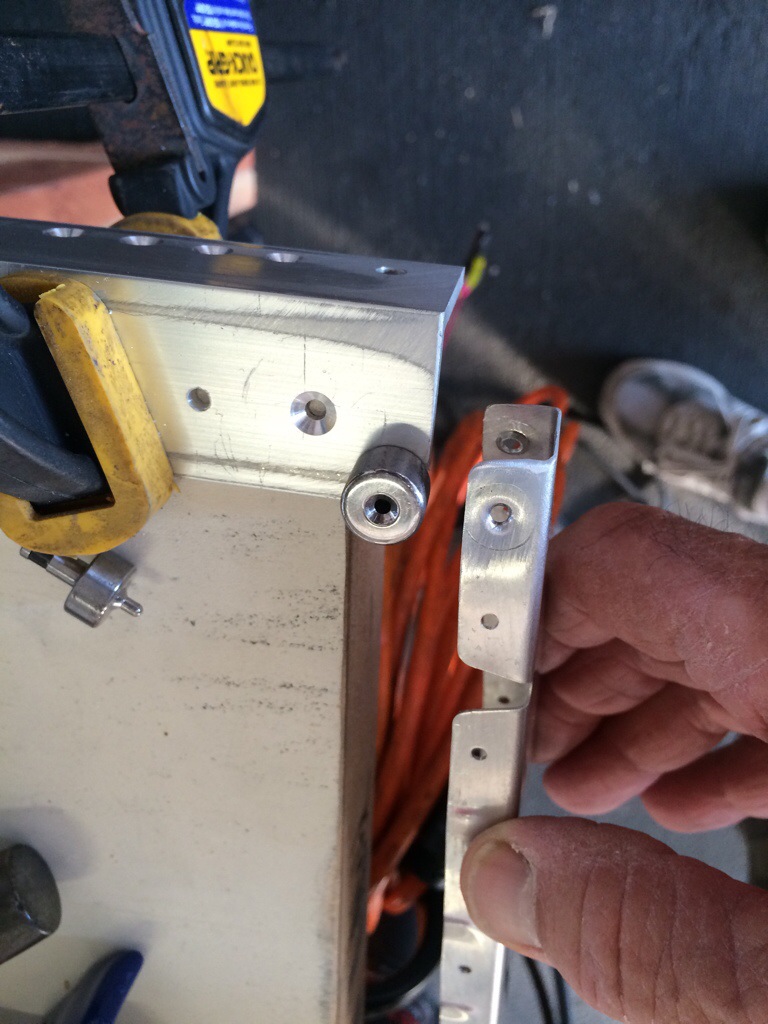
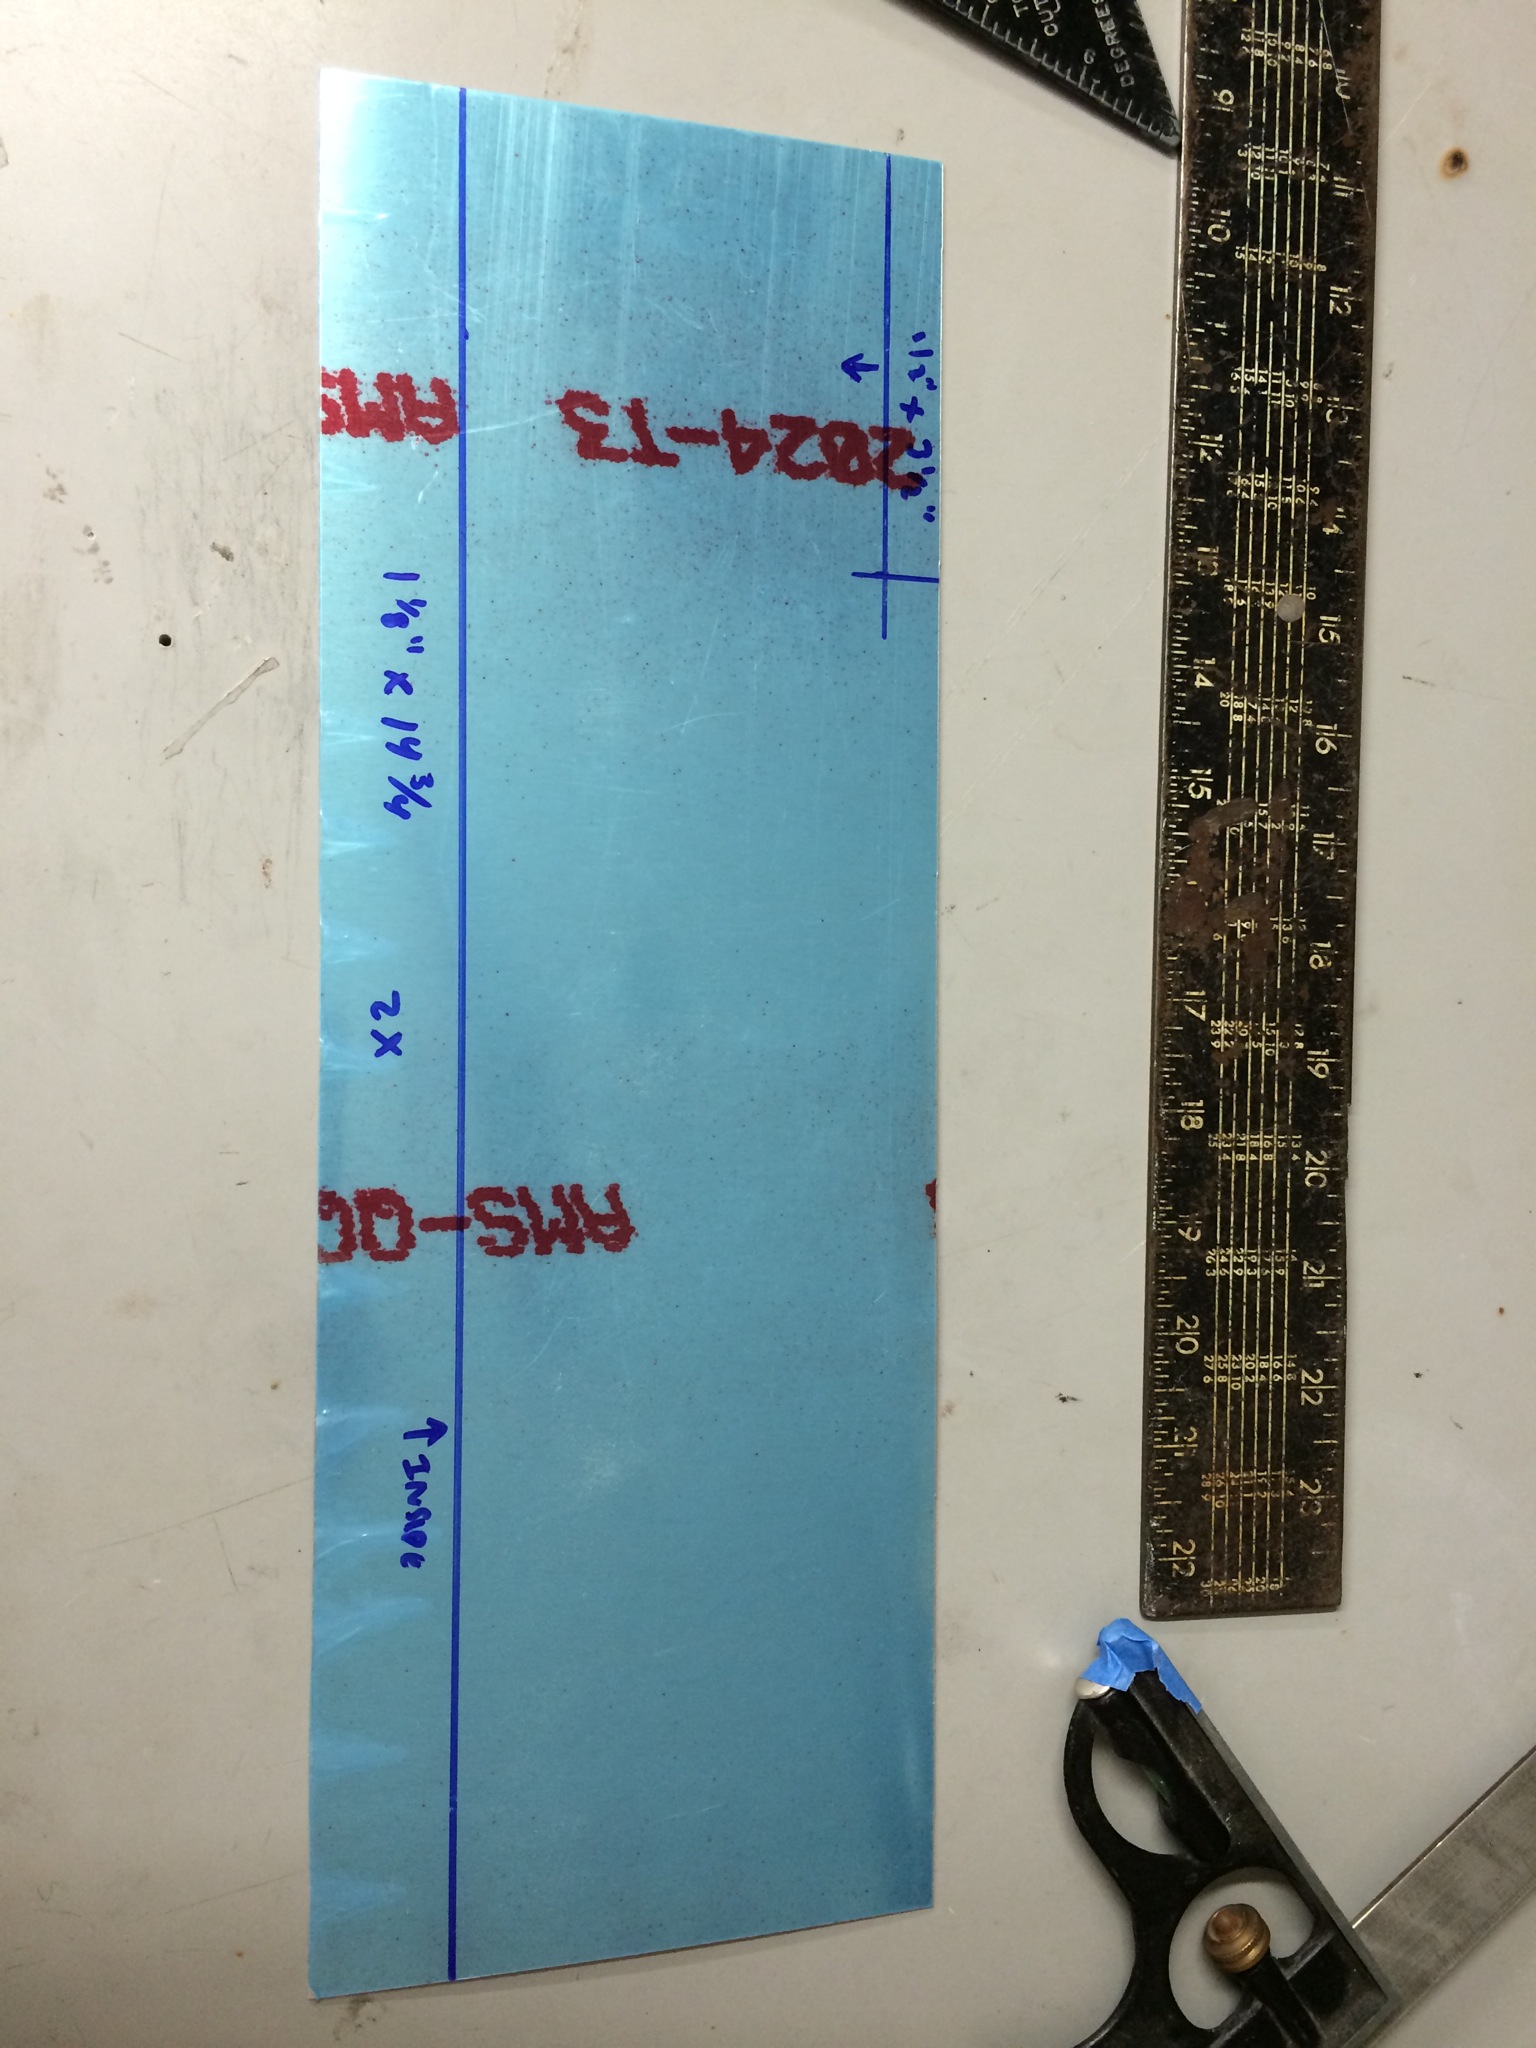
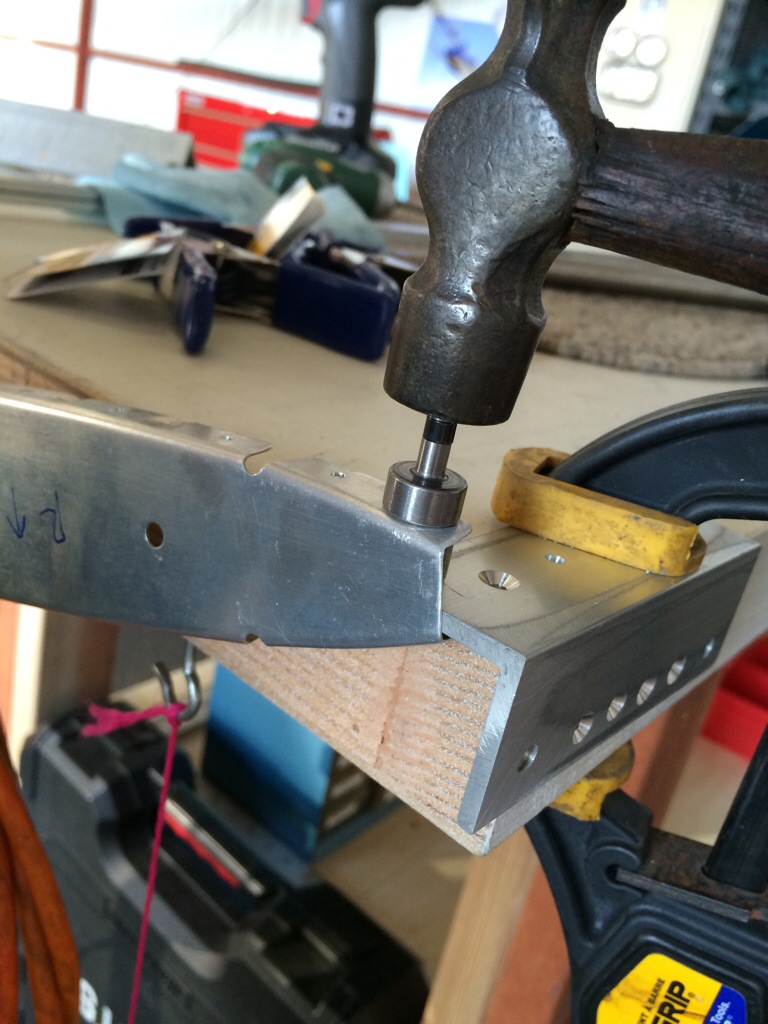
Work also started on the Rudder, which consisted of cutting and prepping the 16 different stiffeners that get riveted to the Rudder.
The picture shows the rough lines drawn out where the stiffeners need to be cut.

I rough cut the stiffeners with a pair of snips and then hit them with the belt sander to get the bevels straight. Afterwards it was over to the Scotchbrite wheel to round off the edges. The photo below shows the stiffeners after being rough cut with the snips.
Primered the inside of the horizontal skins today.

Finally got the Horizontal parts primed and back to the hangar. It was time for a quick assembly to make sure everything still fits. I did have one issue with the primer on the end rib, as you can see there was a little bit that flaked off. I’m not sure if it didn’t cleaned well enough or what, but this is the only part I had an issue with.
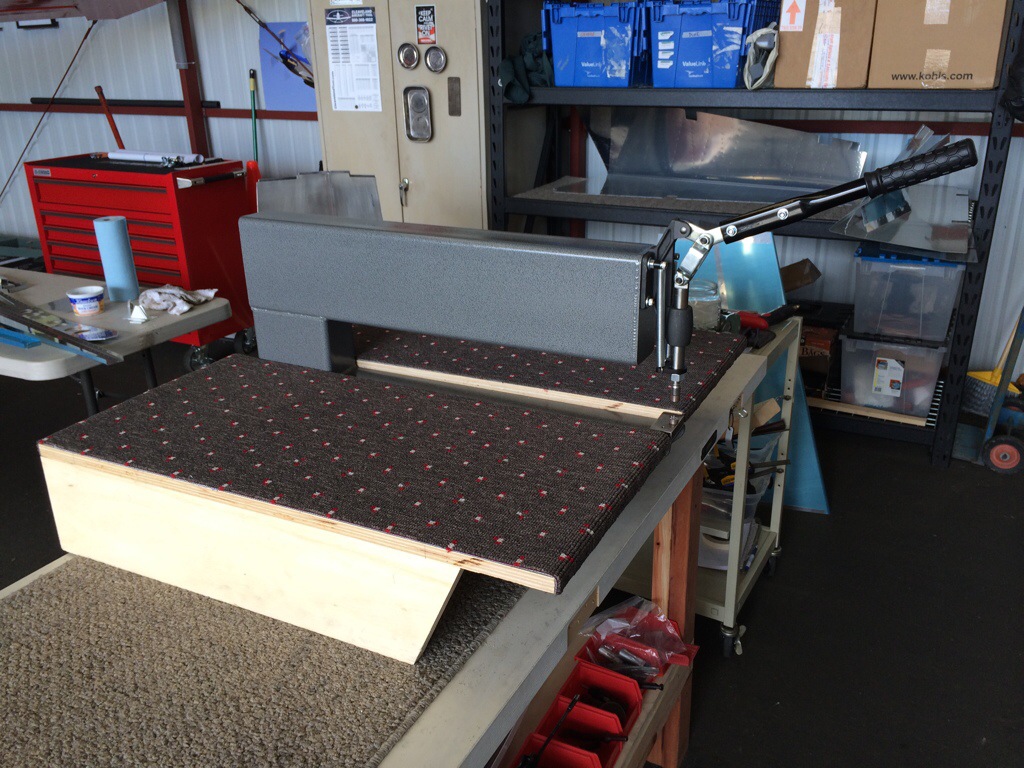
Started to dimple the Horizontal skins, and figured I would show a picture of how I set up the platforms for the DRDT-2.
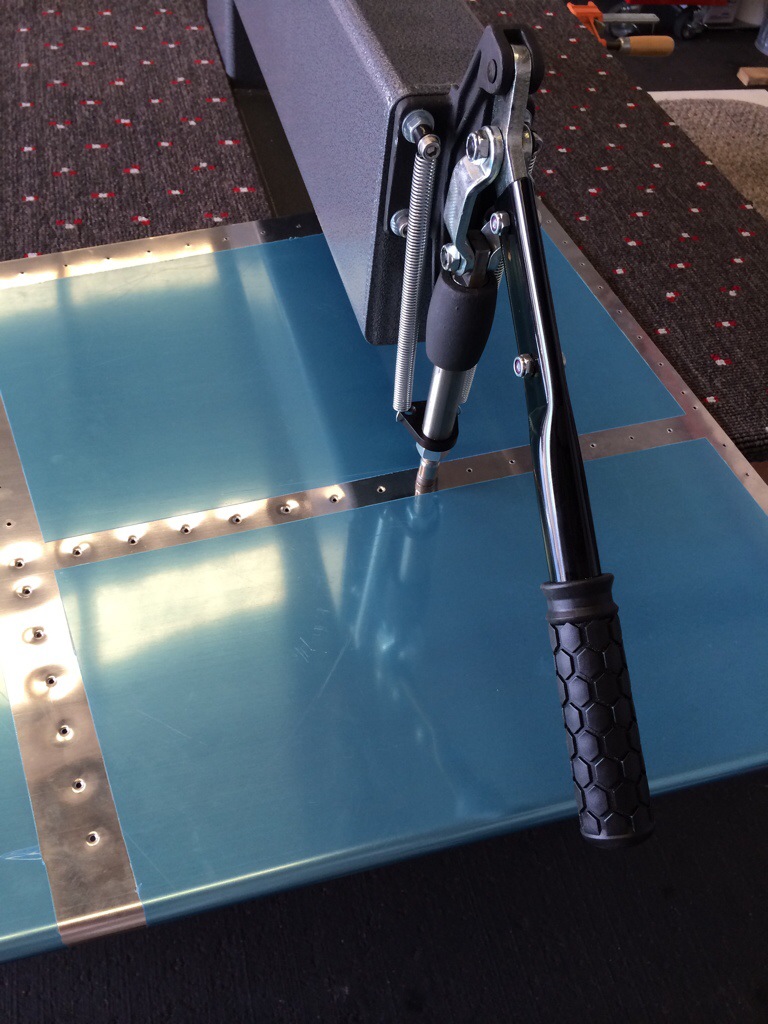
Dimpling away on the skins…
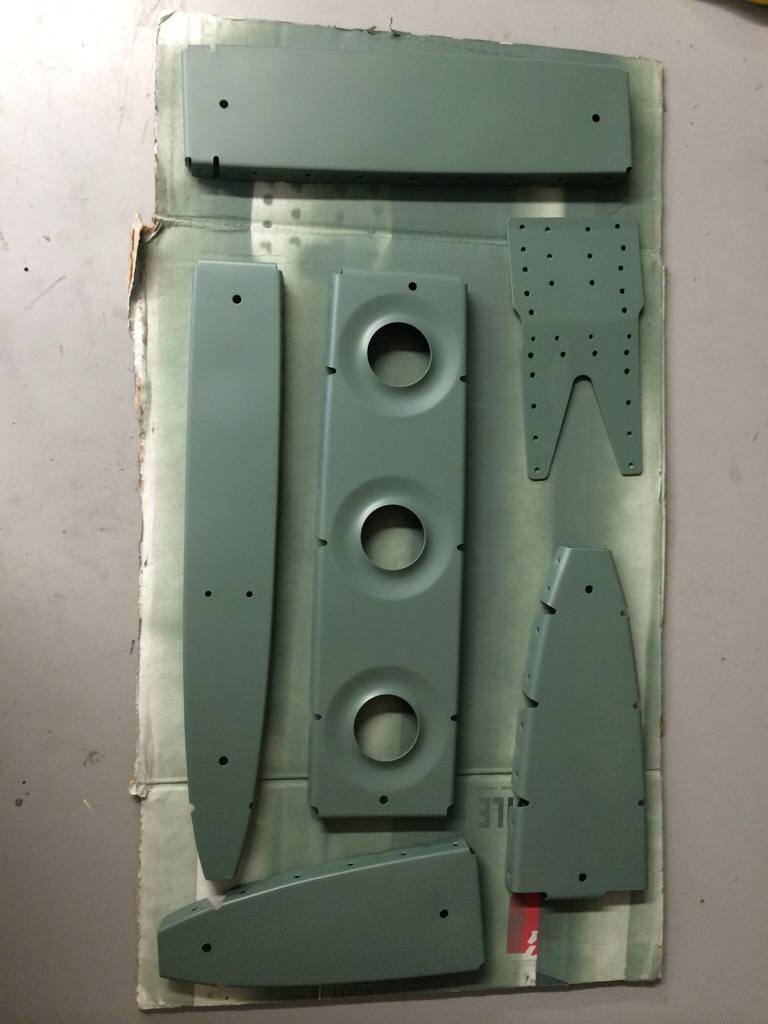
Spent more time priming the rest of the parts for the right side of the Horizontal. Quick shot of some of the ribs and stiffener.
In addition to the priming, it was time to start deburring, dimpling and prepping the Vertical stabilizer for primer.
Spent more time today deburring and dimpling the right side of the elevator to get it ready for primer.
The outer rib (HS706) is too compact to dimple the forward most hole with a squeezer, so you have to get a little creative. I’ve seen close quarters dimple die sets, which is basically just a bar with a countersink drilled in it, but we decided to do something different. We found that the full dimple would fit inside the rib w/o the squeezer, so we clamped a piece of scrap to the table and drilled a hole in it so the dimple set could be pushed through it. We then slide the rib over the dimple and tapped it with a hammer. Voila!
Top down view of the scrap clamped to the table.