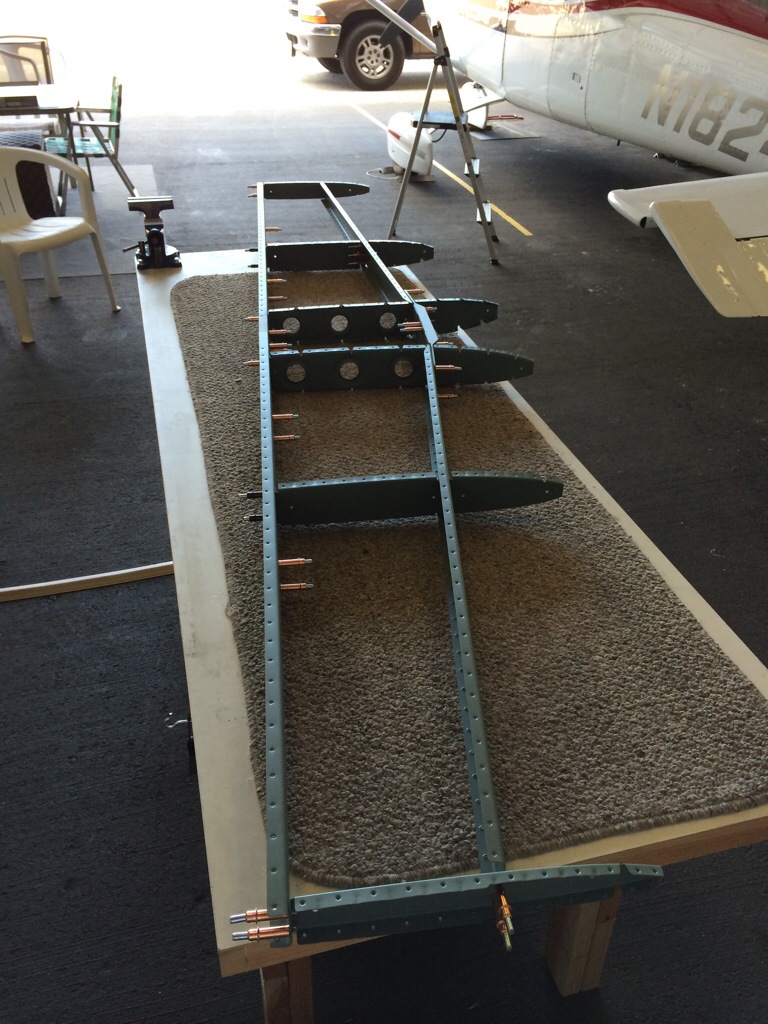
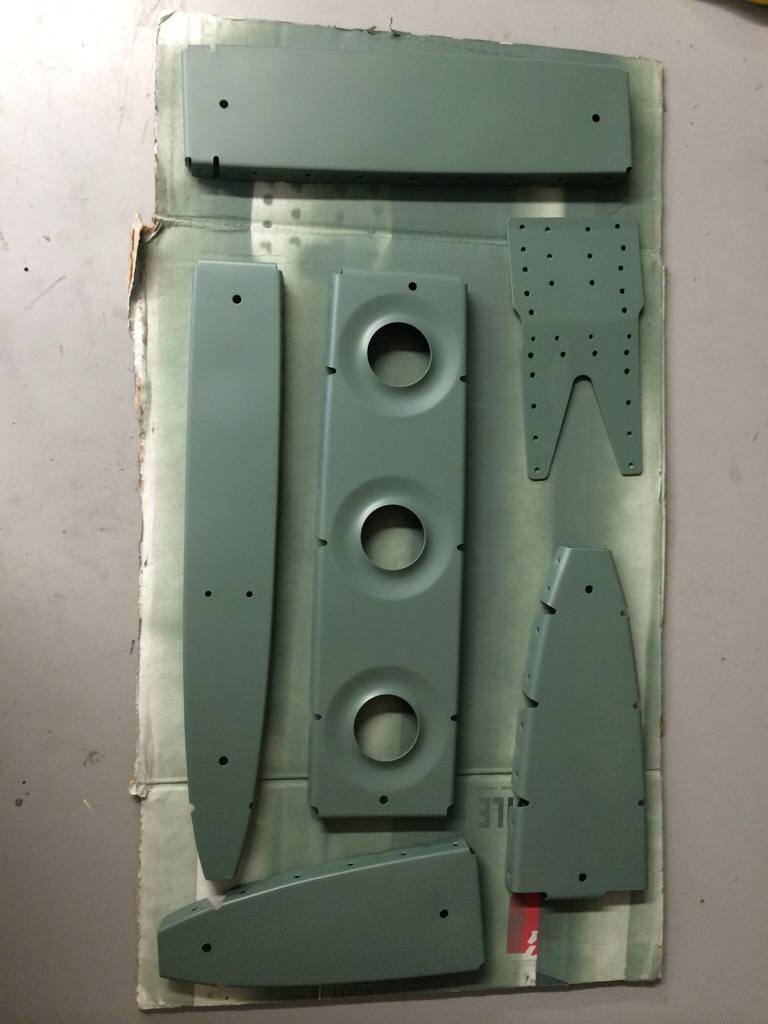
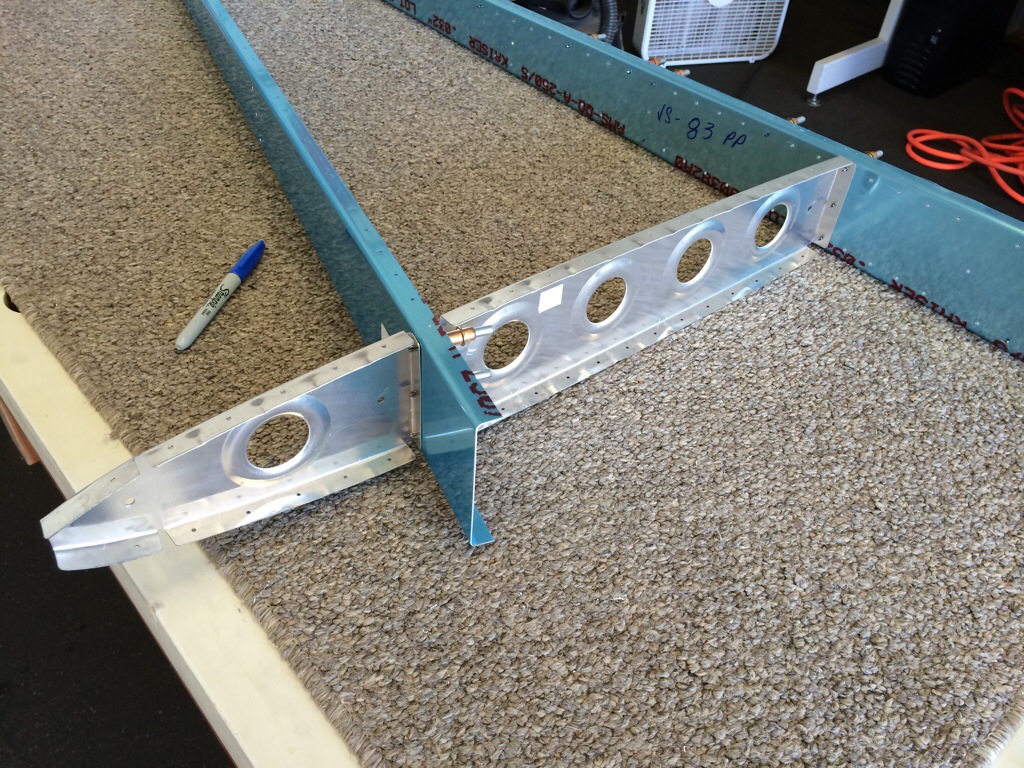
Finally got the Horizontal parts primed and back to the hangar. It was time for a quick assembly to make sure everything still fits. I did have one issue with the primer on the end rib, as you can see there was a little bit that flaked off. I’m not sure if it didn’t cleaned well enough or what, but this is the only part I had an issue with.
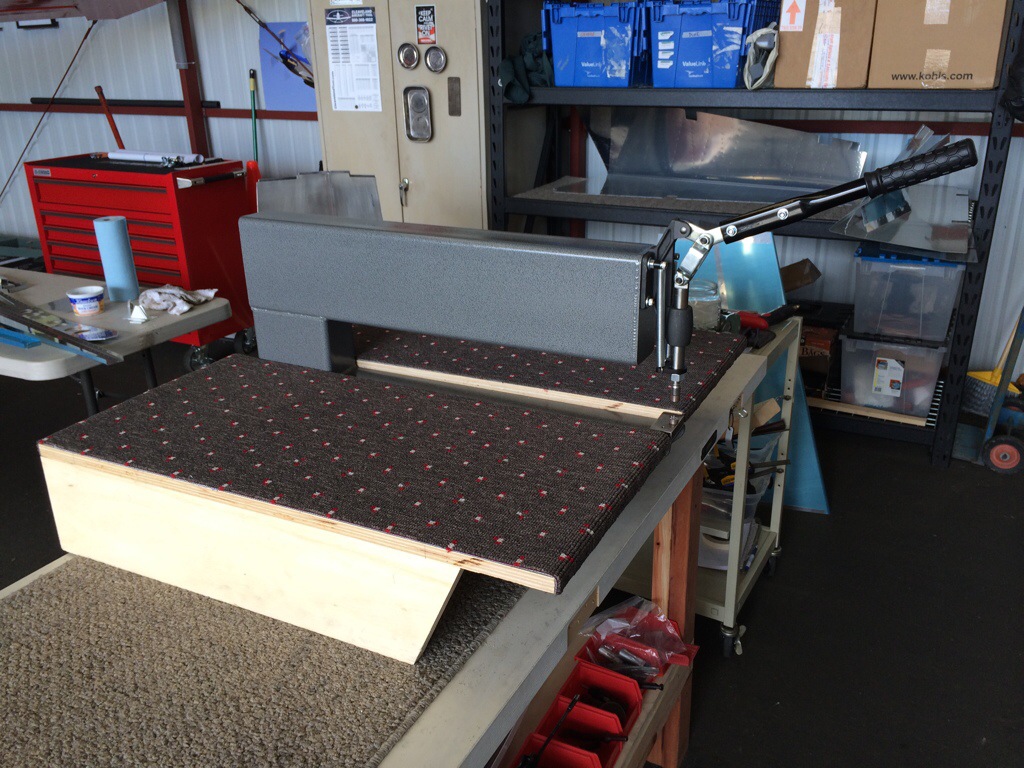
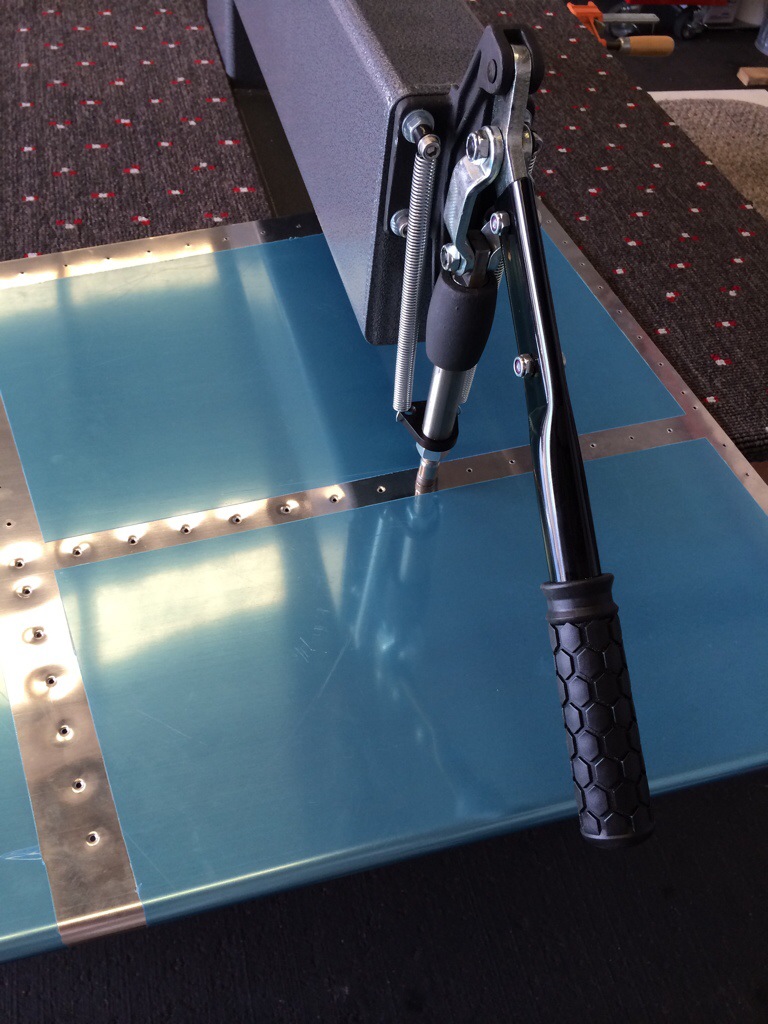
Started to dimple the Horizontal skins, and figured I would show a picture of how I set up the platforms for the DRDT-2.
Spent more time today deburring and dimpling the right side of the elevator to get it ready for primer.
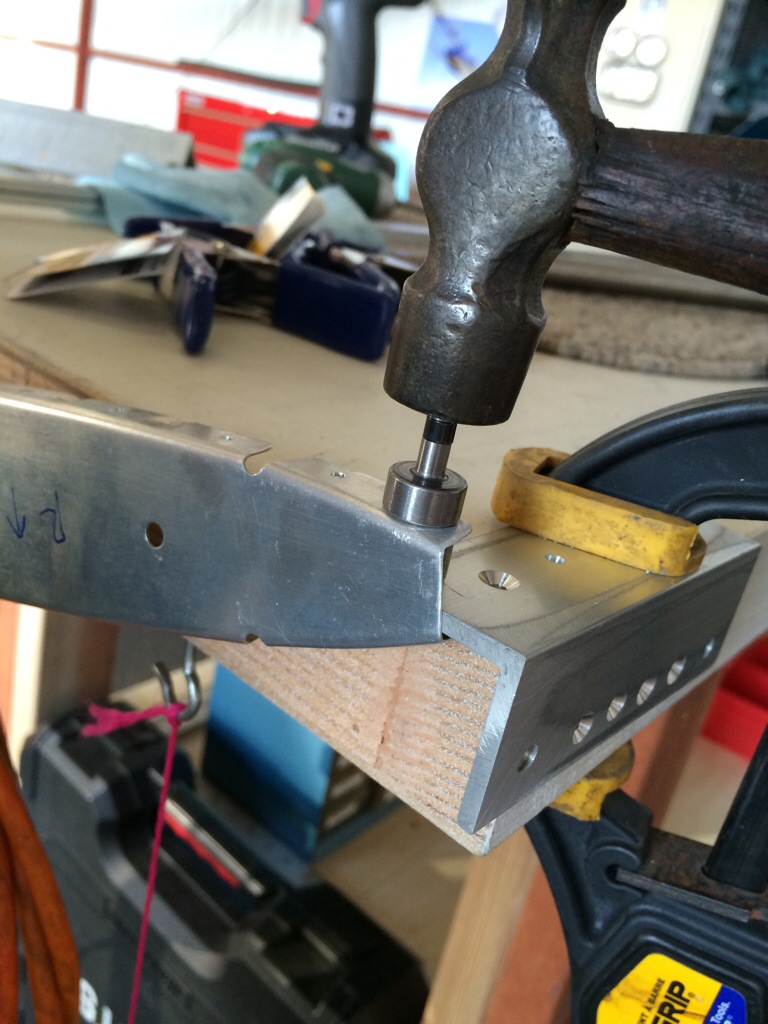
The outer rib (HS706) is too compact to dimple the forward most hole with a squeezer, so you have to get a little creative. I’ve seen close quarters dimple die sets, which is basically just a bar with a countersink drilled in it, but we decided to do something different. We found that the full dimple would fit inside the rib w/o the squeezer, so we clamped a piece of scrap to the table and drilled a hole in it so the dimple set could be pushed through it. We then slide the rib over the dimple and tapped it with a hammer. Voila!
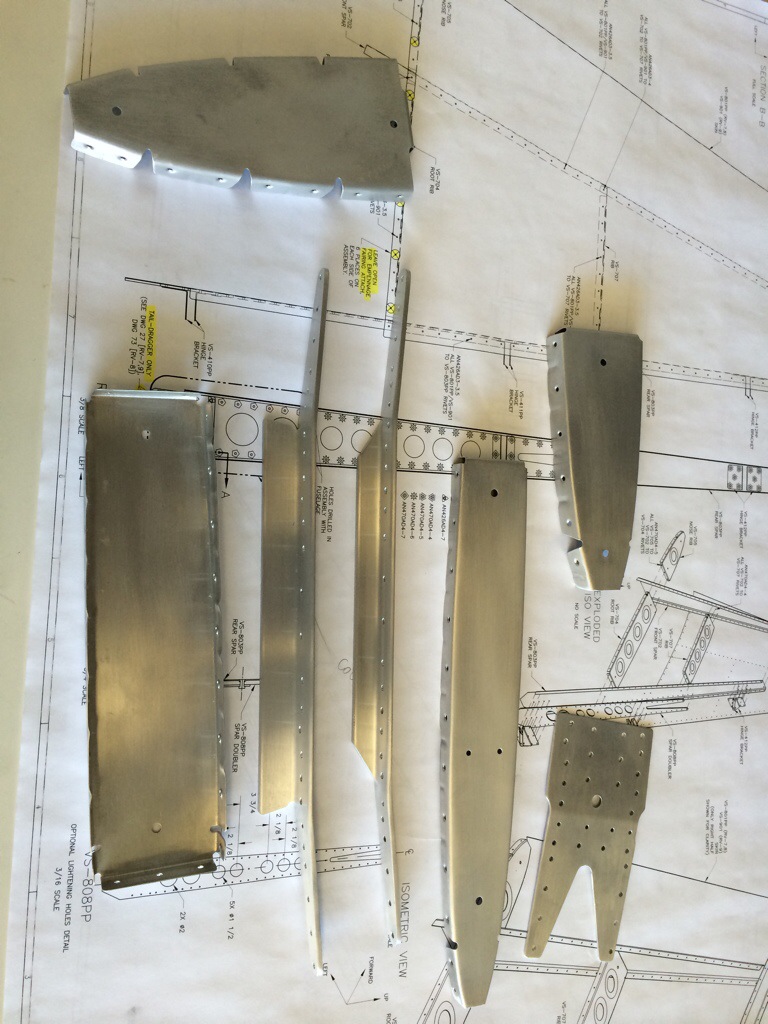
I decided to test out the SEM Primer and Prekote on a few of the Horizontal parts before I went ahead with priming all the Horizontal parts. I also couldn’t figure out the best way to keep the Left and Right side parts seperate, so I only took home the easily identifiable parts (like HS810 and HS814) along with the Left side parts (Spar, Ribs, etc).
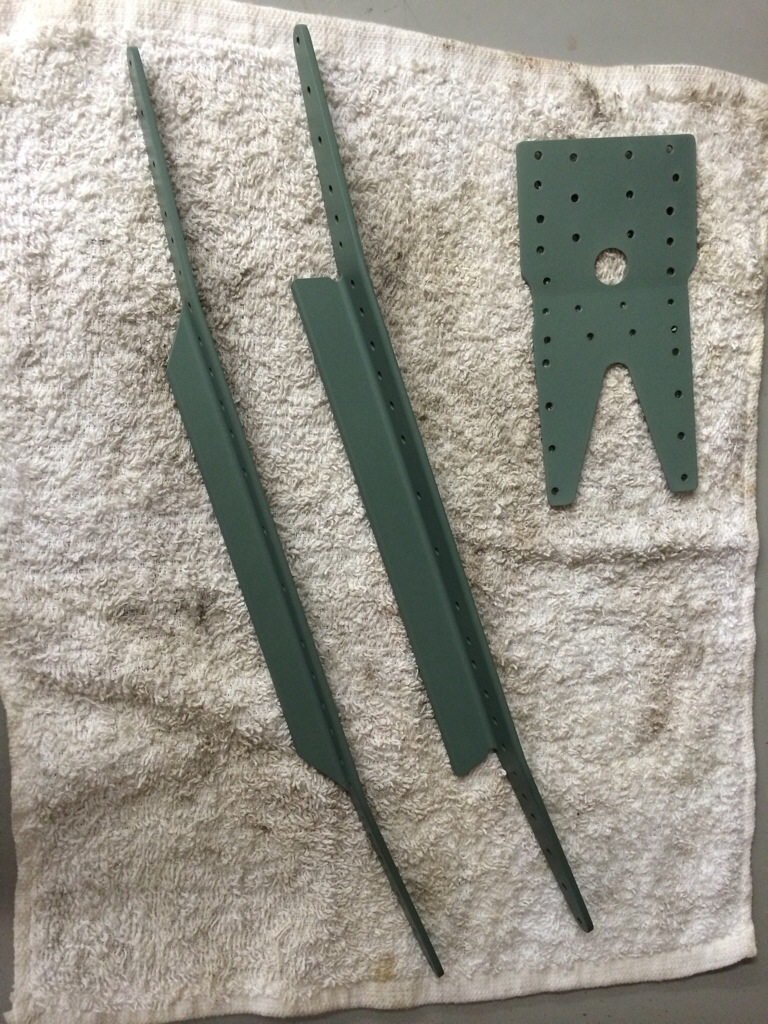
For the Prekote process, I sprayed the parts liberally and hit them with the scotchbrite pad again. Once that step was complete, I rinsed them with the hose into a bucket. I then took and sprayed Prekote on all parts a second time, and once again rinsed them in the bucket. I let them dry completely and then sprayed them with the SEM Primer. Below is a photo of the parts I tested with the primer.
Switched back from working on the Vertical Stabilizer to prepping the Horizontal for primer. Lots of deburring, dimpling and scotchbriting. I had also forgot to drill the trim cable hole in the front left spar, so that was done as well.
More of the ribs after being dimpled and hit with a quick pass of the Scotchbrite pads.
I’m going to take the parts home from the hangar so I can prime them.
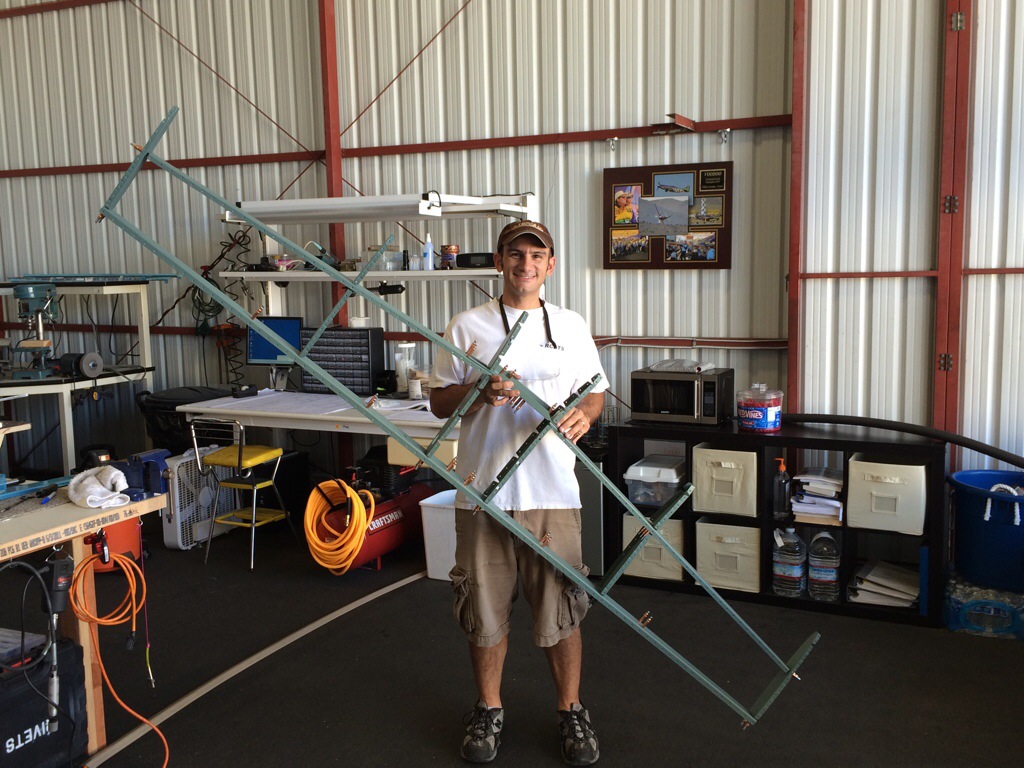
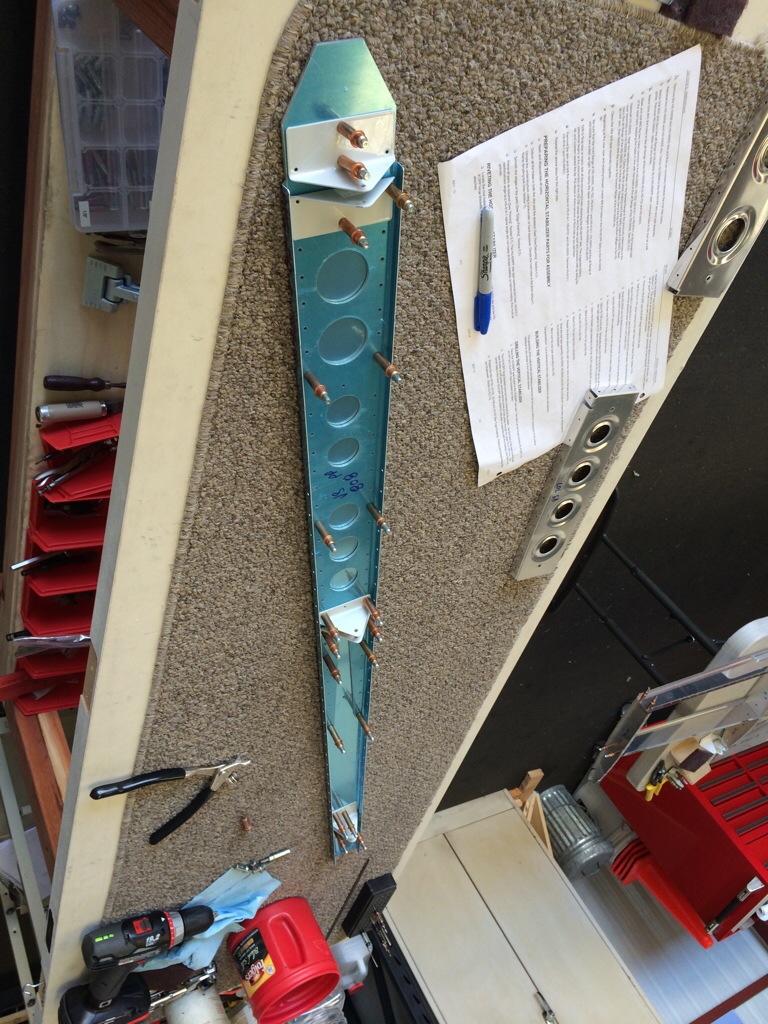
Today was the start of the Vertical Stabilizer assembly. The vertical definitely went together much faster now that I’ve had experience with the horizontal.
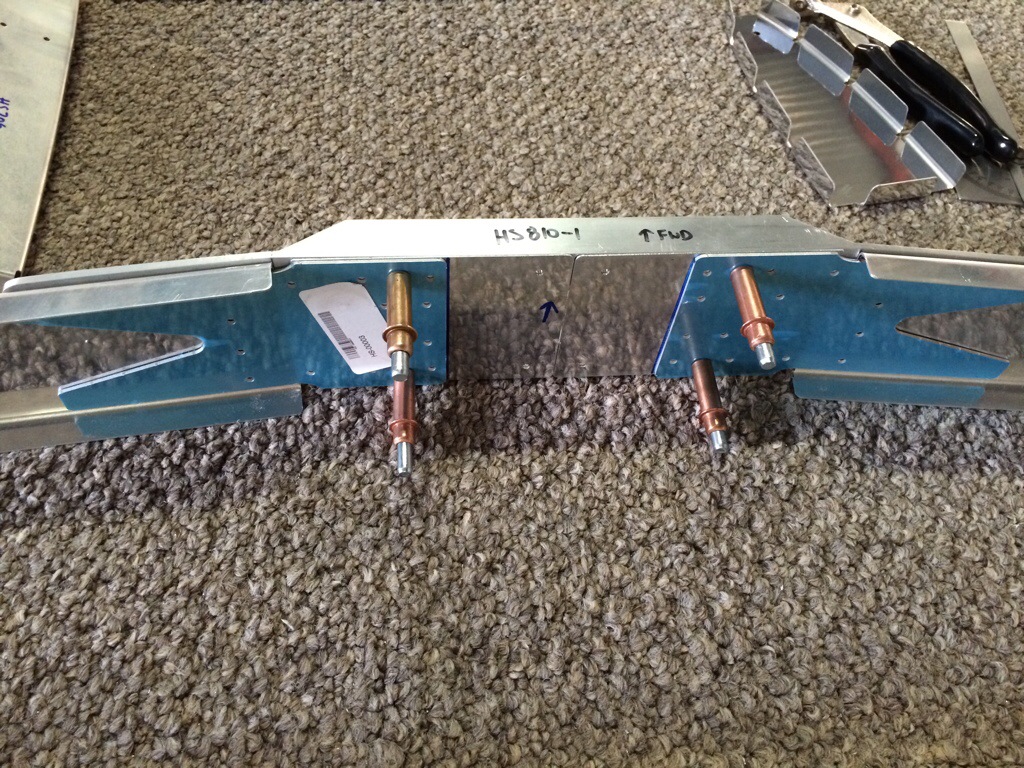
In the photo below I’ve clecoed the spar doubler and hinge brackets to the rear spar.
After fluting the ribs, assembly starts by clecoing the rear and front spars to the ribs.
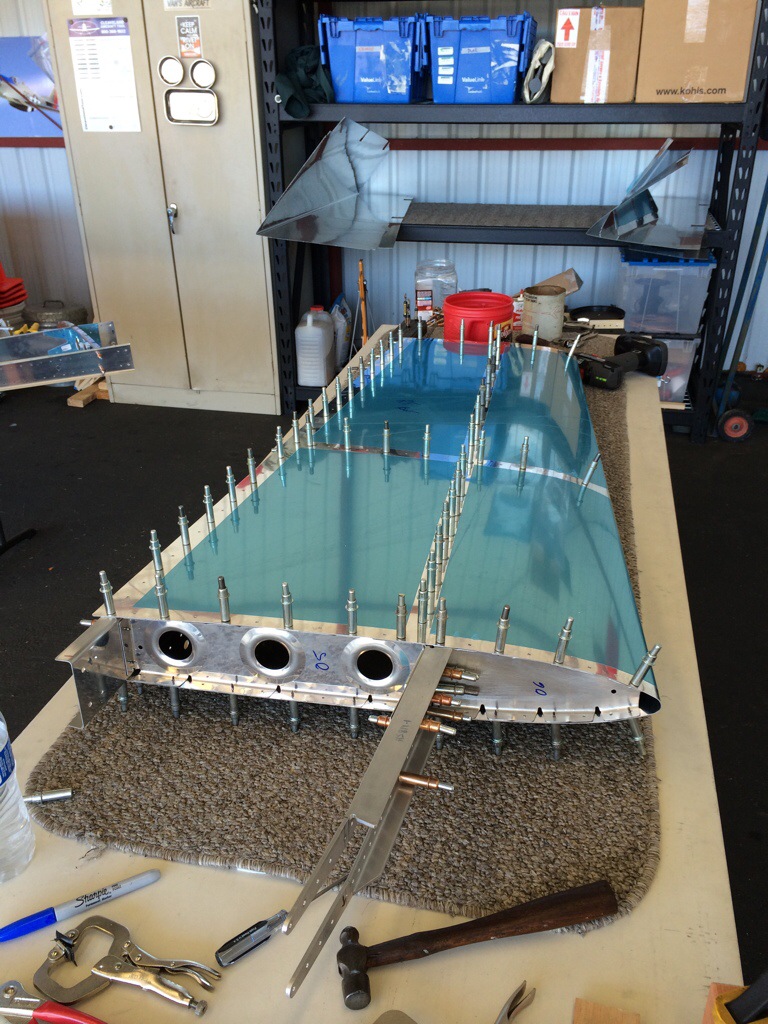
Assembled and ready for the skins to be cleco’d on.
The skin has been put on and I’m starting to add clecos.
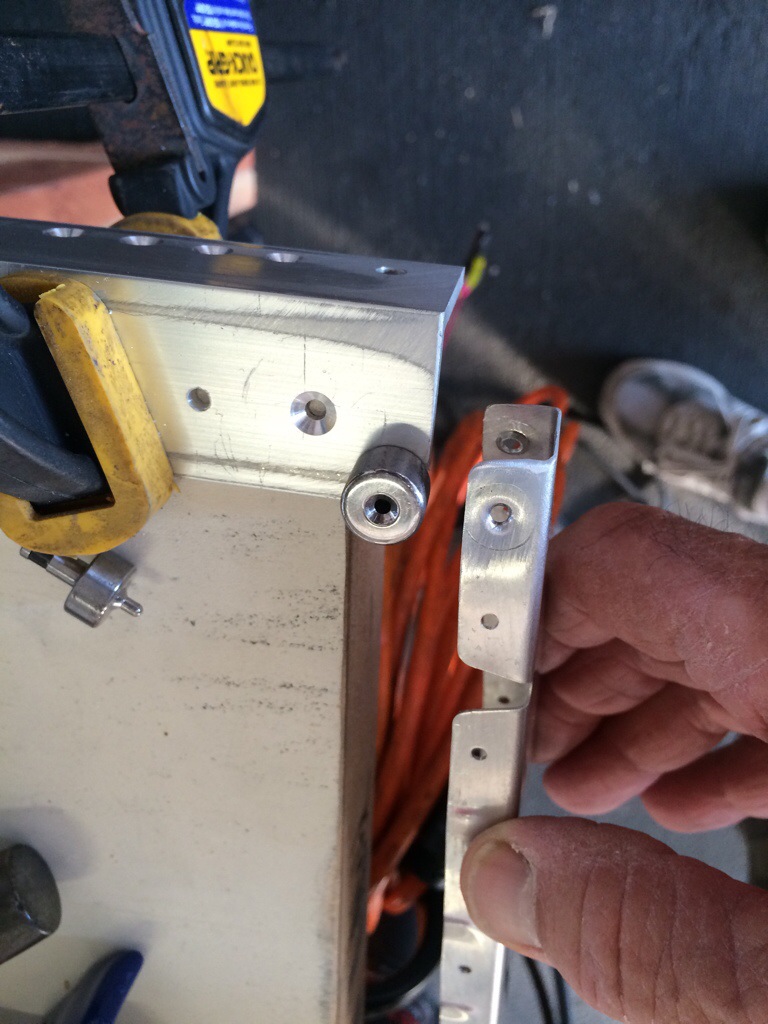
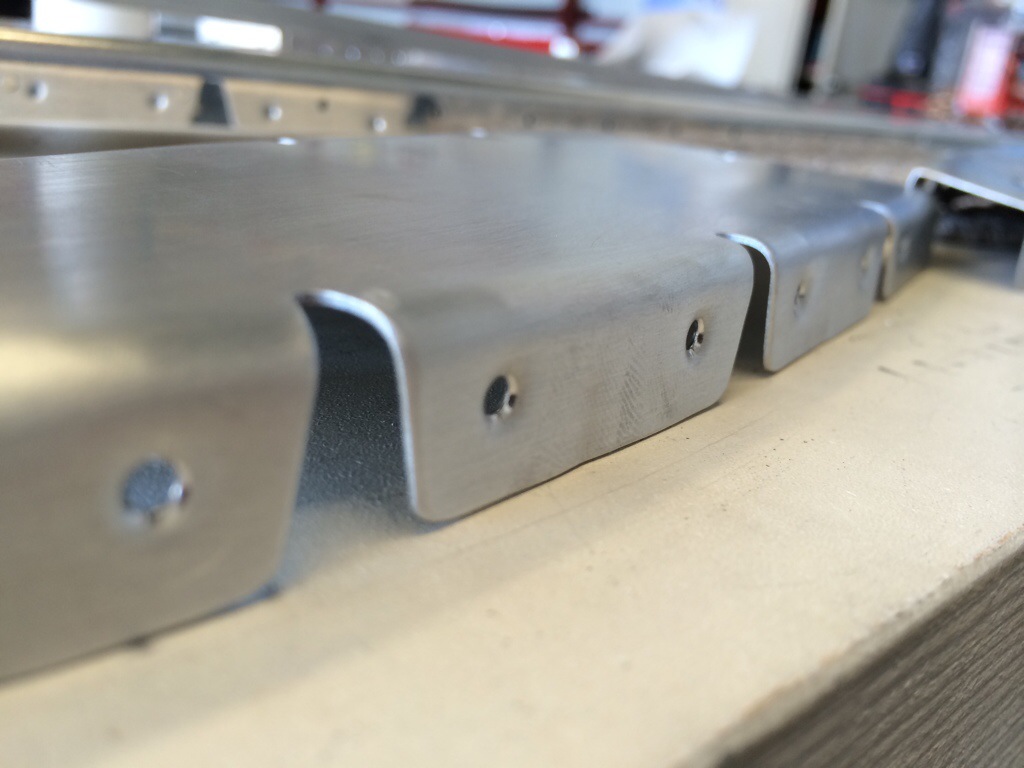
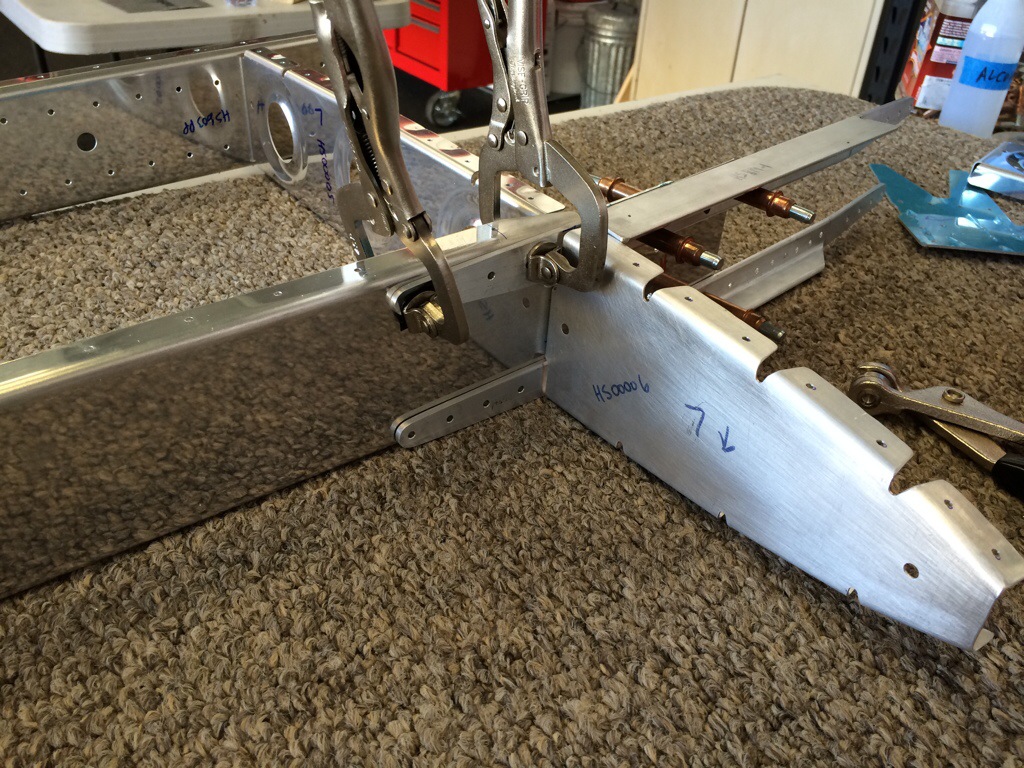
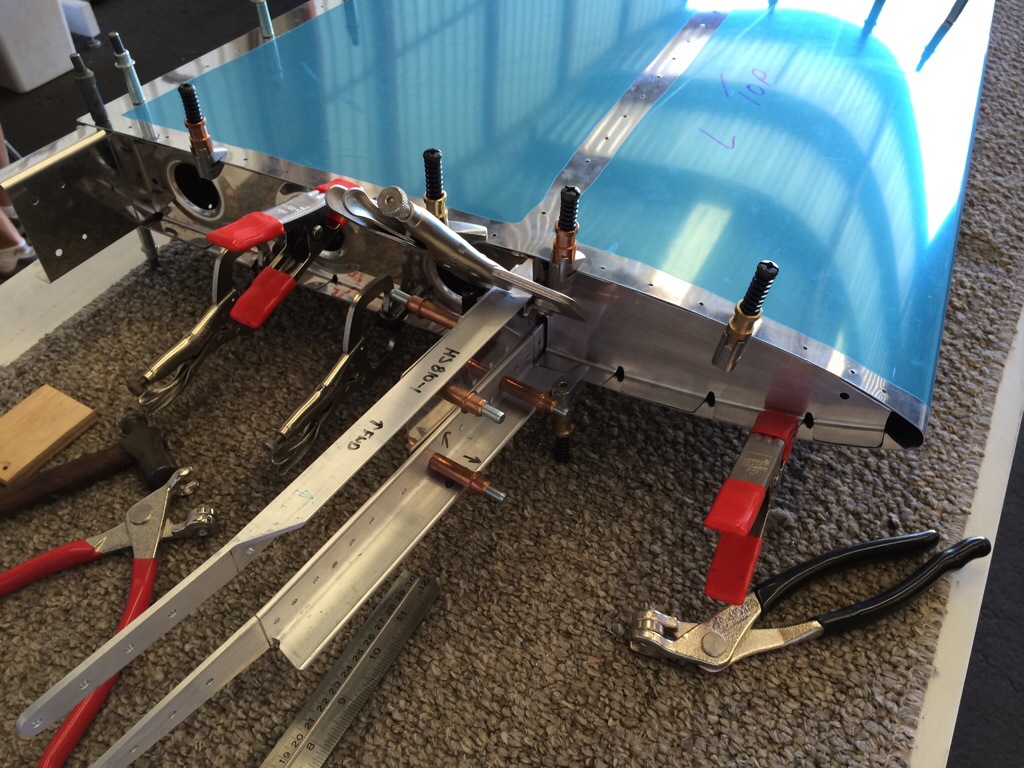
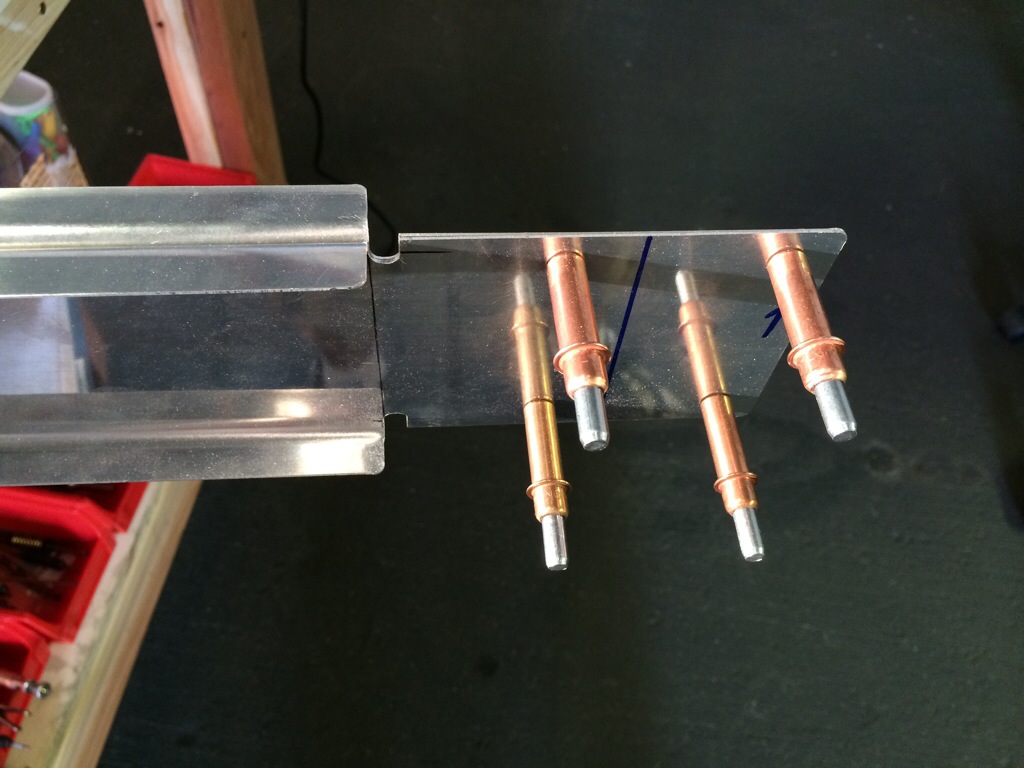
The elevator skin was removed so we could drill the last four holes in the HS-810 and HS-814 spar angles. A couple of clamps hold the spar angles in place until they are drilled.
Here’s a close up of the spar angles after being drilled and with a couple of cleco’s in place.
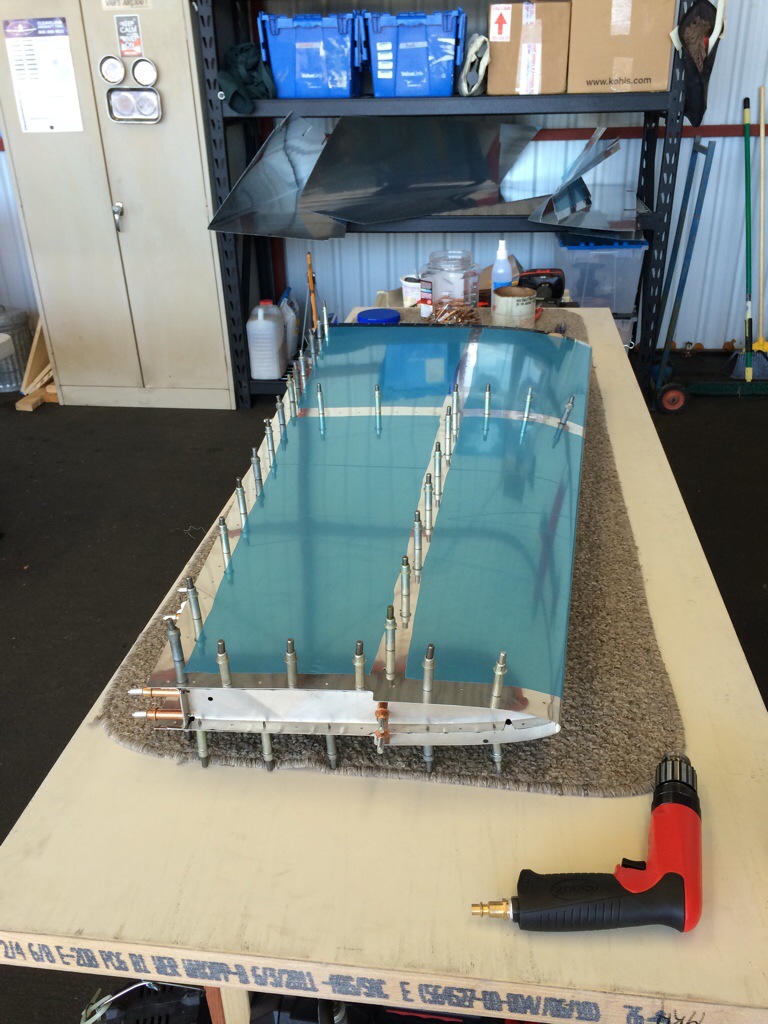
The Right side elevator after completion of drilling the skins. The Left elevator after skin removal can be seen in the background.
As expected, the second side goes much faster than the first!
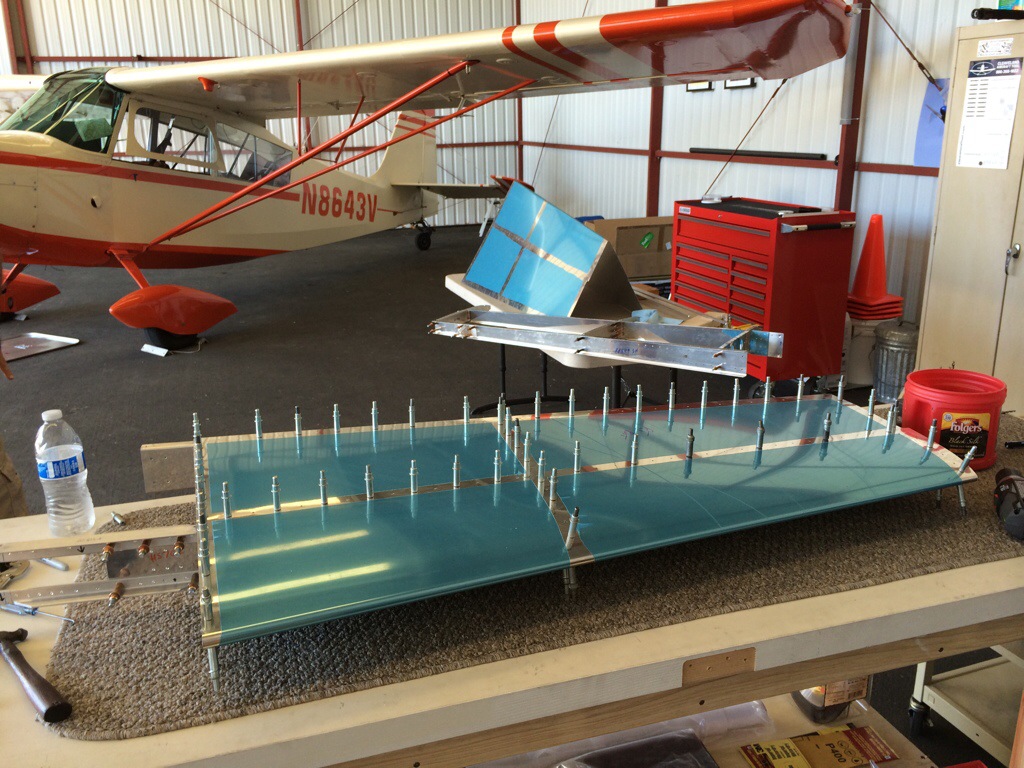
Spent today drilling the holes that hold the skins to the spars and ribs. Also match drilled the rest of the skins and all of the holes that tie in the inner ribs to the spar angles.
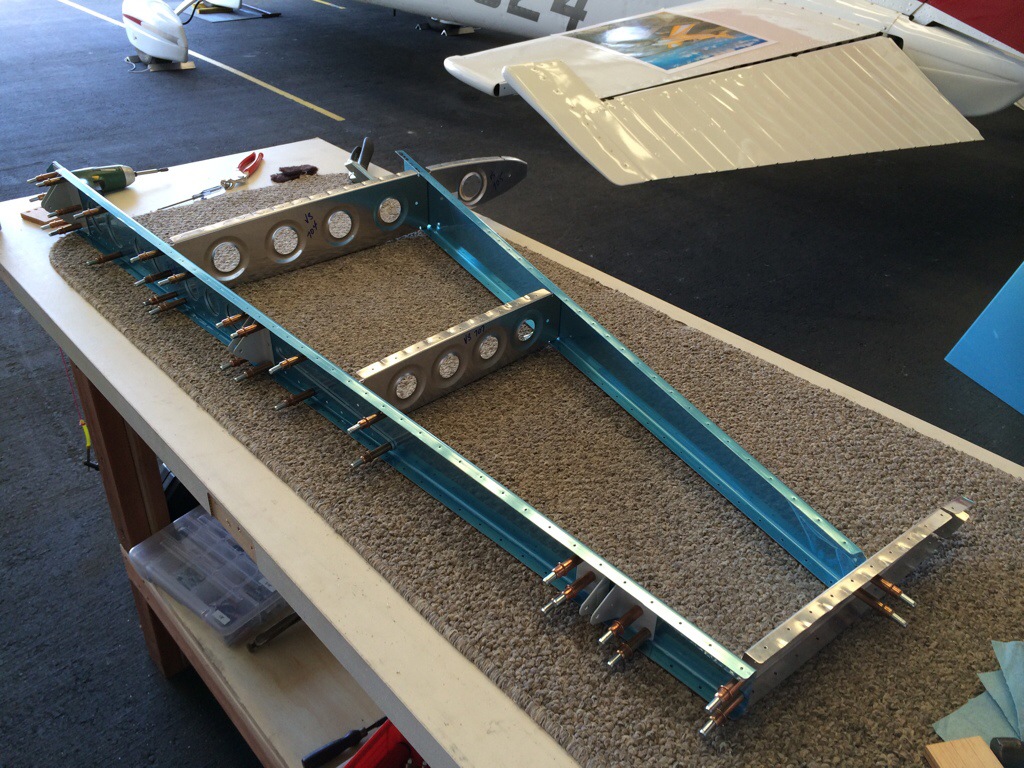
The photo below shows the myriad of clamps we used to keep everything in place for drilling.
Spent quite a bit of time prepping parts over the last month to start assembly of the horizontal. This included alot of de-burring, fluting the ribs and match drilling parts.
Speaking of fluting.. We struggled with the first couple of ribs, but found this great EAA video that drastically sped up the time it took flute the ribs.
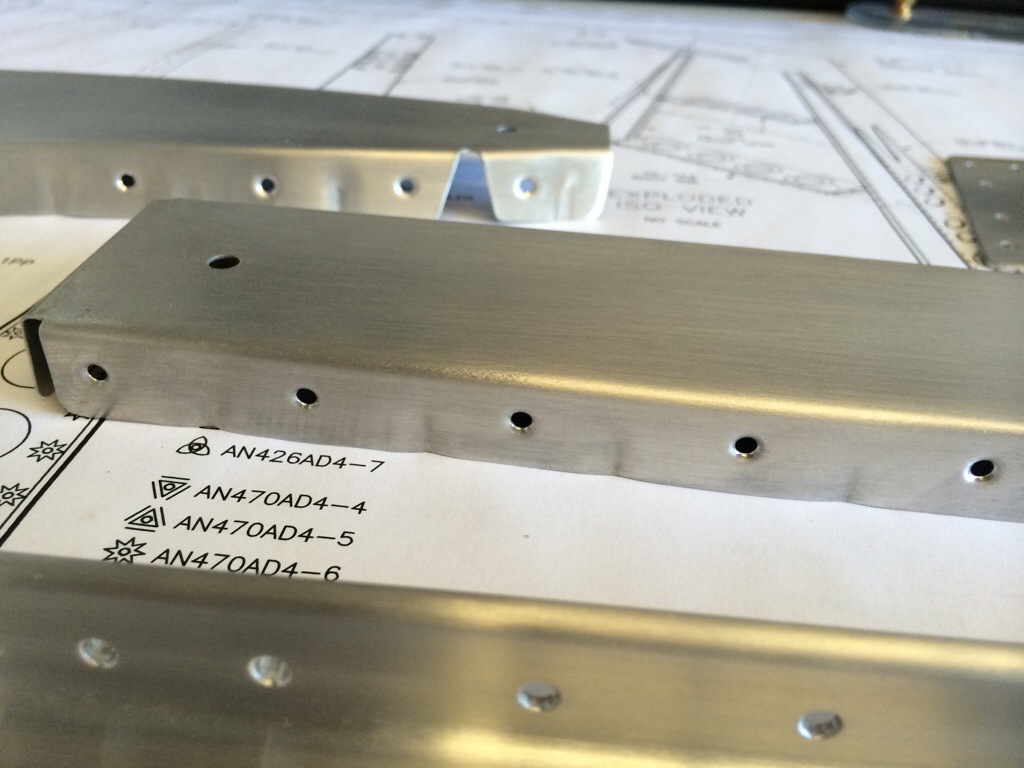
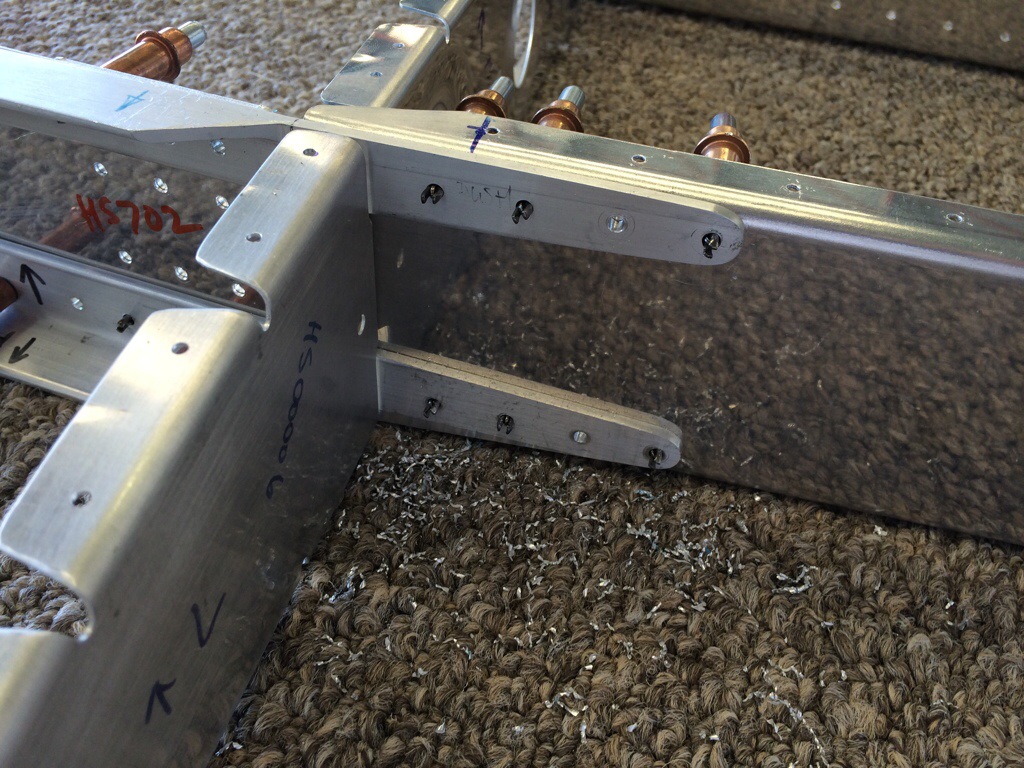
Spent this evening making the relief holes for the bend on HS702. Once I had one side complete and filed, I clecoed them together to make sure they matched. It also makes it easier to open up and round the second hole with the file when you have a guide from the first set you did.
I had a little bit of confusion on how to trim the inboard edges of HS702 so that we maintained the minimum edge distance for the rivets on the top. It shows it clearly in the drawing, but at this point the rivet holes had yet to be drilled, so it’s hard to know what that distance is. Finally decided to take a measurement from the skin to see where the hole would be match drilled as well as put the skin on the spar, cleco the outer holes and see if my measurement made sense.
A few more steps and we can start assembling so it might actually look like an airplane part.
Total Build Hours: 383.25
Empennage: 149
Fuselage: 207.75
Wing: 0.0