Began riveting the skin on the rudder. Started off with putting a dab of silicone near the trailing edge and the stiffeners.
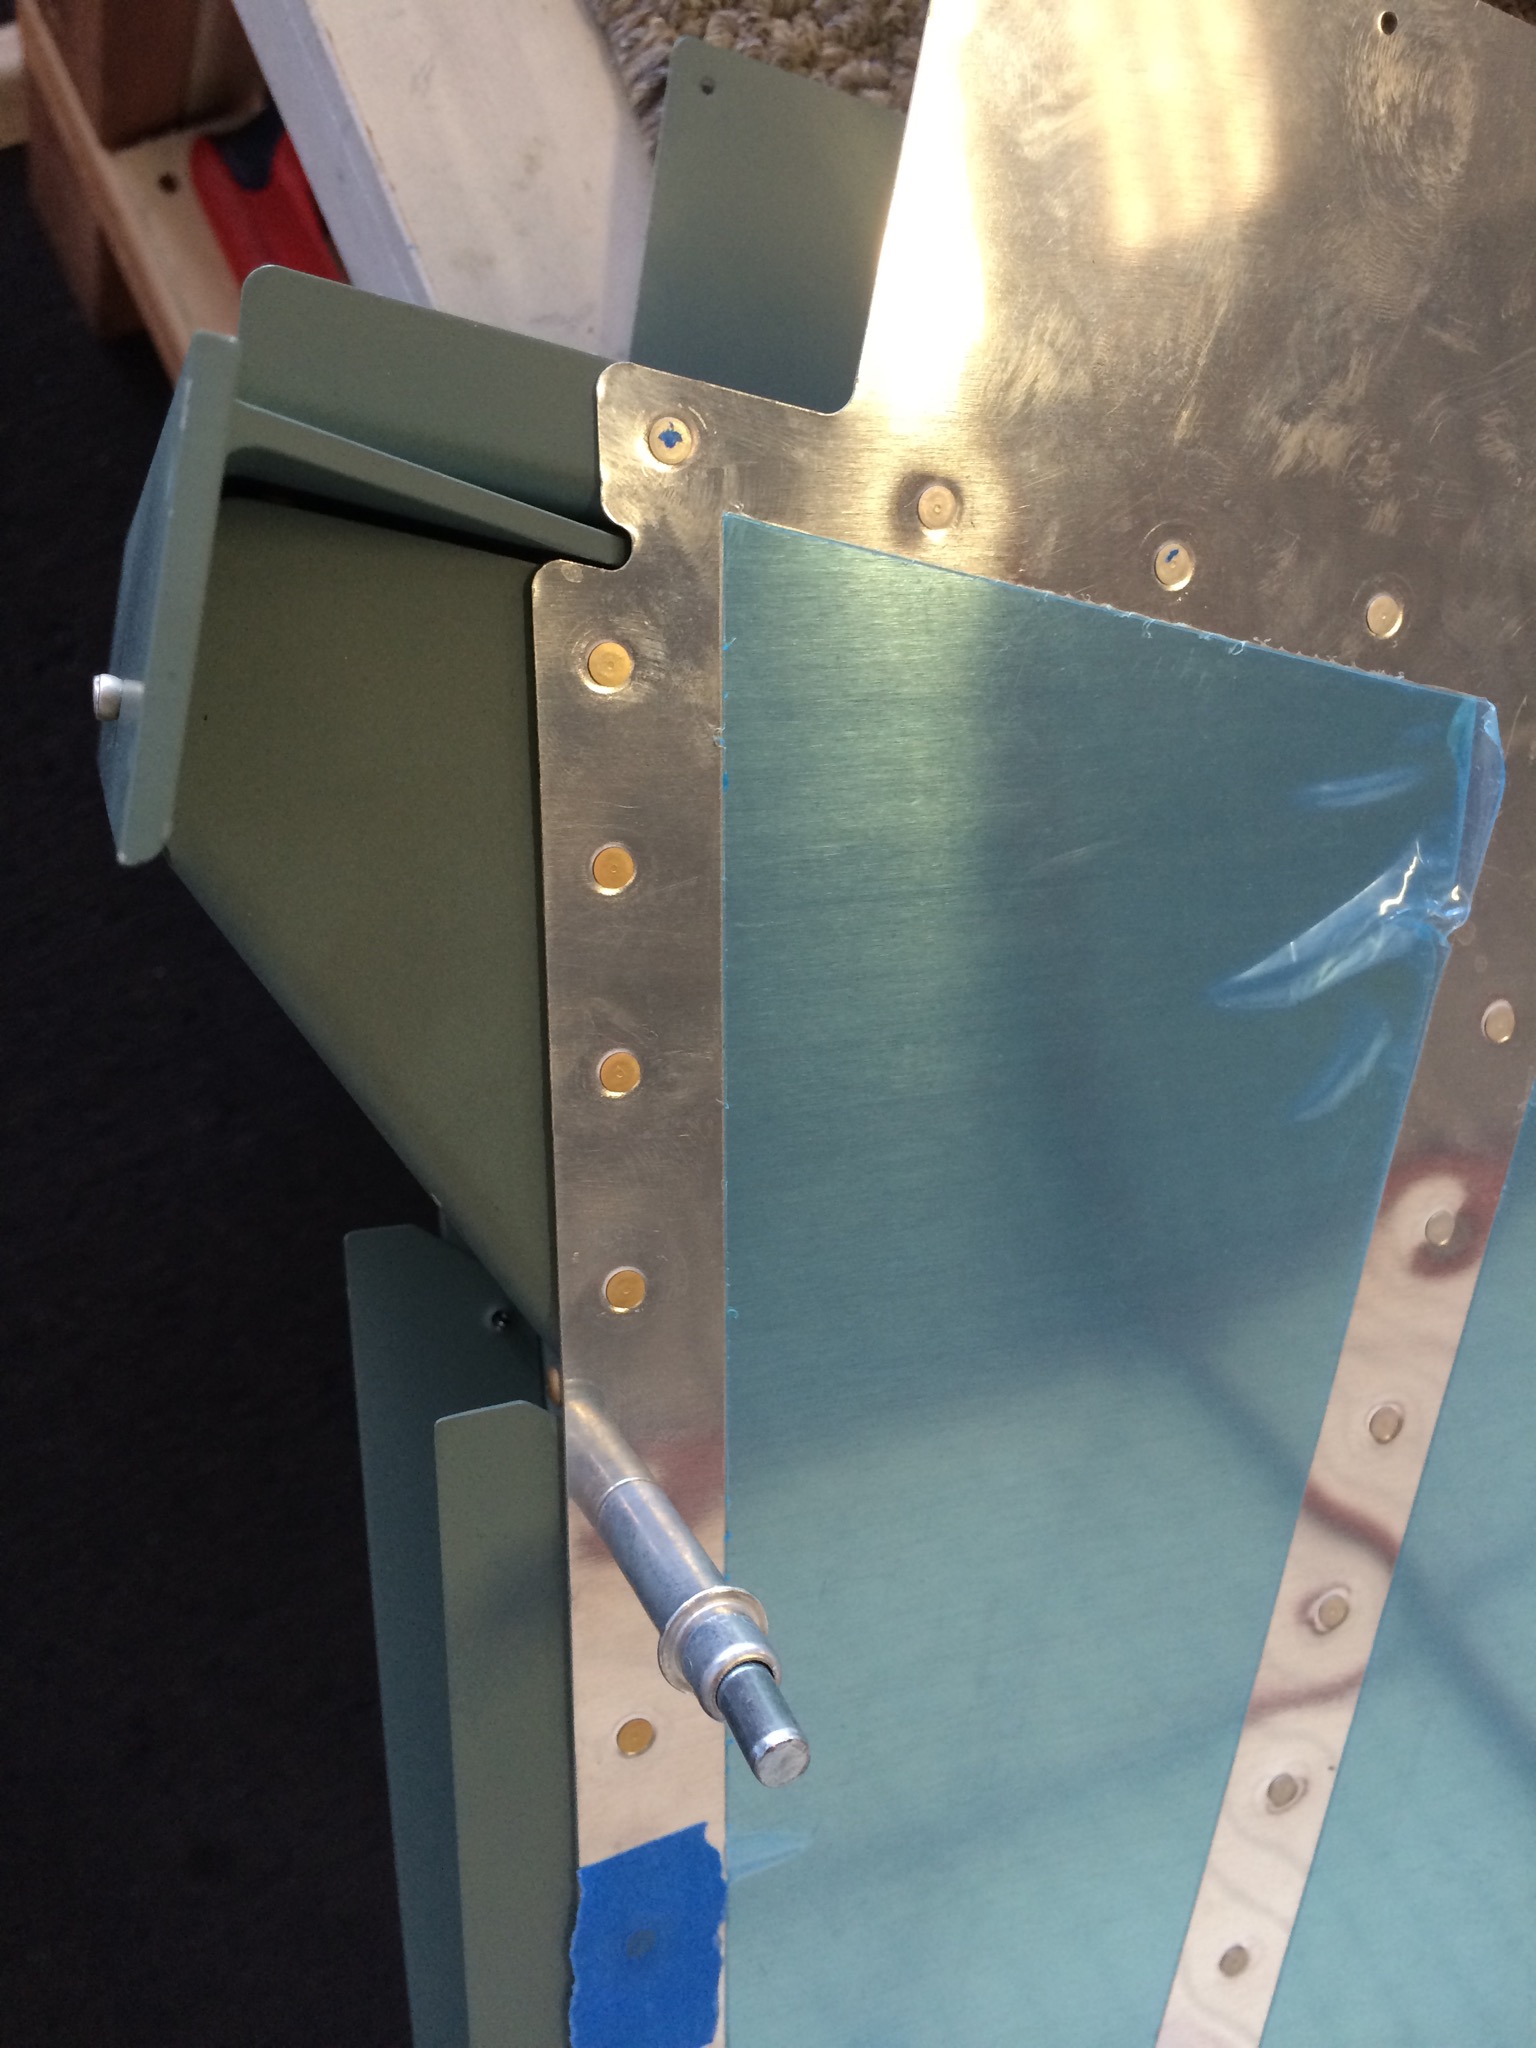
With the longeron yoke I was able to get all the rivets inside R-710.
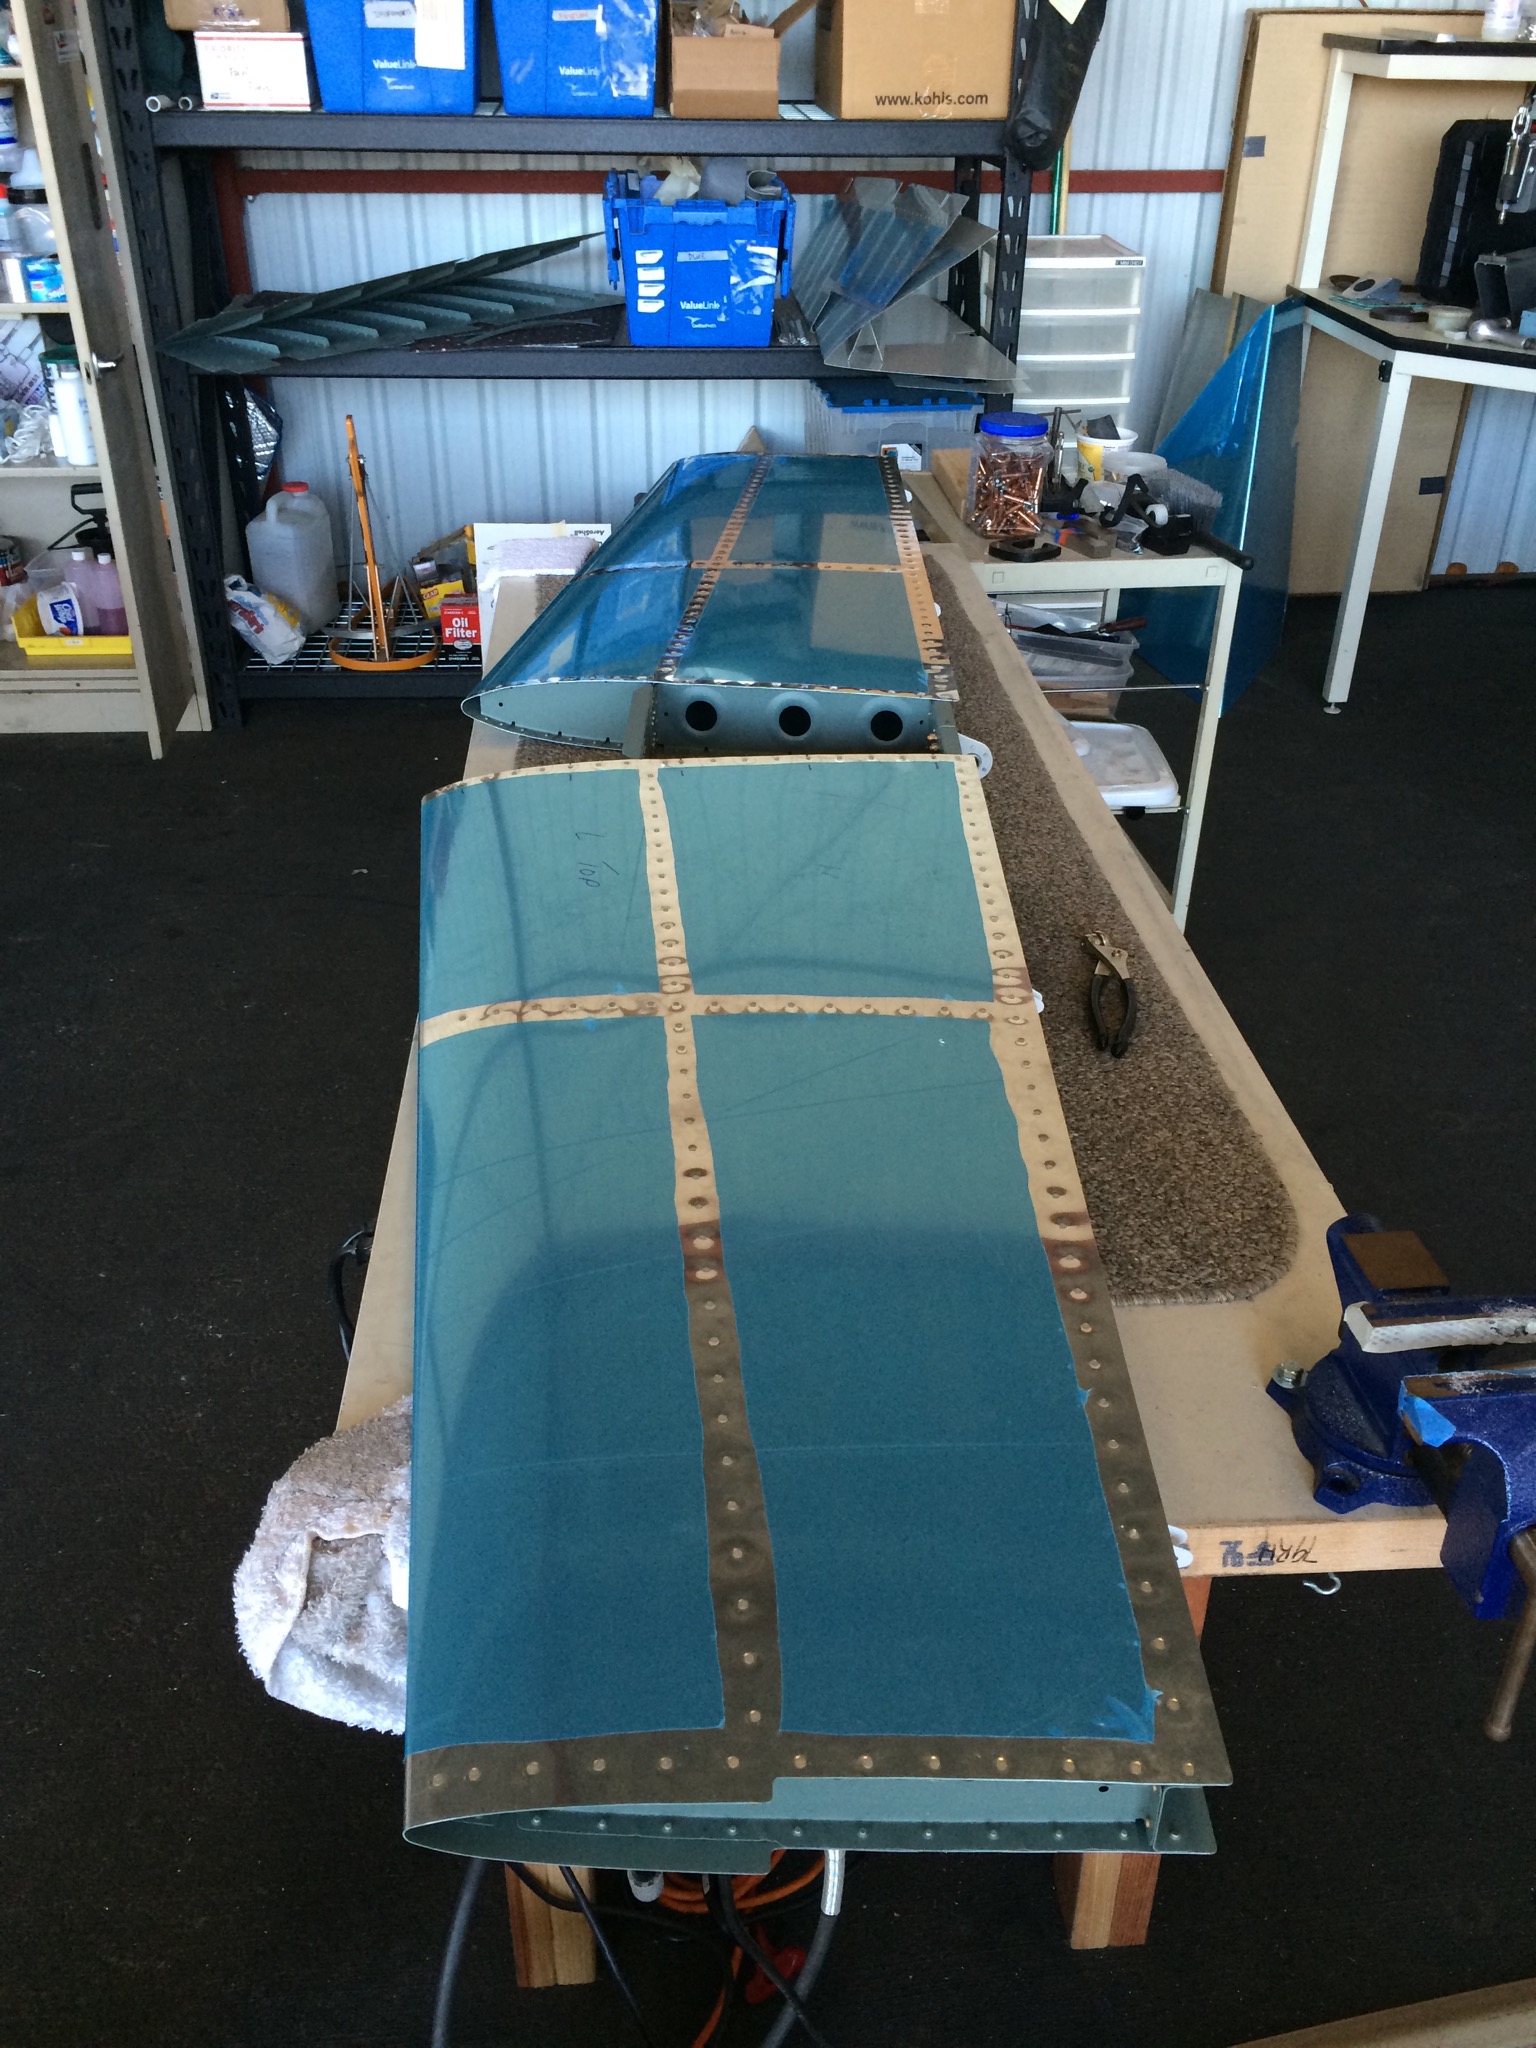
The Rudder right before finishing it up.
Began riveting the skin on the rudder. Started off with putting a dab of silicone near the trailing edge and the stiffeners.
With the longeron yoke I was able to get all the rivets inside R-710.
The Rudder right before finishing it up.
Spent a little time this evening on the rear seat. Got the hinge put in place with the alignment hole according to the plans, clamped it and then drilled it in place.
All of the final holes drilled on the bottom hinge:
Started mocking up the rear seat. Clecoed it together and cut the rear hinge. Cut the hinge pins to size and bent 90’s on the end. Need to finish match drilling the seat, then I’ll get it prepped to prime/paint.
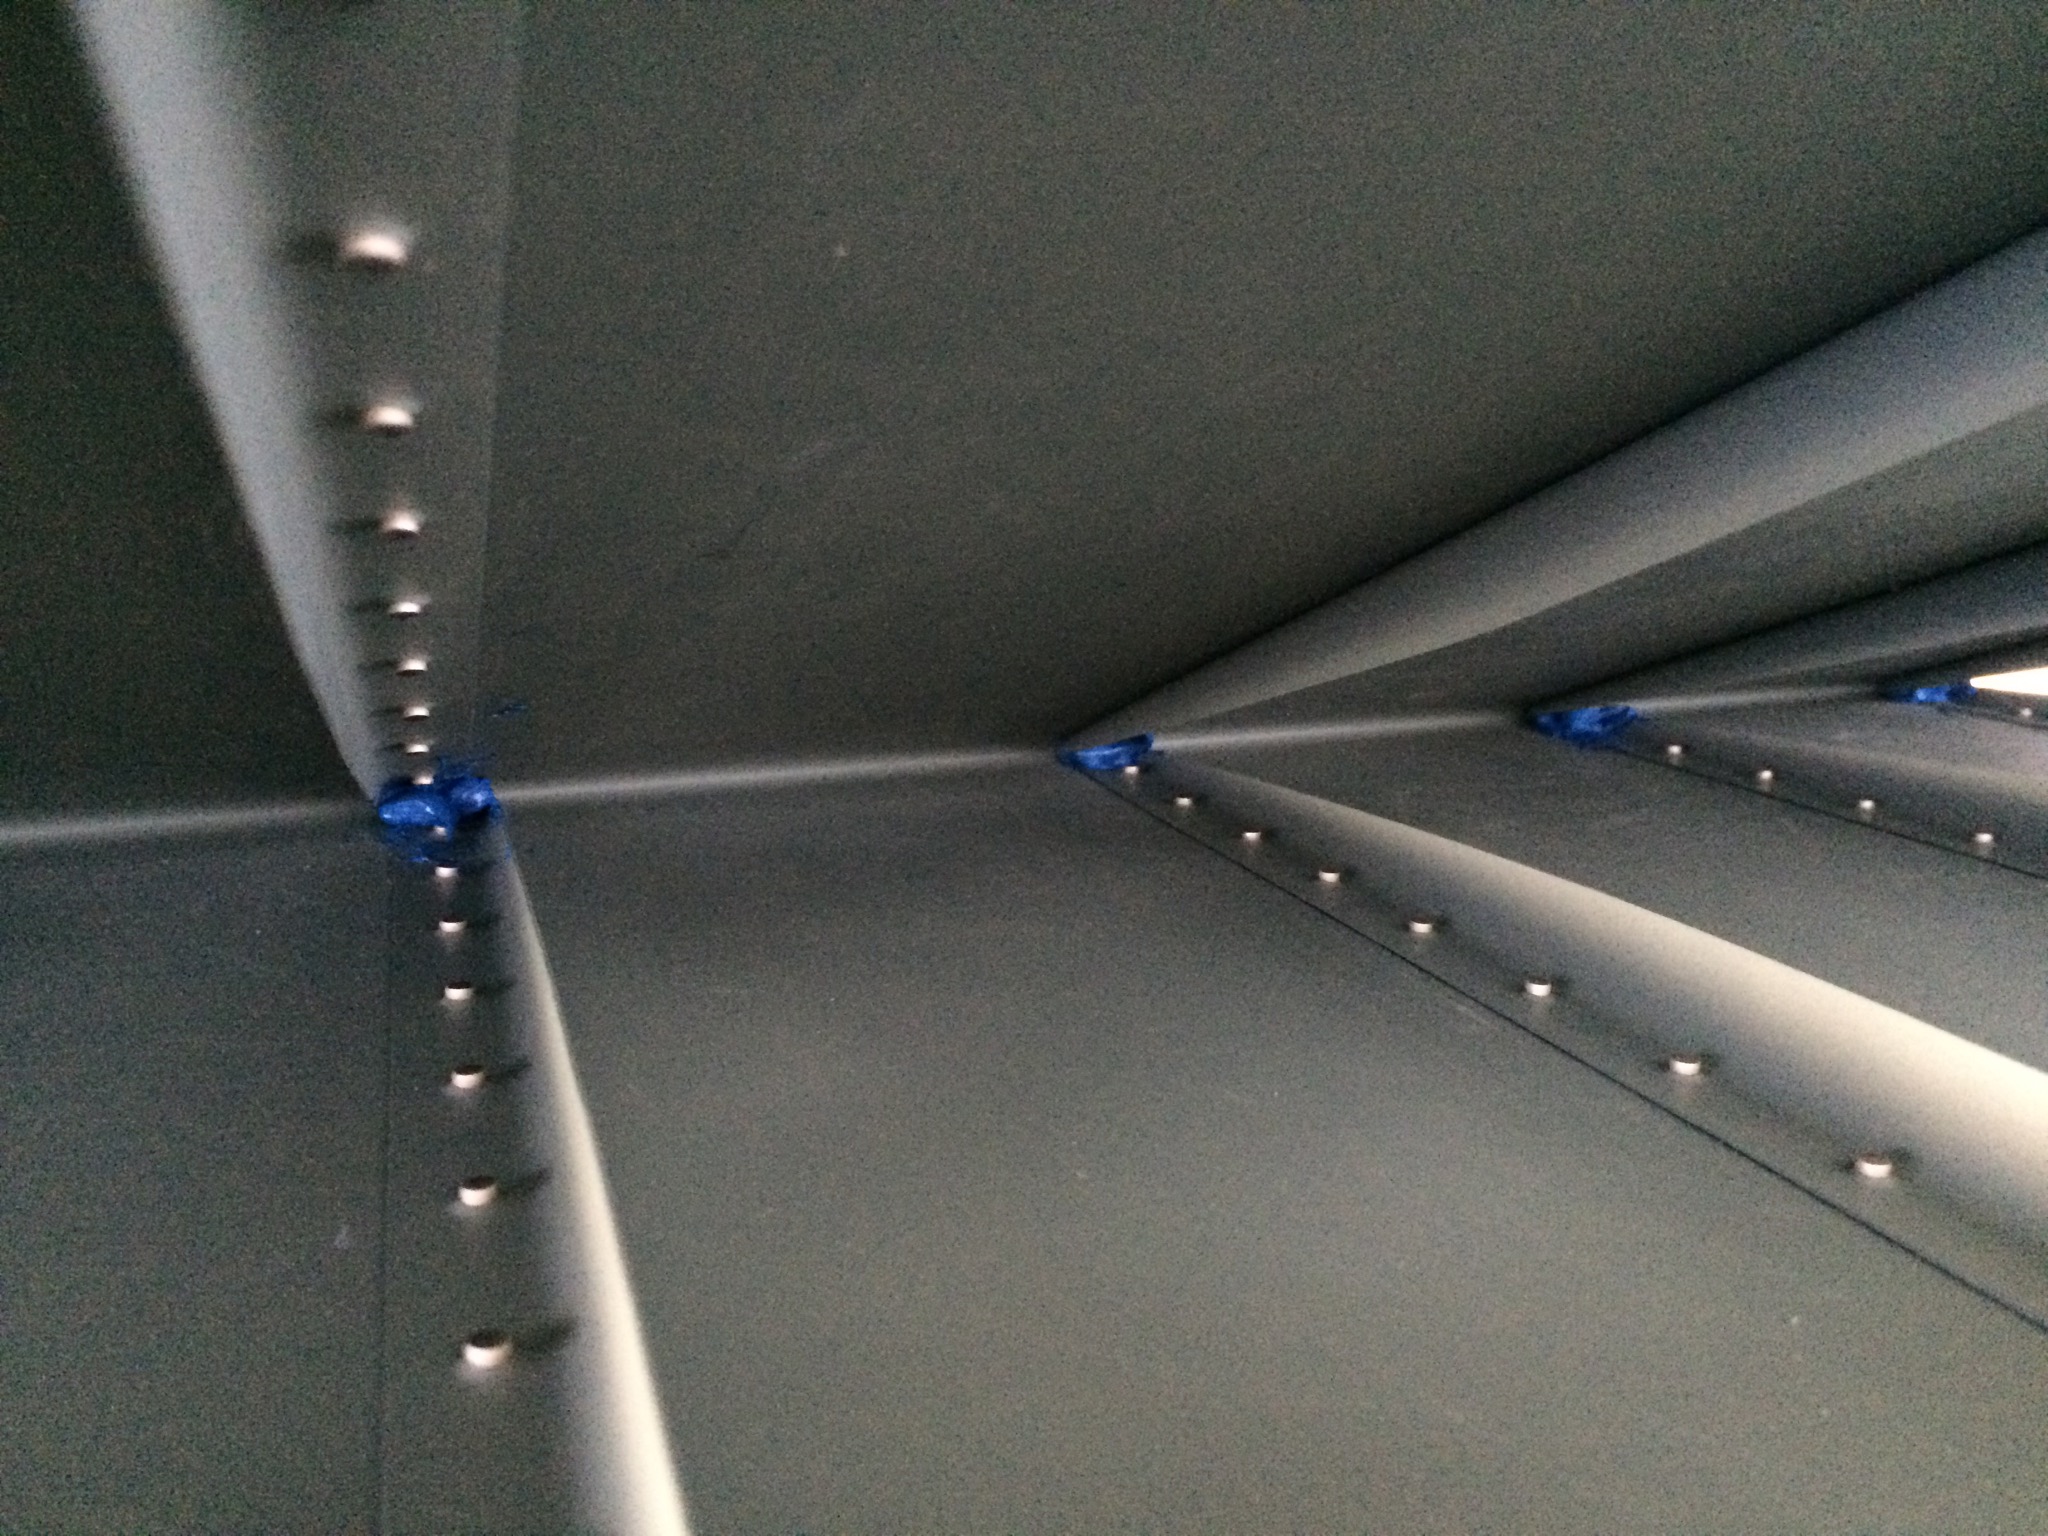
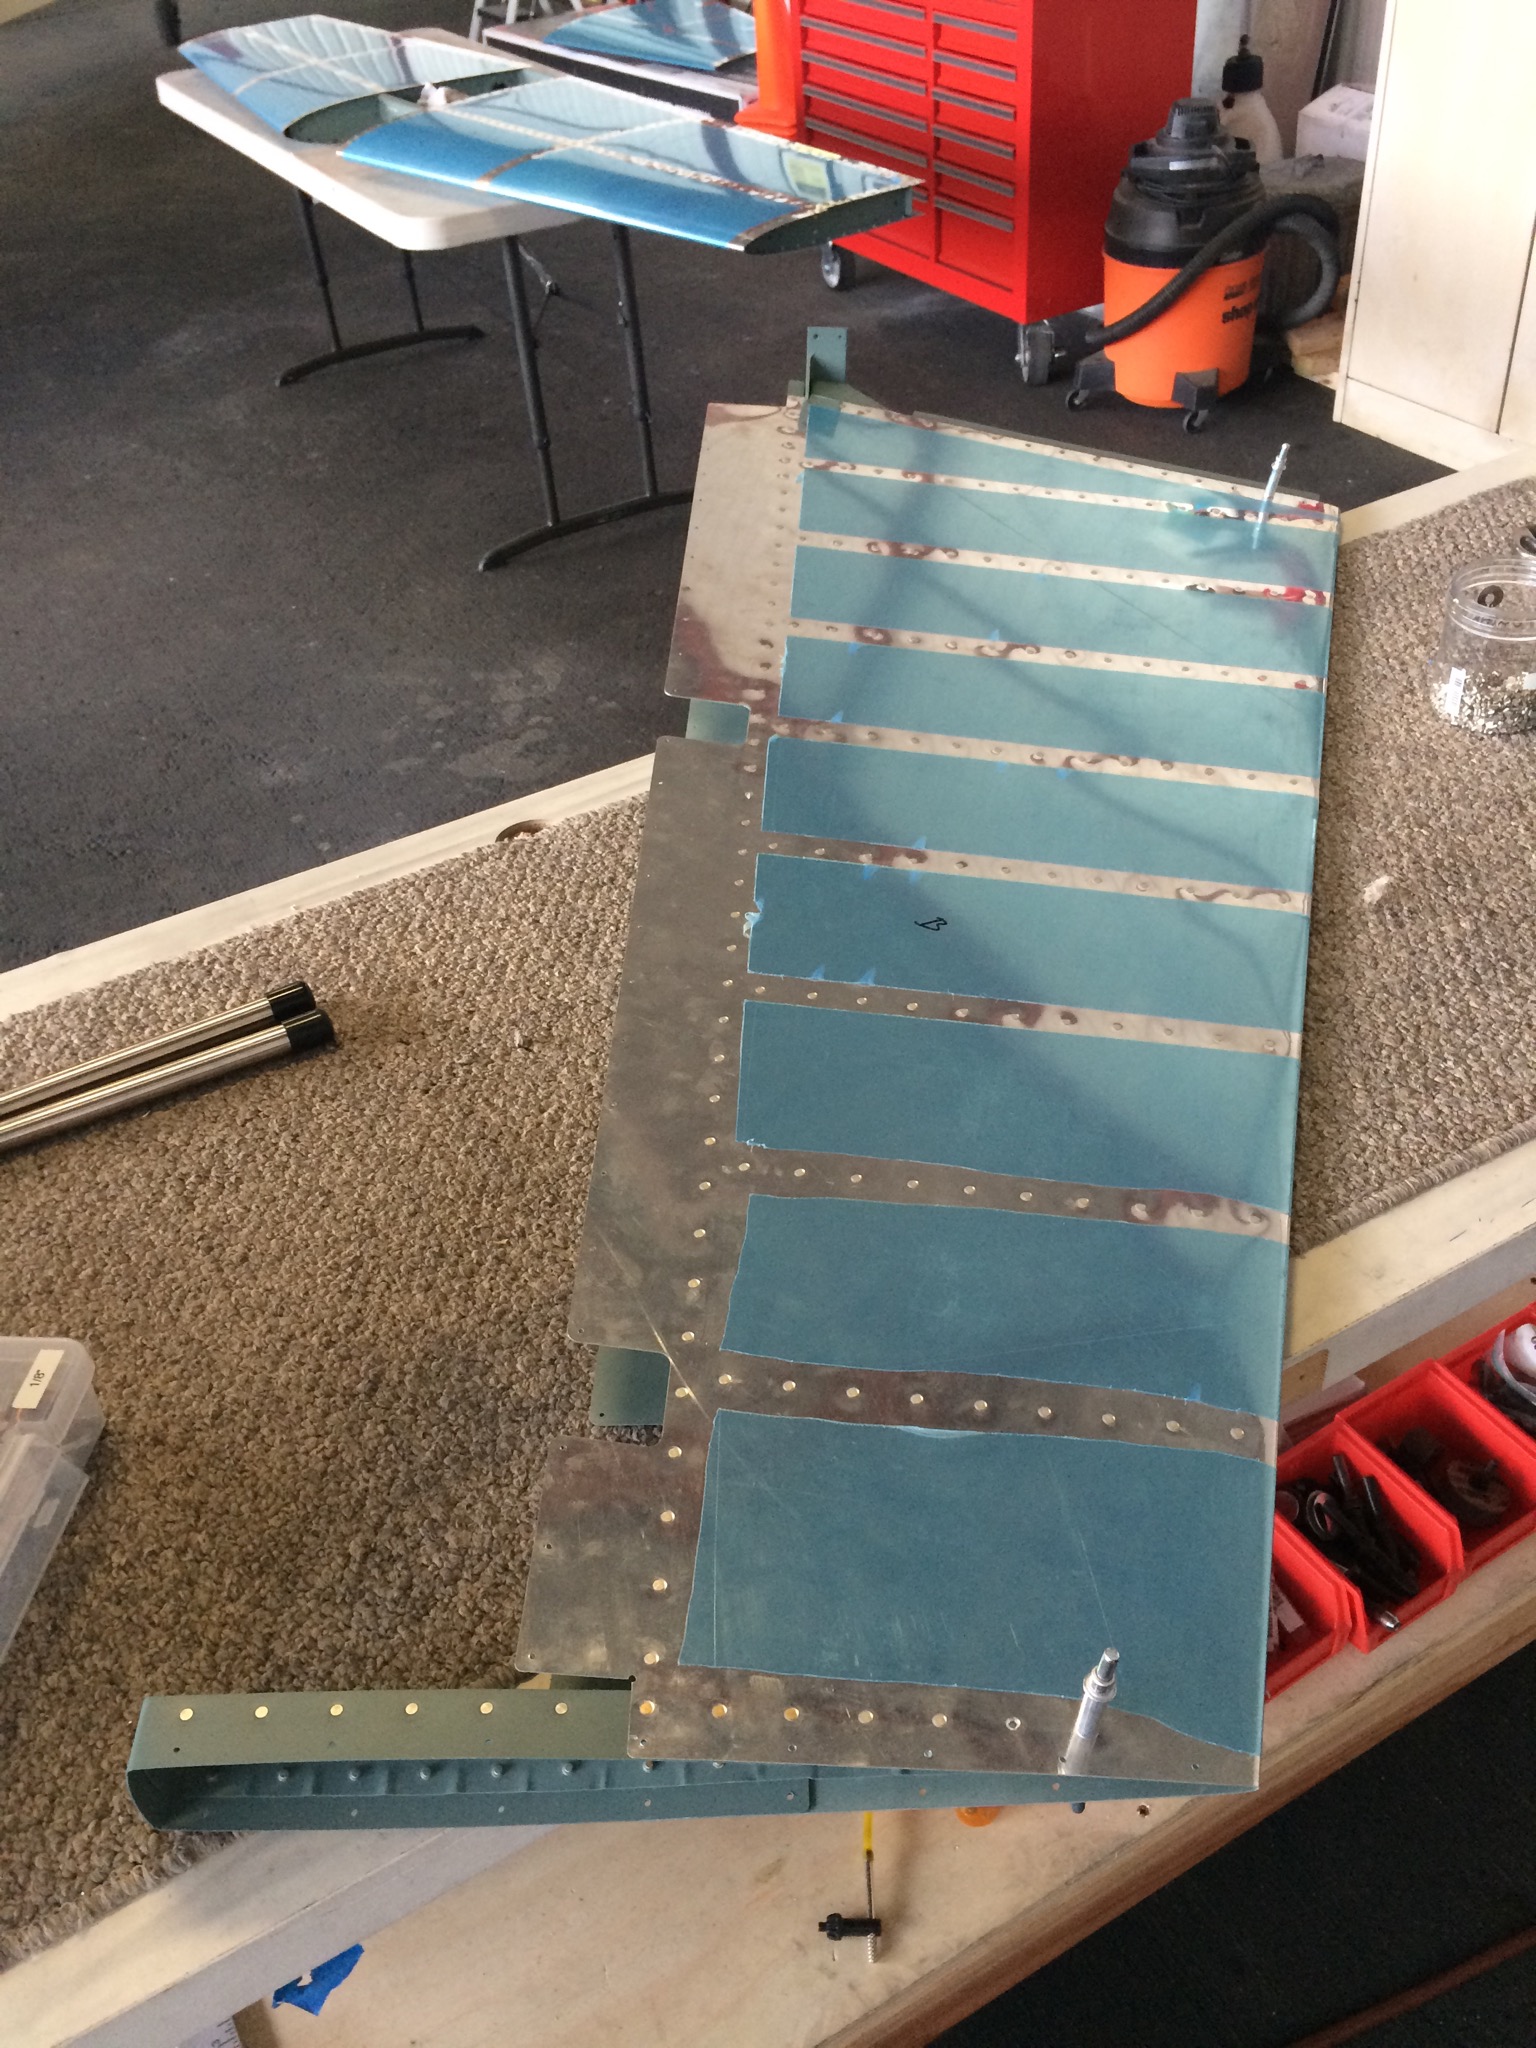
Finished match drilling the stiffeners to the Elevators, then I deburred and dimpled the stiffeners. The DRDT2 is at the hangar so I couldn’t dimple the skins yet.
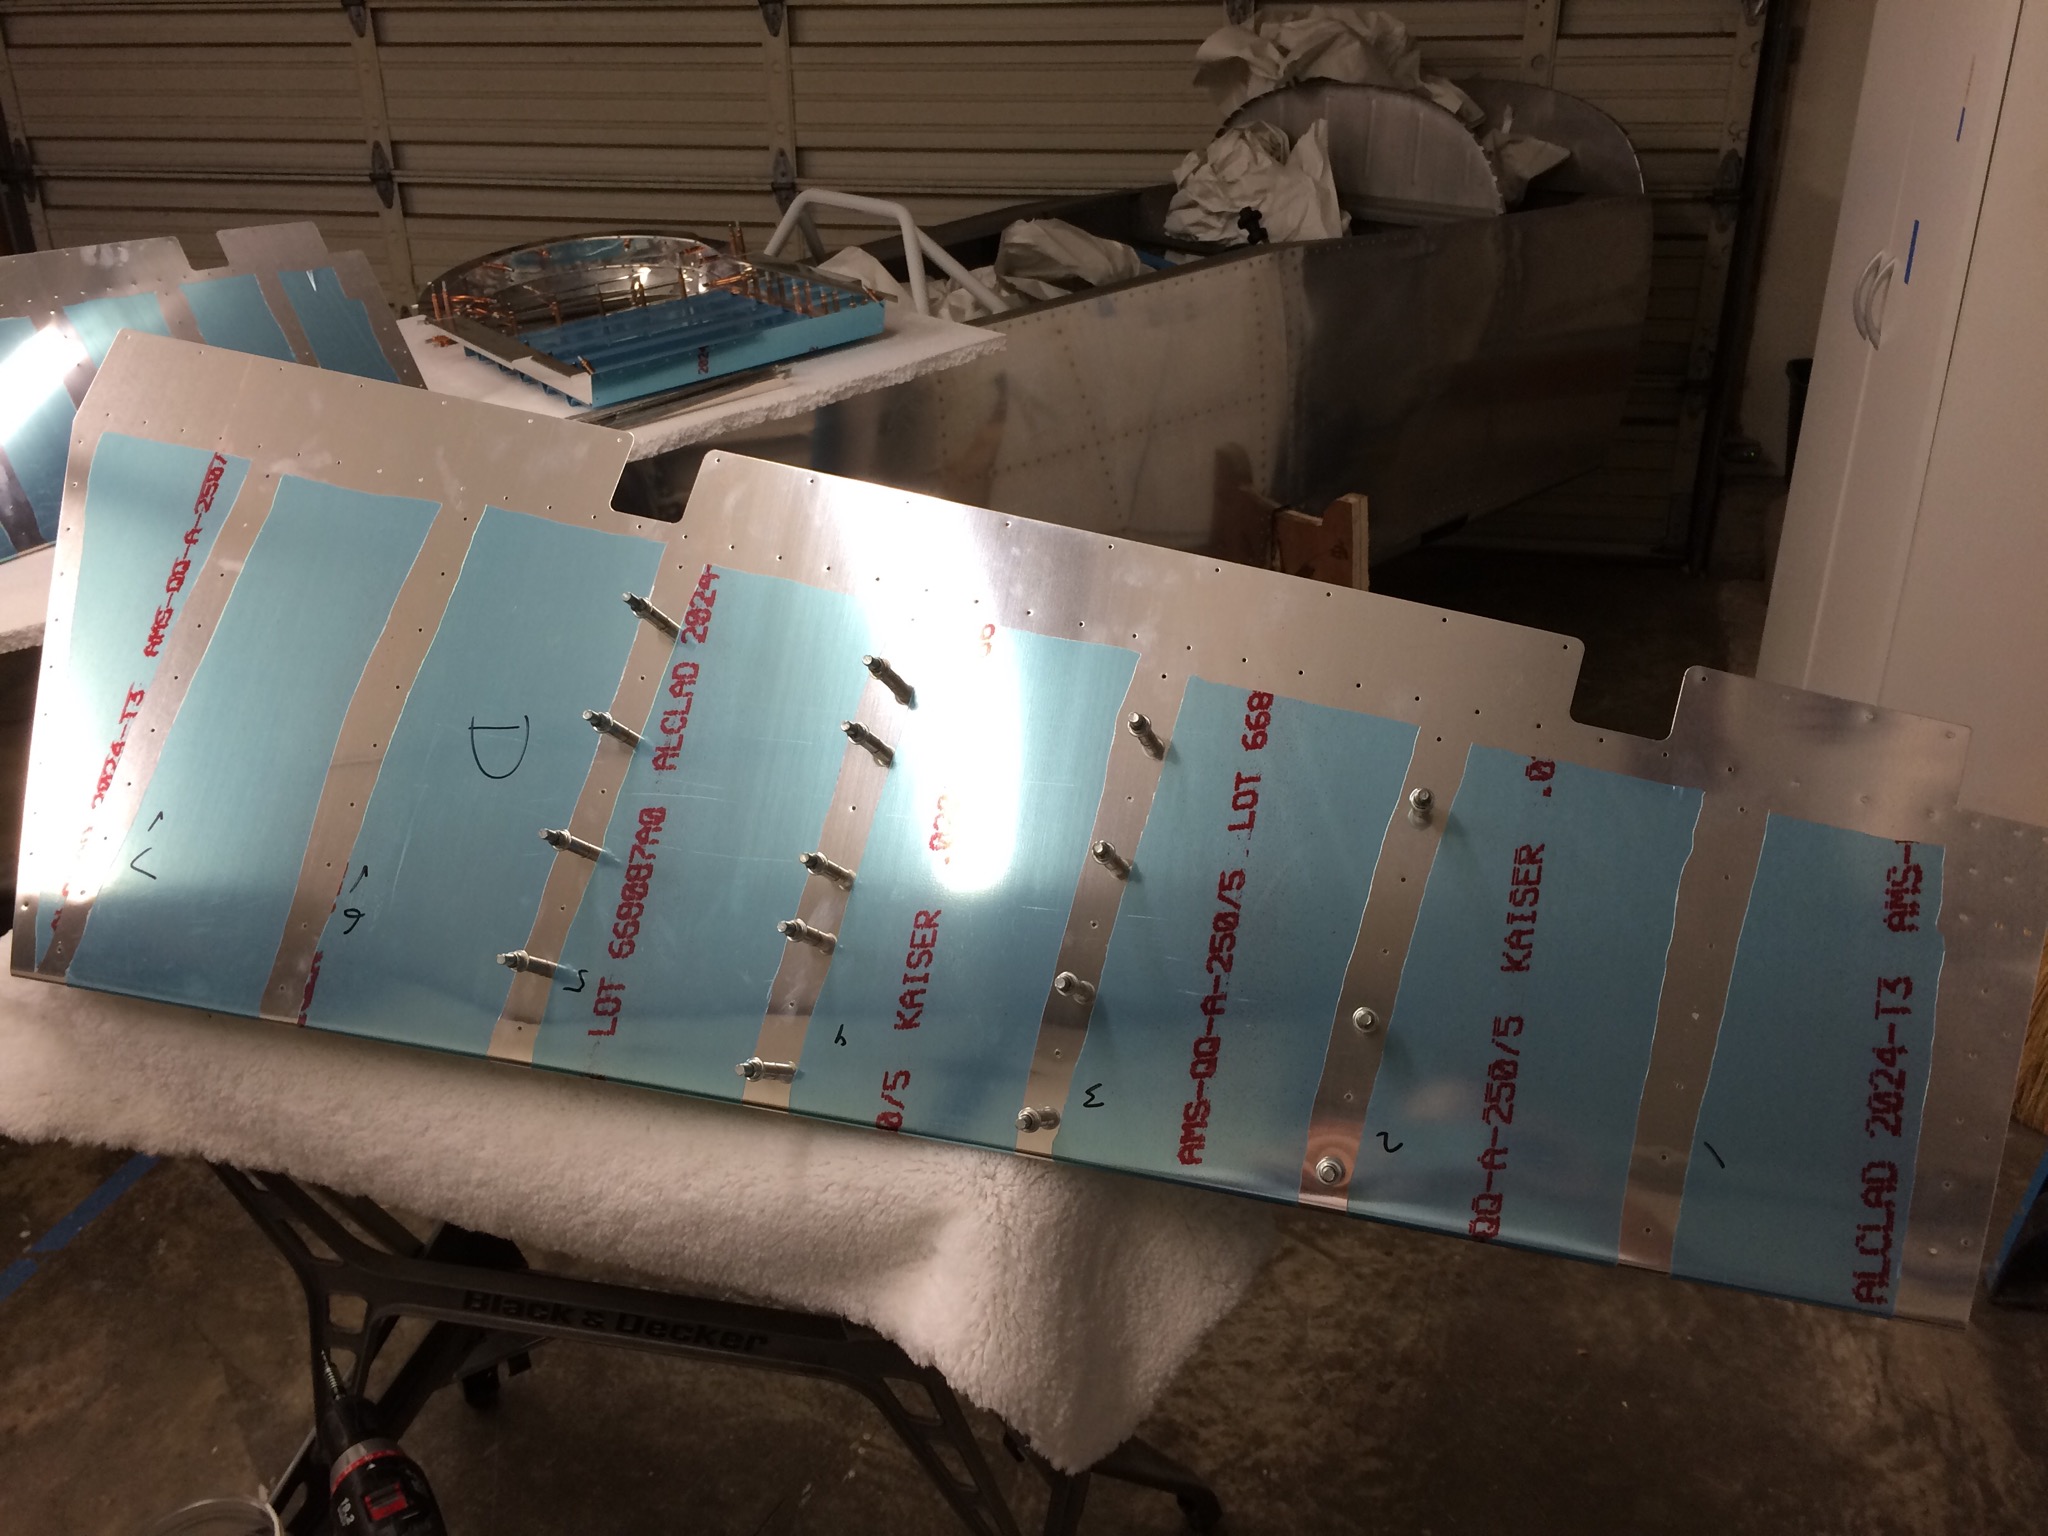
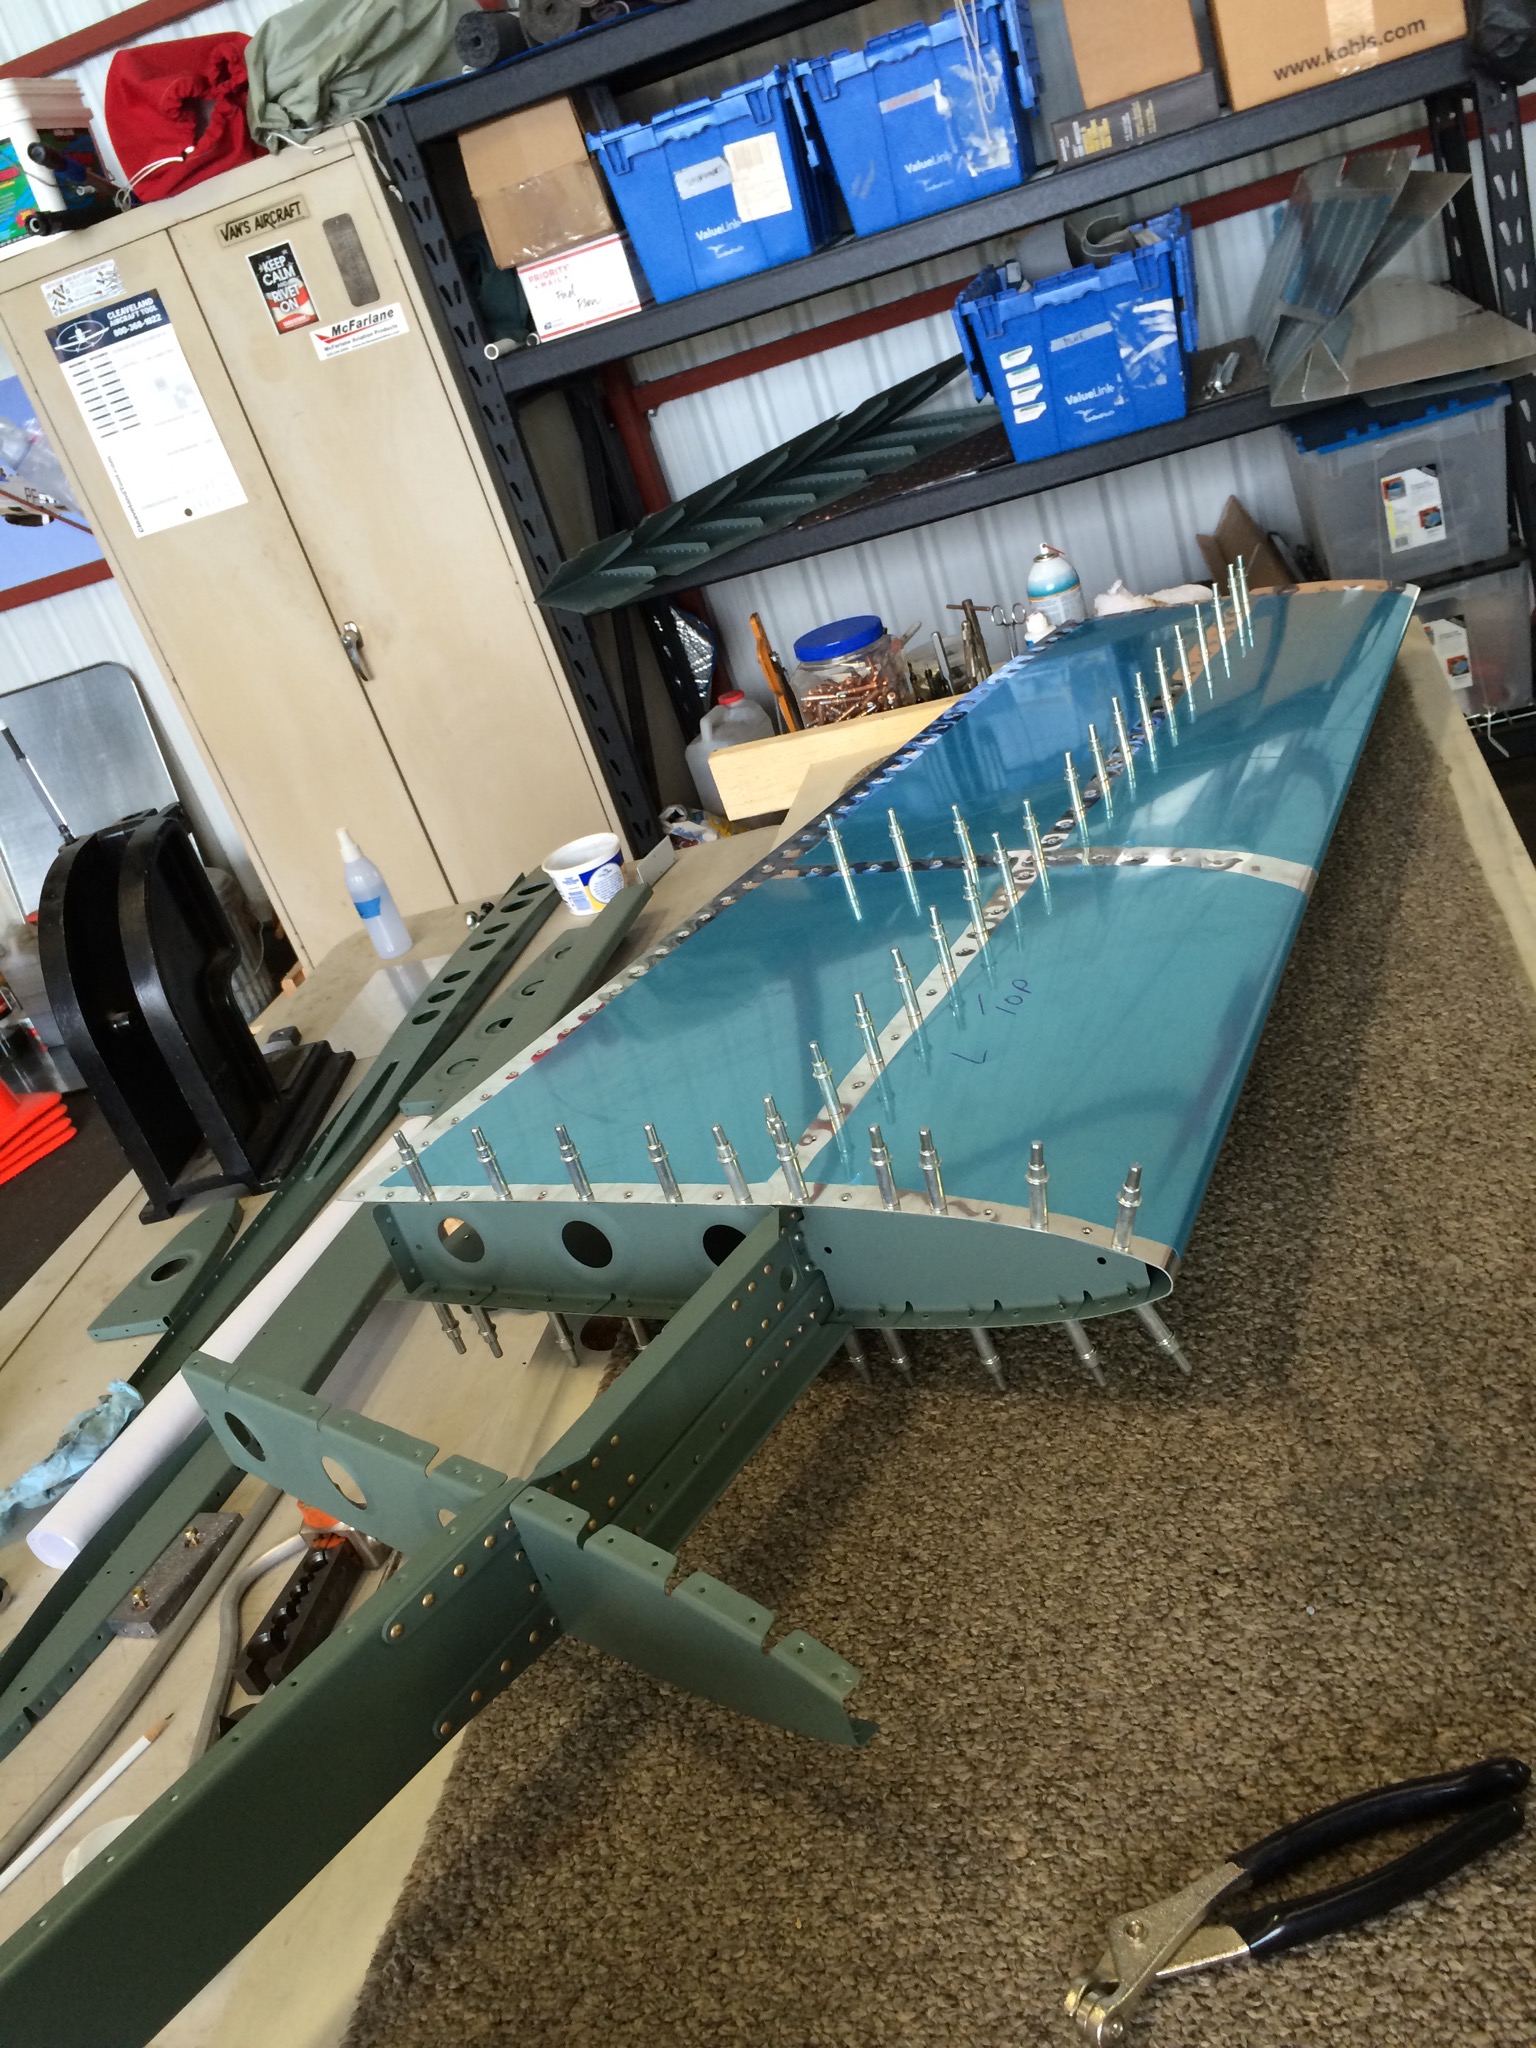
Finished up the Left side skins on the Horizontal and started on the right. Just need to rivet on the rear spar an it’s done!
The Quickbuild fuse arrived today. First attempt to deliver was a bust, as the trucking company didn’t bring a truck with a lift gate as we ordered. Luckily they were able to go back to the shipping depot and swap trucks.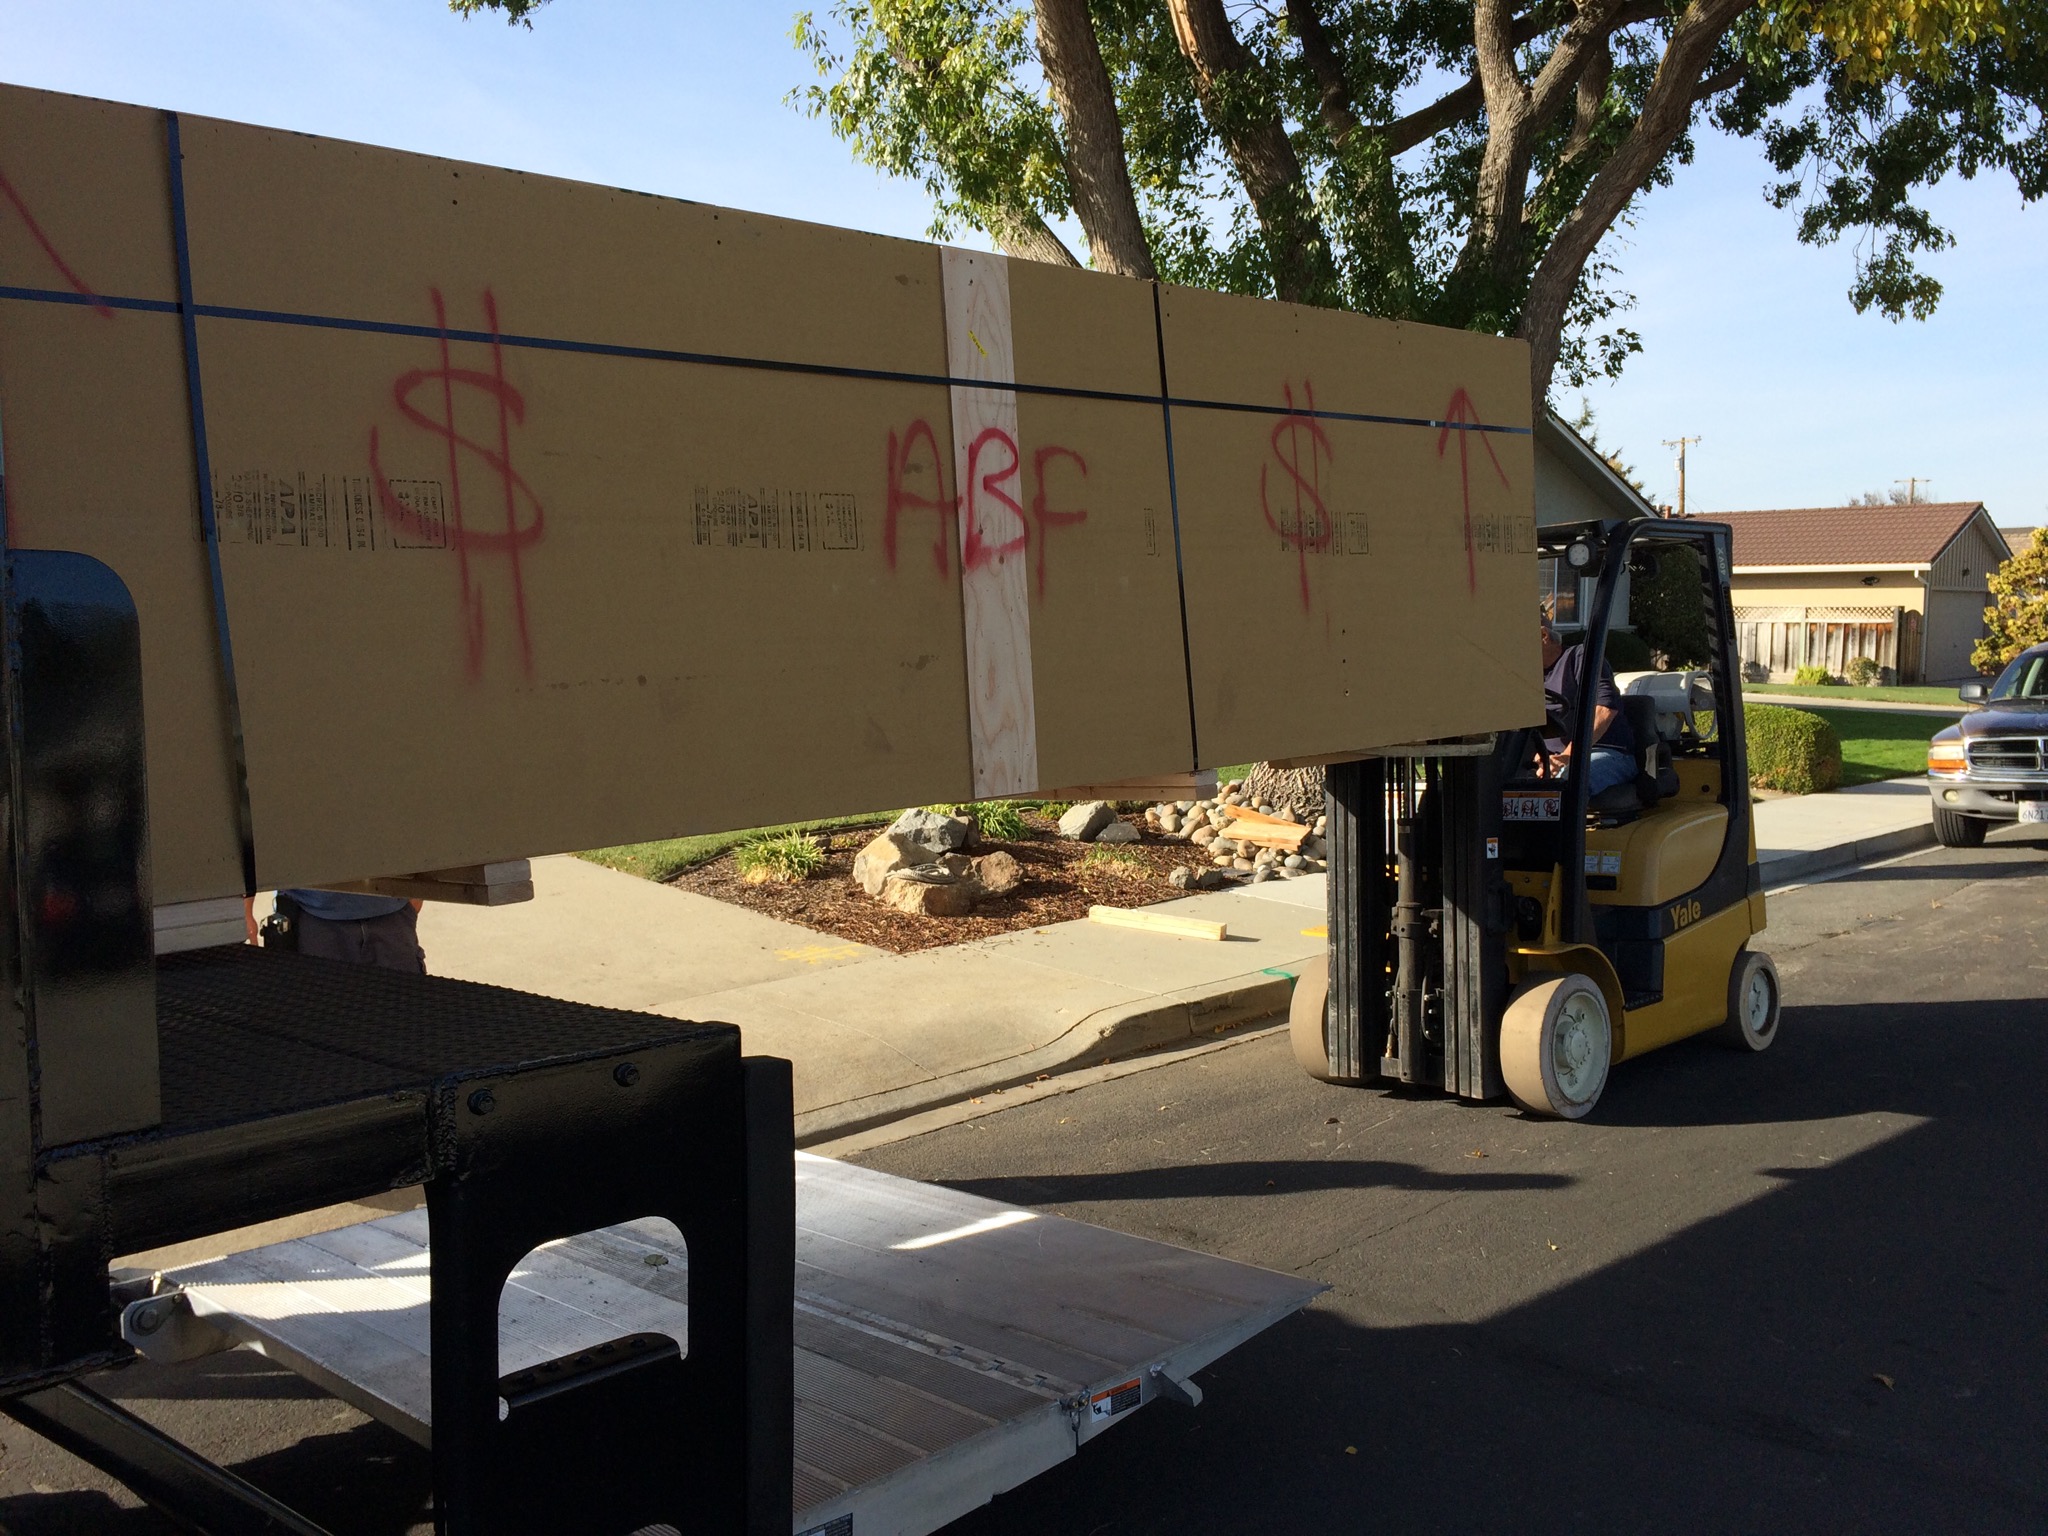
Unpacking took a few hours….
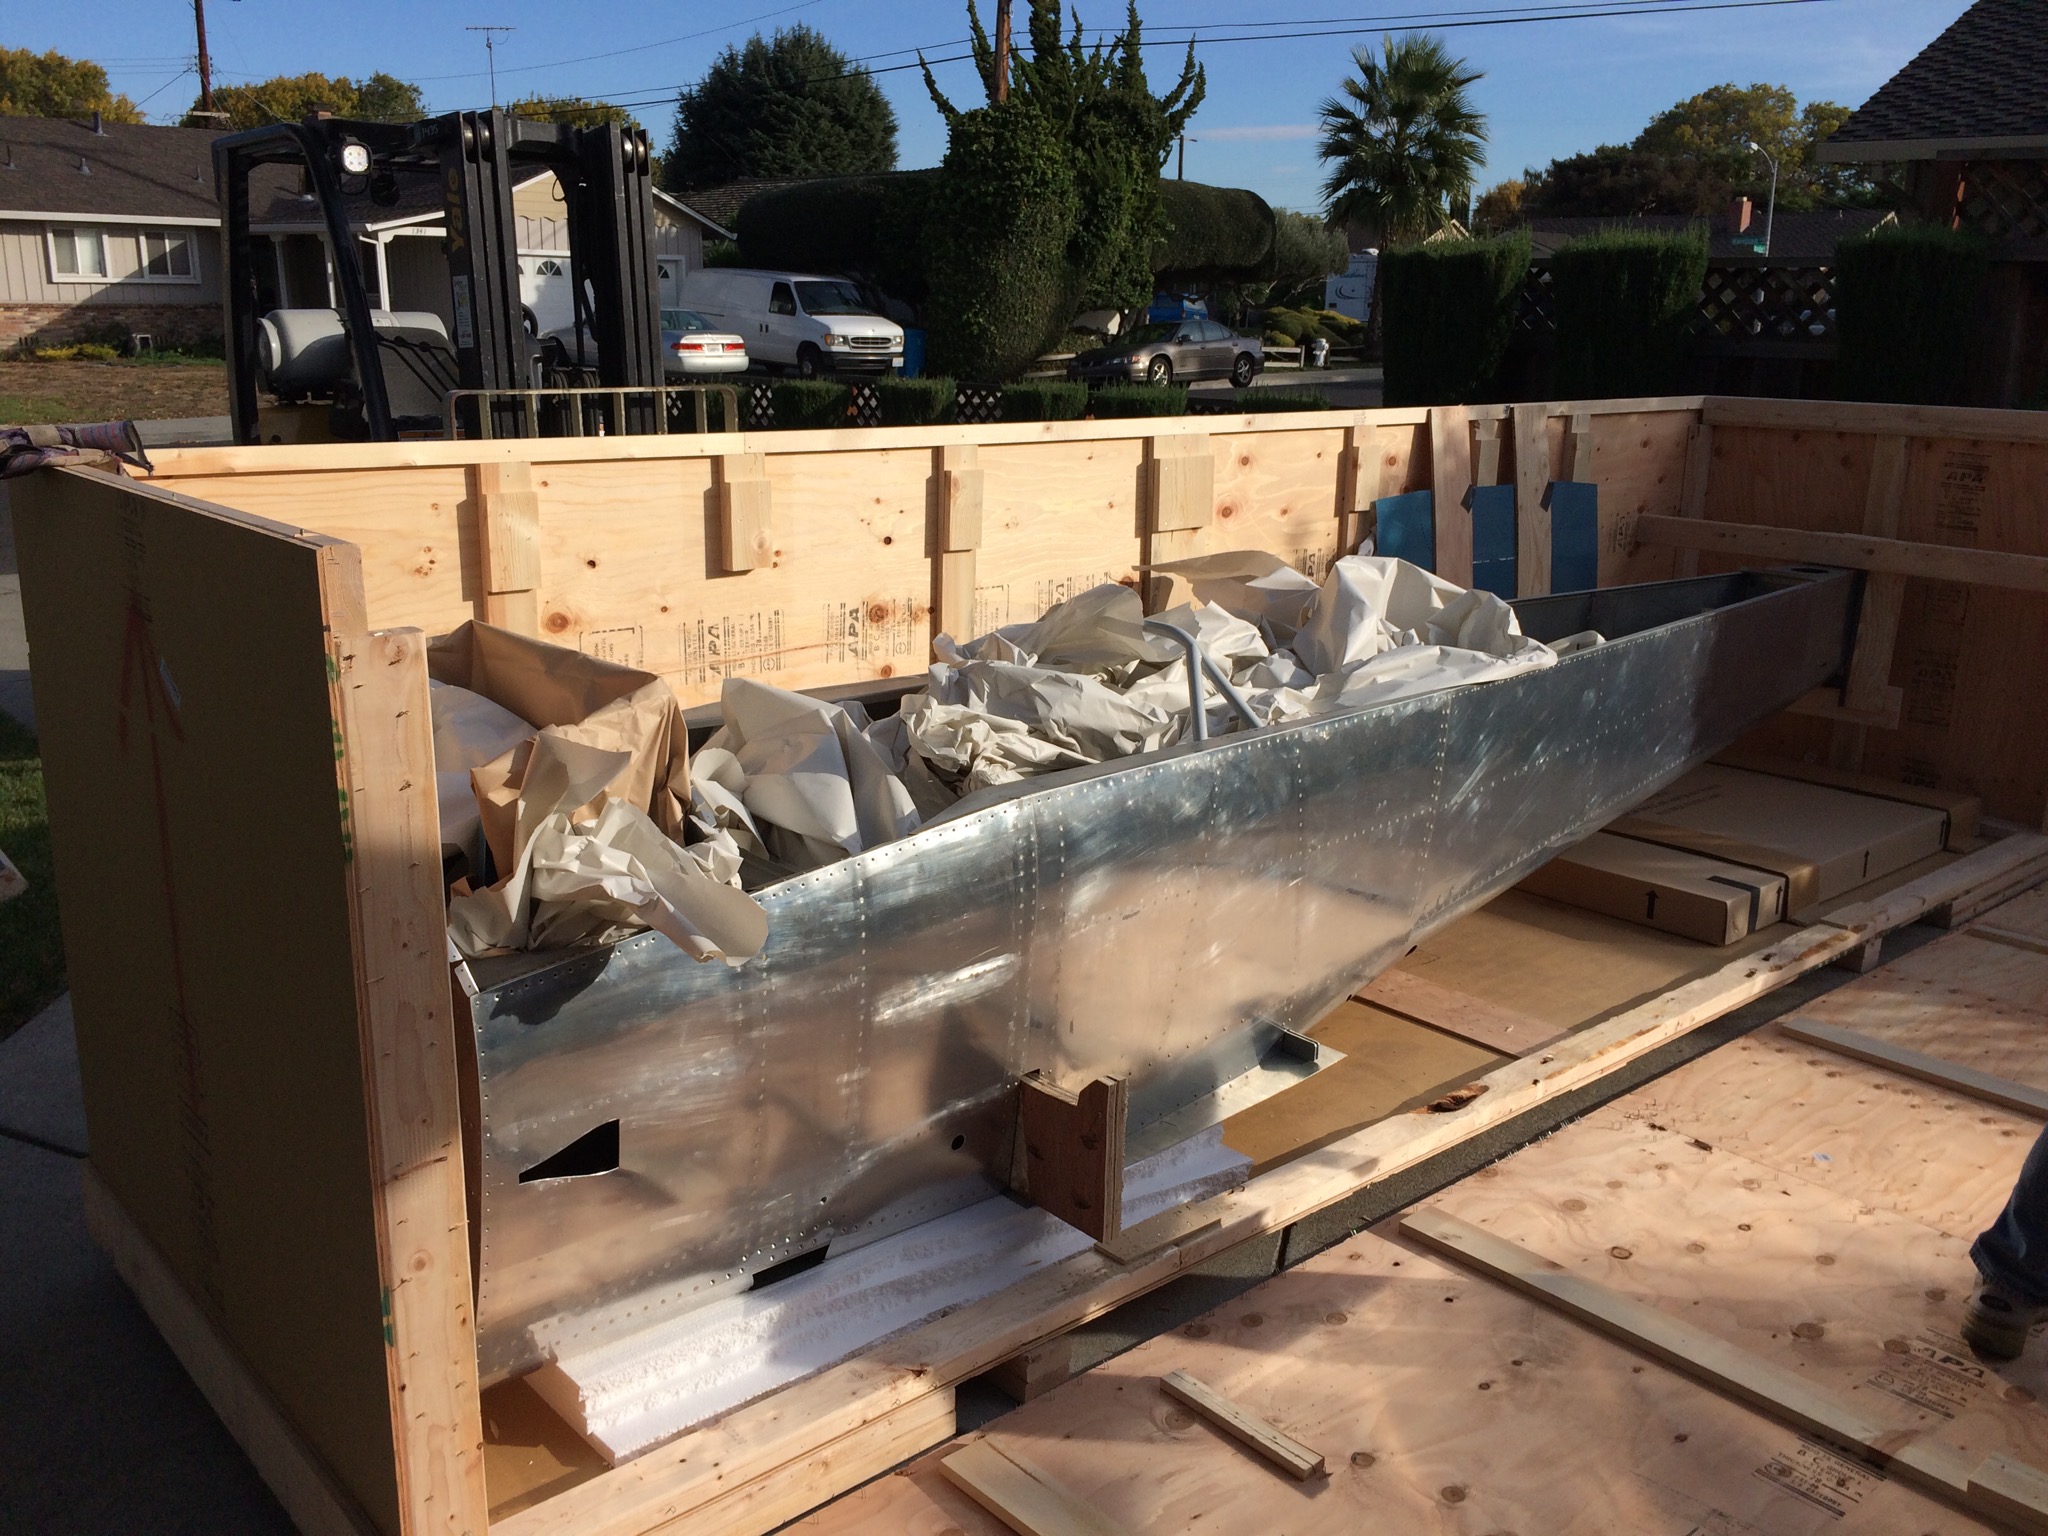
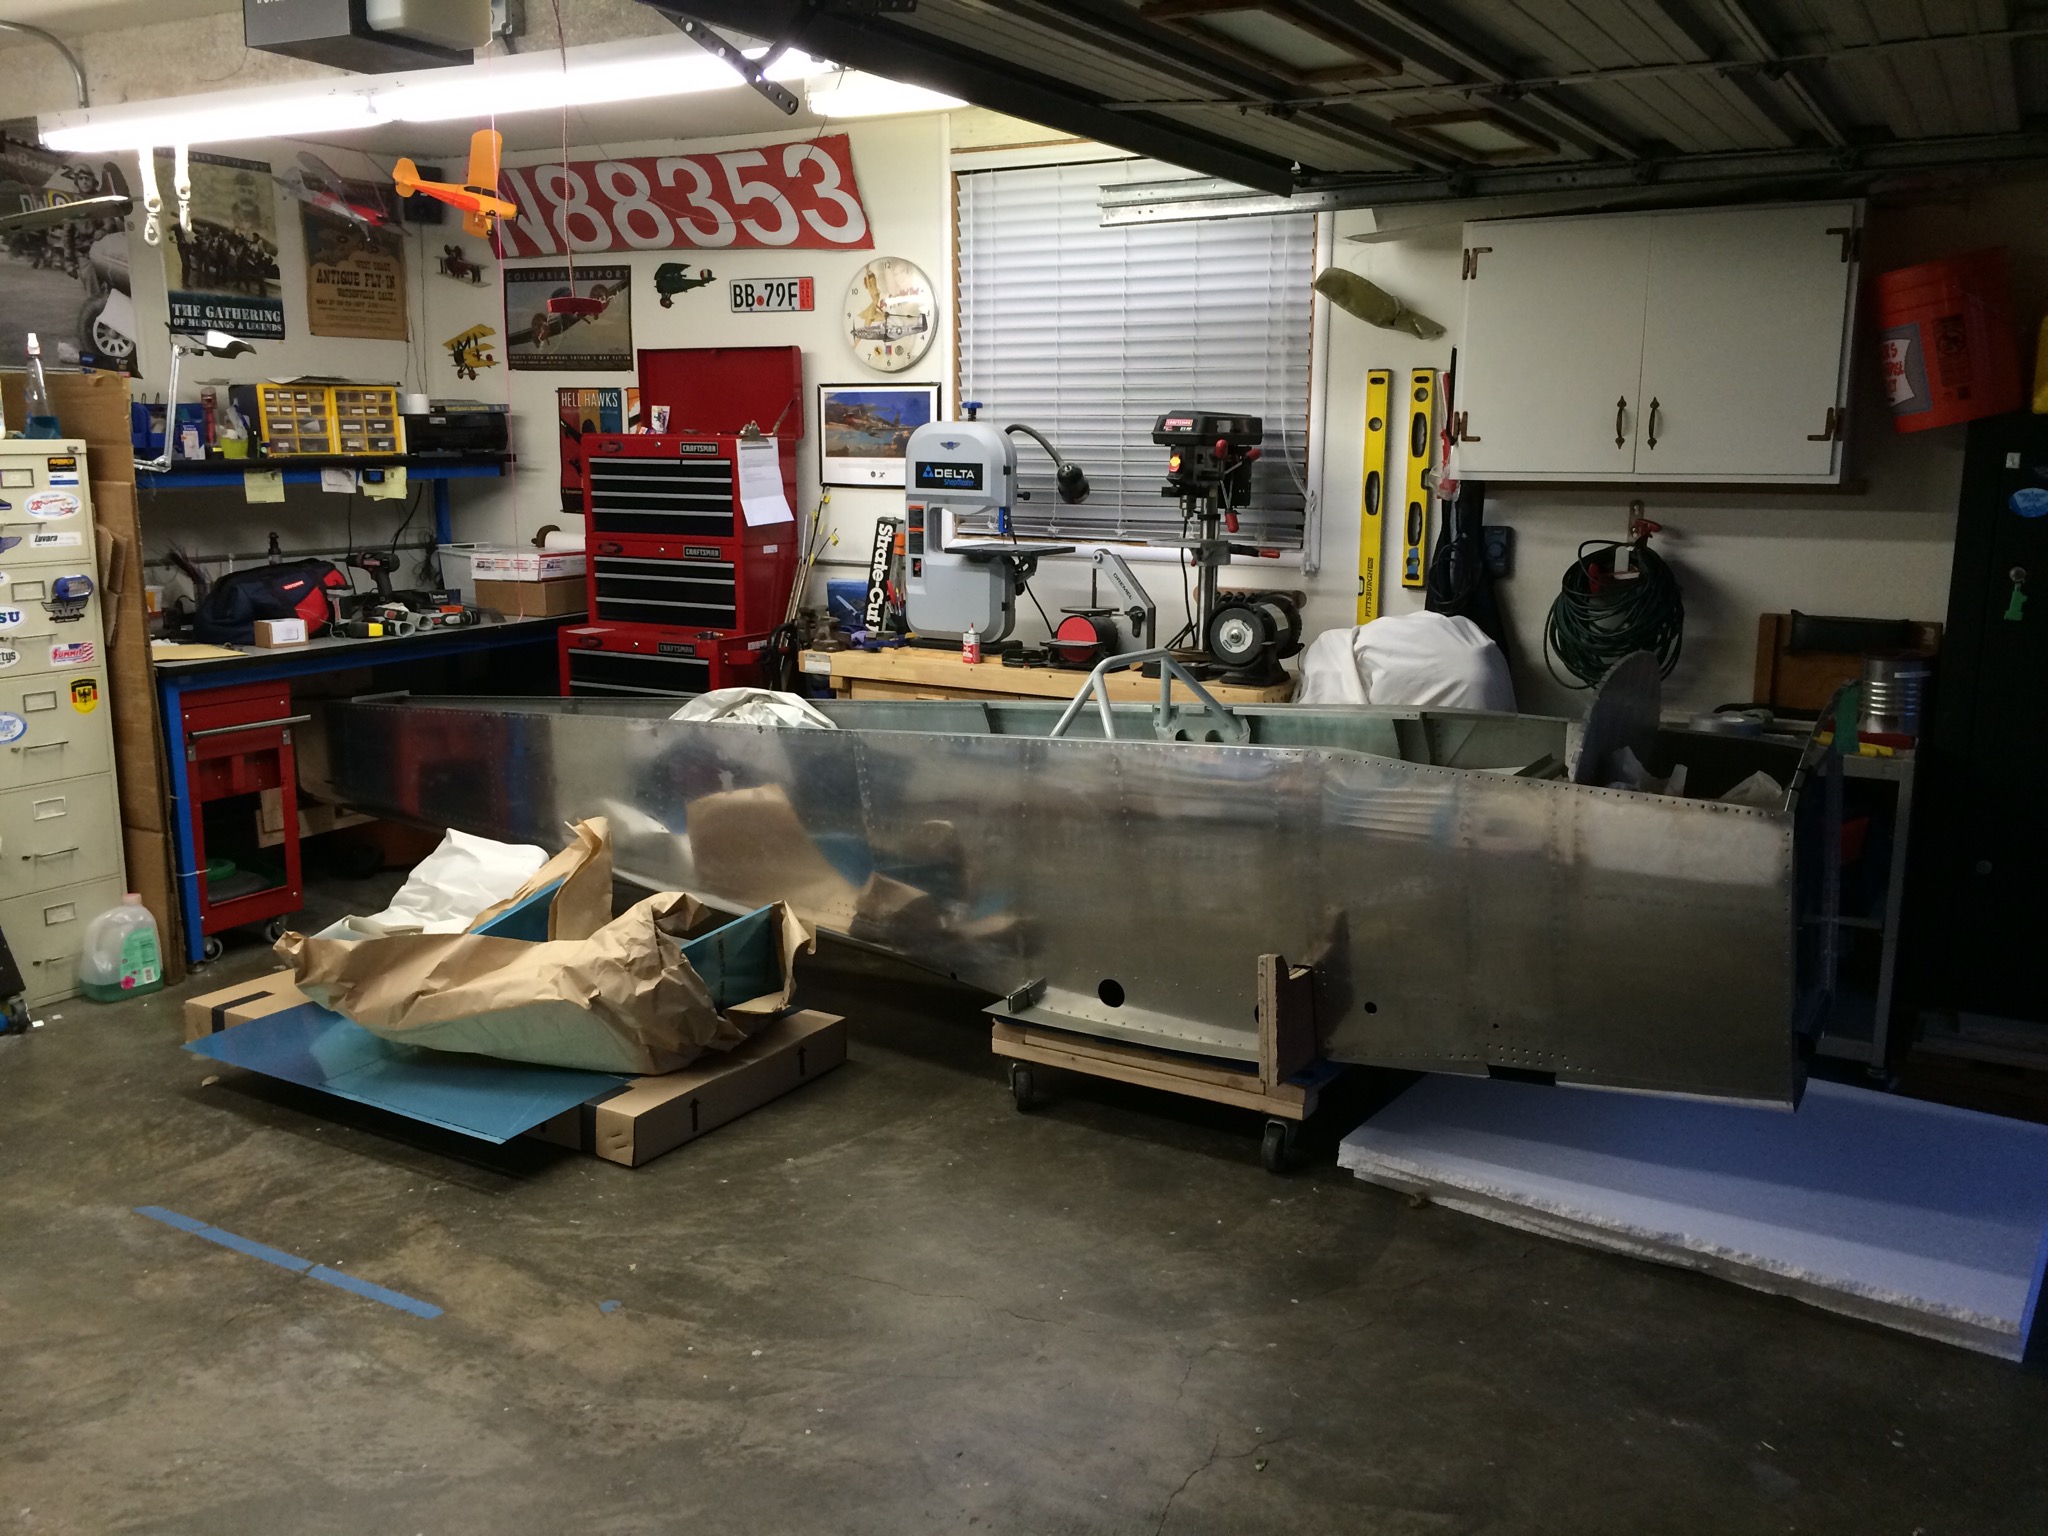
Loaded in the garage. I’ll inventory, clean it at home, and then bring it out to the hangar.
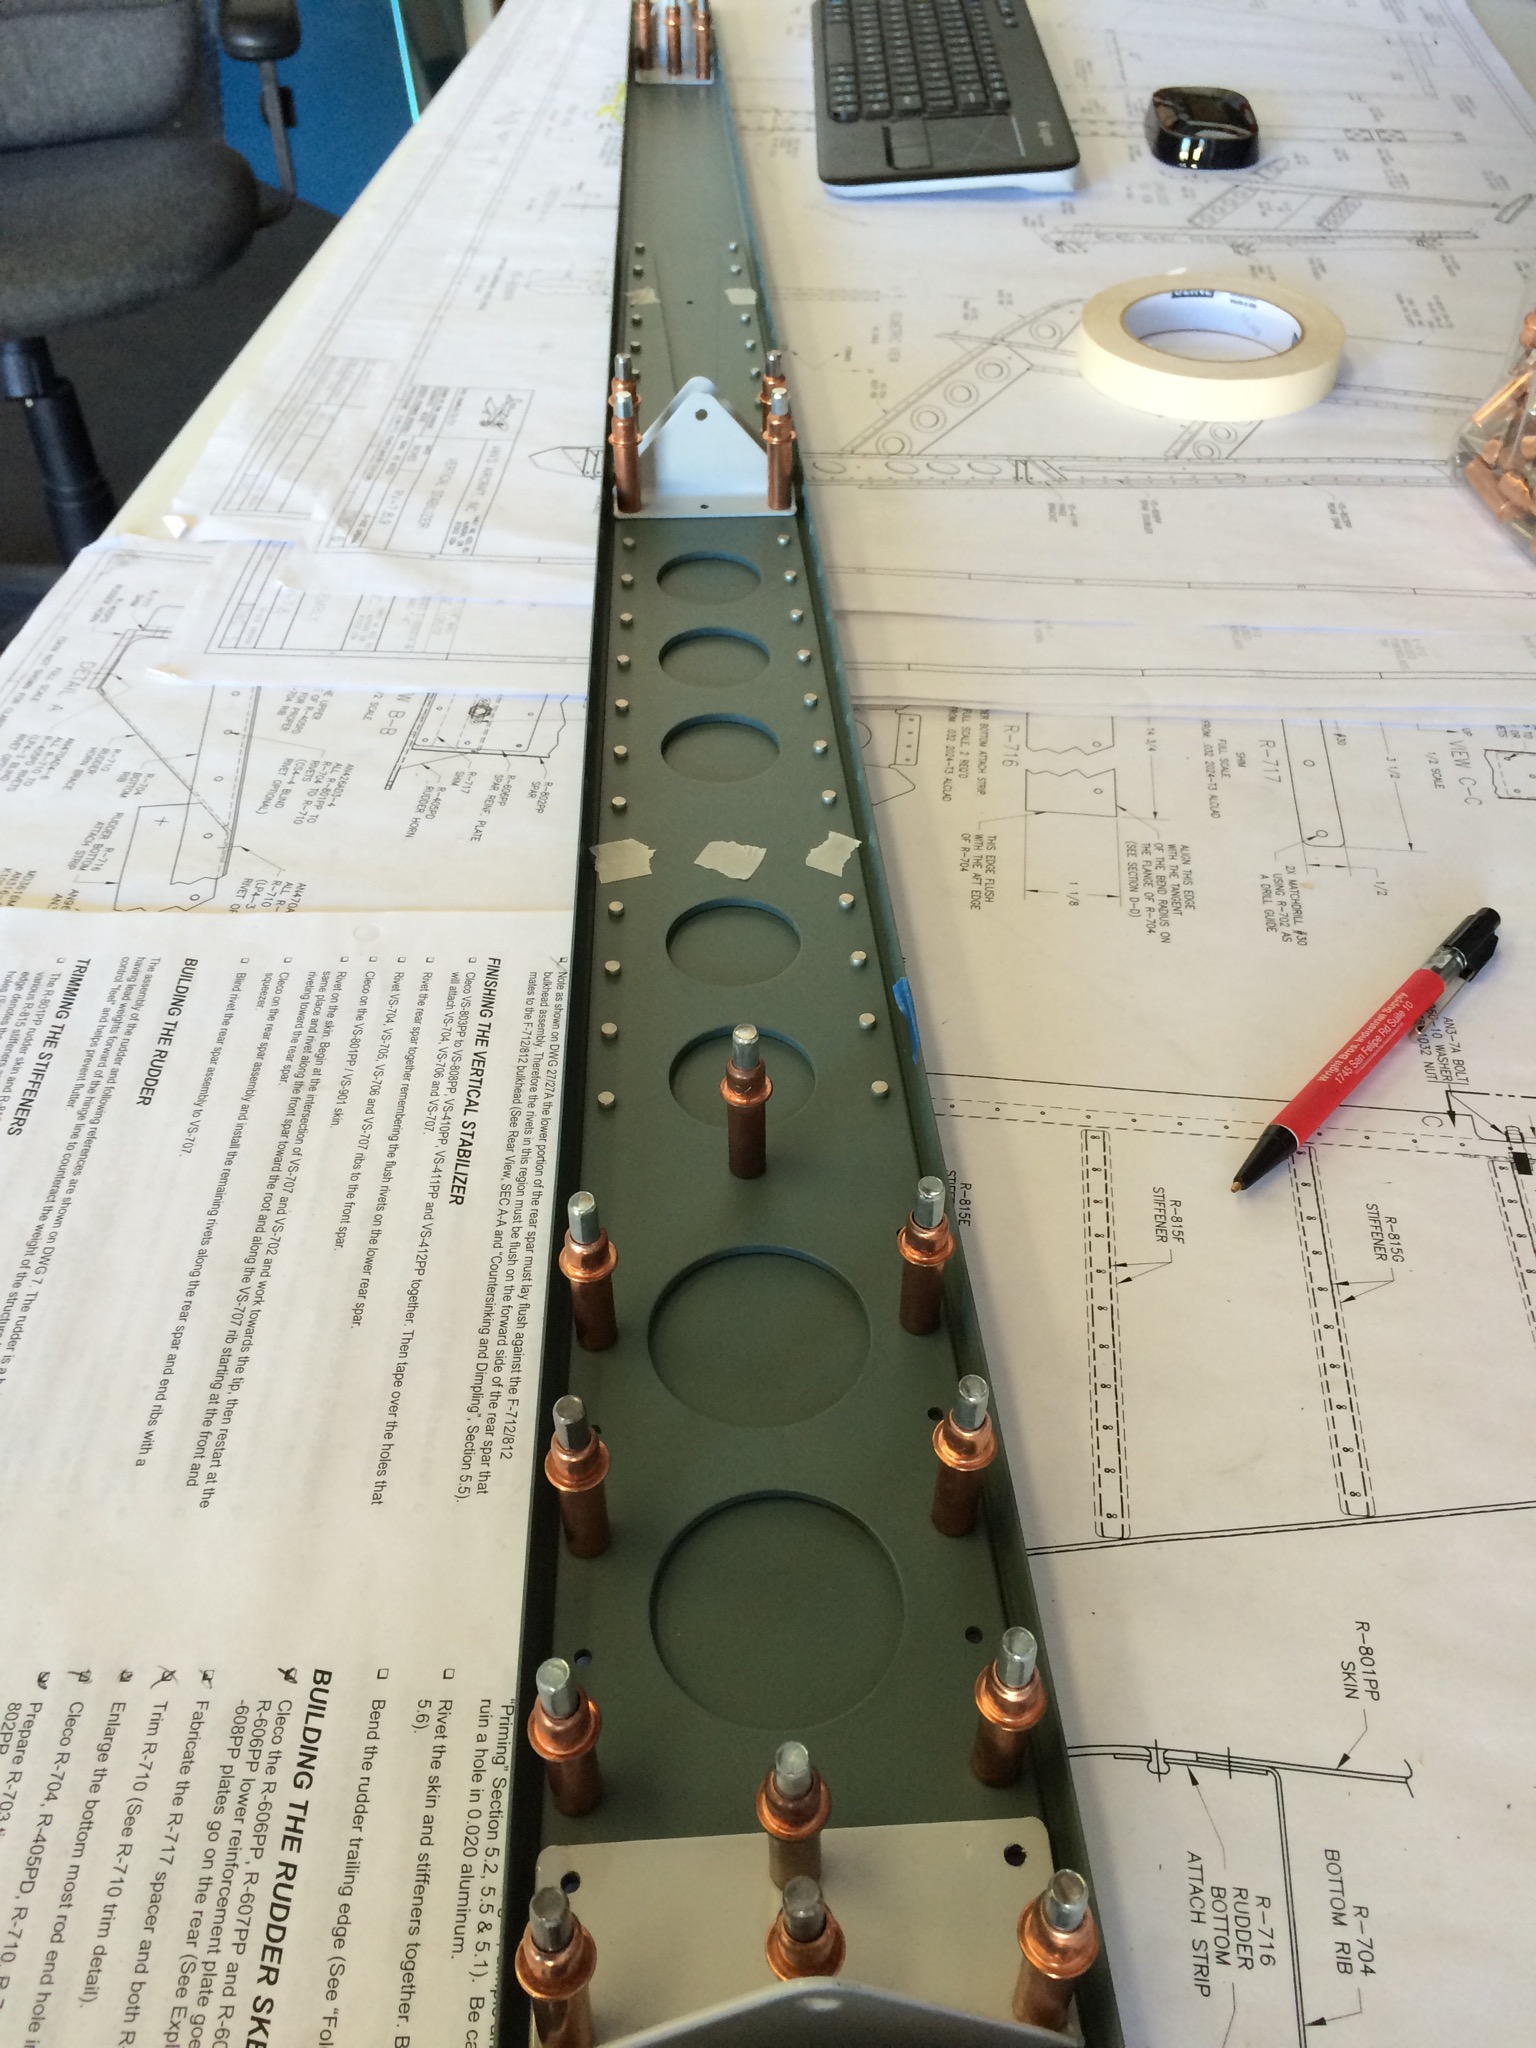
While I was waiting for a second set of hands to help with bucking rivets today, I started on the Vertical Stabilizer. Here is a shot of it while working my way from top to bottom.
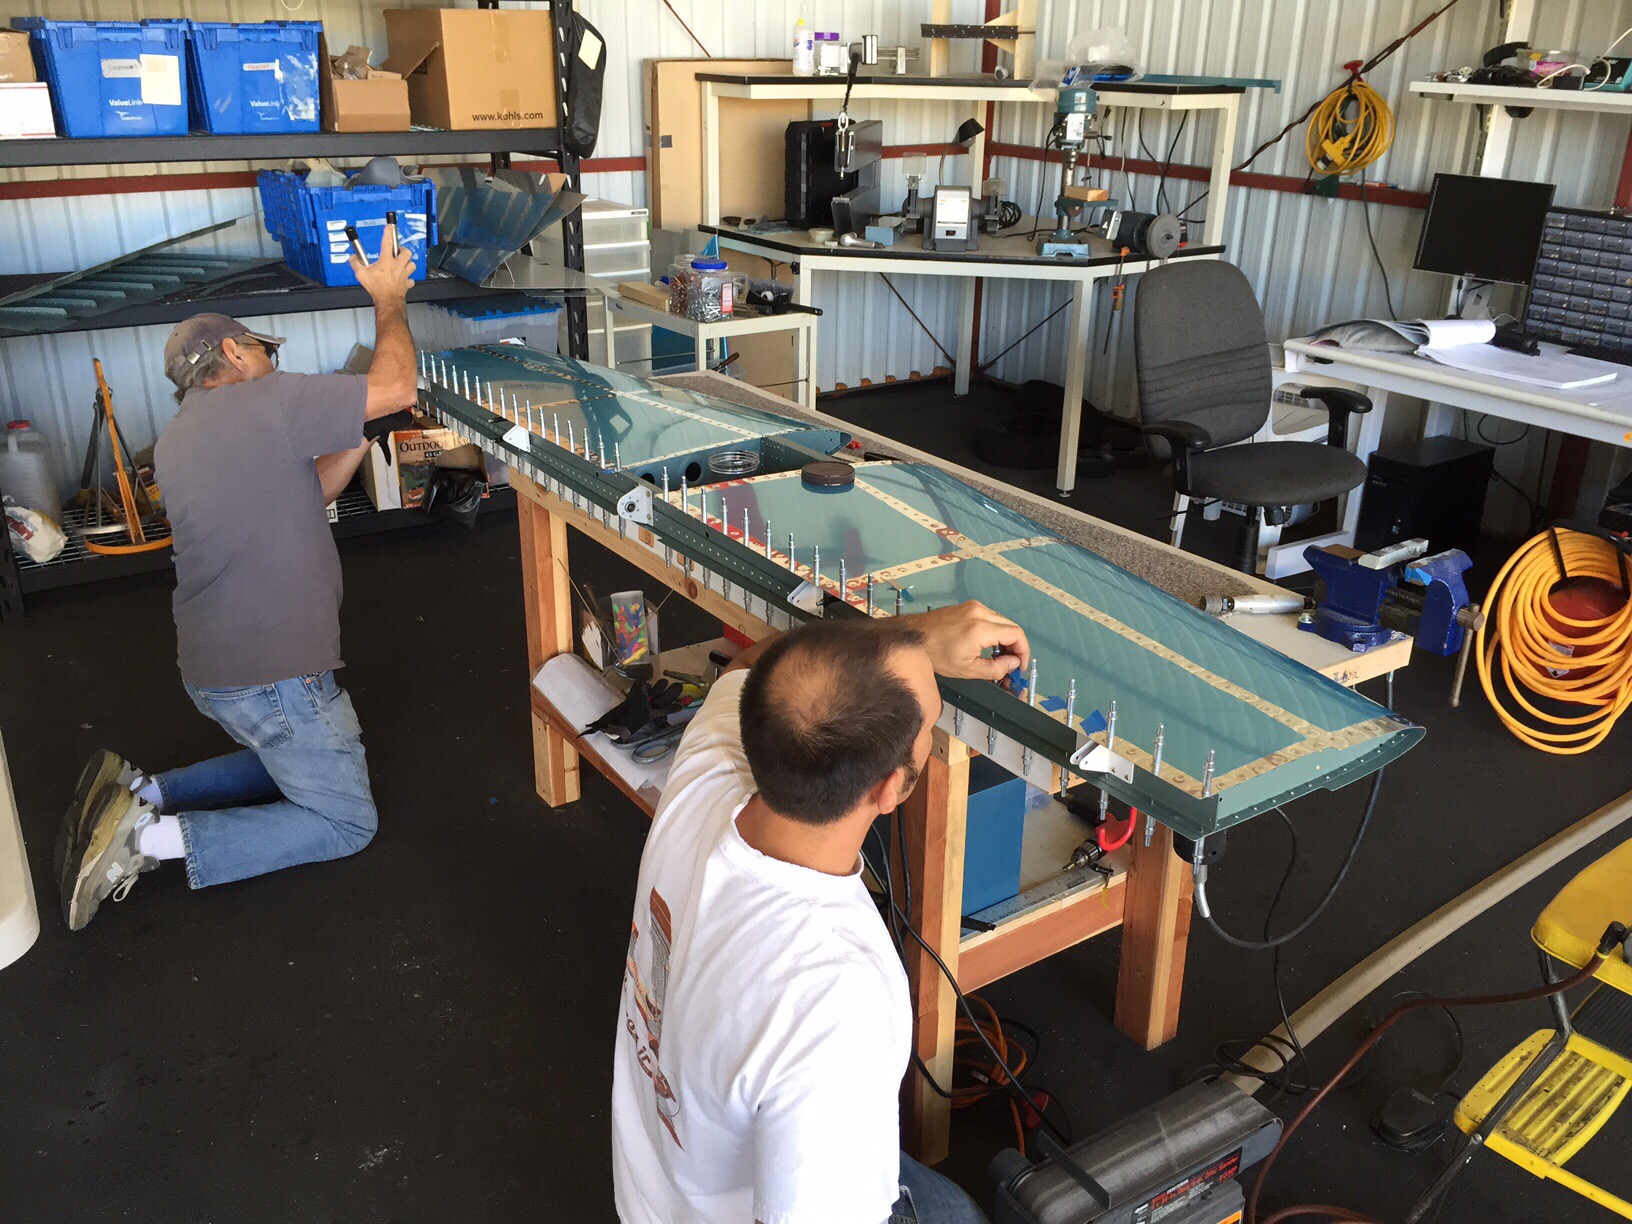
Once help arrived and since we were on a roll, we decided to finish the Vertical Stabilizer instead of going back to the Horizontal. Here’s a shot of the Vertical almost before it was completed.
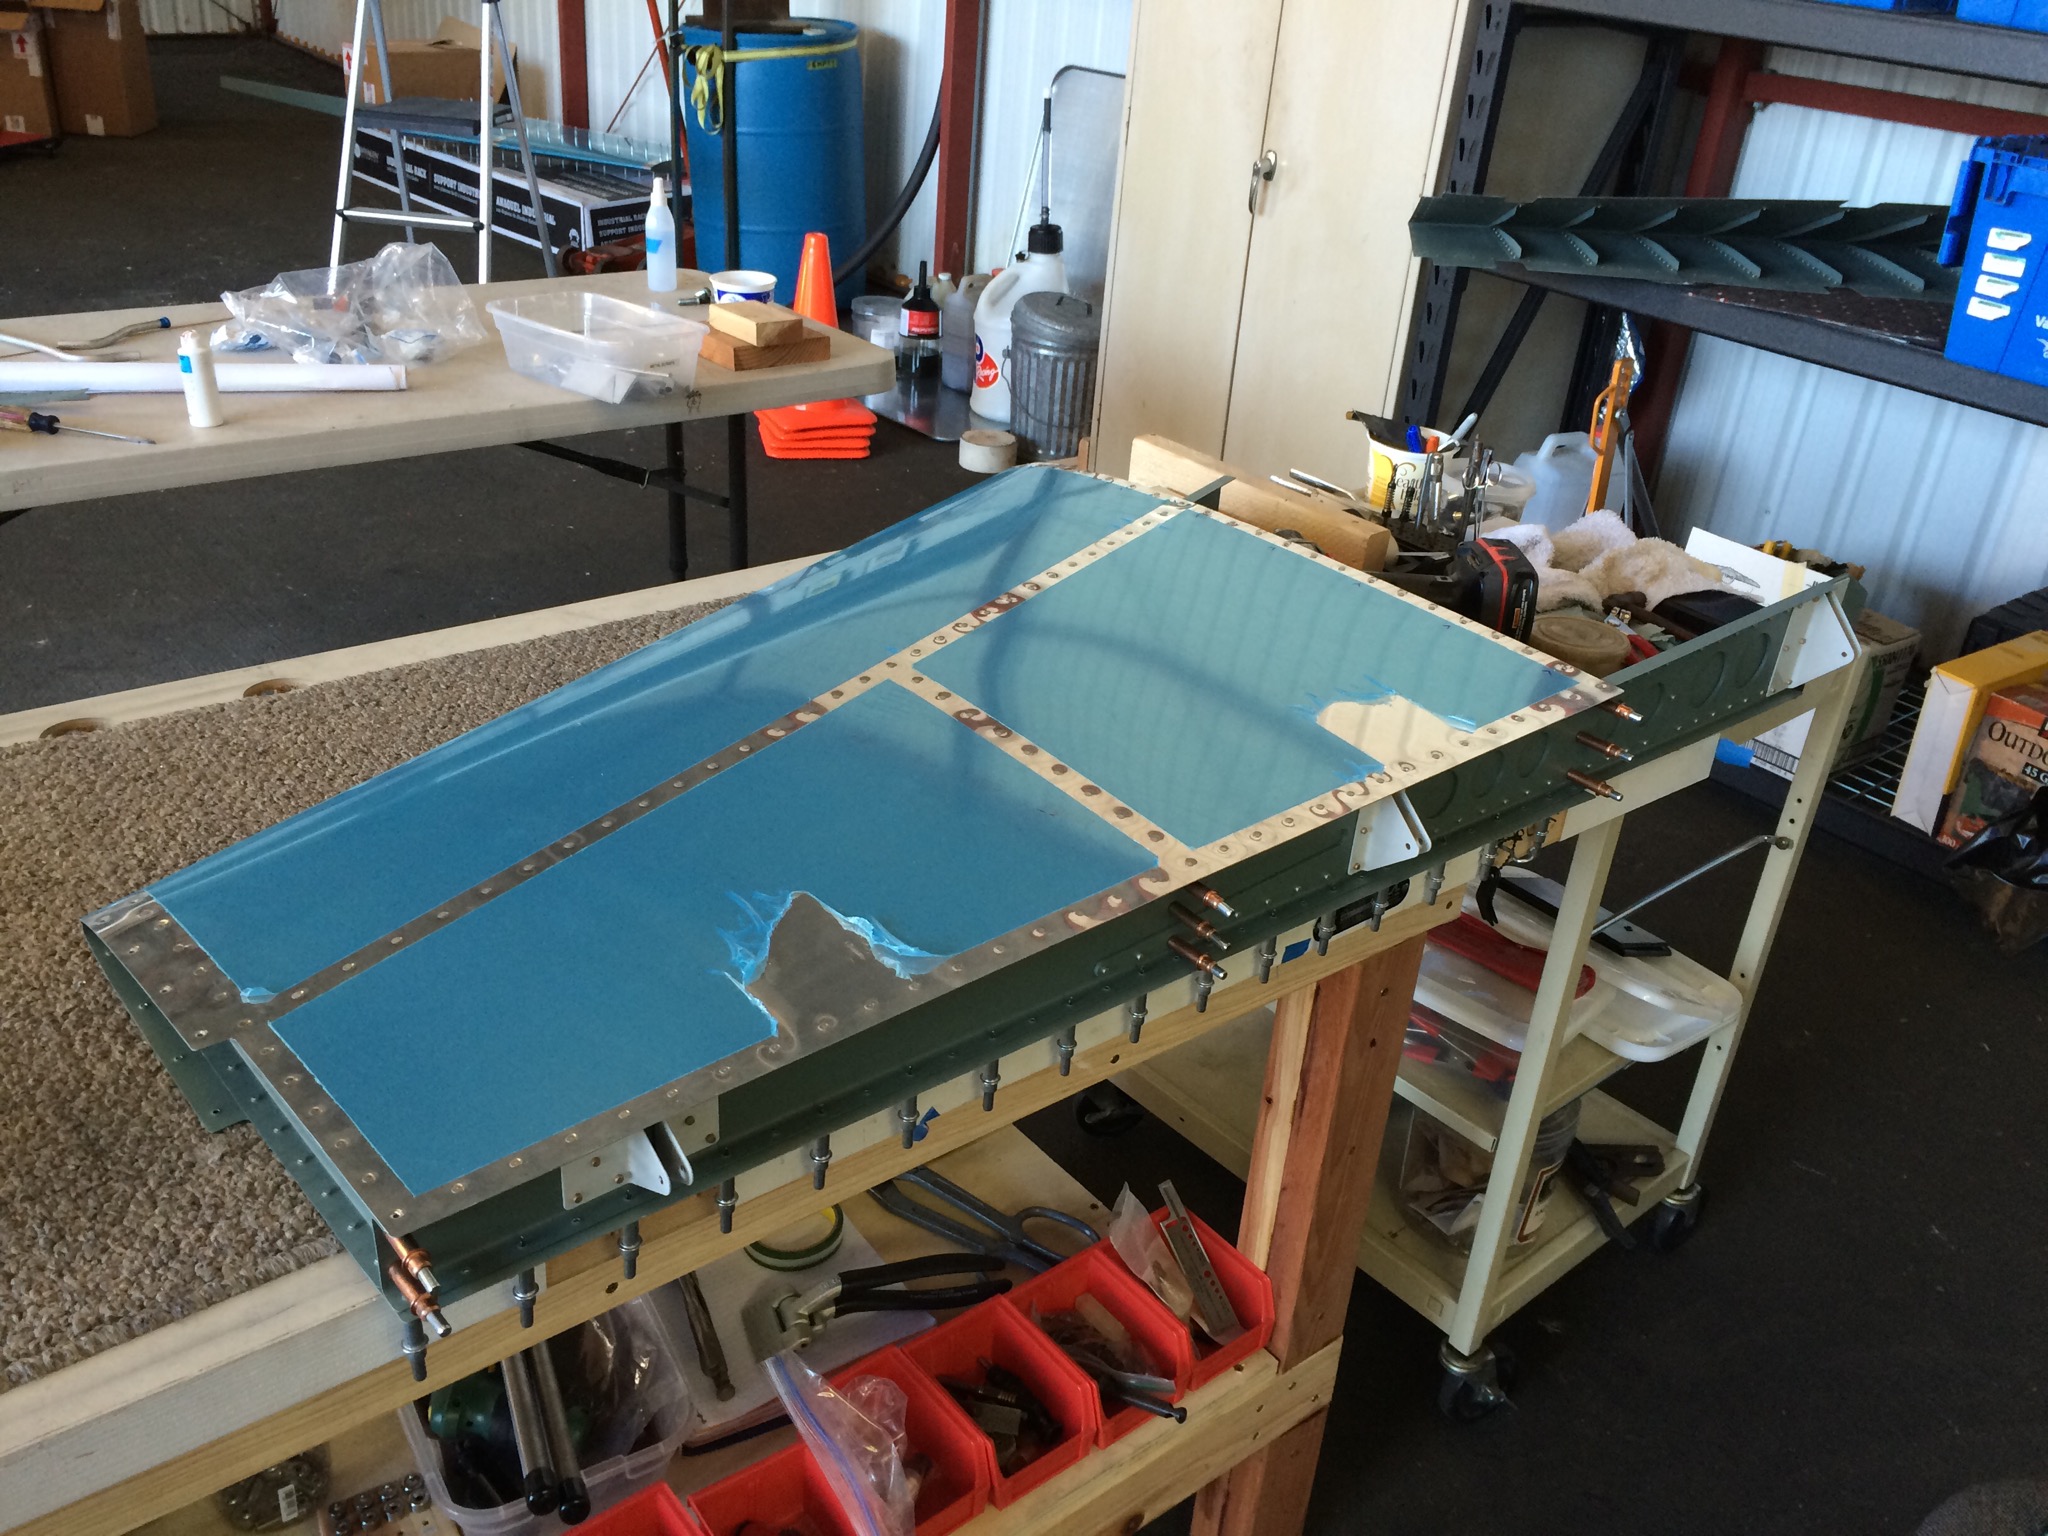
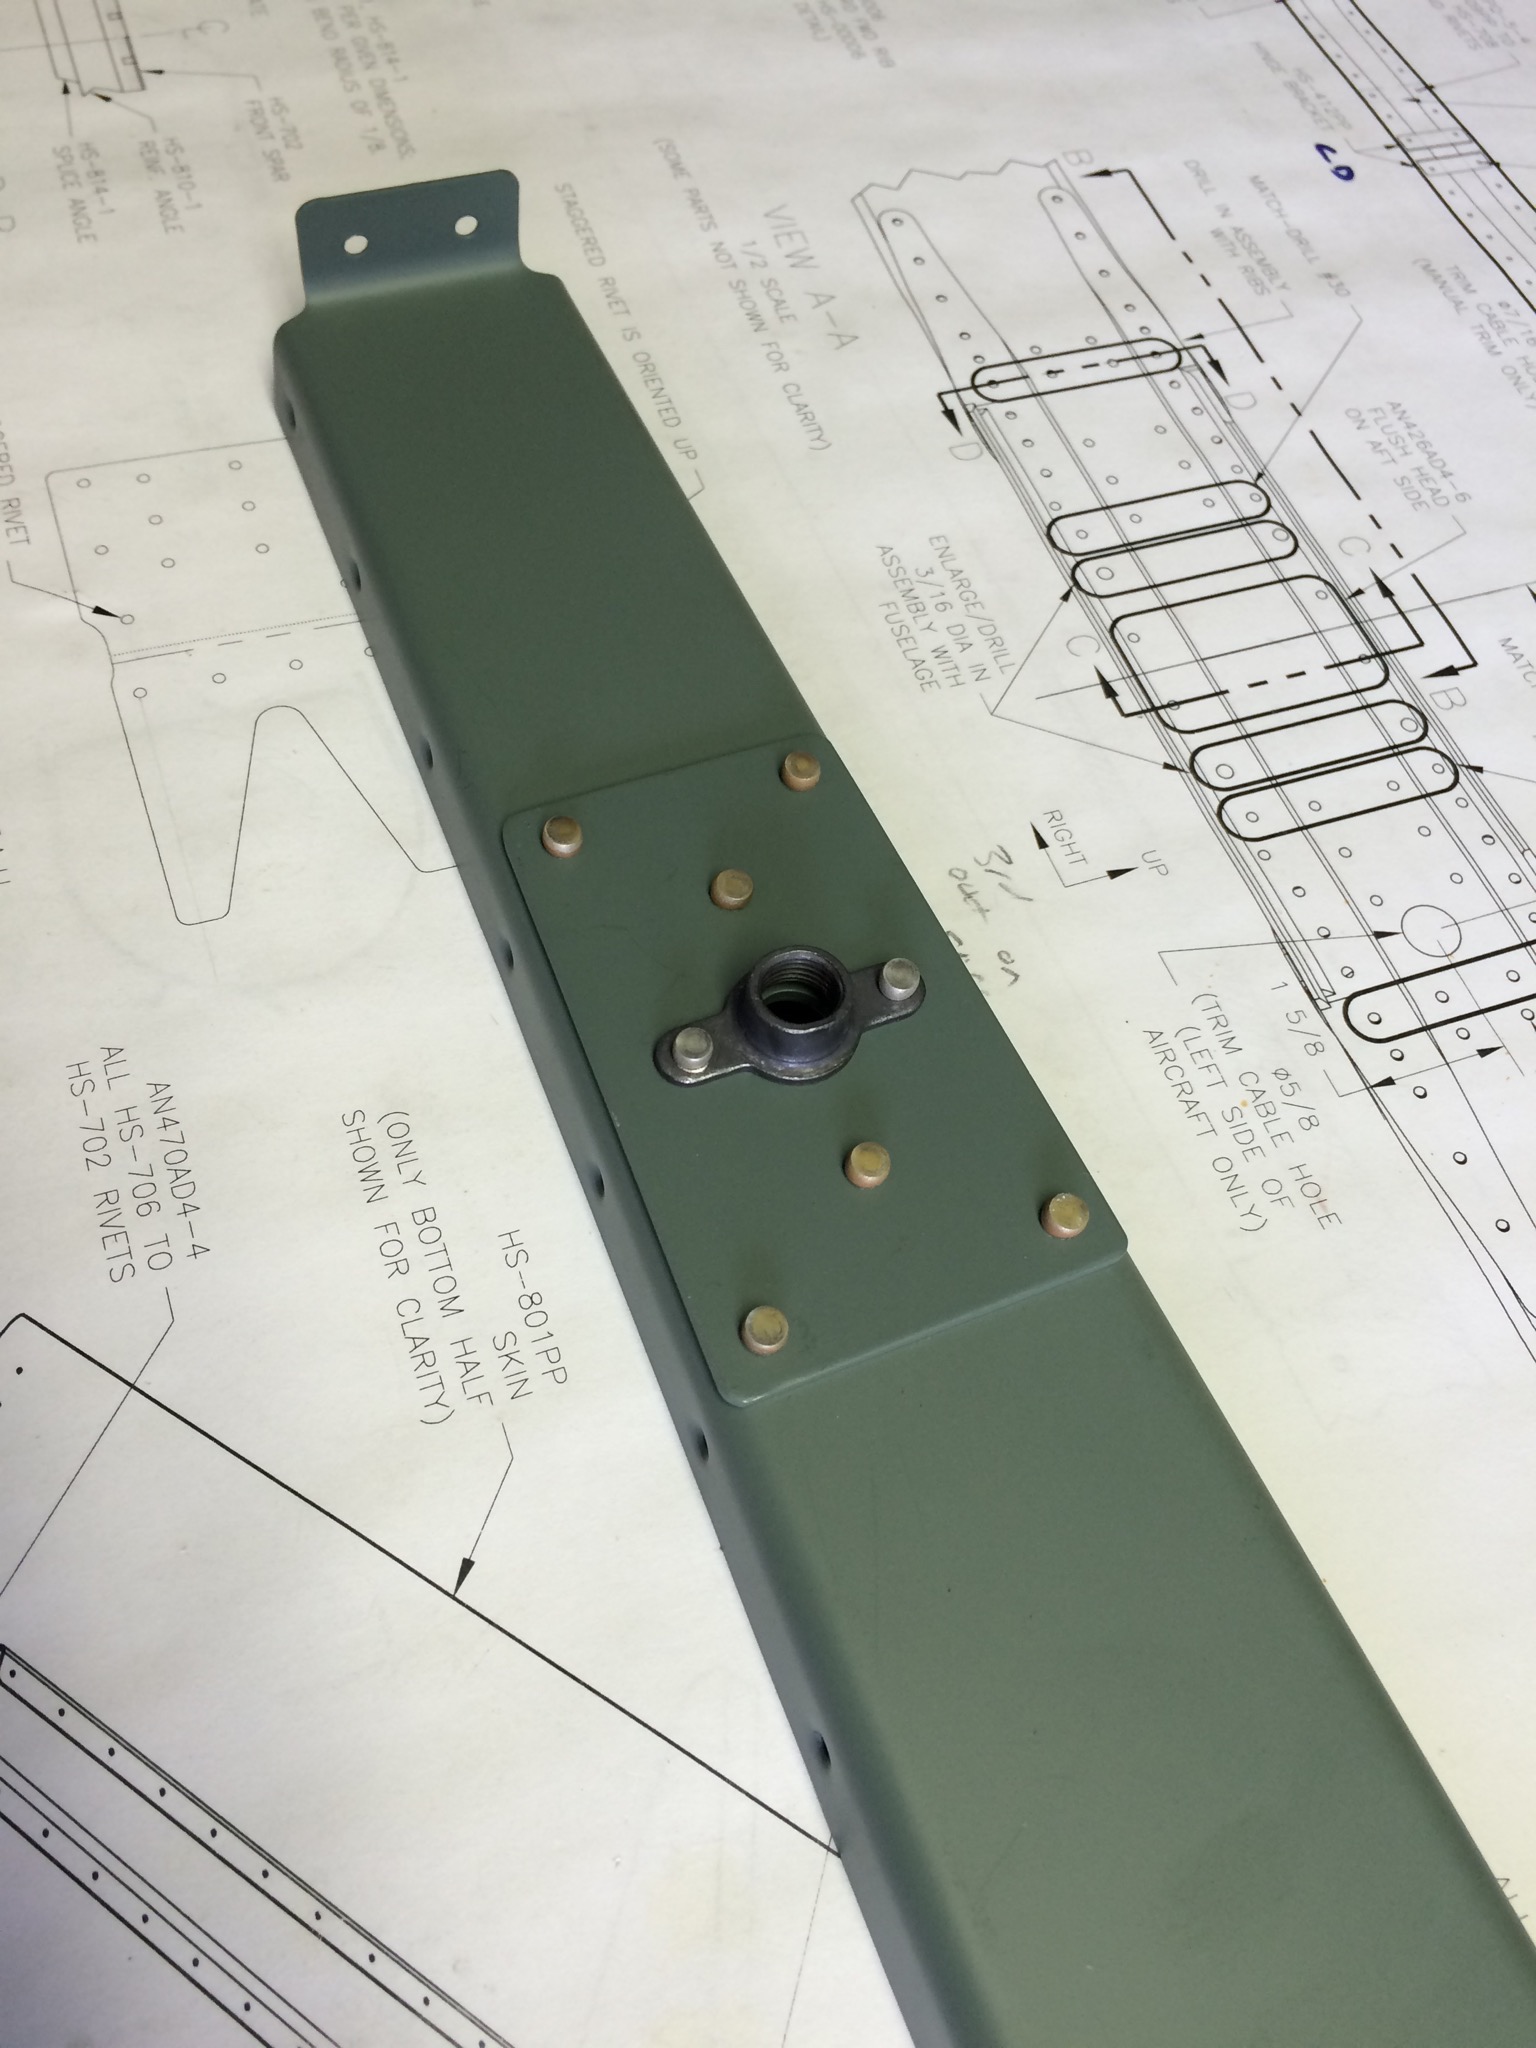
Finished up riveting the Horizontal’s spars, before I moved onto riveting on the Left side skins.
While I was waiting for an extra set of hands, I started to rivet together the Rudder skeleton.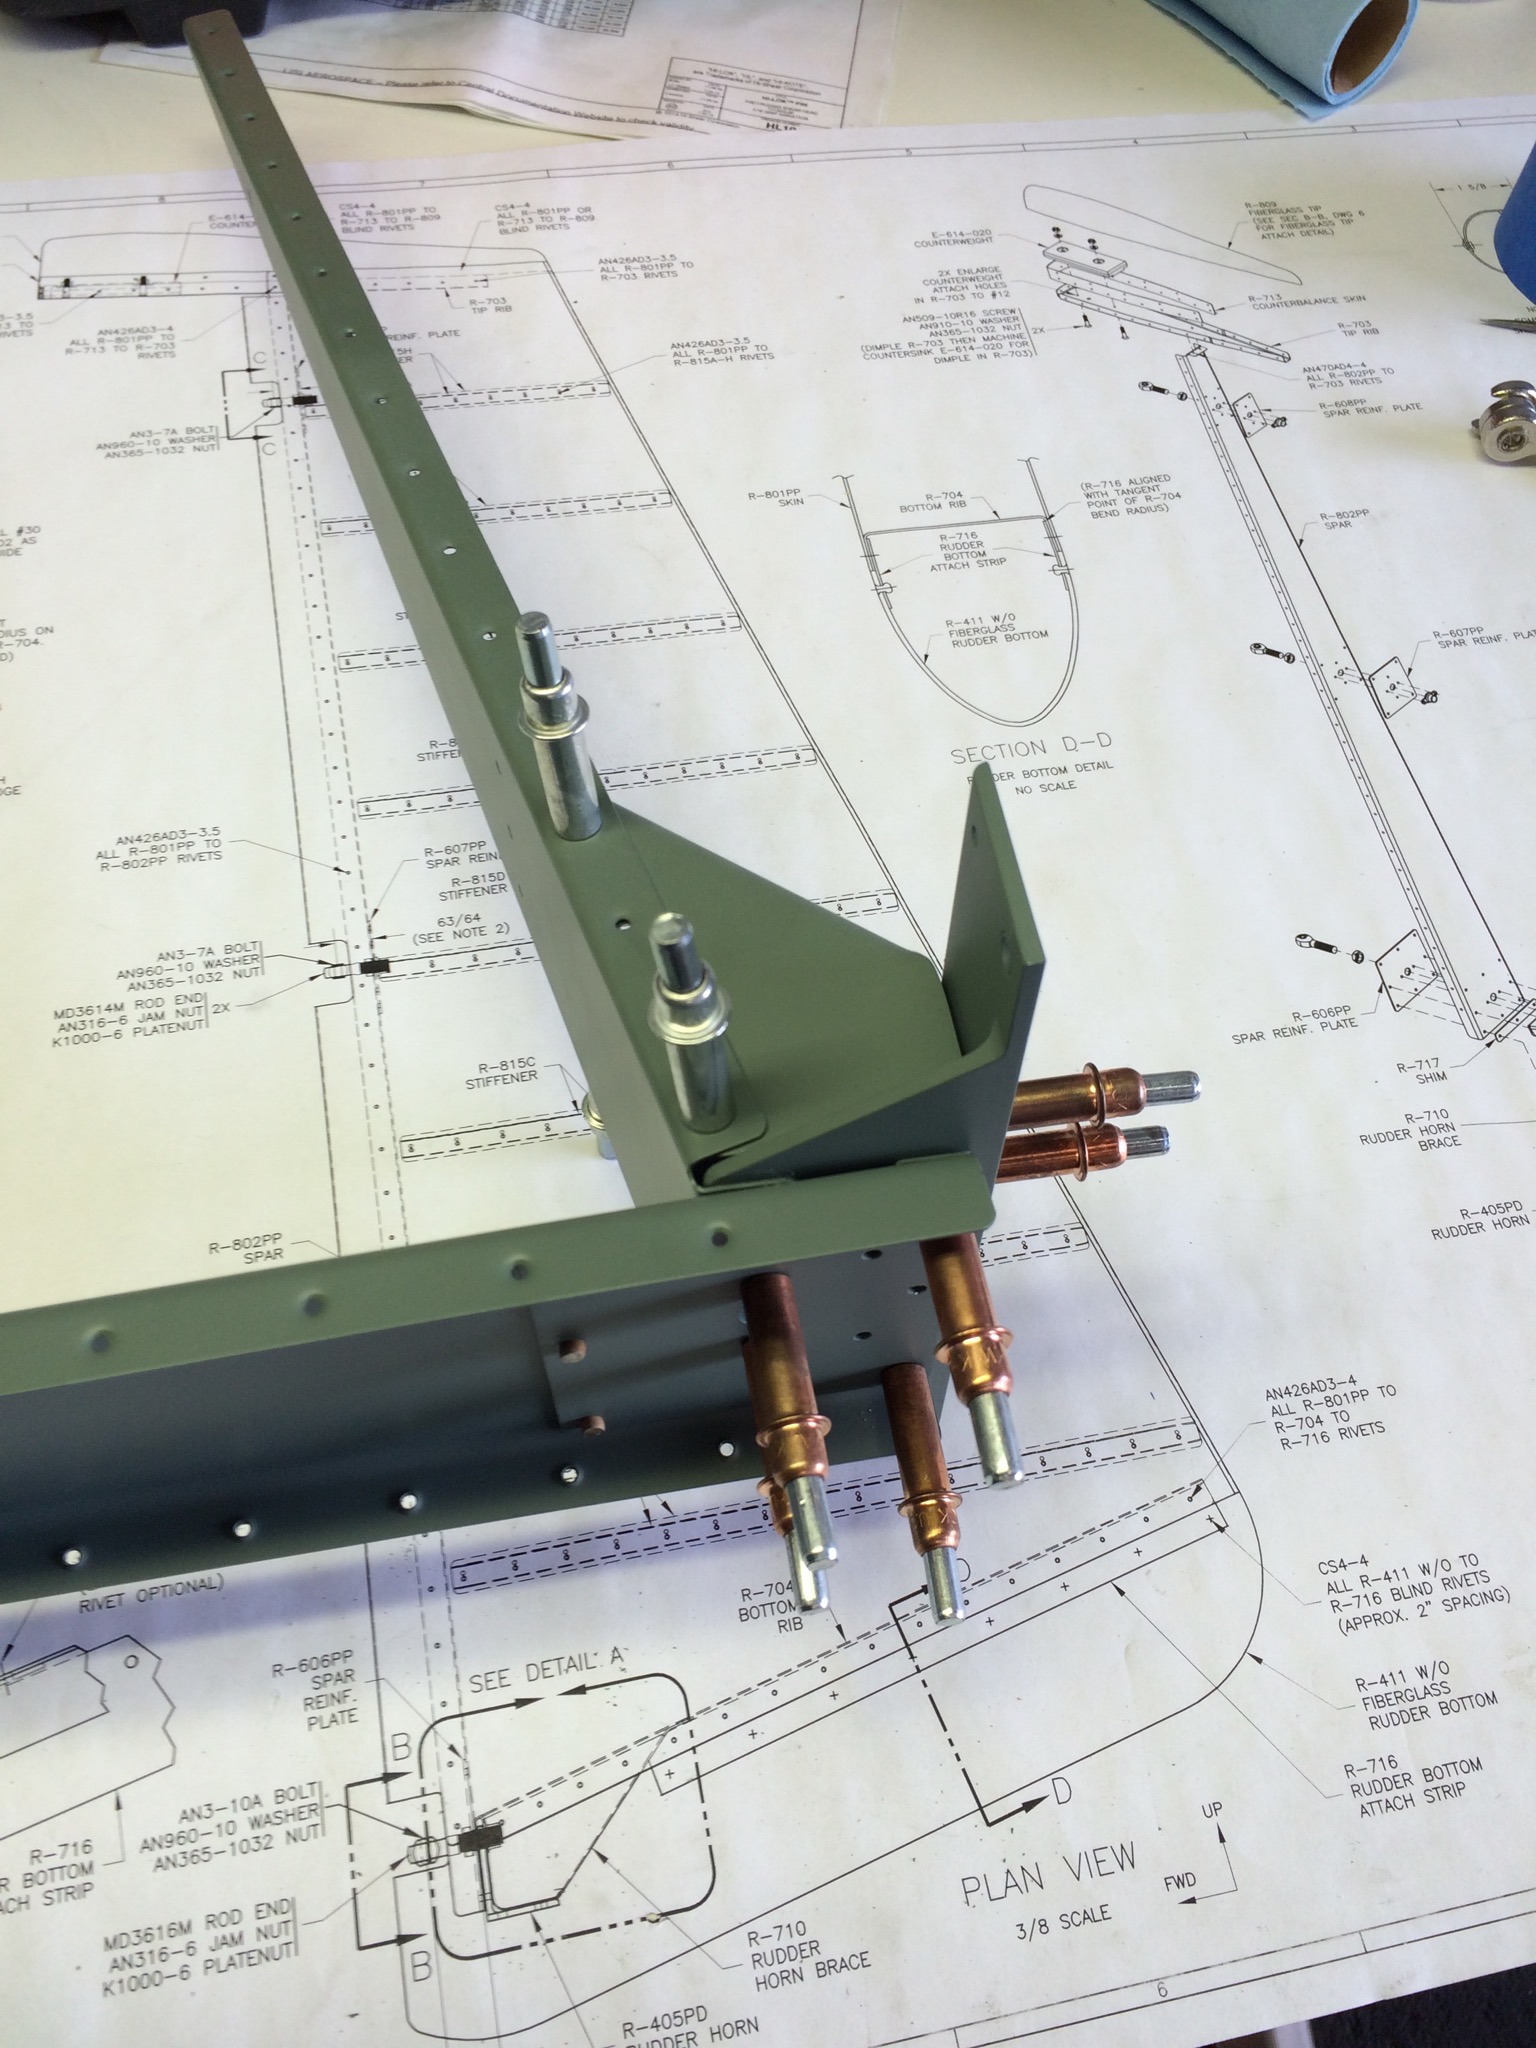
The instructions give you the option to use a blind rivet on the Rudder horn, but I opted to squeeze them. I had to put the shop head on the outside, but they came out pretty good.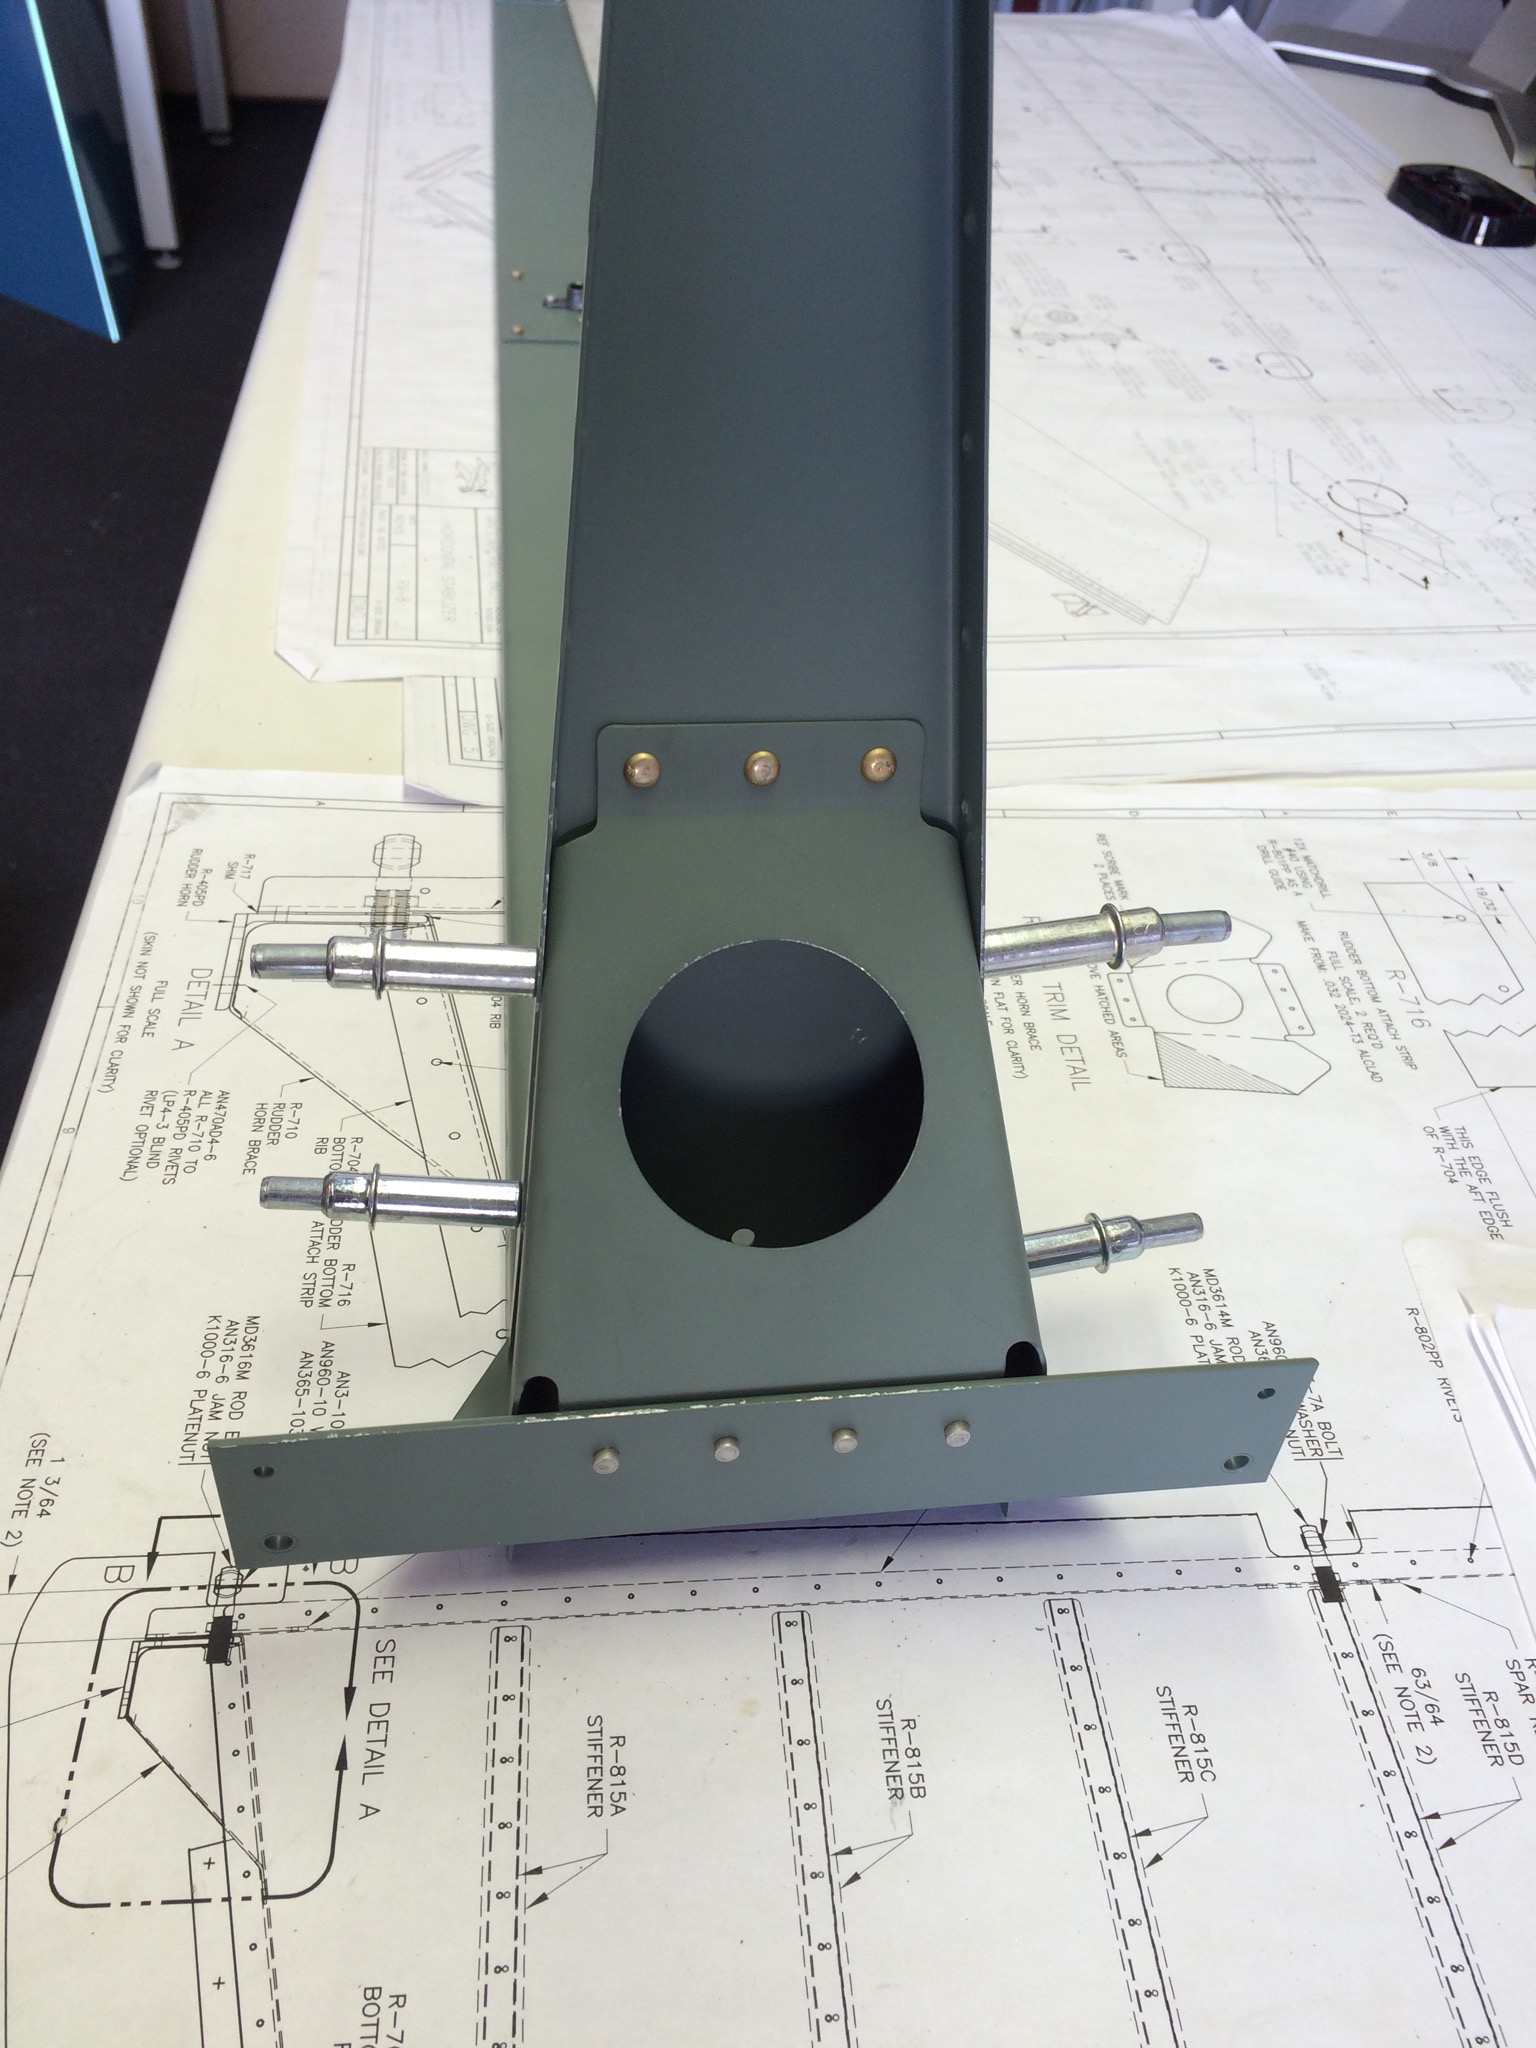
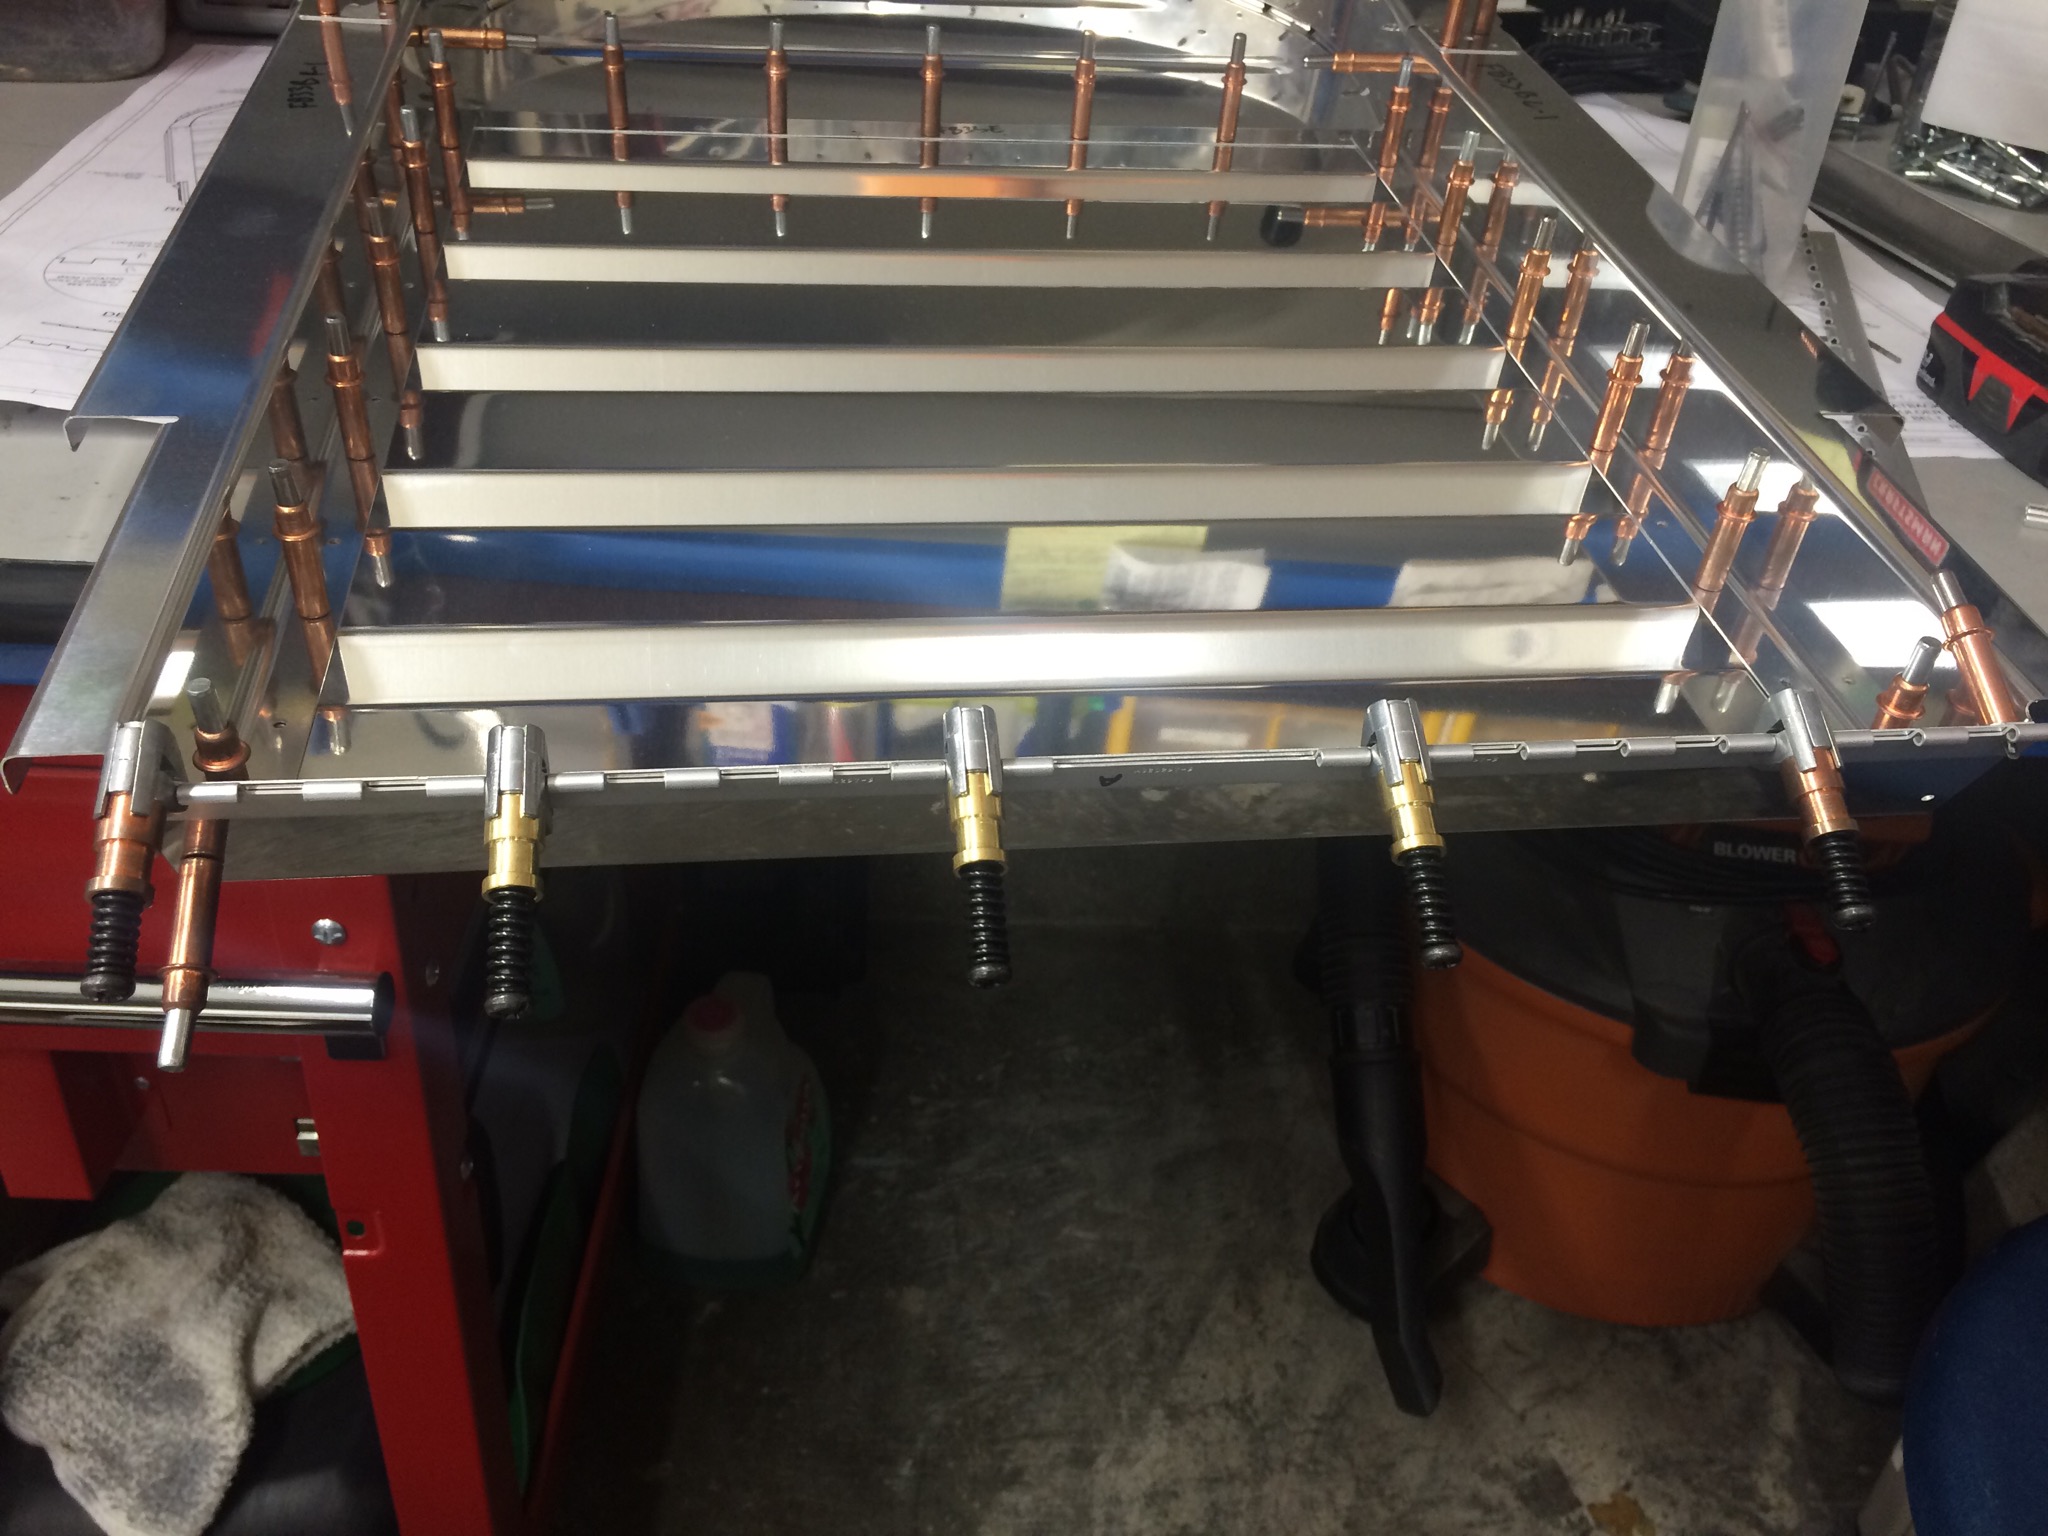
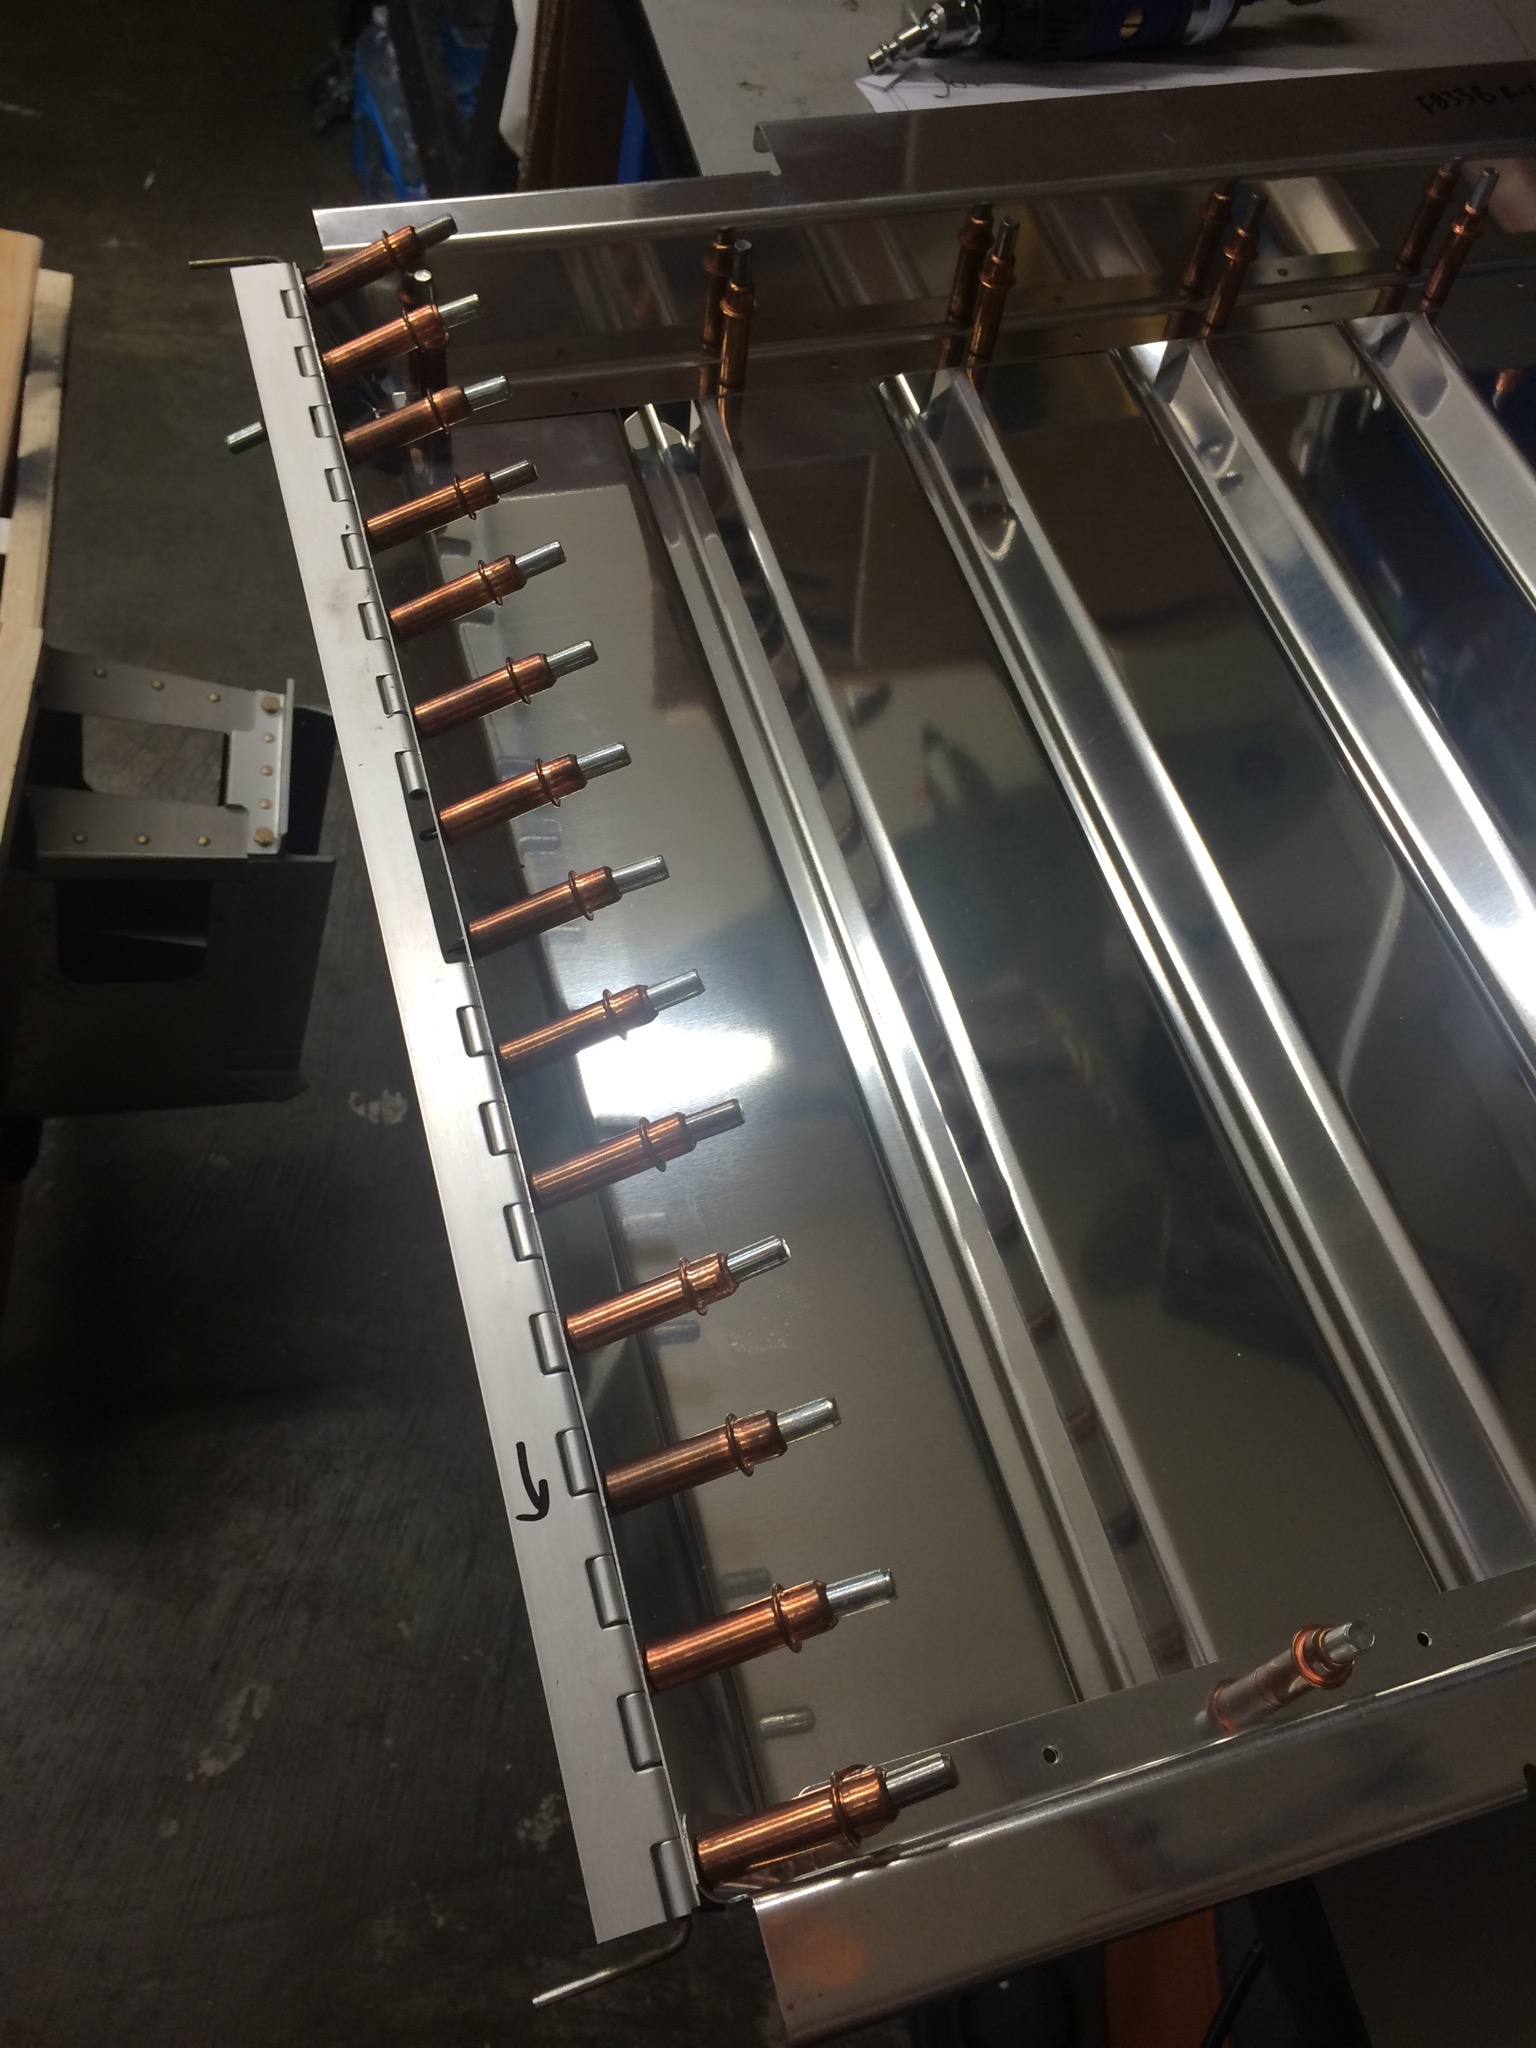
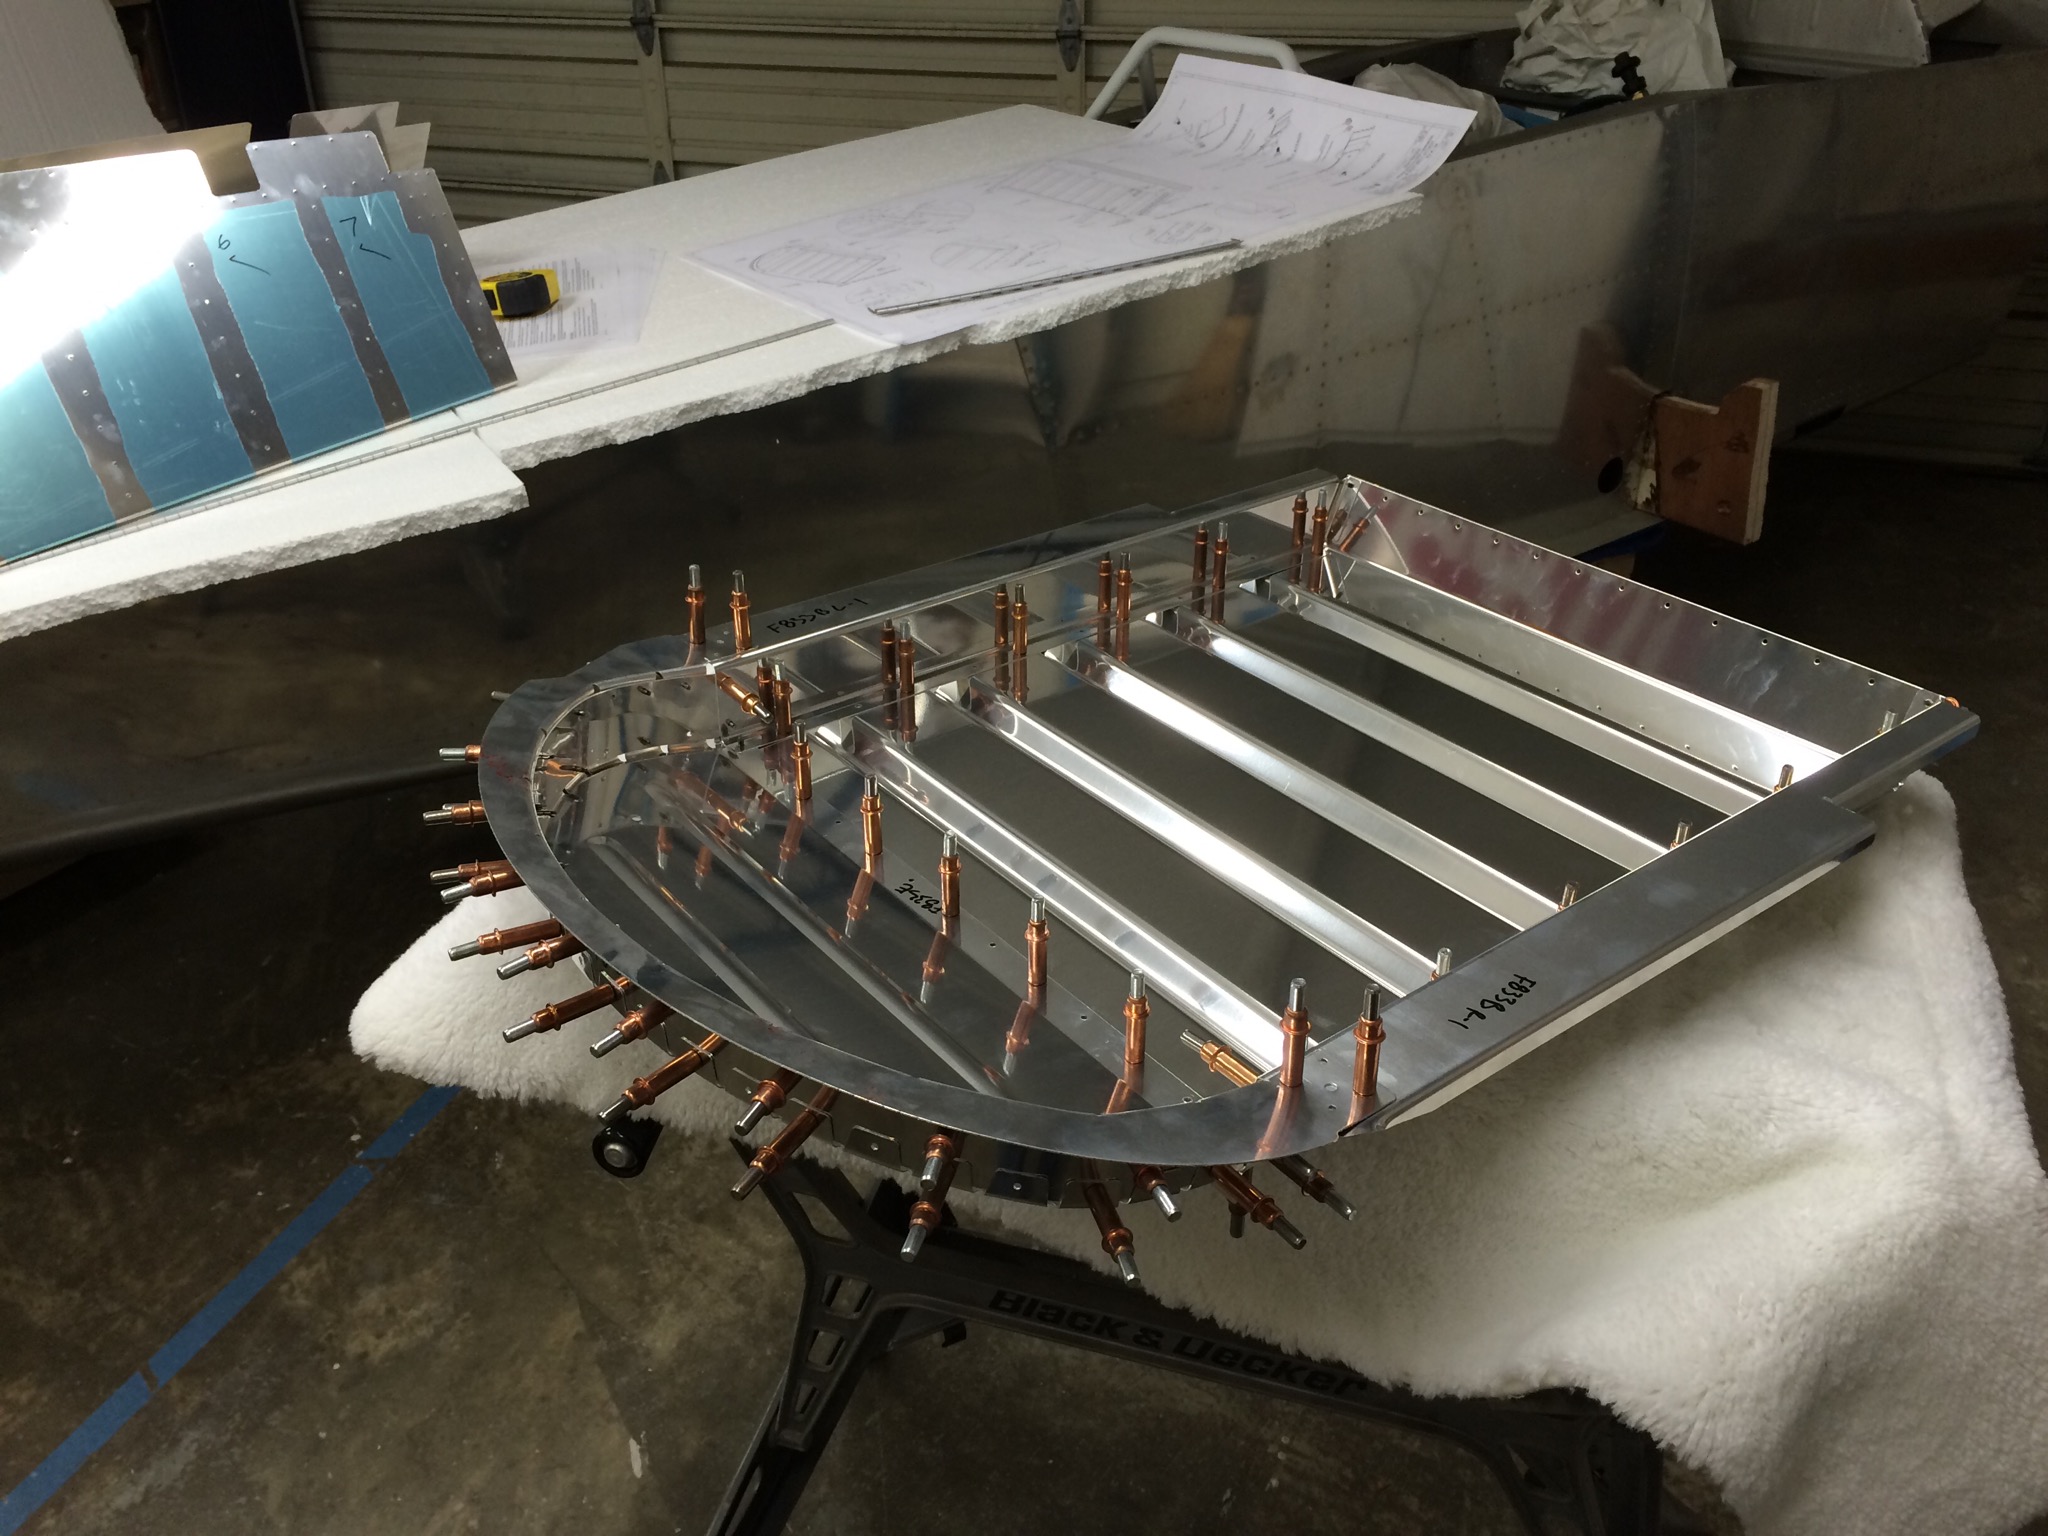
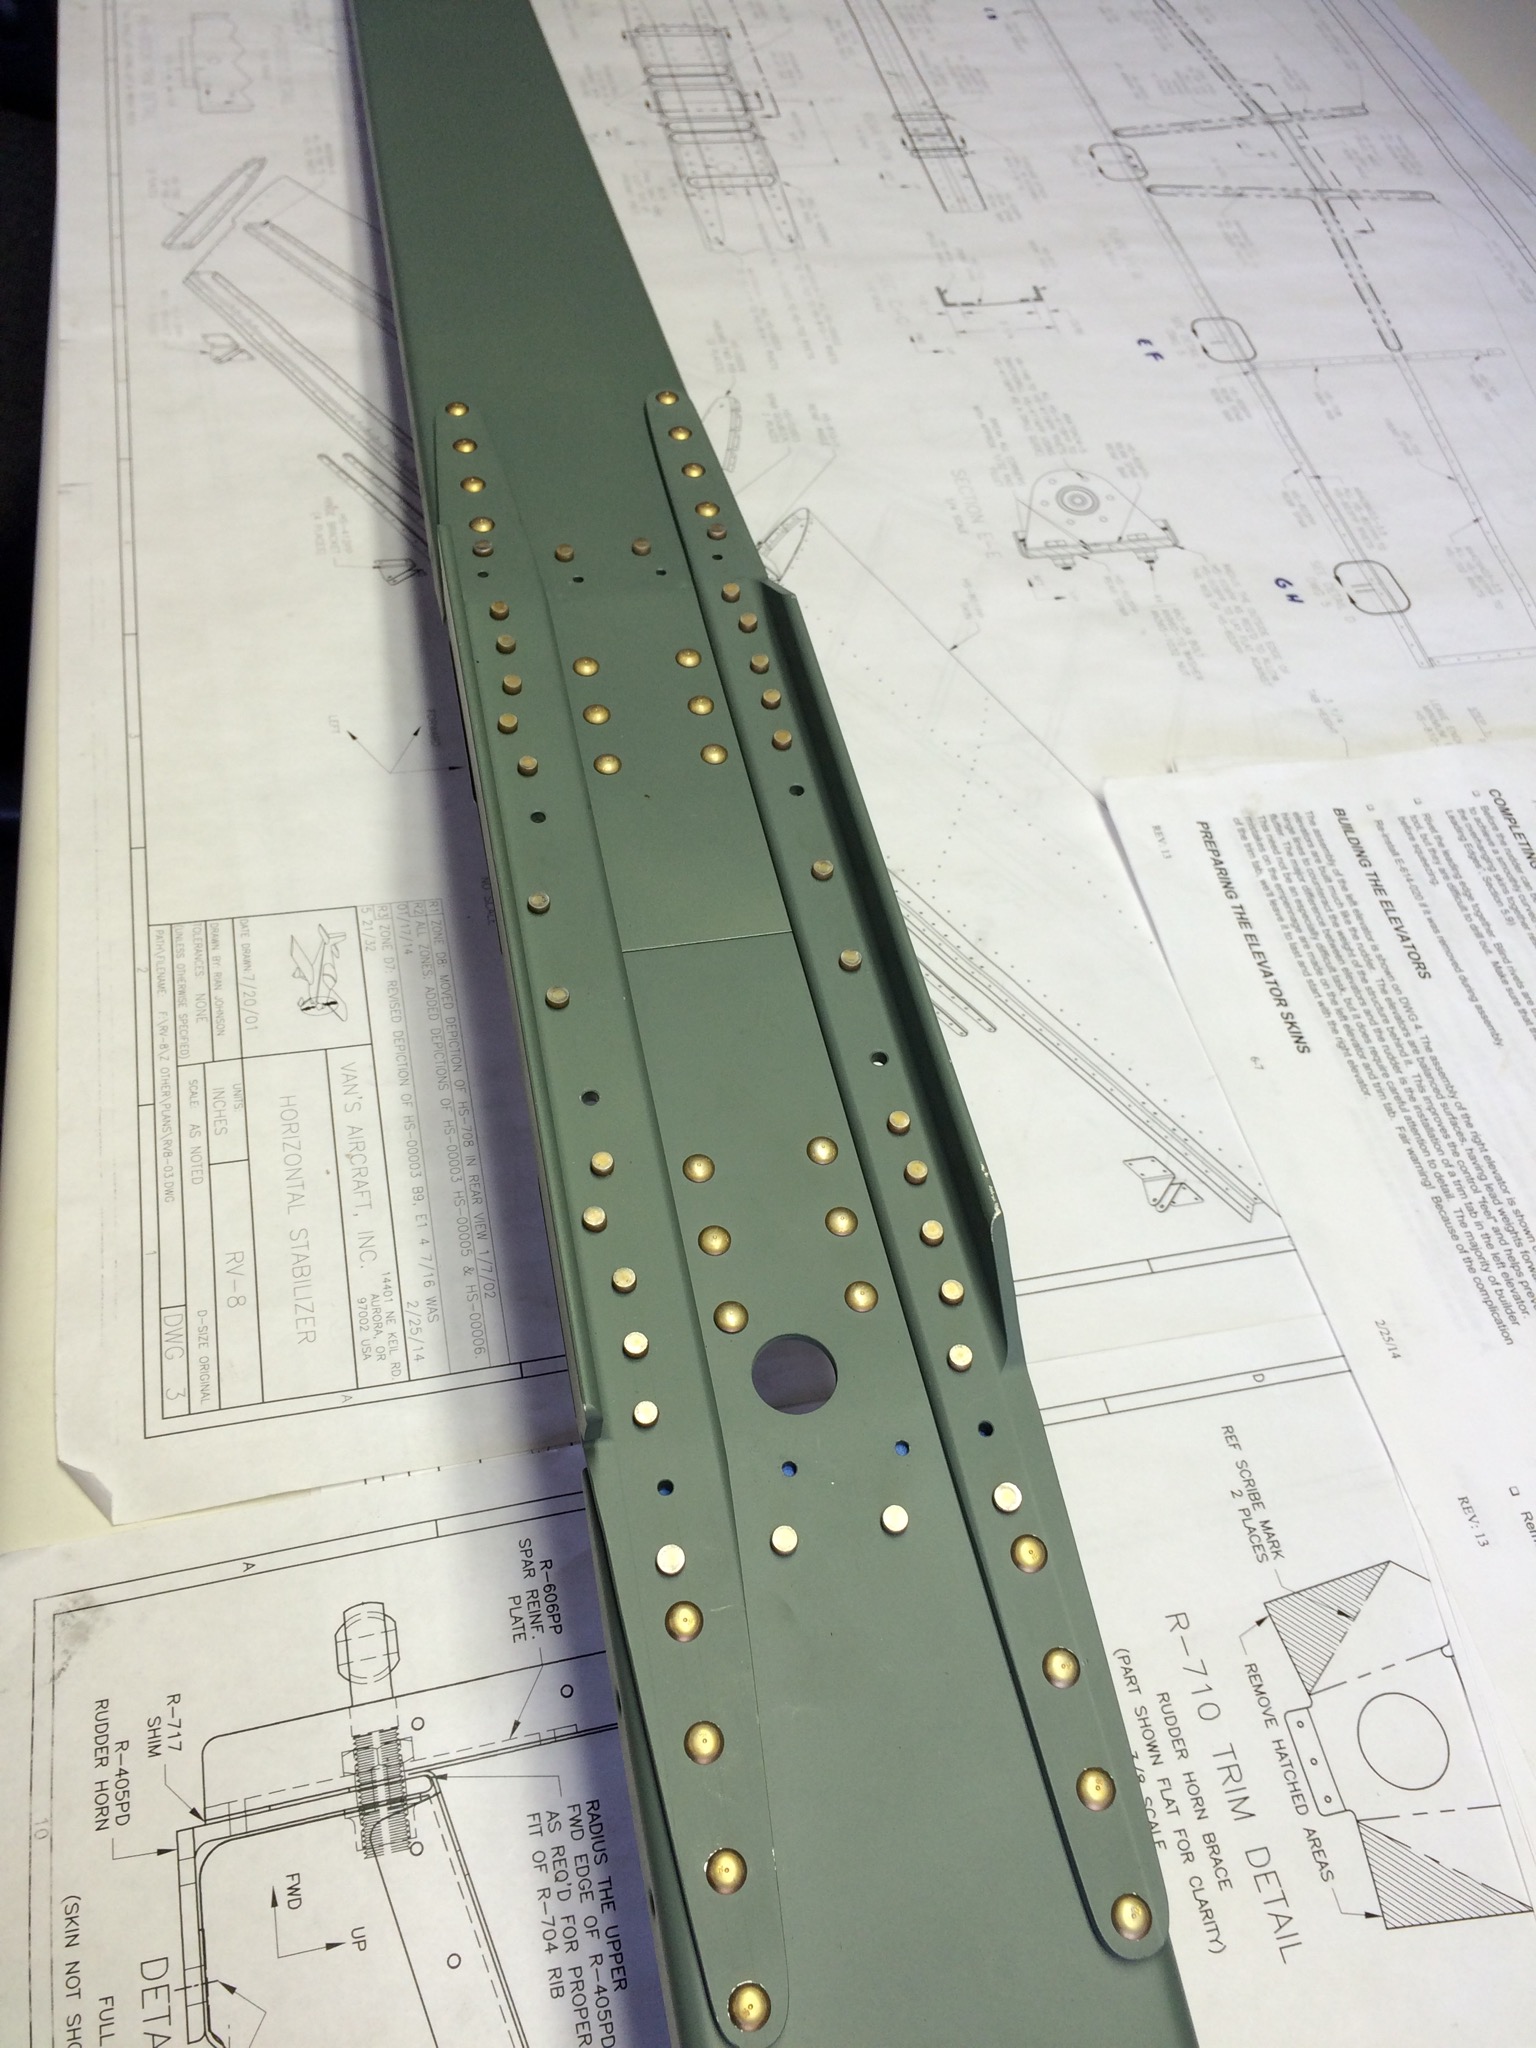
The Horizontal skeleton ready for the first skin: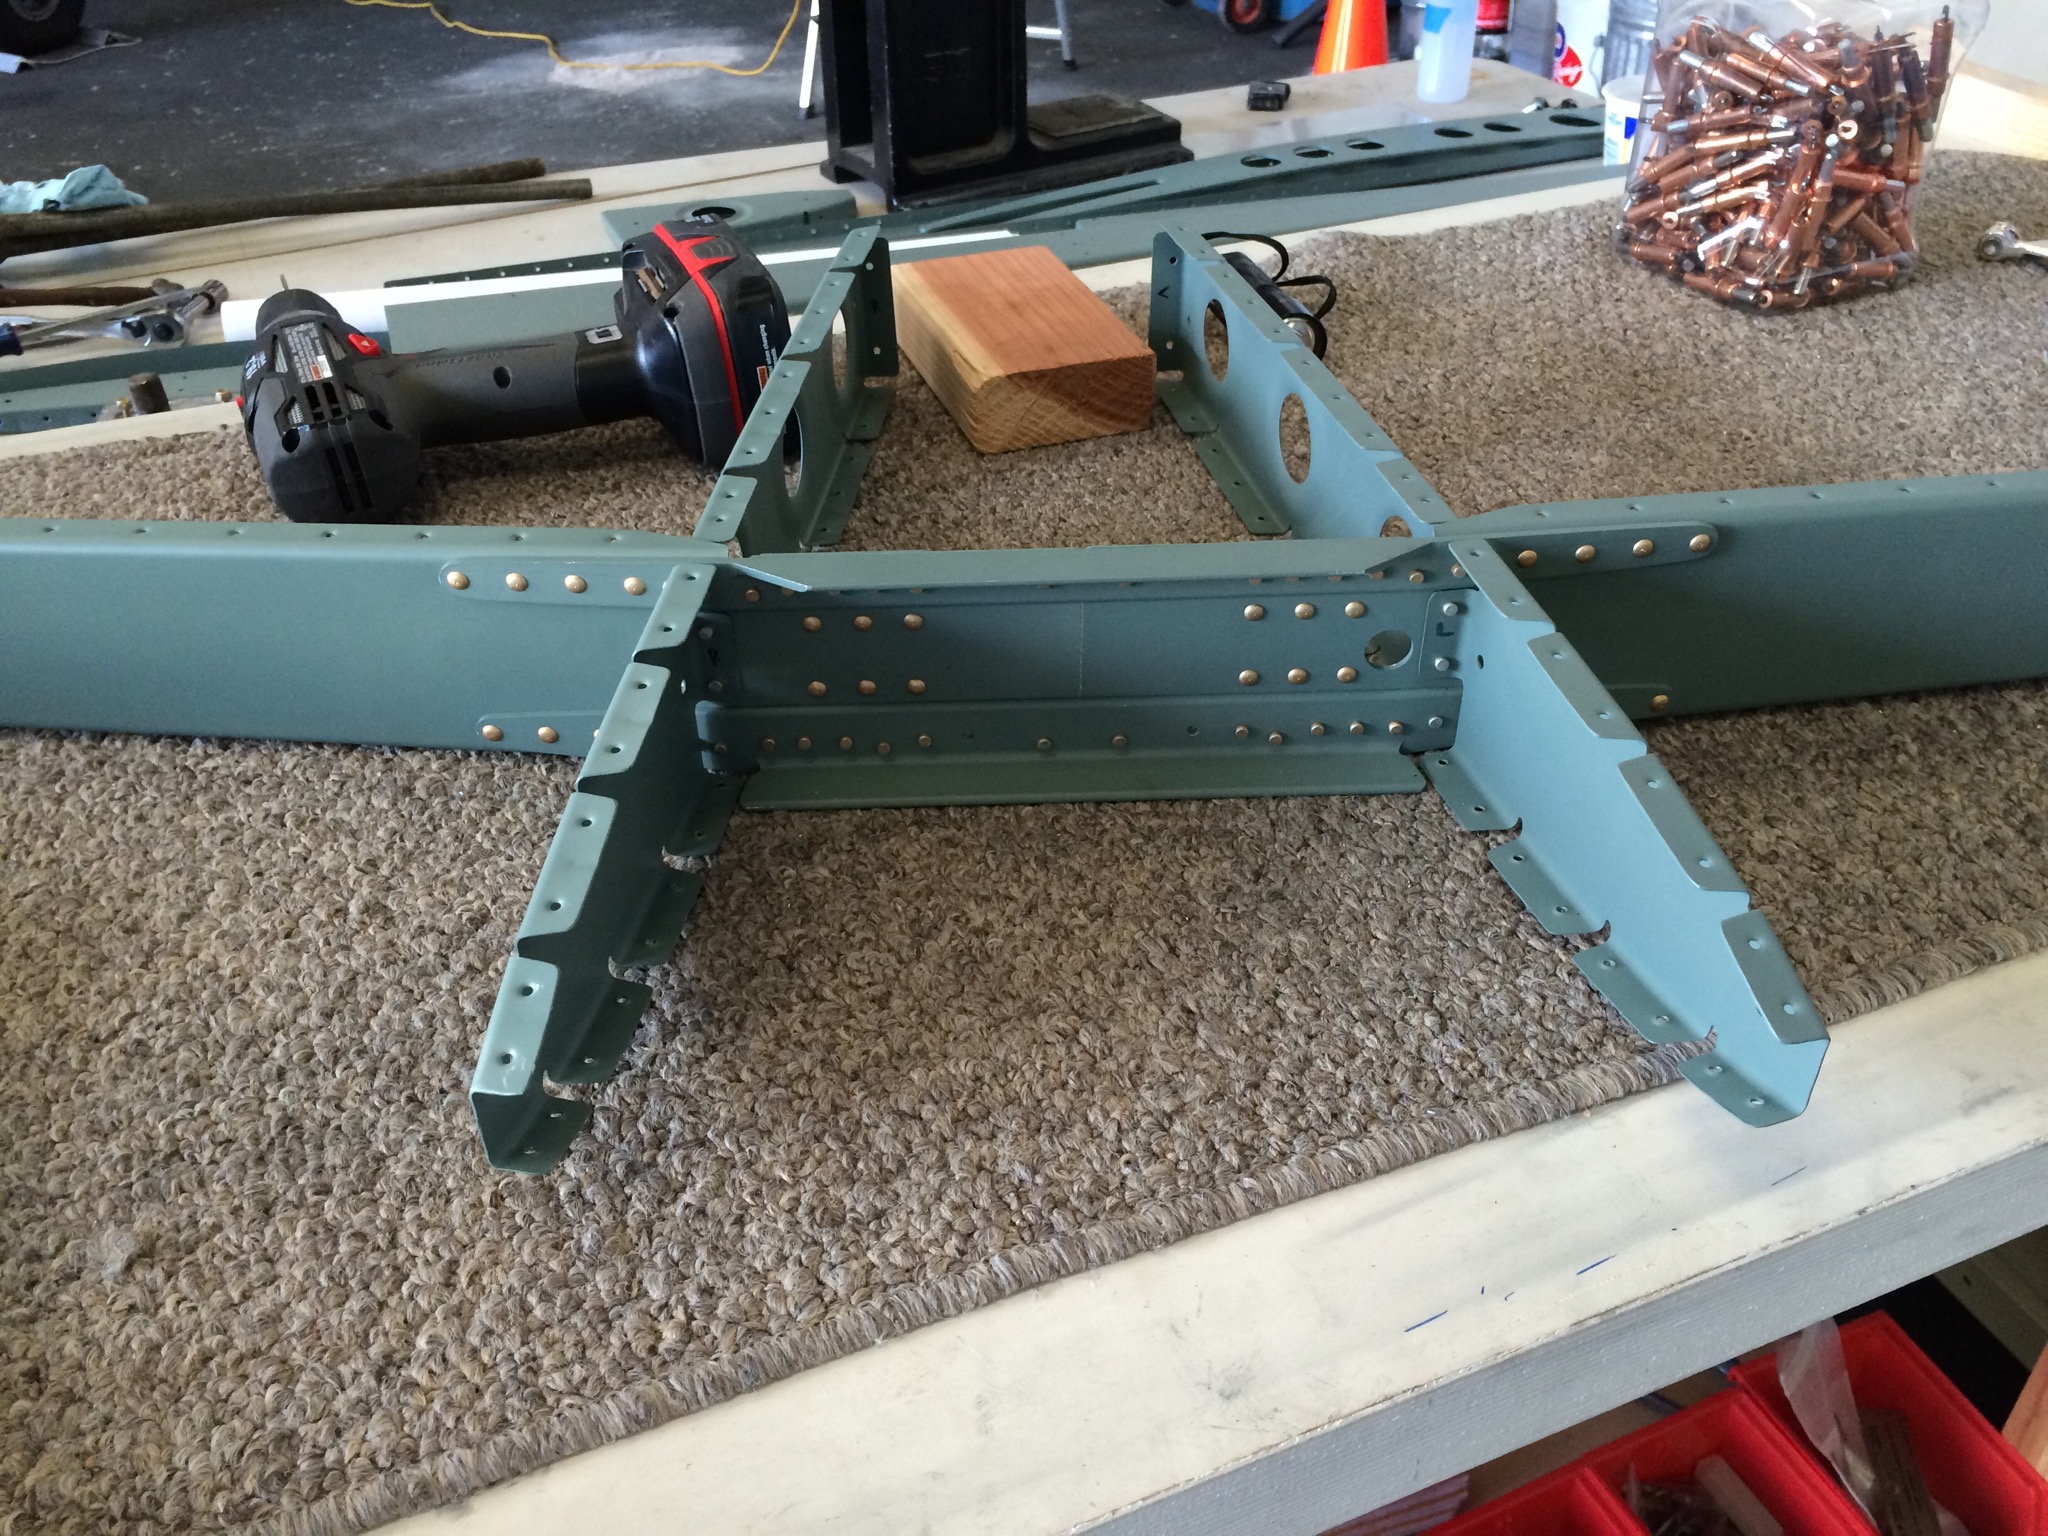
Once my extra set of hands showed up, we started to put the left Horizontal skin on.